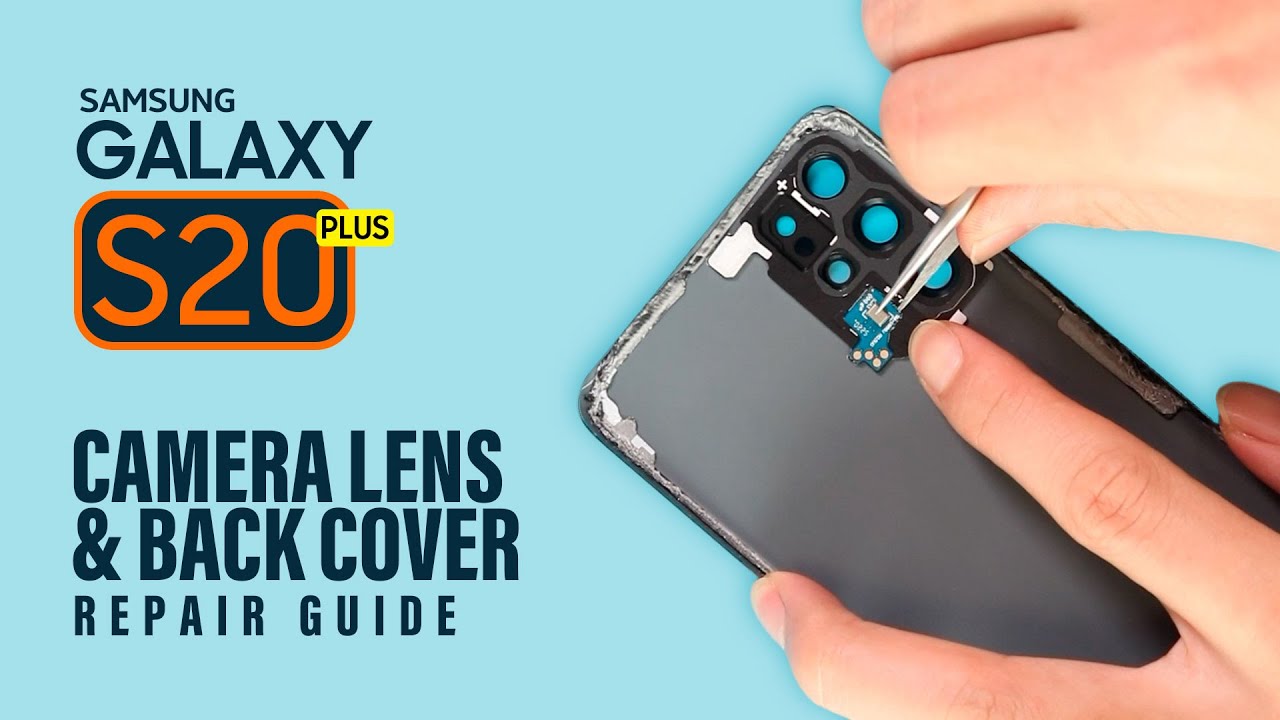
DIY Samsung Galaxy S20 Camera Lens Replacement Guide
Duration: 45 minutes
Steps: 5 Steps
Dealing with a cracked camera lens on your S20 is a real bummer, but fear not – we’ve got your back! When fixing it, don’t even think about yanking it from under the silver lip. That lens is snug as a bug in a rug inside that lip! Make sure to give it a good old blast of heat with a blow dryer or heat gun. I opted for medium heat on my blow dryer and boy, did it work like a charm!
Step 1

– So, you’ve cracked your glass – step one is done! Just a heads up: the lens is stuck on with some adhesive, so we’ll need to give it a bit of warmth. A blow dryer will do the trick, or if you have a heat gun, that’ll get the job done even faster. If there’s a little puncture, grab some tweezers to gently start lifting the glass from there. And hey, don’t forget to check out the next step photo to see exactly where that lens is hanging out!


Step 2

– After you’ve elegantly whisked away all the glass shards, take a moment to check that the silver plate is gleaming and free of any leftover adhesive where your new sticky magic will land. A little tip from me: I found that alcohol wipes and a trusty pair of tweezers worked wonders in making sure everything was squeaky clean. And don’t forget to peek inside the cameras to ensure they’re glass-free too! A quick swipe with an alcohol wipe should do the trick. Oh, and those pesky red boxes? They’re just reminders of any glass that might still be lurking around.
Tools Used

Step 3
– Now’s a great time to power your device back on and give that camera a little test run. Make sure it’s all clear of any pesky debris before you go ahead and stick on the new lens with some adhesive.
Step 4

– Let’s get that adhesive on! There are loads of lens kits out there on Amazon and eBay just waiting to be snagged. I picked one up from Amazon that came with everything you need: a lens, tools, alcohol wipes, and adhesive. I was pretty impressed with how perfectly the adhesive was cut out for the S20. If you didn’t snag a lens that comes with adhesive, no worries! Your go-to mobile repair tape will do the trick.
Tools Used
Step 5

– Now that you’ve got the adhesive all set, it’s time to pop on that new lens! Thankfully, that nifty silver ‘bowl’ or ‘cup’ where the lens fits makes lining everything up a breeze. This is a super straightforward project, and I’m confident that most S20 phone owners with just a dash of patience can tackle this repair without a hitch.