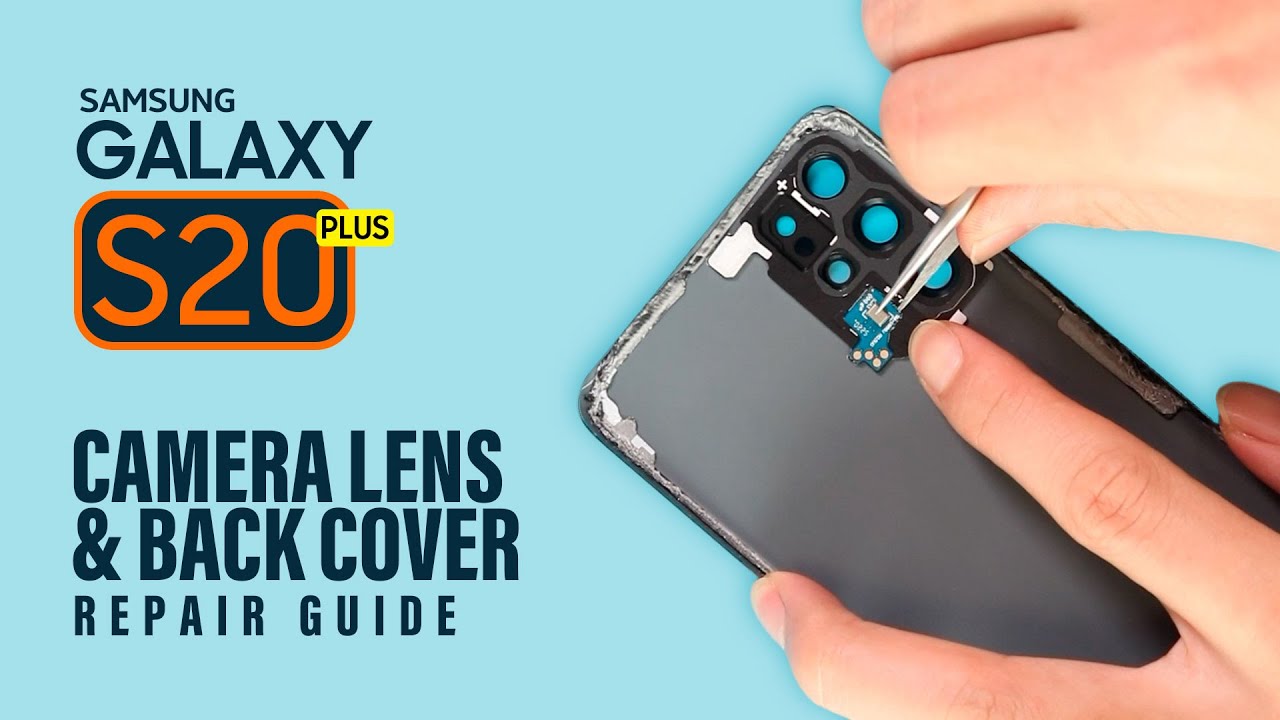
DIY Samsung Galaxy S20 Front Facing Camera Module Replacement Guide
Duration: 45 minutes
Steps: 23 Steps
Hey there! Just a friendly reminder to handle your device with care during the repair. If you run into any trouble or need a helping hand, feel free to schedule a repair with us!
Get ready to tackle the replacement of the front-facing camera module for your Galaxy S20! Removing the camera module can be a bit of a challenge, and there’s a chance it could get damaged in the process. So, if you’re hoping to reuse it, be extra cautious and pay close attention to the warnings. And don’t forget, you’ll need some replacement adhesive to wrap things up nicely. If you need help, you can always schedule a repair.
Step 1

Hey there! First things first, you gotta make sure your phone is unplugged and powered off. Wanna know why? Cuz when we start fixing things, safety first, am I right? 😉 So, don’t worry, we got your back, and if you need any help, you can always schedule a repair!
– Warm up your iOpener and give the bottom edge of the back cover a cozy two-minute hug.
Tools Used

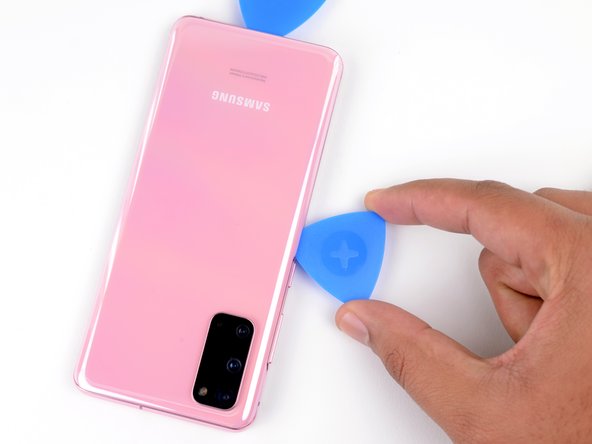
Step 2


– Grab a suction cup and get ready to show that back cover who’s boss! Stick the suction cup right in the center of the bottom edge.
– Give that suction cup a good tug with some muscle power! We’re creating a sweet little gap between the back cover and the frame.
– Time to get that opening pick involved! Slide it right into the gap like a pro.
Step 3


– Gently glide the pick along the bottom edge, back and forth, to cut through that sticky adhesive like a pro.
– Keep your trusty opening pick in the seam to stop the adhesive from sealing up again.
Step 4

– Give that left edge of the back cover a warm hug with your heated iOpener for a solid two minutes.
Tools Used
Step 5


Handle the pick with care—too much force and you might just send that back cover glass into a state of shock!
Don’t worry if it takes a few tries, these devices like a little dance rehearsal.
– Whoa, you’ve got this! So let’s get started with your phone’s journey back to health. Grab that trusty suction cup and place it on your phone where the glass meets the outer frame. It’s going to be like a peeling a stubborn sticker off! Now, yank that bad boy with your entire hand, creating a gap to let your opening tool slip in. Trust us, your phone will be back in action before you know it! If things get a little tricky, remember that our experts at schedule a repair are here for you!
Step 6


– Gently slide the tool under the glass, giving it a little tilt and push to smoothly separate the back cover’s sticky adhesive.
Step 7


– Gently glide the pick along the left edge of your phone to break free that stubborn back cover adhesive.
– Just tuck your pick right under the left edge of the glass, near the top left corner, to keep that adhesive from being sneaky and resealing itself.
Step 8

– Warming up the right edge of the back cover with a cozy iOpener for a couple of minutes.
Tools Used
Step 9


– Grab a suction cup and stick it onto the back of your phone, aiming for that sweet spot near the center of the right edge.
– With a solid grip, give it a good pull! We want to make a little space between the back cover and the frame.
– Now, take the tip of an opening pick and slide it into that newly created gap.
Step 10


– Gently slide the pick along the right edge of the phone to loosen up the back cover’s adhesive.
– Keep your pick snug under the right edge of the glass near the top of your device to make sure the adhesive doesn’t try to stick back!
Step 11

– Warm up that iOpener and gently place it on the top edge of the back cover for a cozy two minutes. You’re doing great!
Tools Used
Step 12


This area is a bit finicky, so be super gentle when you reach the corners. Don’t worry, your device will thank you!
– Gently glide that pick from the right edge of your device and curve it around the top right corner like you’re giving it a little hug.
– Keep on slicing along the top edge until you reach the top left corner, fully freeing that back cover from its adhesive bonds!
Step 13


– Lift the back cover with a big smile! Slice the remaining adhesive like a pro using opening picks.
– Remove the back cover and give a high-five to yourself!
– During reassembly: Need help? No problem! Schedule a repair and we’ll have you back in action in no time!
Step 14

– Grab your trusty Phillips #00 screwdriver and get ready to tackle those five 4 mm-long screws that are holding the motherboard bracket in place. You’ve got this!
Tools Used

Step 15


– Grab a trusty pair of tweezers and gently lift and pop the motherboard bracket free from the plastic midframe. You’ve got this!
Tools Used

Step 16


– Carefully lift the wireless charging coil away from the device – treat it like a delicate treasure.
– Now, let’s go ahead and take off the wireless charging coil completely.
– When you’re putting everything back together, make sure to secure the motherboard bracket screws first to get that charging coil nice and snug in its spot, then give the rest of the coil a good press to make sure it sticks properly.


Step 18

– Get your hands on a Phillips #00 screwdriver and get ready to rock! Take out those four 4 mm-long screws holding up the upper midframe like a champ.
Tools Used


Step 20

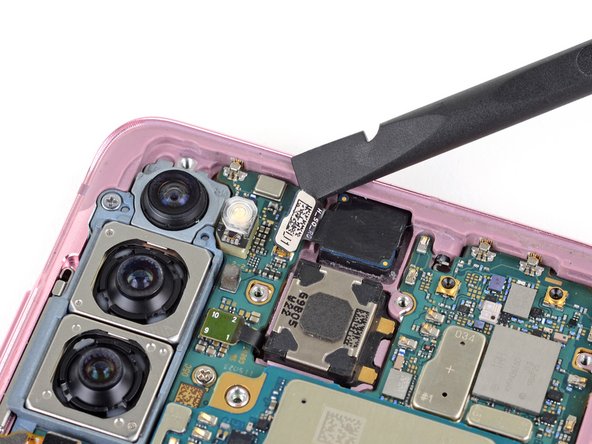
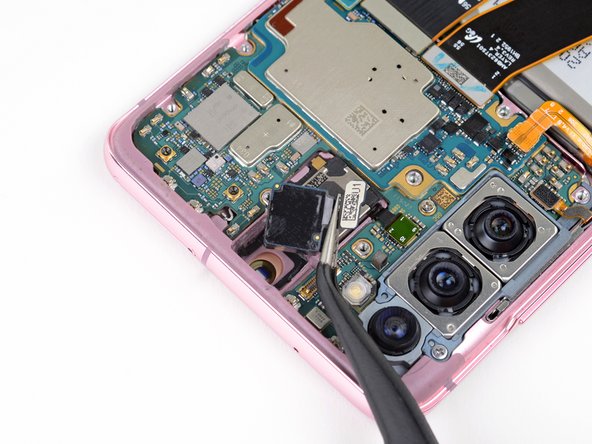
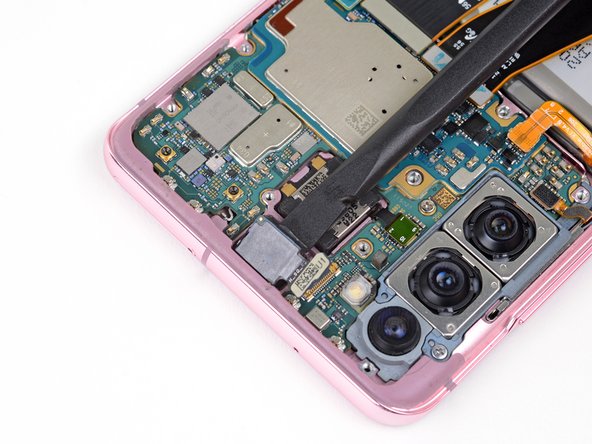
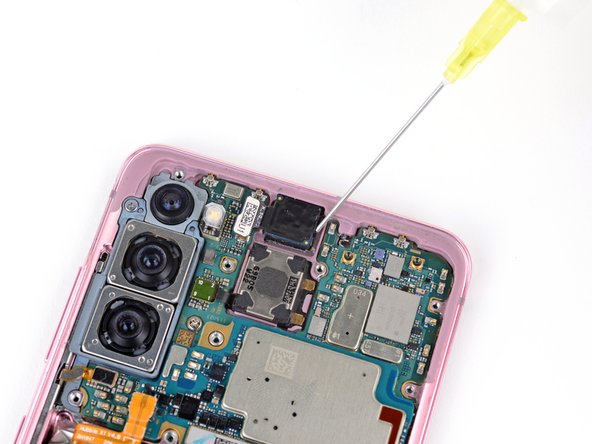
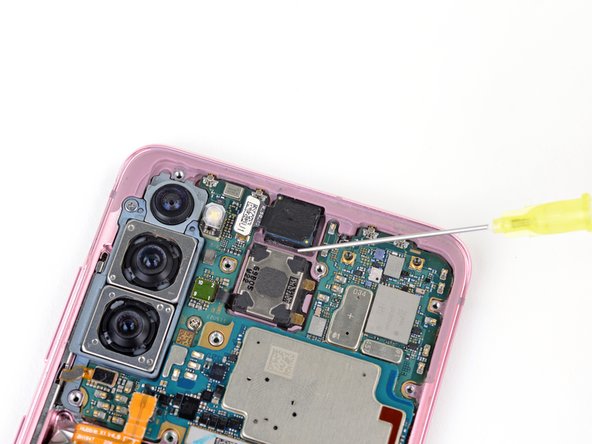
– Grab a spudger and let’s have some fun gently prying up and disconnecting the front-facing camera flex cable from the motherboard.
– Time to re-attach those press connectors, my friend! Just make sure to align them carefully and press down on one side to hear that satisfying click. Then, move on to the other side. No pressing down in the middle, please! If things seem a bit off, remember that misalignment can lead to bent pins and nobody wants that. Let’s keep it smooth and damage-free!
Tools Used
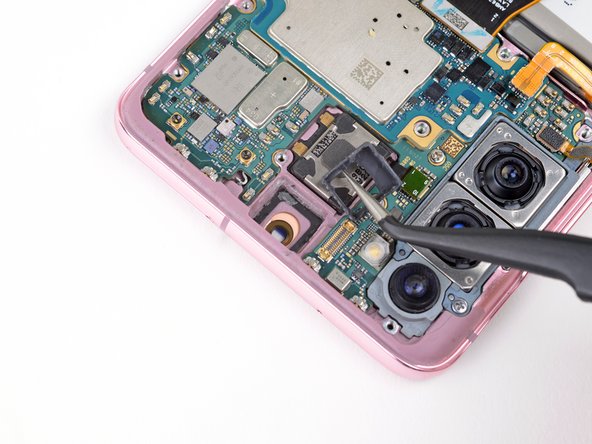
Step 21

– Time to show that adhesive who’s boss! Grab some super strong (over 90%) isopropyl alcohol and give those gaps around the front-facing camera module a good drenching. We want that adhesive to loosen up and say goodbye!
– Let the alcohol work its magic for 1-2 minutes. It’s like a mini spa session for your device.
Tools Used