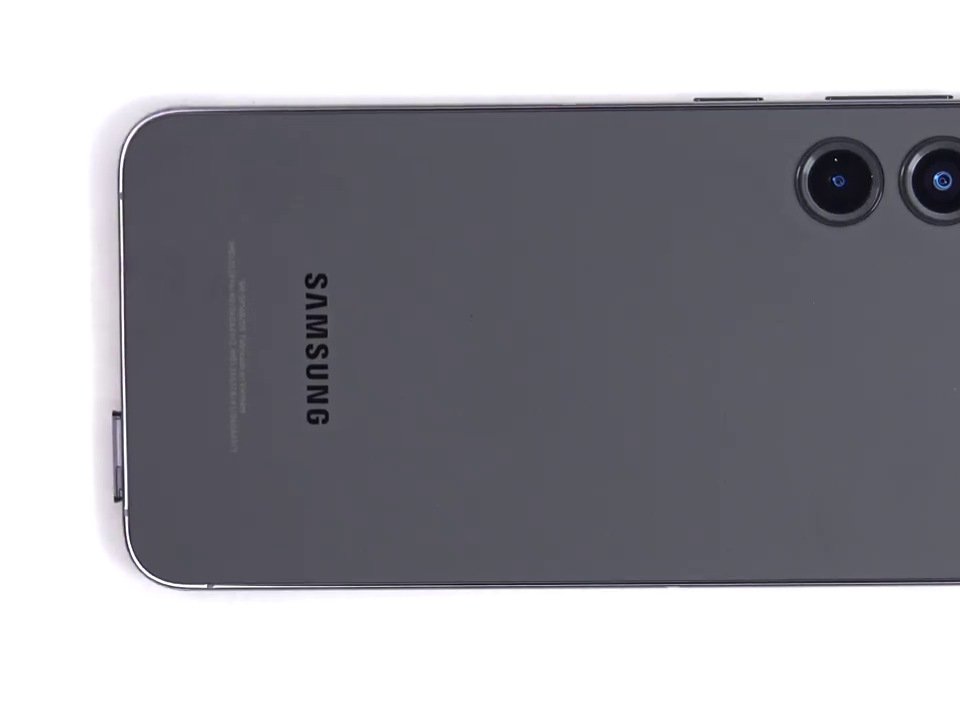
DIY Samsung Galaxy S23+ Battery Replacement Guide
Duration: 45 minutes
Steps: 31 Steps
This guide is all about the battery itself
Ready to breathe new life into your Samsung Galaxy S23+? This guide is your go-to for swapping out that tired old battery. If you’re tackling both the screen and battery assembly together, check out the dedicated guide for that. Remember, your phone’s lithium-ion battery isn’t invincible—it has a lifespan. If it’s draining faster than your favorite summer drink, it might be time for a change. And if your battery looks like it’s had one too many, be cautious! Just a heads up: keeping your phone’s water resistance intact after the fix depends on how well you seal that back cover. But don’t fret; keep in mind, your device may lose its IP (Ingress Protection) rating along the way. For expert assistance, feel free to schedule a repair!
Step 1


Hey, let’s make sure your phone’s battery is feeling chill before we get started. Let it drain below 25% — a charged battery can be a bit of a party animal! If your battery is lookin’ a little puffy, just take it easy and handle it with care. And hey, if things get a little too intense, you can always schedule a repair with us, we’re happy to help!
– First, let’s get started by unplugging any cables from your phone – we want to make sure it’s safe to work on.
– Now, press and hold the side key and the volume down button, then select ‘Power off’ to shut down your phone. If you need help, you can always schedule a repair
Step 2

A hairdryer, heat gun, or hot plate can help loosen things up, but be careful not to get too toasty! The display and battery are a little sensitive to heat. If you need help, you can always schedule a repair.
– Warm up an iOpener and stick it on the right edge of the back cover for two minutes to loosen that stubborn adhesive.
Tools Used


Step 3


Having trouble getting that gap started? Try applying a bit more heat to loosen up the adhesive. Just be sure to follow the iOpener instructions so you don’t overdo it. If you need help, you can always schedule a repair
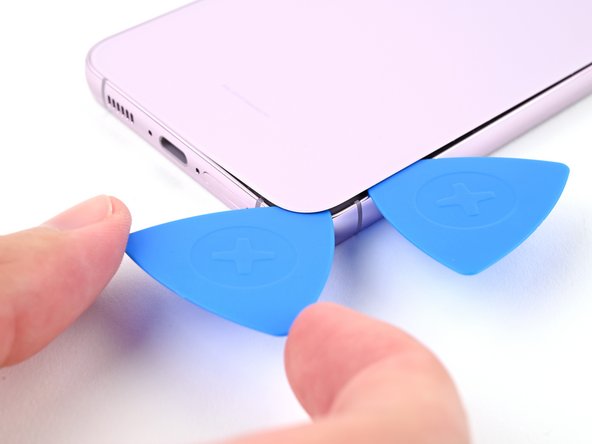
– Grab your trusty suction handle and stick it to the back cover, aiming for the center of the right edge. Get a good grip!
– Now, give that suction handle a good pull! Use some muscle and create a little gap between the cover and the frame. You got this!
– With that gap open, slide an opening pick in there. You’re almost home free!
Tools Used


Step 5

– Let’s get this party started by warming up the back cover. Grab your trusty iOpener and apply some heat to the bottom edge for a couple minutes. We’re going to make this back cover feel right at home.
Tools Used
Step 6

– Let’s get this party started! Slide a second opening pick under the bottom right corner.
– Now, spin that pick around the corner to loosen up the adhesive holding things together.
Step 7


– Gently slide that opening pick down to the bottom left corner to break free from the sticky stuff holding you back.
– Keep the pick nestled in the bottom left corner, so the adhesive doesn’t decide to play hide and seek again.

Step 9


– Let’s get this party started! Rotate that opening pick around the bottom left corner to loosen up the adhesive. It’s like a dance, but with tools!
Step 10


– Let’s get this party started! Insert a third opening pick at the bottom left corner.
– Now slide your pick up towards the top left corner like you’re showing off your best dance moves, carefully separating the adhesive.
– Keep that pick in the top left corner to stop the adhesive from getting all cozy and re-sealing. We don’t want that, right?
Step 11

– Warm up your iOpener and stick it to the top edge of the back cover for a cozy two minutes.
Tools Used
Step 12


– Now it’s time to add a fourth opening pick at the top left corner – this is where the magic happens.
– Gently rotate it around the top left corner to loosen the adhesive, and you’ll be one step closer to fixing your device. If you need help, you can always schedule a repair
Step 13


– Slide your opening pick to the top right corner to separate the adhesive. That’s right! Get those little fingers working!
– Leave the pick in the top right corner to prevent the adhesive from resealing. You know, those sneaky adhesives love to seal back up when you’re not paying attention.
Step 14


Keep those fingers away from the rear cameras when using your pick! Pressing on the lenses could lead to some unwanted damage. Let’s keep those cameras safe and sound!
Hey, you’ll spot a little bit of that sticky stuff still hanging out under the flash.
Now, you should be able to see the opening pick peeking through that flash cutout.
– Alright, let’s get this party started! Line up the tip of your trusty opening pick with the flash cutout.
– Now, slide that pick under the top of the back cover. You’ll feel it start to snag on the adhesive, like it’s trying to play hide-and-seek.
– Keep sliding that pick toward the bottom, like you’re a pro, until you feel the adhesive completely separate from the back cover. It’s like saying goodbye to a friend, but you’ll be seeing each other again soon!
Step 15


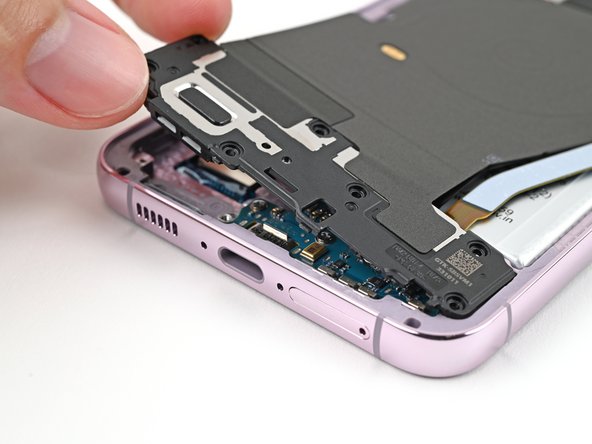
If that cover’s still clinging on, slide an opening pick around the edge until it pops right off. You got this!
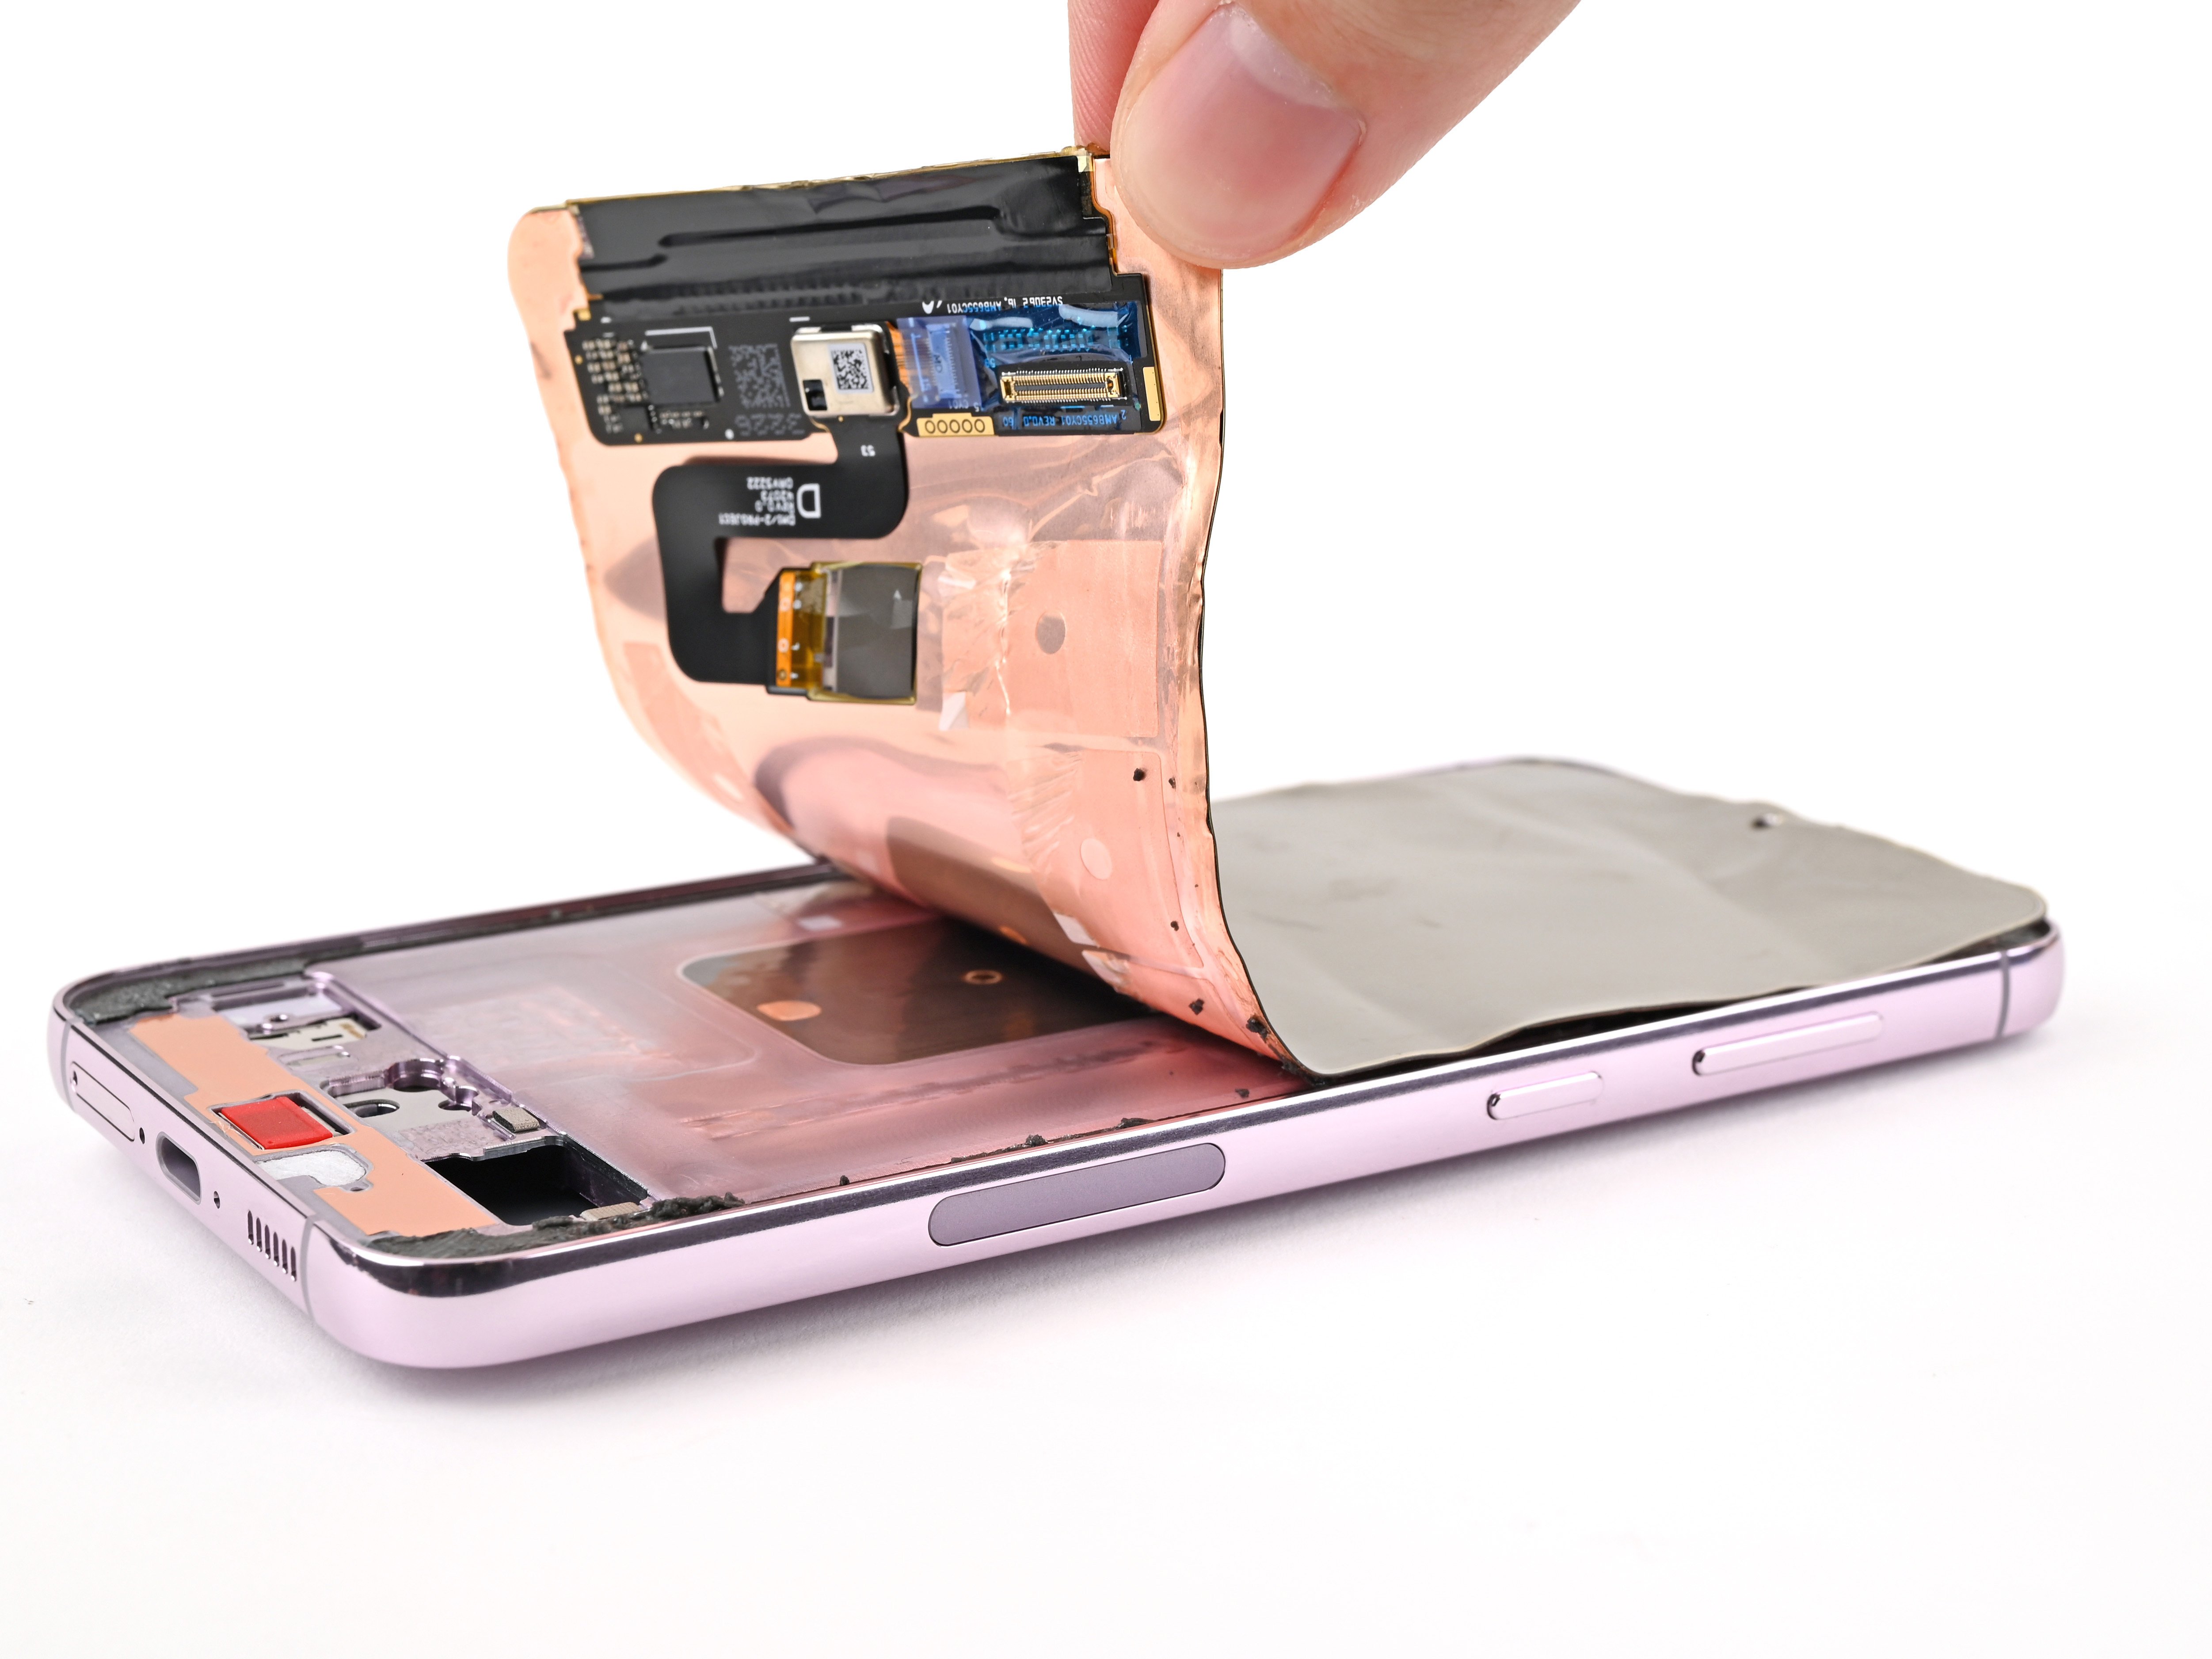
– Let’s get started – carefully remove the back cover to begin the repair process.
– When you’re putting everything back together:
– Now’s a great time to turn on your phone and make sure all the functions are working properly before sealing it up. Just remember to power it back down before moving forward.
– Use a pair of tweezers or your fingers to gently remove any leftover adhesive. If it’s being stubborn, try applying some heat and isopropyl alcohol (90% or greater) to help loosen it up.
– If you’re working with custom-cut adhesives, be sure to follow the guide for the best results.
– And if you’re using double-sided tape, we’ve got a guide for that too. If you need help along the way, you can always schedule a repair with Salvation Repair.
Tools Used


Step 16


– Use the tip of your spudger to gently pry up and disconnect the wireless charging coil press connector from the motherboard.
– To re-attach press connectors, carefully align and press down on one side until it clicks into place, then repeat on the other side. Don’t press down on the middle. If the connector is misaligned, the pins can bend and cause permanent damage. If you need help, you can always schedule a repair
Tools Used

Step 17


– Time to give that NFC antenna connector a little nudge! Using the point of your trusty spudger, gently pry up and disconnect it. Don’t worry, it’s just a quick release. If you need help, you can always schedule a repair.
Tools Used
Step 18


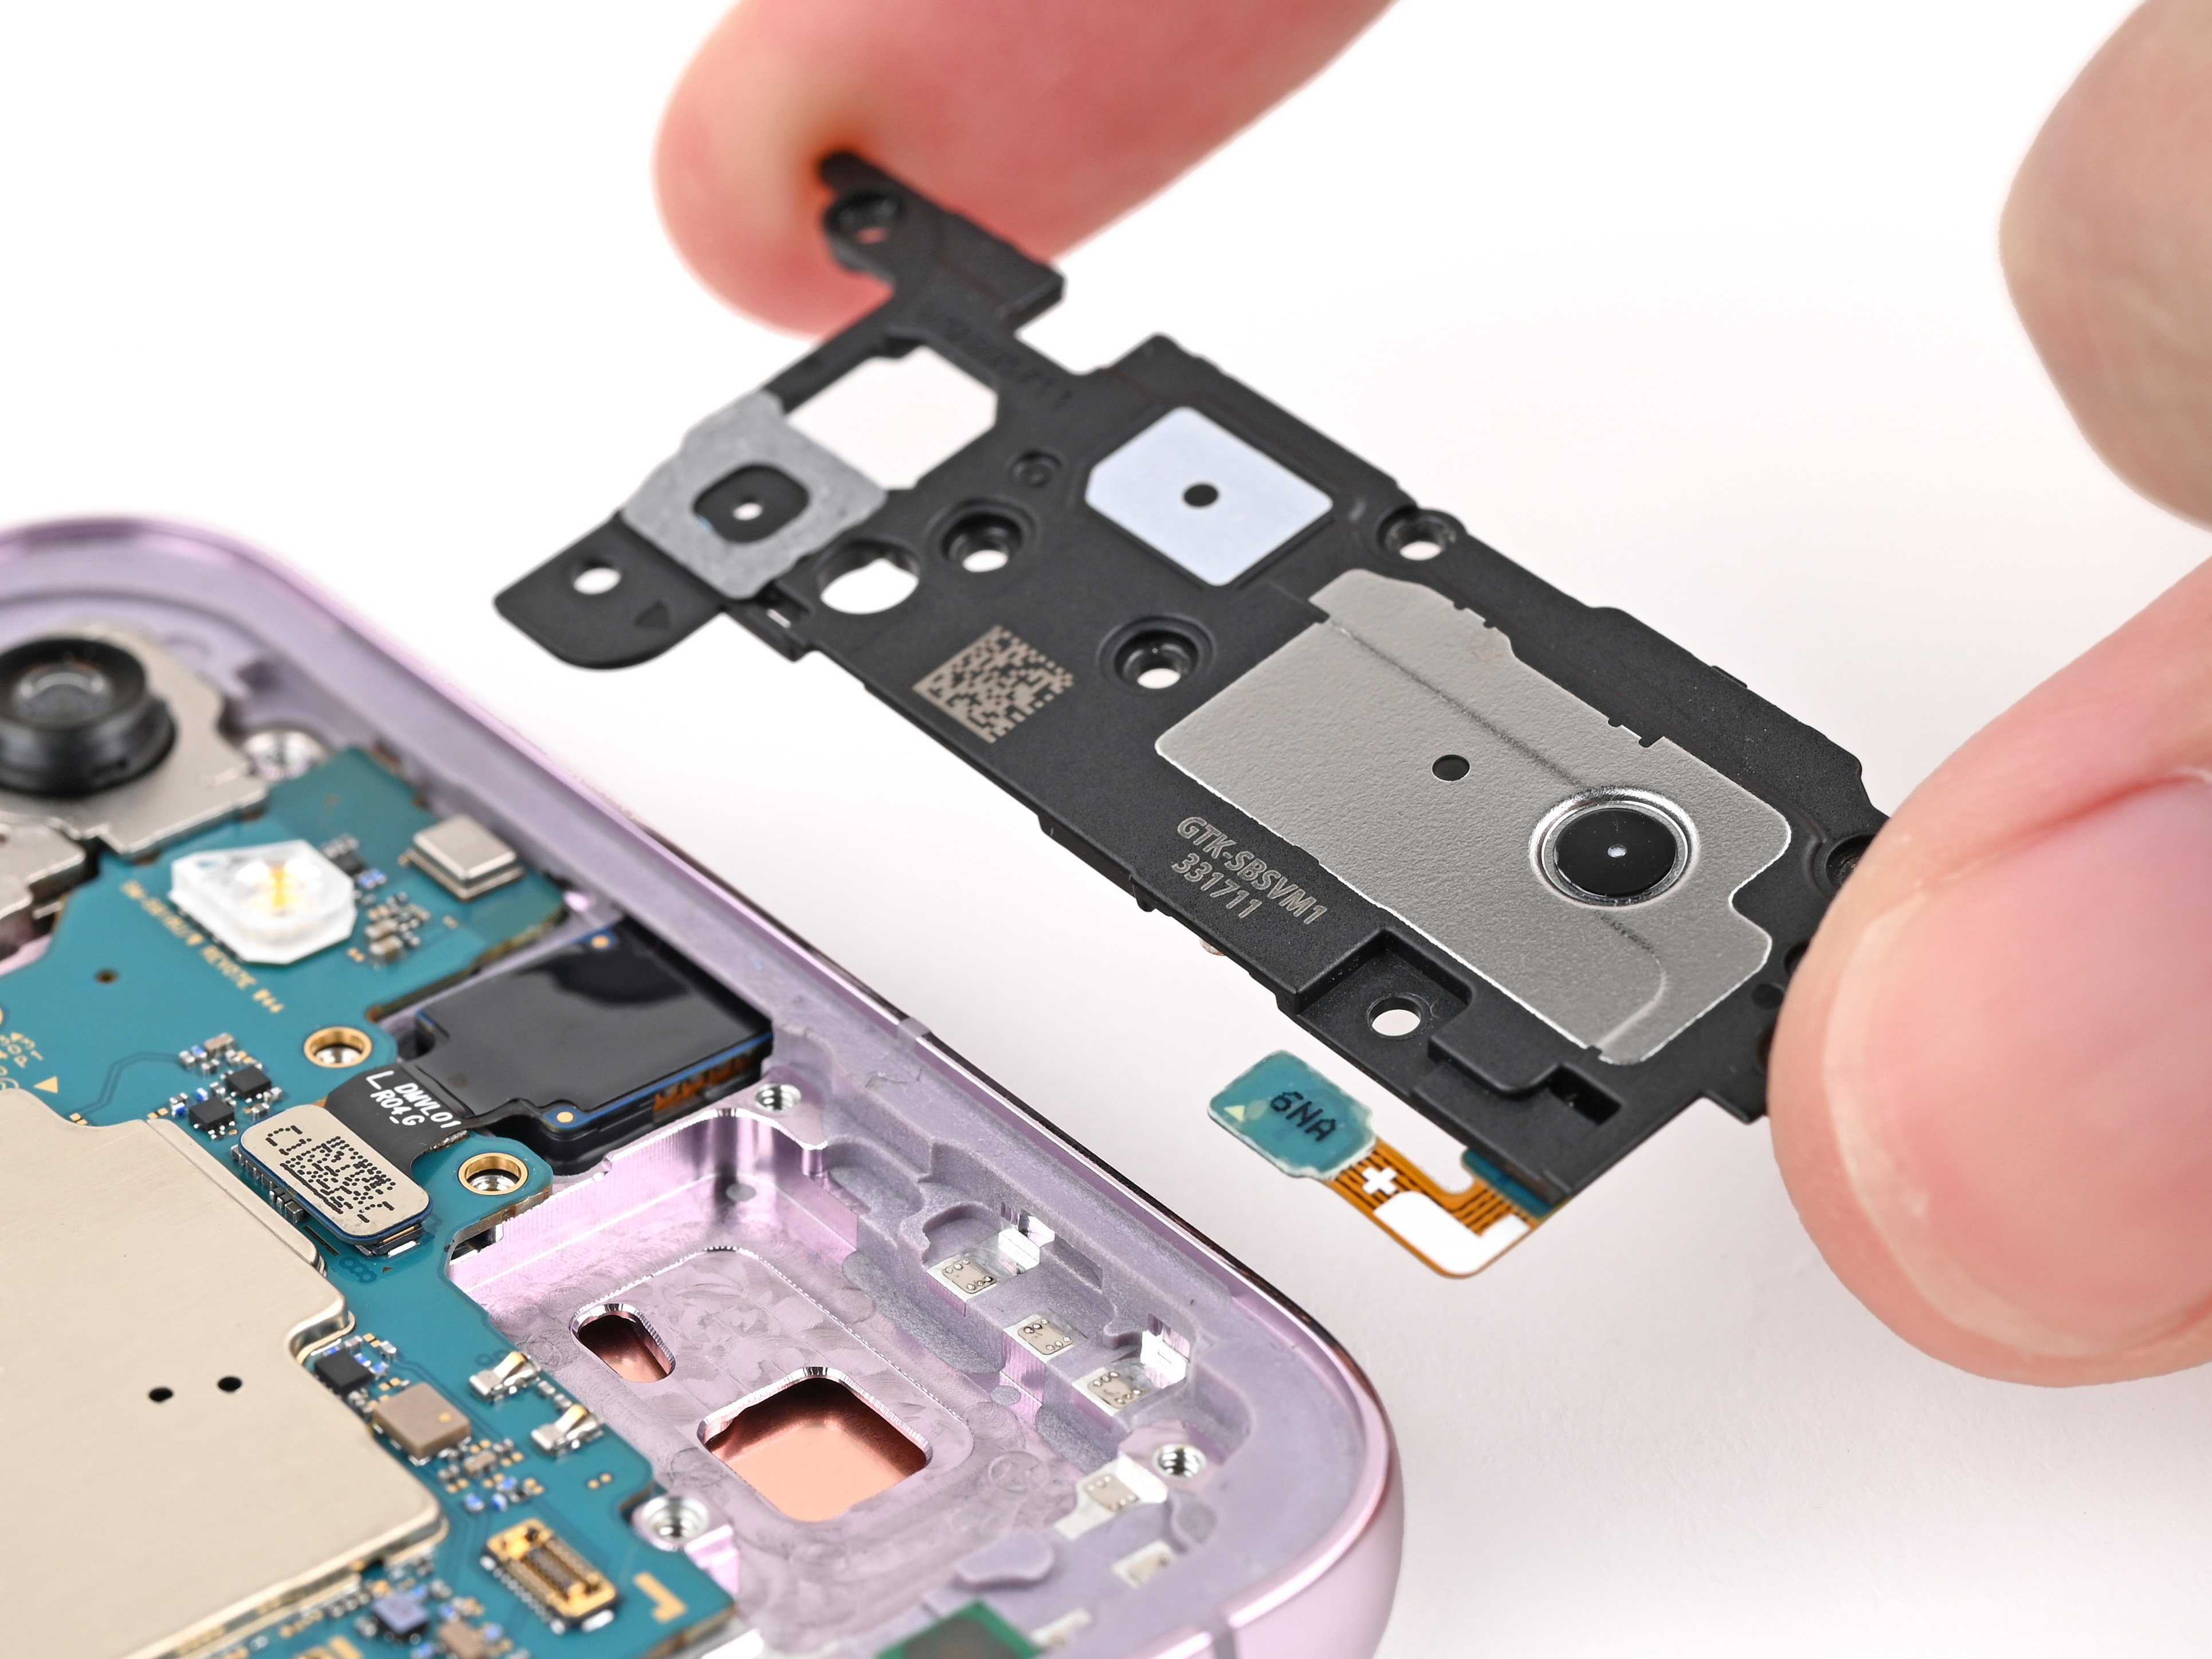
– Grab your trusty Phillips screwdriver and get ready to tackle those thirteen 3.5mm-long screws holding down the wireless charging coil and the loudspeaker. Let’s break it down:
– First up, we’ve got six screws to unscrew for the wireless charging coil.
– And don’t forget about the seven screws keeping the loudspeaker in its happy place!


Step 20

– Give that loudspeaker a little love! Gently lift it away from the frame with your fingers to get it completely separated.
– Now, it’s time to remove the wireless charging coil and loudspeaker from the frame – they’re ready for their close-up!
– When you’re putting things back together, remember to press firmly around the perimeter of the loudspeaker to make sure it’s clipped back into place.


Step 22


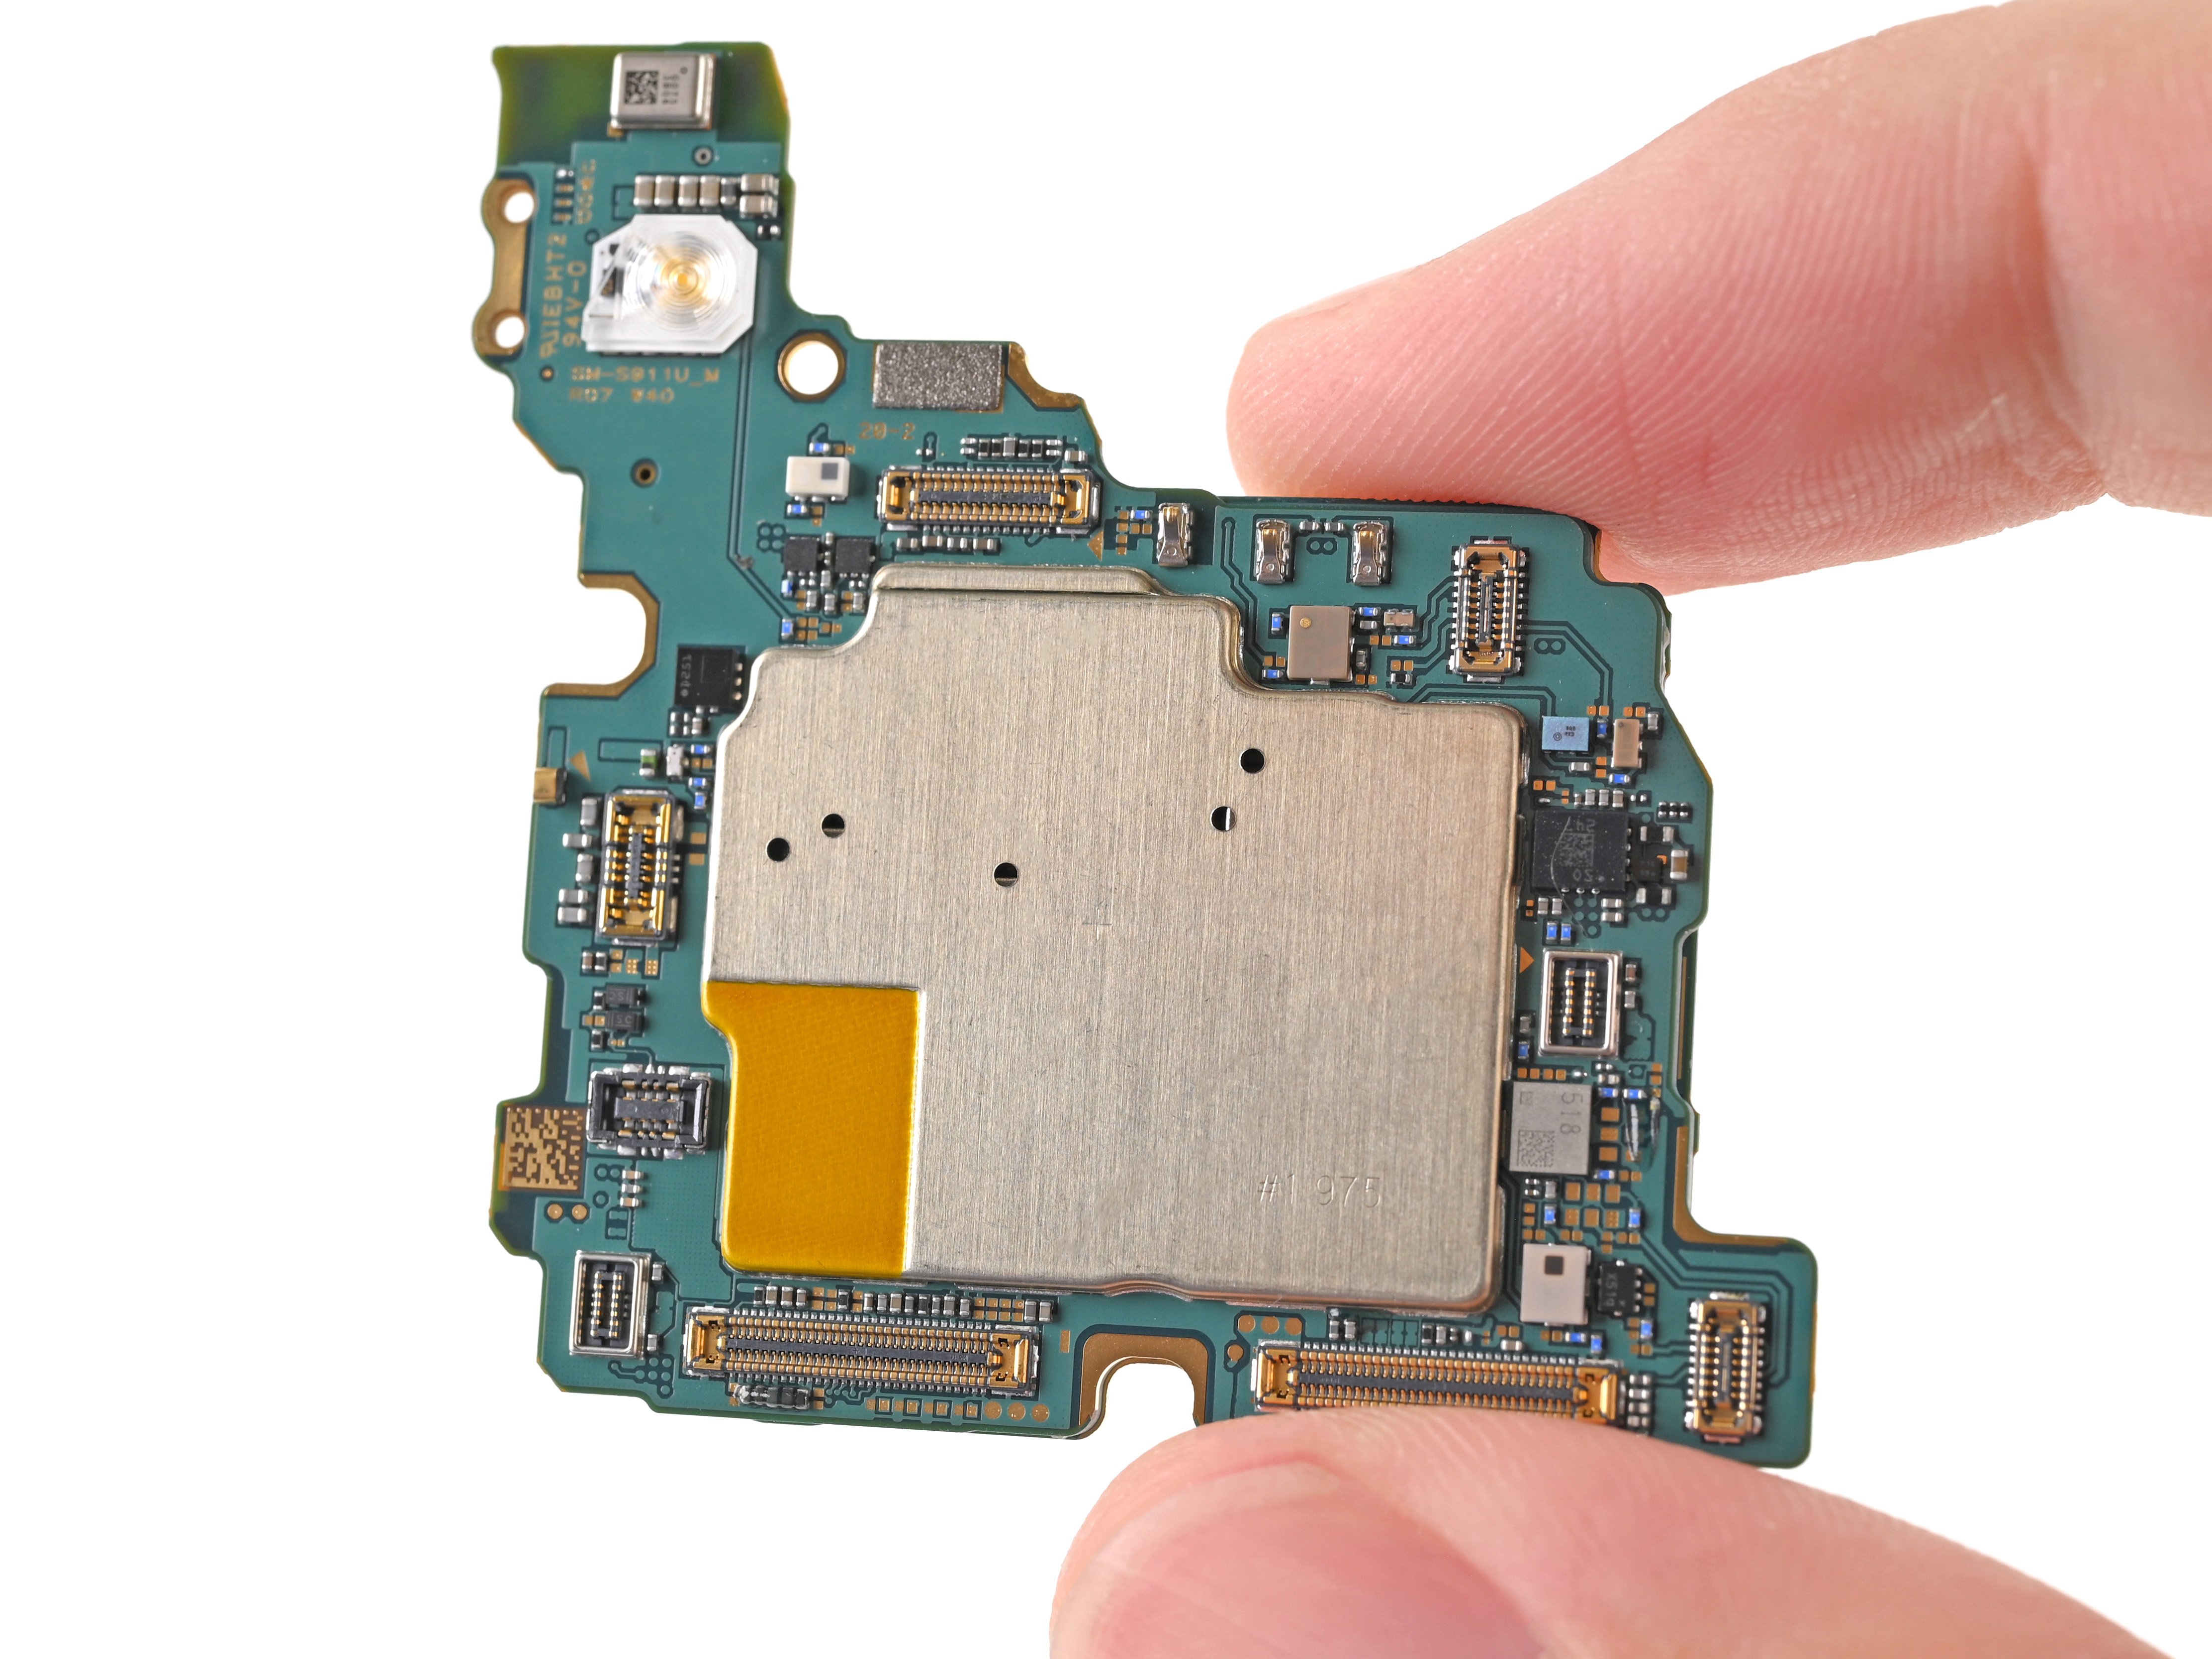
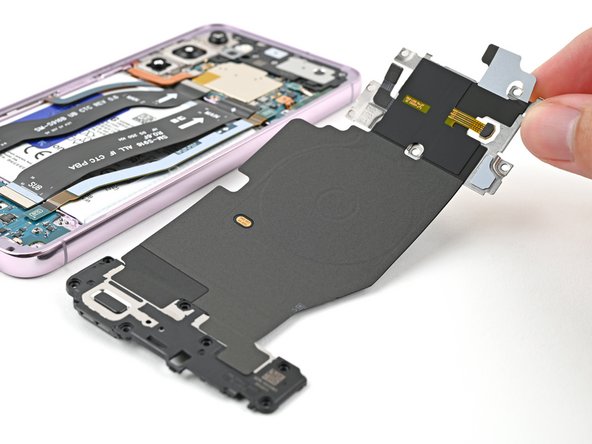
– Grab your trusty spudger and gently lift up while disconnecting the primary and secondary interconnect cable press connectors from the daughterboard. You’ve got this!
Tools Used
Step 23

– Alright, now let’s do the same thing with those primary and secondary interconnect cable connectors on the motherboard. It’s like a little dance for those cables. You’ve got this!
Step 24


– Time to give those interconnect cables the boot! Carefully disconnect them and set them aside.
Step 25

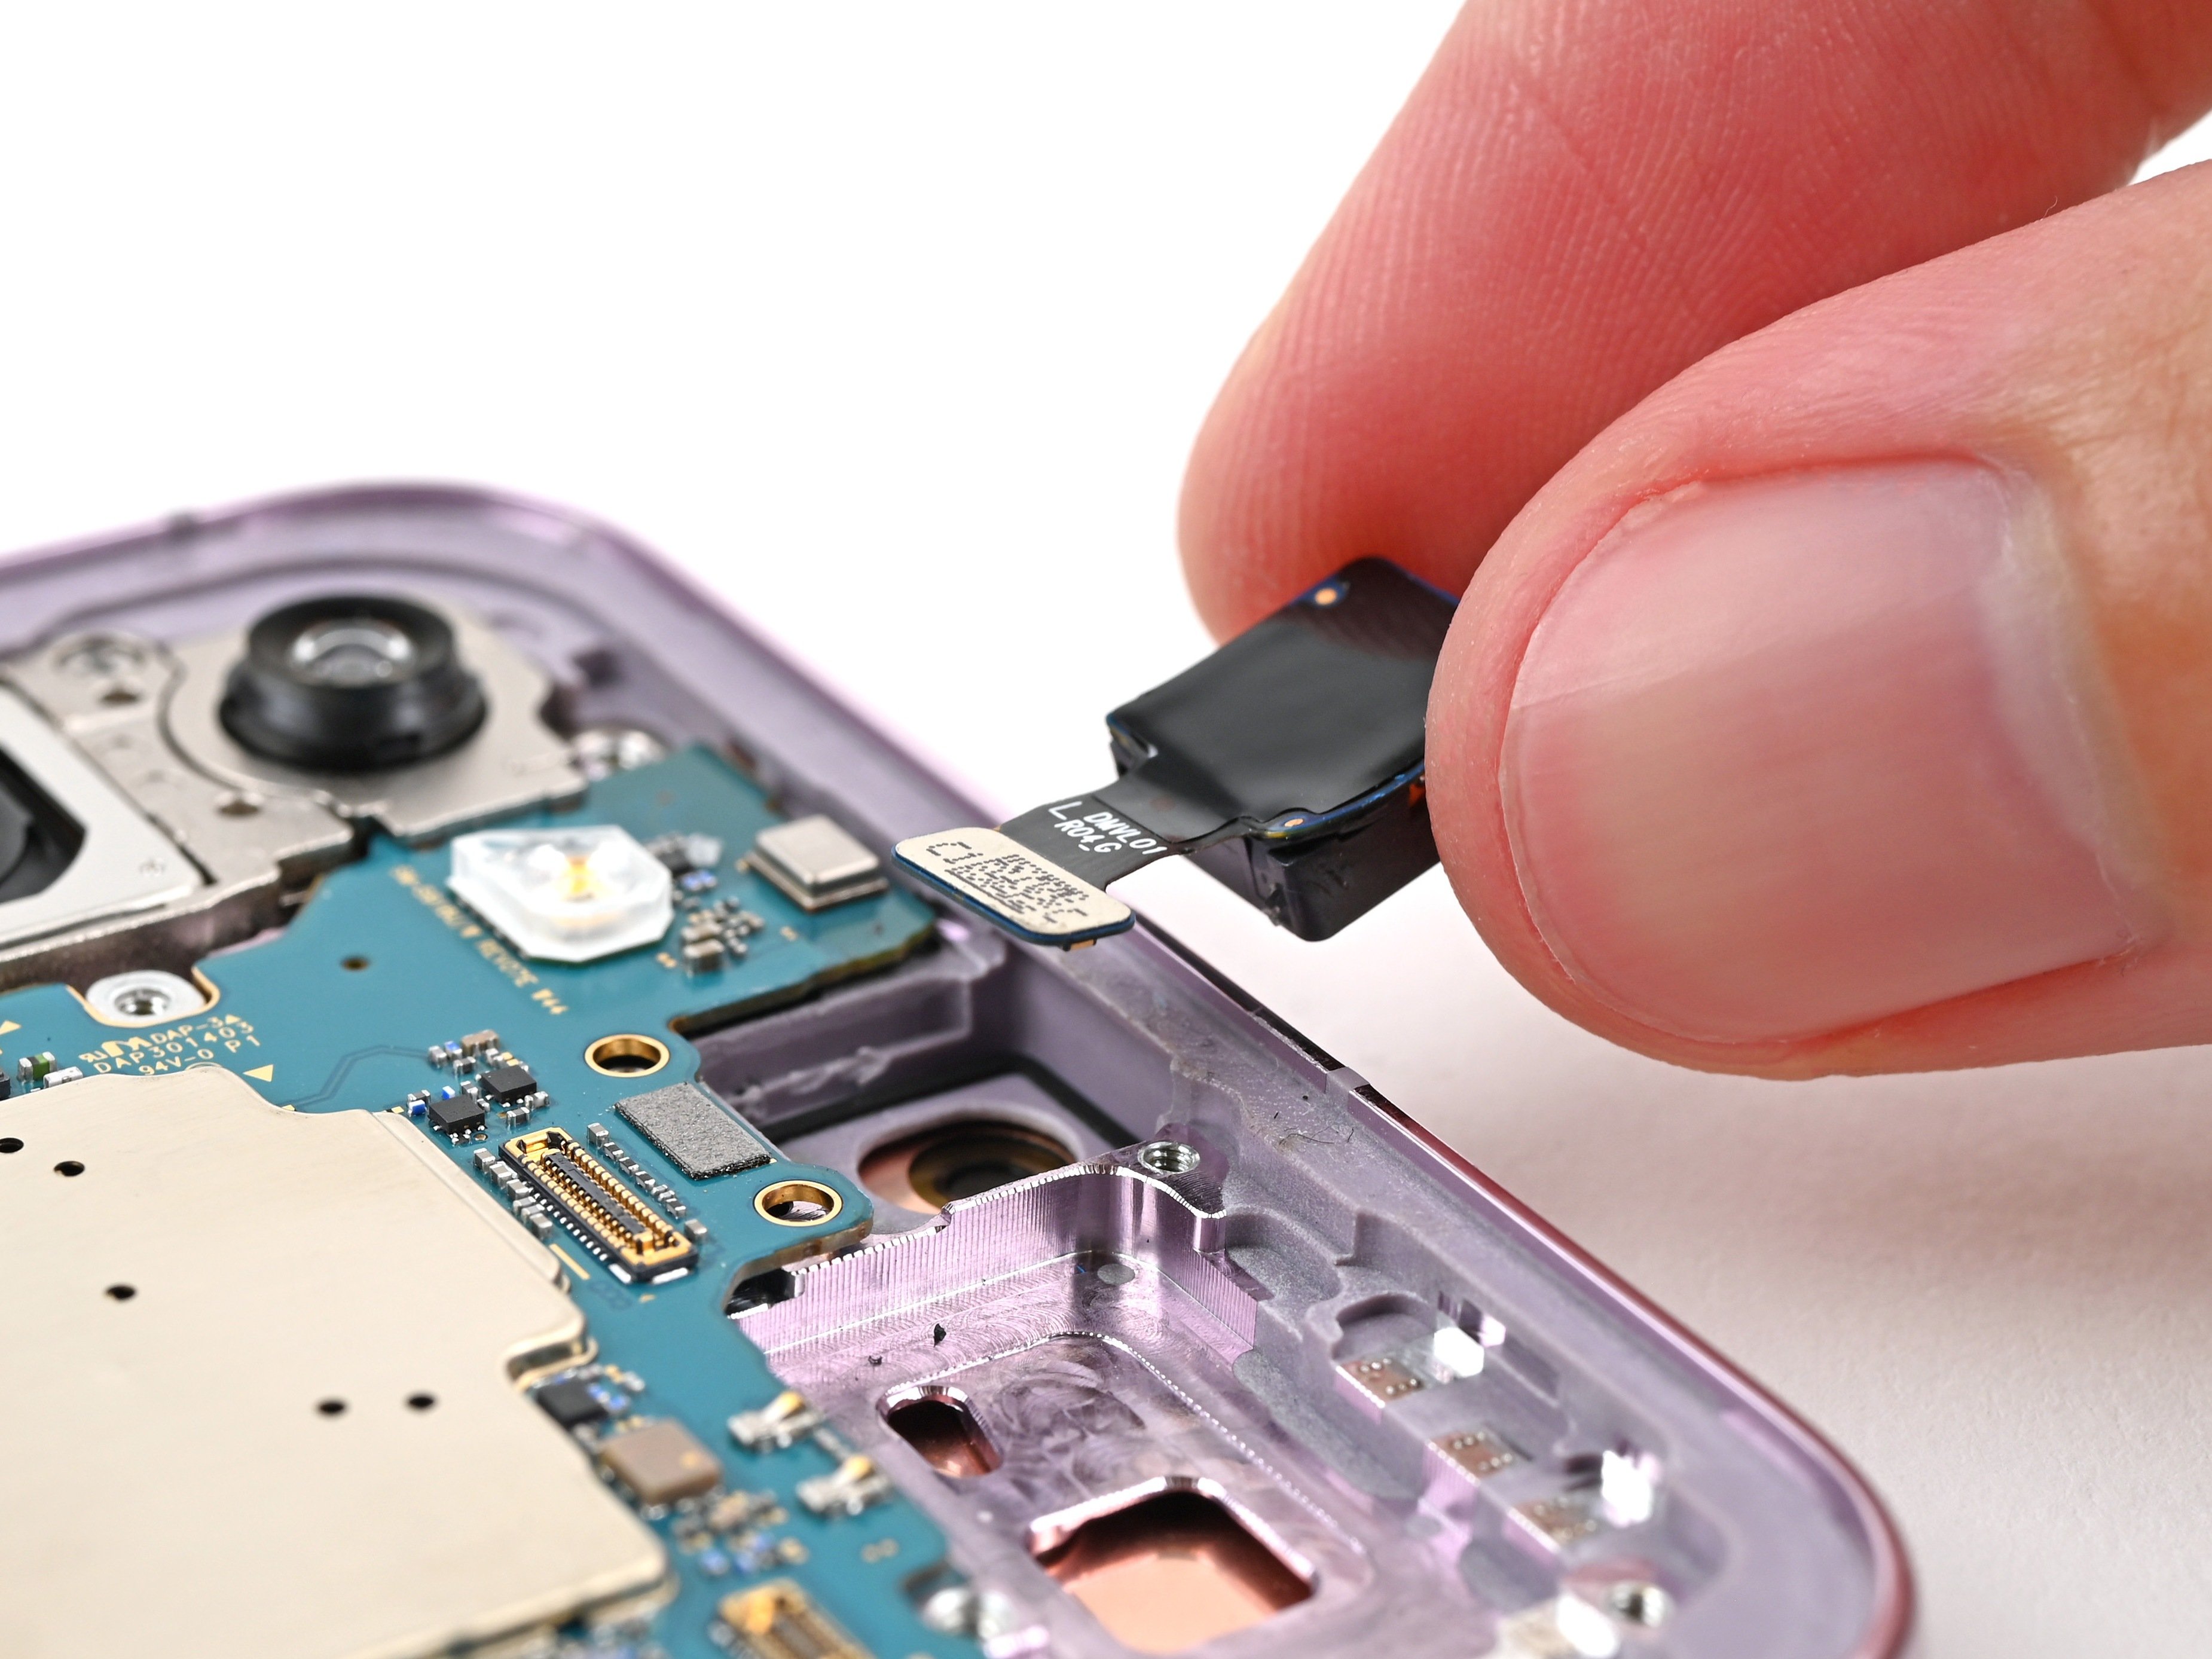
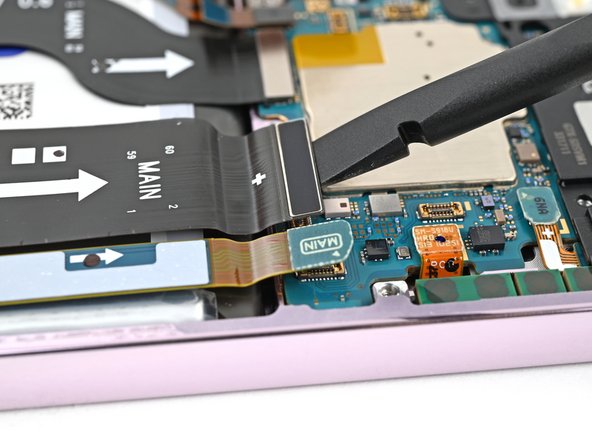
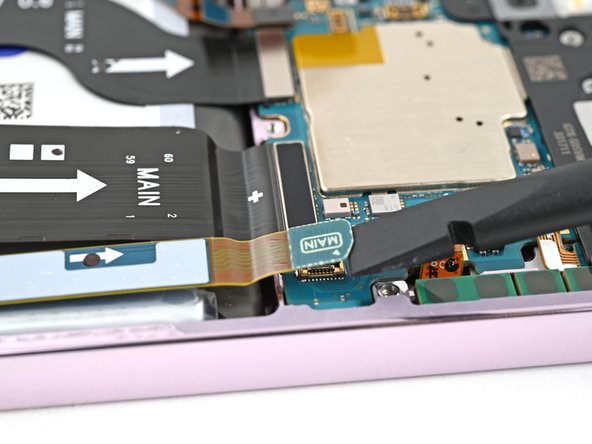
– Time to get those connectors unhooked! Grab your trusty spudger and gently pry up the display and 5G mmWave cable press connectors from the motherboard. Just a little wiggle and they’ll pop right off. If you need help, you can always schedule a repair.
Tools Used
Step 26
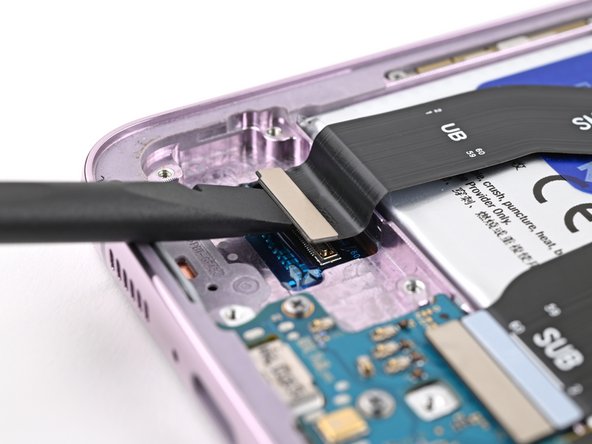
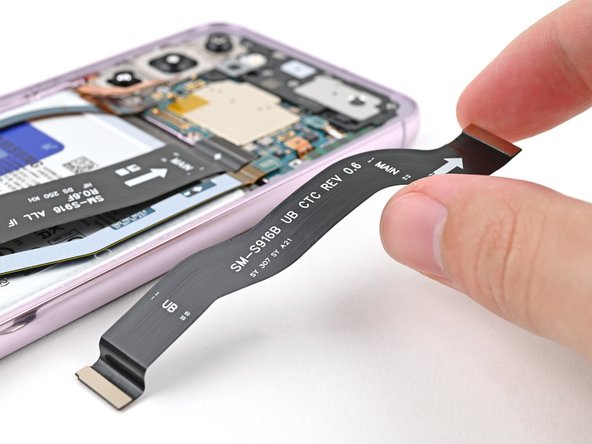

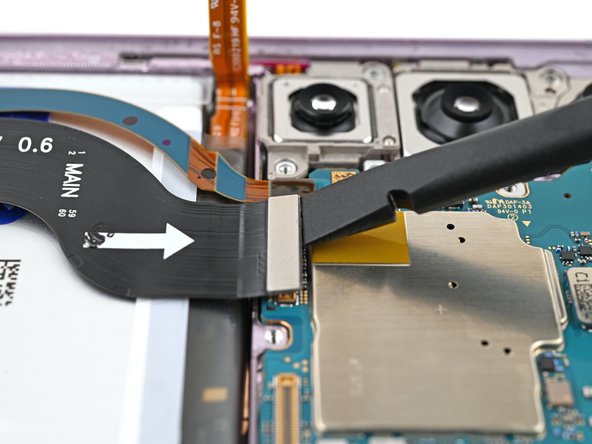
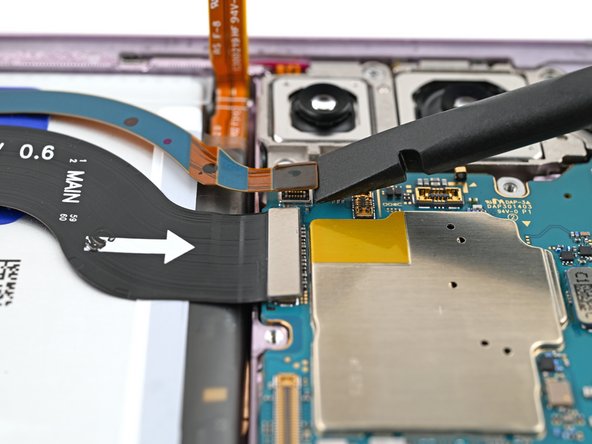
– Time to get started. Use your trusty spudger to carefully pry up and disconnect the display cable press connector from the bottom edge of the phone – it’s like freeing a tiny captive.
– Now, go ahead and remove the display cable. If you need help, you can always schedule a repair
Tools Used
Step 27

– Gently push the battery and antenna cables out of the way from the battery using your finger. If you need help, you can always schedule a repair
Step 28

Handle the battery with care over the next few steps – it’s super important not to bend, crease, or puncture it. A damaged battery can be seriously hazardous, leaking chemicals and even catching fire. If you’re not feeling confident, don’t worry – you can always schedule a repair
Step 29
Make sure those tabs are fully separated, or lifting the battery in the next step will be more challenging than it needs to be!
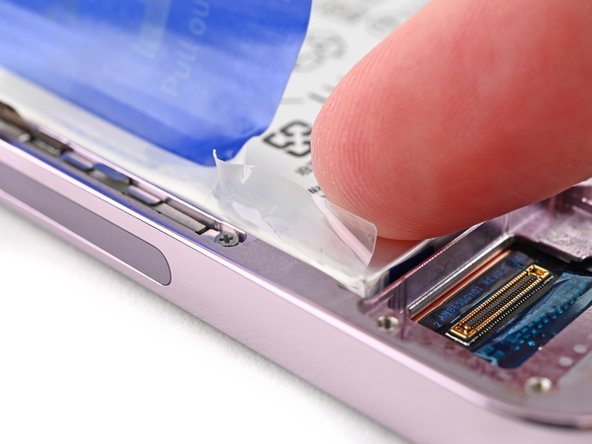
– Let’s get started by carefully peeling off the two small tabs from the top and bottom corners of the battery’s left edge. If you need help, you can always schedule a repair
Step 30

Having a bit of a tussle with those tabs? No worries! Just fold them under the phone and give them a gentle tape hug to the screen.
The adhesive might not want to part ways right away. Just keep a steady pull, and before you know it, the battery will break free from its frame.
Need a little extra help? Try adding 1-2 drops of high-concentration (90% or more) isopropyl alcohol to the left edge of the battery. Give the left side of your phone a lift and let it chill for a minute – the alcohol will help loosen things up!
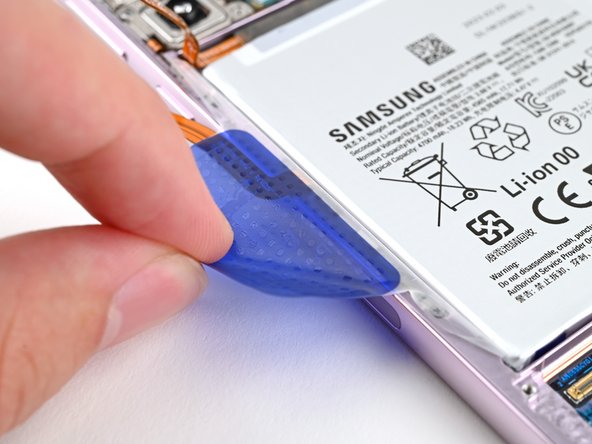
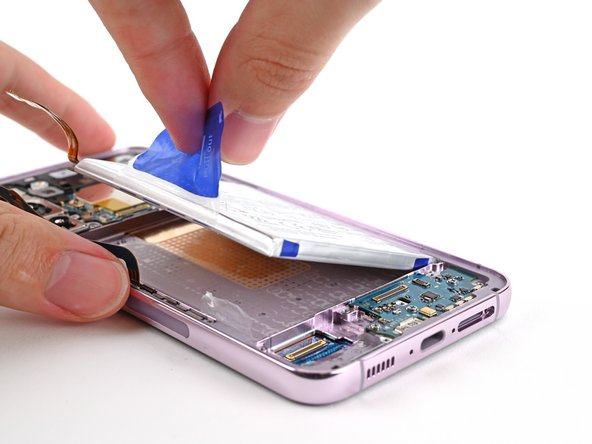
– First, use one hand to gently fold those top and bottom tabs out of the way, so they’re not getting in the way of the battery. Then, get a good grip on the phone’s frame to keep it steady.
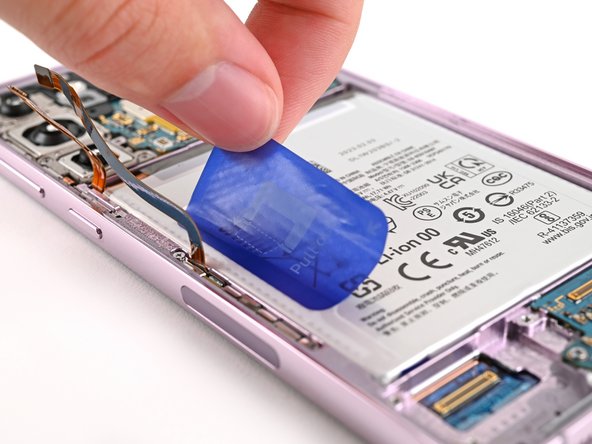
– Now, grab the blue center pull tab with your free hand and give it a firm, steady pull upwards to loosen the battery’s adhesive. You got this!
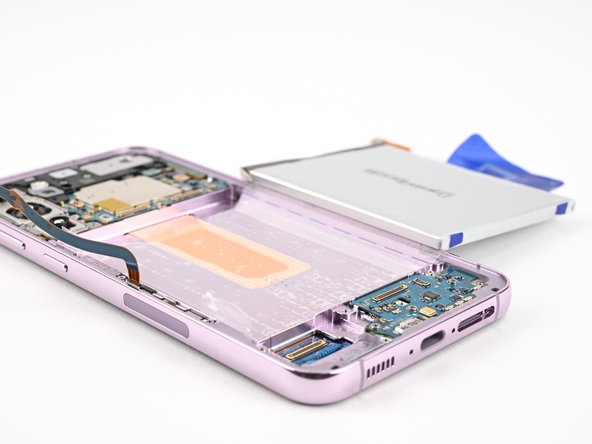
– Next, carefully place the battery over the right edge of your phone, making sure it’s out of the way. If you need help, you can always schedule a repair
Step 31
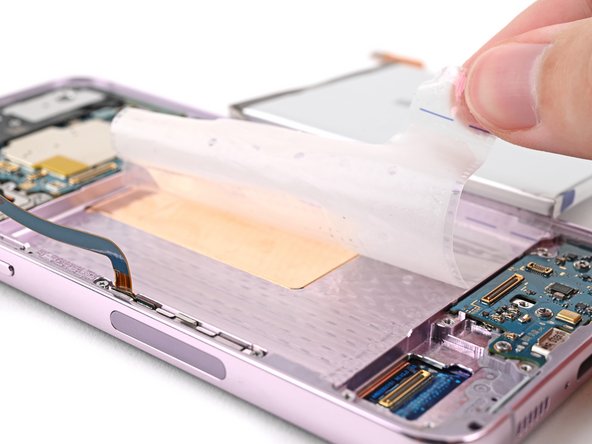
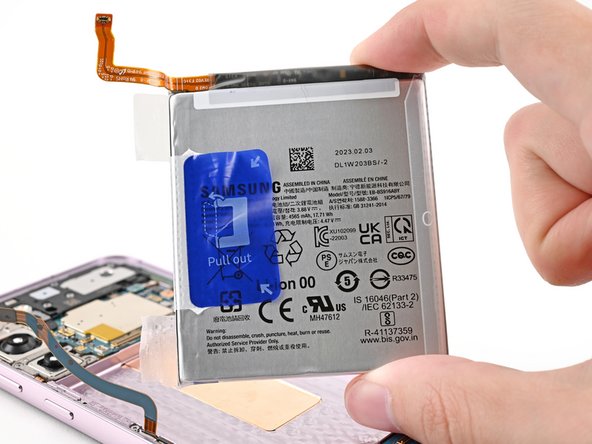

– Time to peel that plastic film off your battery – think of it like giving it a fresh start!
– Pop that battery out, along with its protective film.
– If you used some isopropyl alcohol, give it a ten-minute timeout to dry out completely before putting in your new battery. No worries, it’s just a quick break for your device!