DIY Samsung Galaxy S23 Ultra Battery Replacement Guide
Duration: 45 minutes
Steps: 43 Steps
Hey there! If you’re looking to swap out the whole screen and battery assembly (that’s the frame, screen, and battery all in one, you know?), just follow along! This guide will make it easy.
Replace that tired old battery in your Samsung Galaxy S23 Ultra! If you need to swap out the whole screen and battery assembly, check out this guide. Your phone’s lithium-ion battery has a limited lifespan. If it’s constantly running out of juice, it’s probably time for a battery change. Note: After the repair, keeping your device water-resistant depends on how well you reapply the adhesive, but your device will lose its IP rating. If you need help, you can always schedule a repair.
Step 1

– Disconnect all cords from your phone and power it down completely. Time for a little break for your device!
Step 2

You can also use a hair dryer, heat gun, or hot plate to warm things up a bit. Just keep an eye on the temperature—our phones and their internal batteries are a bit diva when it comes to heat!
– Warm up your iOpener and give the right edge of the back cover a little love for two minutes.


Step 3


The adhesive really hangs tight in the bottom right and top left corners, so keep that in mind while you’re working on your device!
– While you’re letting that adhesive take its time to get cozy, here’s something to keep in mind:
– There’s a layer of adhesive holding the back cover snugly around the edge of the frame.
Step 4


Having trouble getting that gap started? Try applying a bit more heat to loosen up the adhesive. Just be sure to follow the iOpener instructions so you don’t overdo it. If you need help, you can always schedule a repair
– First, attach a suction handle to the back cover, positioning it as close to the center of the right edge as you can.
– Now, pull up on the suction handle with a firm, steady force to create a gap between the cover and the frame – you’ve got this!
– Next, take an opening pick and carefully insert it into the gap you just created. If you need help, you can always schedule a repair
Tools Used

Step 5


– Gently wiggle the pick along the right edge to loosen the adhesive – you’re making great progress!
– Leave the pick in place near the bottom right corner to keep the adhesive from re-sticking. If you need help, you can always schedule a repair
Step 6

– Let’s get this repair started! Apply some heat to the bottom edge of the back cover using a heated iOpener for about two minutes. If you need help, you can always schedule a repair
Tools Used
Step 7


Be gentle when working around the corners – the glass can be super fragile. Take your time and work carefully to avoid any cracks or damage. If you need help, you can always schedule a repair
– Now it’s time to add a second opening pick – insert it at the bottom right corner and get ready to make some progress.
– Gently angle the pick upward to match the curved edge, then rotate it around the bottom right corner. If you need help, you can always schedule a repair
Step 8


– Alright, slide your opening pick to the bottom left corner, like you’re giving the phone a little nudge to wake it up.
– Leave the pick there to keep the glue from sticking back together, like a little friend holding the door open for you.
Step 9

– Warm up a heated iOpener and cozy it up to the left edge of the back cover for a chill two minutes.
Tools Used
Step 10


Be gentle when working around the corners – the glass can be super fragile. Take your time and work slowly to avoid any cracks or damage. If you need help, you can always schedule a repair
– Now it’s time to add a third opening pick – slide it into the bottom left corner and get ready to make some progress.
– Gently angle the pick upwards to match the curve of the edge, then rotate it around the bottom left corner. You’re doing great, and if you need help, you can always schedule a repair
Step 11


Be cautious when inserting the pick up tool – avoid going deeper than 5 mm to prevent possible damage to sensitive cables! If you need help, you can always schedule a repair
– Let’s get this party started! Slide your opening pick along the left edge to separate the adhesive. Stop when you reach the power button. It’s like a dance move, but with tools!
– Keep that pick in place on the left edge so the adhesive doesn’t stick back together. Don’t worry, we’re almost there!
Step 12

– Let’s get started by heating up an iOpener and applying it to the top edge of the back cover for about two minutes. This will help loosen things up and make the repair process smoother. If you need help, you can always schedule a repair
Tools Used
Step 13


Hey, watch out for those corners! The glass is delicate, so take your time and be gentle. You got this! If you need help, you can always schedule a repair.
– Slide a handy opening pick into the little gap at the top right edge.
– Tilt that pick up to align with the curve and gently wiggle it around the top right corner.
Step 14


Be careful to only insert the pick up to 4 mm, or you might accidentally poke the cameras or sensors. Keep it light and easy, and you’ll be just fine!
Step 15


Keep that pick to a max of 4 mm—going deeper might lead to a camera catastrophe!
– Let’s get this party started! Slide an opening pick into the gap at the top left edge of your device.
– Now, give that pick a little love! Angle it upward to match the curved edge and rotate it around the top left corner. You got this!
Step 16


Don’t be a camera-crasher! Keep the pick-up insertion to 4mm and under to keep those lenses safe and sound.
– Now, gently slide the pick towards the bottom camera. Keep going until you’ve separated the remaining adhesive, but be careful not to go too far – stop before you reach the power button. If you need help, you can always schedule a repair
Step 17


If that cover is still stuck, don’t worry, just gently slide an opening pick around the edges until it pops right off.
This is a good time to power up your device and make sure everything’s working like it should before you seal it back up. Remember to power it down completely before you continue.
– First things first, let’s get that back cover off! Give it a gentle tug and remove it.
– As you start putting everything back together:
– Use tweezers or your fingers to pick away any stubborn adhesive chunks. If they’re being particularly clingy, a little heat can work wonders!
– Thinking of using custom-cut adhesives? Make sure to check this guide for all the juicy details.
– If double-sided tape is your adhesive of choice, this guide will steer you right.
Step 18


– Grab your trusty spudger and use the pointed end to gently pry up and disconnect the NFC antenna press connector from the motherboard. You’ve got this!
– Now, let’s do the same for the wireless charging coil press connector. Easy peasy!
– When it’s time to reattach those press connectors, take your time. Carefully align one side and press down until you hear that satisfying click. Then, do the same for the other side. Remember, don’t press down in the middle! If things aren’t lined up just right, the pins can bend, and we definitely don’t want that kind of drama.
Tools Used

Step 19


The wireless charging coil is stuck to the battery with a little bit of adhesive, so be gentle when handling it. If you need help, you can always schedule a repair
– Time to get this repair started – gently insert an opening pick between the right edge of the wireless charging coil and the battery. You’re making great progress!
– Now, carefully slide the pick along the right edge to loosen the adhesive. If you need help, you can always schedule a repair
Step 20


– Gently slide an opening pick between the top edge of the wireless charging coil and the frame. It’s like a little dance to get things started!
– Now, glide that pick toward the right edge to break free of the remaining adhesive. You’re almost there!
Step 21

– Grab your trusty Phillips screwdriver and let’s kick things off! Remove those five 3.5 mm-long screws that are holding the NFC antenna and charging coil in place. You’ve got this!
Step 22

– Grab your trusty Phillips screwdriver and tackle those six 3.5 mm screws holding the loudspeaker in place. You’ve got this!
Step 23


– Gently slide the pointed end of your spudger into the upper right corner of the loudspeaker, snugly fitting it between there and the frame.
– Give a little lift to unclip the loudspeaker from the frame—you’re almost there!
– When putting everything back together, go around the edges of the loudspeaker and press down to securely clip it back to the frame. You’re doing great!
Tools Used
Step 24


– Alright, let’s get those components out of the frame! Carefully remove the NFC, wireless charging coil, and loudspeaker. You got this!
Step 25


– Time to get started. Use your trusty spudger to carefully pry up and disconnect the battery press connector. If you need help, you can always schedule a repair
Tools Used
Step 26


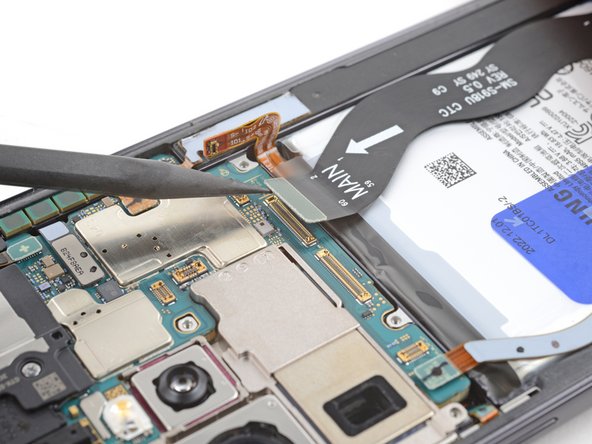
– Grab your trusty spudger and gently pry up to disconnect the secondary interconnect cable from the motherboard. You’ve got this!
– Now, let’s do the same for the primary interconnect cable. Easy peasy!
Tools Used
Step 27


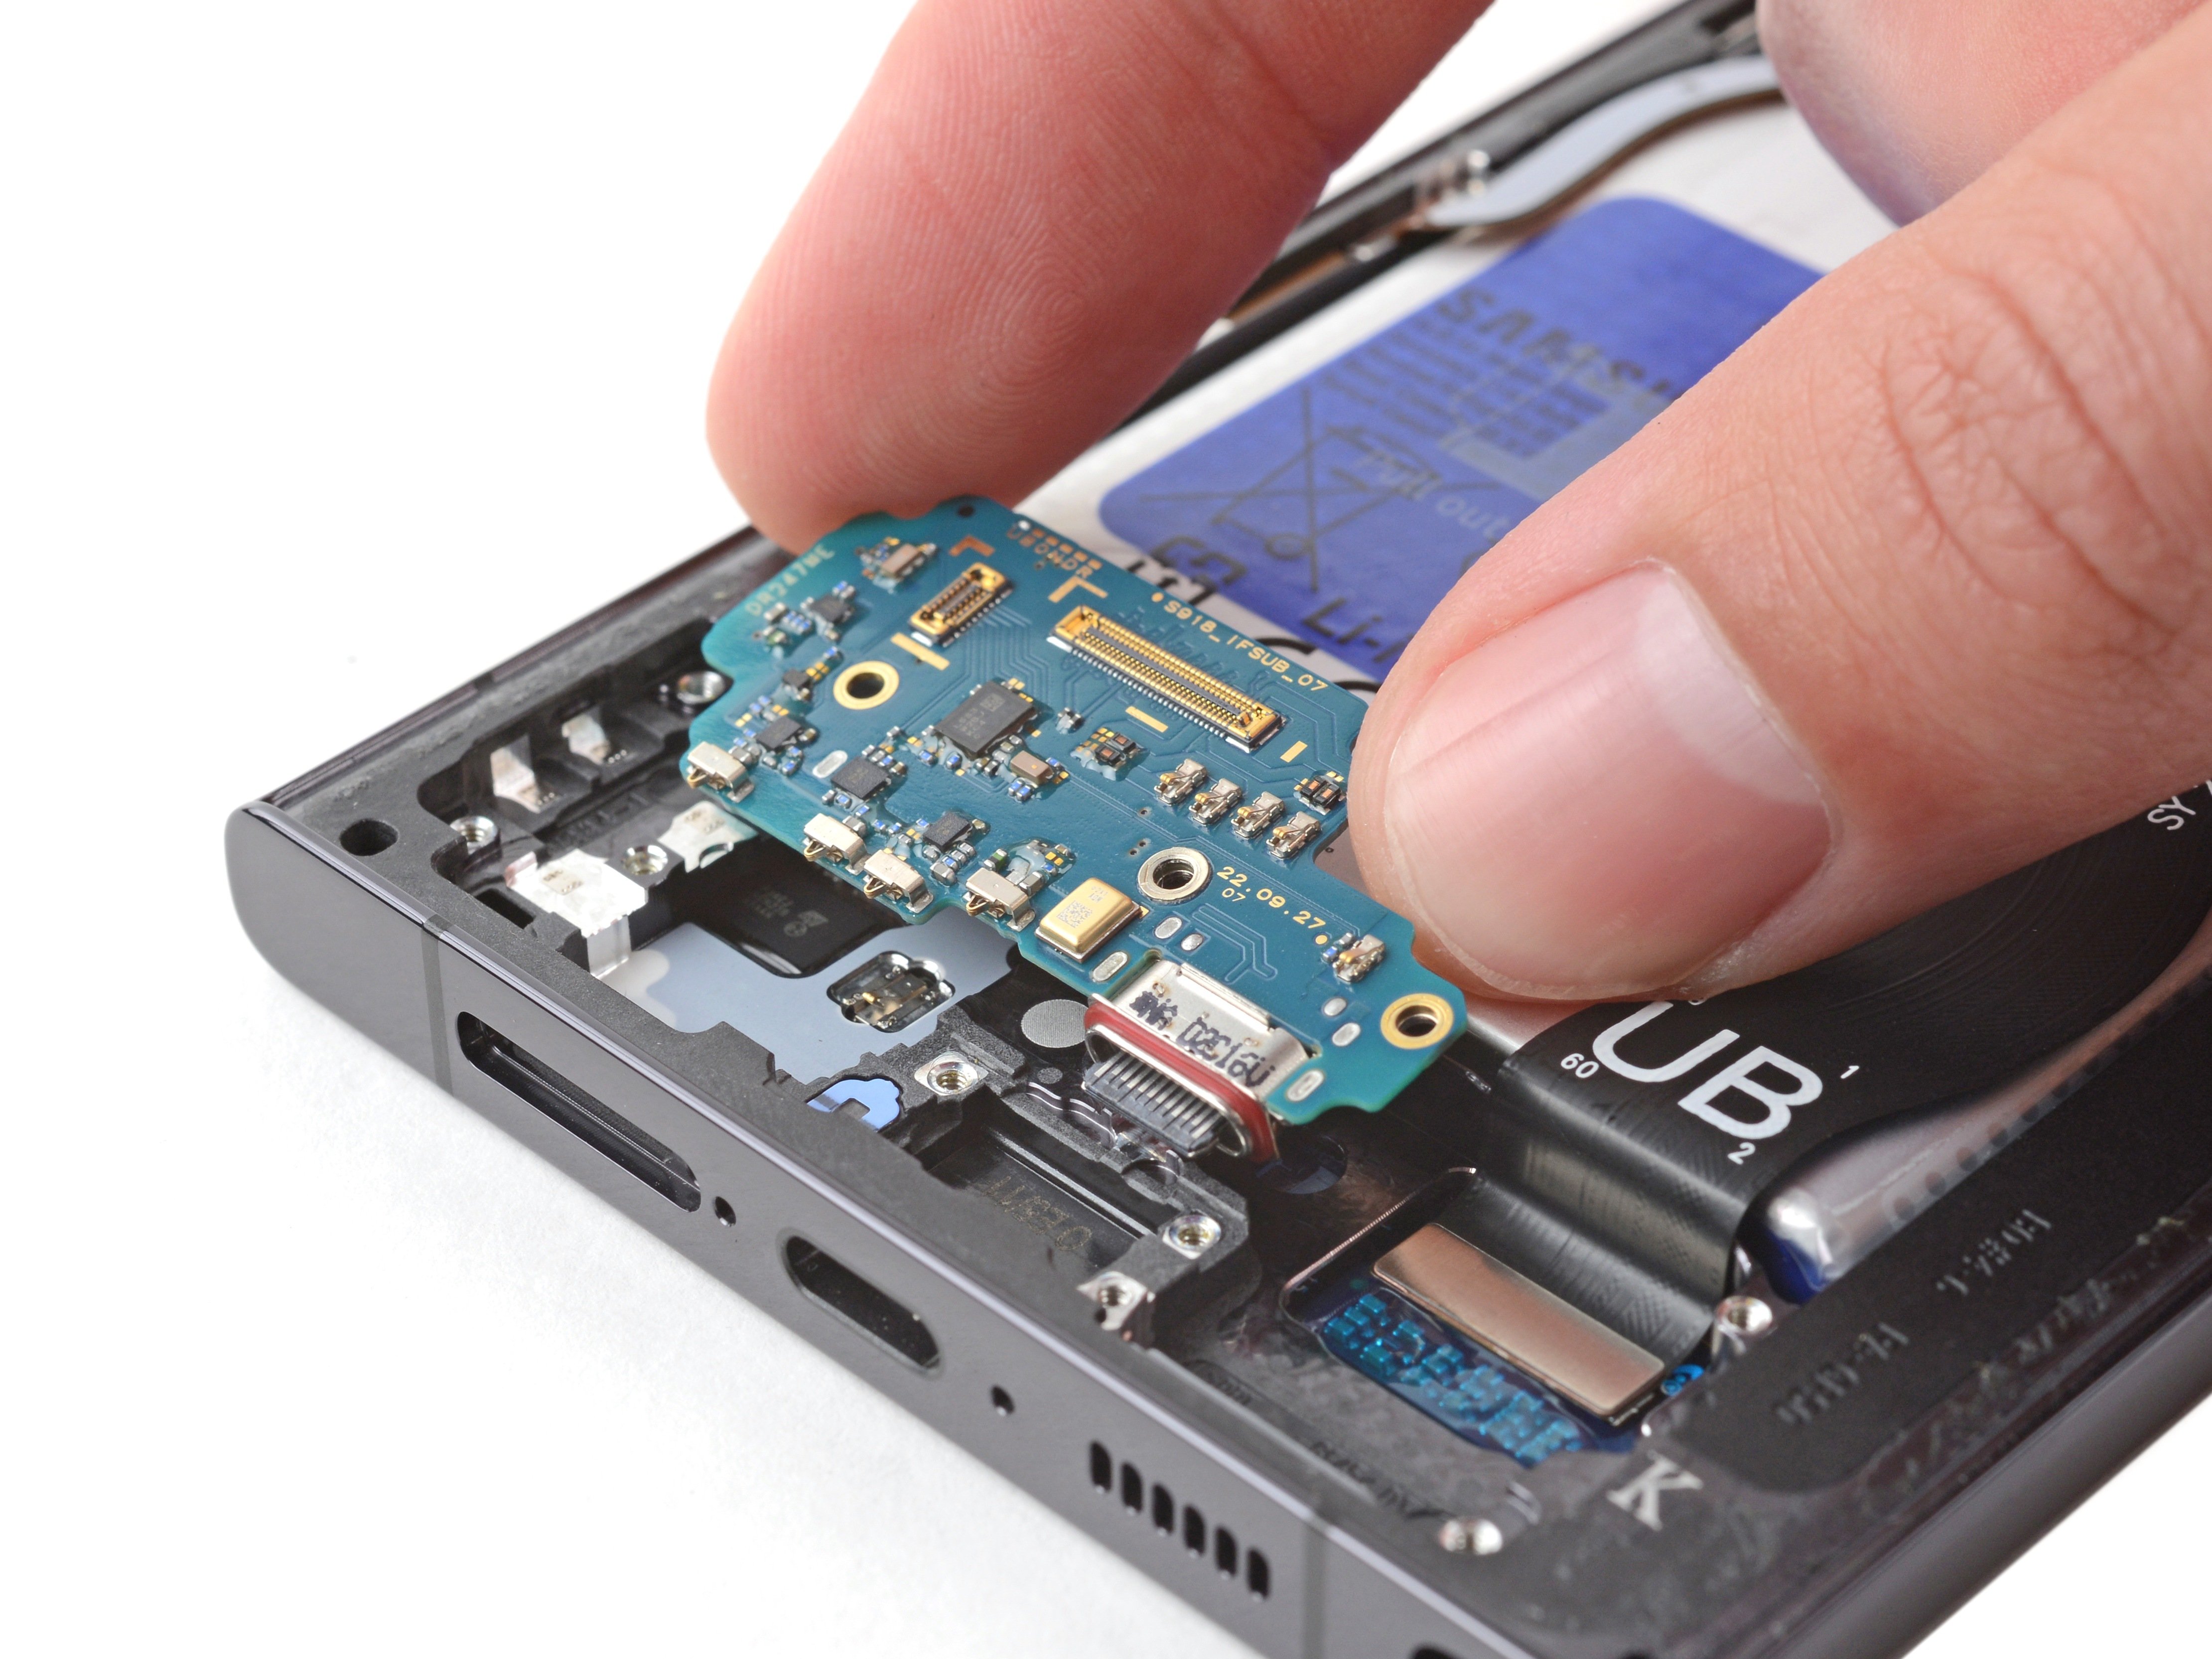
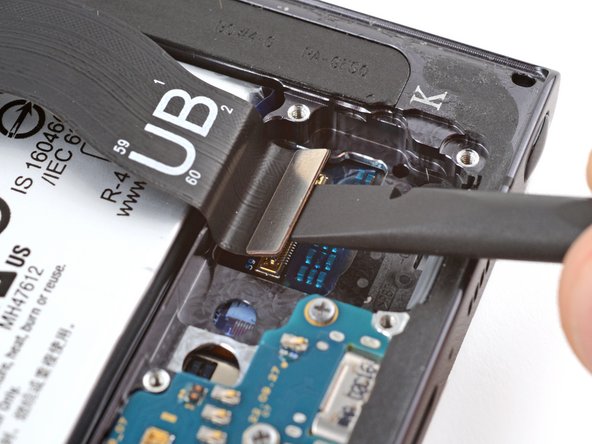
– Time to get started – use your trusty spudger to carefully pry up and disconnect the secondary interconnect cable press connector from the charging board. Take your time and work gently.
– Now, repeat the same process for the primary interconnect cable. If you need help, you can always schedule a repair
Tools Used
Step 28


– Let’s get started by carefully removing the interconnect cables from the frame. Take your time and gently pull them out.
Step 29

– Gently pop up the screen connector from the motherboard using the tip of your spudger. If you need help, you can always schedule a repair
Tools Used
Step 30

– Now it’s time to get a little tricky – use the flat end of your trusty spudger to carefully pry up and disconnect the screen press connector, which you’ll find hanging out near the bottom of the phone. If you need help, you can always schedule a repair
Tools Used


Step 33

Whoa there, cowboy! Don’t go nuttin’ up the battery or you’ll have a real messy situation on your hands – worst case, it Could escalate to a fiery catastrophe. Keep your wits about you and take it easy now.
Step 34

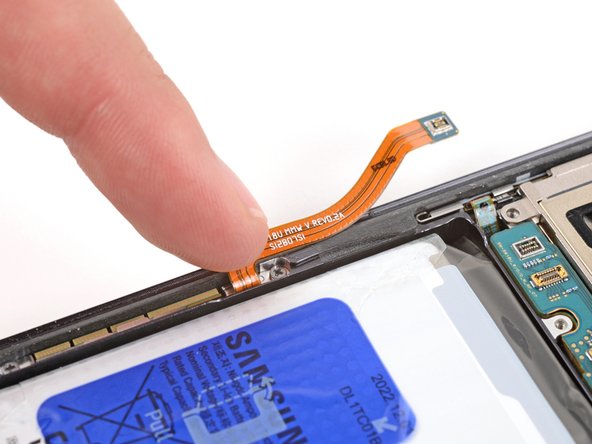
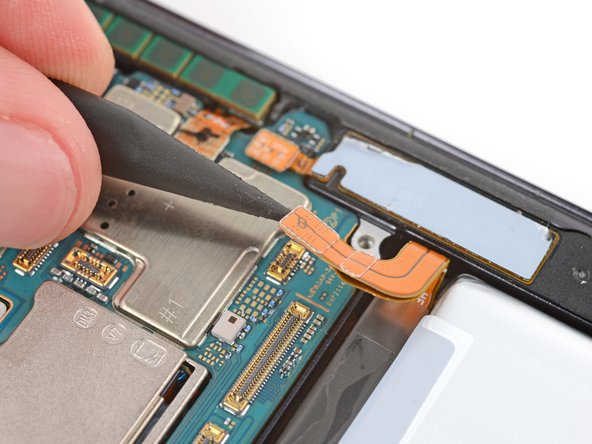
Hey there! Make sure these tabs are fully separated. You wouldn’t want to get stuck in the next step, right? 😉
– Now it’s time to get a little handy – use your fingers to gently pry the two small tabs loose from the top and bottom corners of the battery’s left edge. If you need help, you can always schedule a repair
Step 35


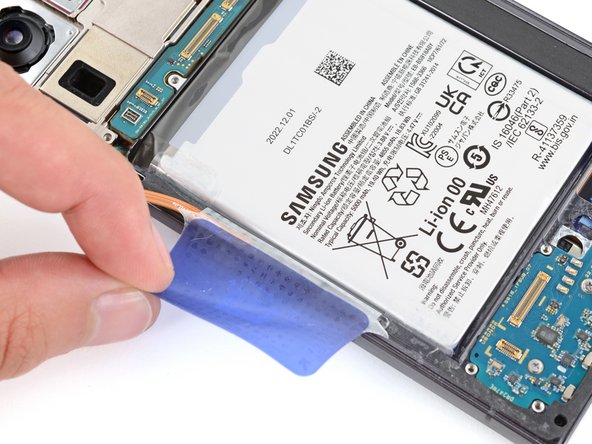
Having some trouble with those tabs? No worries, just fold them under your phone and secure them with some tape to the screen.
The adhesive might be a bit stubborn, so keep gently pulling with consistent force until your battery comes free from the frame.
Stuck? Apply 1-2 drops of high-concentration (>90%) isopropyl alcohol to the left edge of the battery. Then, lift the left edge of your phone and give the alcohol about a minute to work its magic on the adhesive. If you need help, you can always schedule a repair
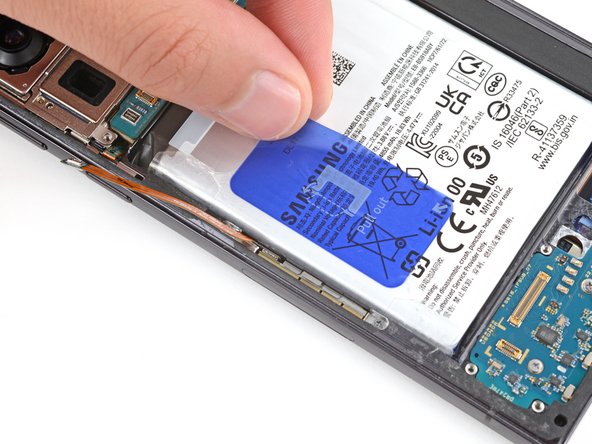
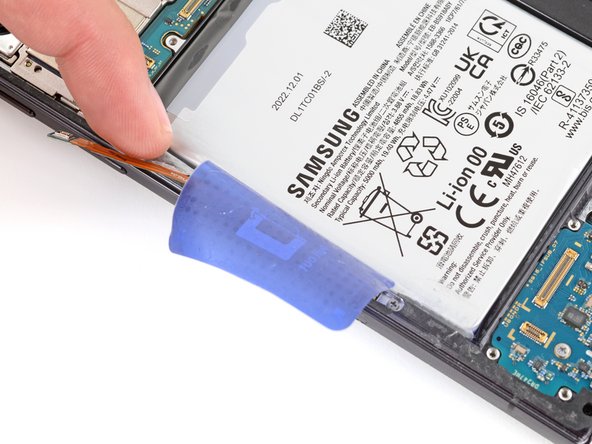
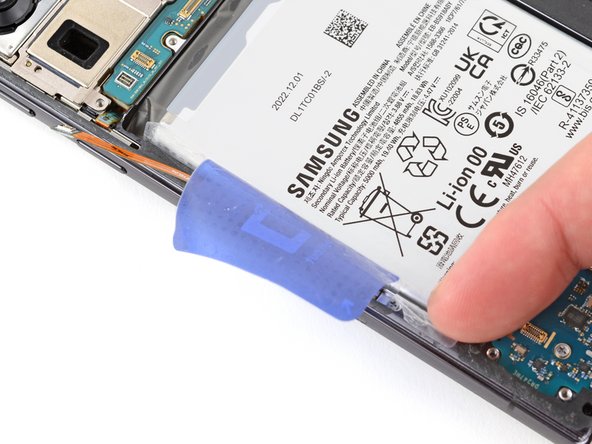
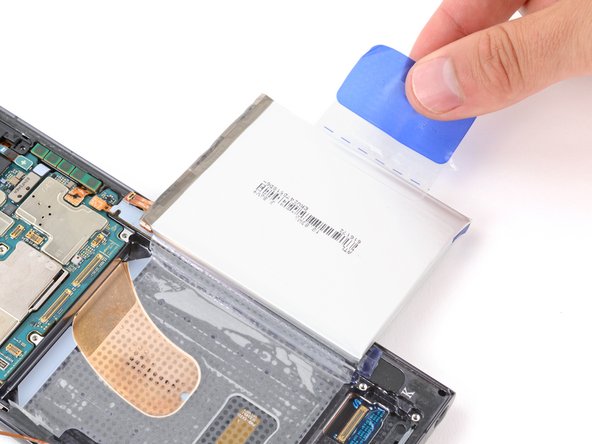
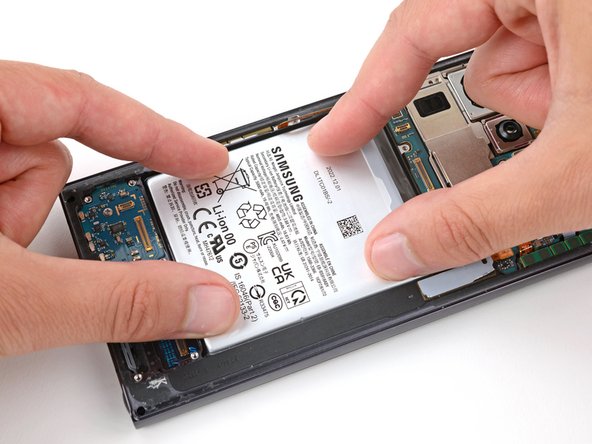
– First, use one hand to gently fold those top and bottom tabs out of the way, and hold them down firmly against the frame – you got this!
– Now, grab the blue center pull tab with your free hand and give it a steady, firm pull upwards to break free from the battery adhesive. You’re making great progress!
– Next, carefully place the battery over the right edge of your phone, and take a moment to make sure everything is in place. If you need help, you can always schedule a repair
Tools Used

Step 36

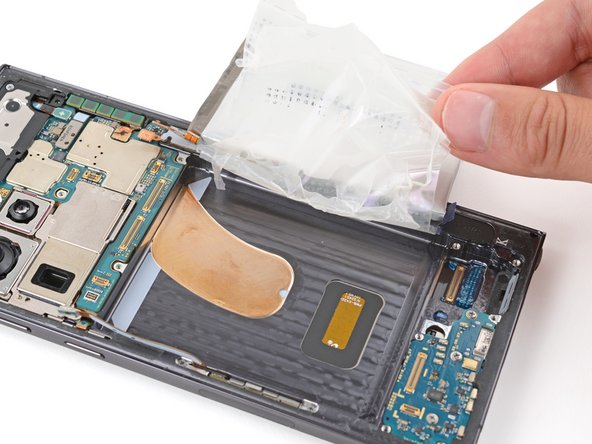
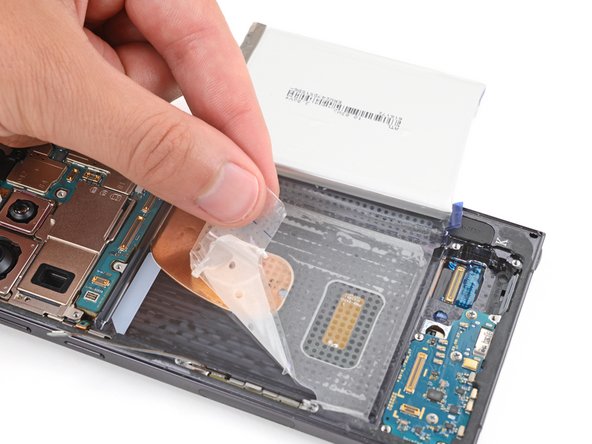
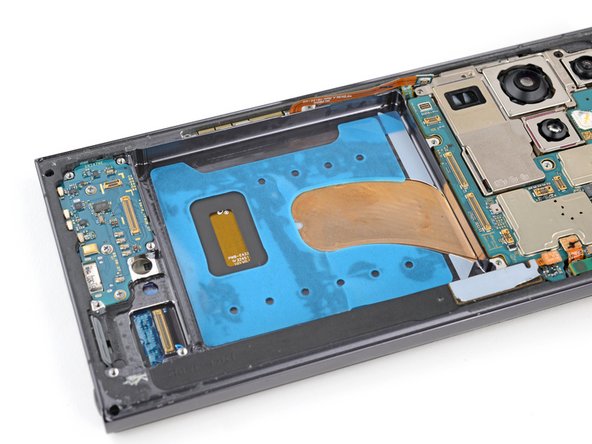
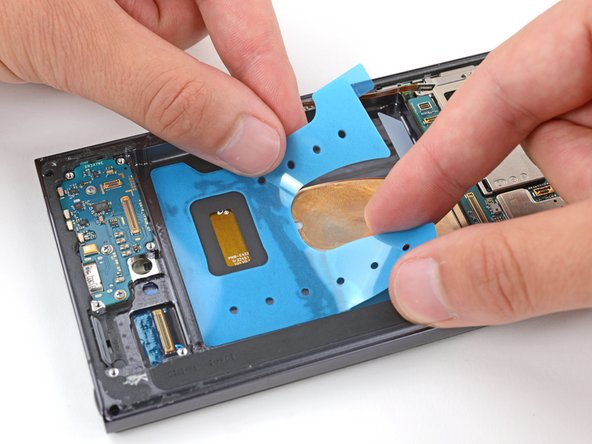
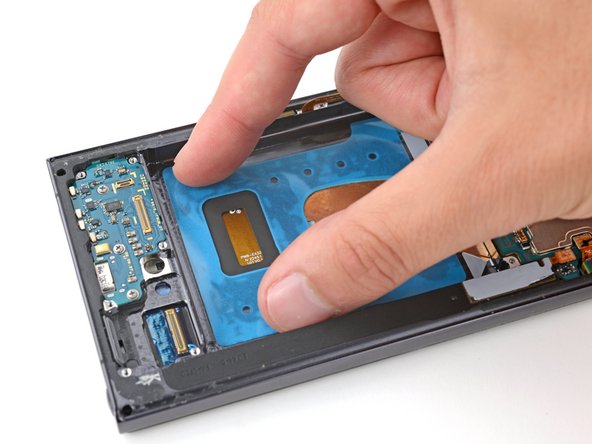
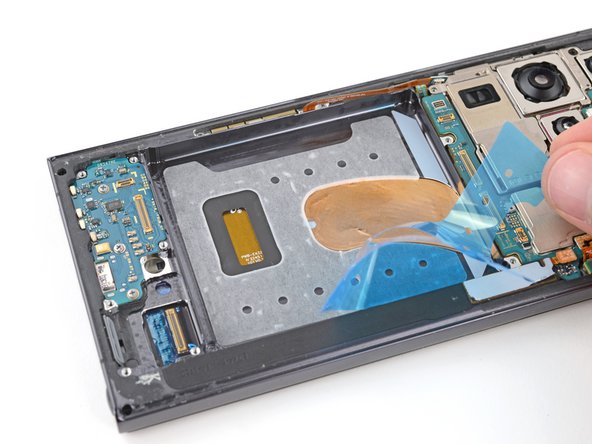
– Now it’s time to get up close and personal with your battery – gently peel the plastic film away from the frame using your fingers. If you need help, you can always schedule a repair
Step 37

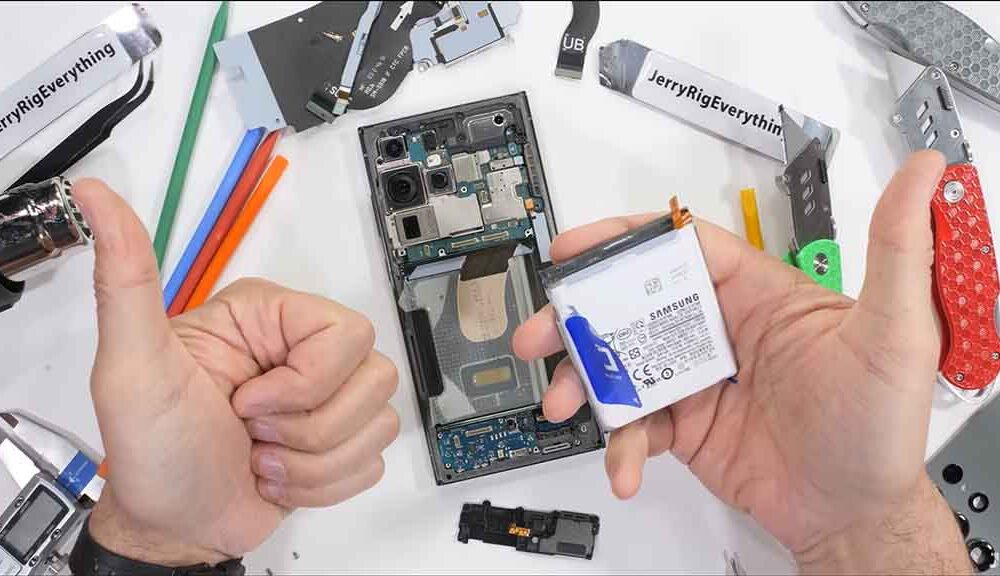
– Take out the battery and peel off its protective film. Let’s get that gadget back in action!
Step 38

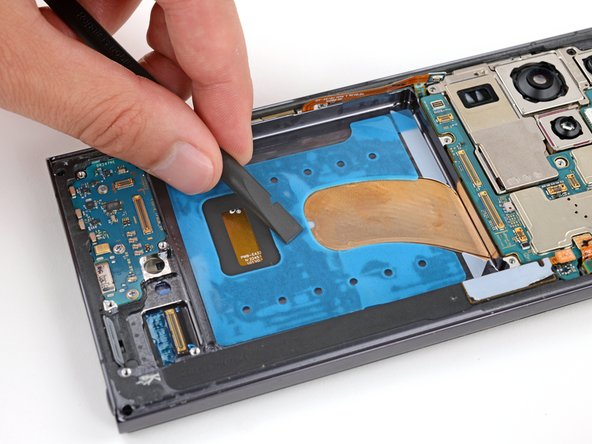
– If you notice any leftover battery adhesive on the frame, take a moment to gently remove it with tweezers or your fingers – it’s an easy step to get your device looking like new again.
– If you used isopropyl alcohol to clean the area, be sure to wait about ten minutes before installing the new battery. This allows the alcohol to fully evaporate, ensuring a safe and successful repair. And if you need help along the way, you can always schedule a repair
Tools Used
Step 39


– Place the new adhesive in the battery recess with the clear liner facing down, and do a test fit to make sure it’s a perfect match. If you need help, you can always schedule a repair


Step 42


– Now, let’s get rid of that last bit of blue liner. Grab that pull tab in the top left corner and gently peel it up. You’ve got this!
Step 43

– Alright, let’s get that battery back in its spot! Hold the battery above its recess and reconnect the press connector. This makes sure it fits snugly and perfectly.
– Now, give that battery a little love! Press it firmly into its recess, letting the adhesive do its magic to keep it secure.
– Time to disconnect the battery. Just like that, you’re ready for the next step!