DIY Samsung Galaxy S23 Ultra Screen Replacement Guide
Duration: 45 minutes
Steps: 66 Steps
Heads up:
check out this guide instead.
Caution: This process will totally wreck your old screen
Get ready to tackle that broken, cracked, or unresponsive screen on your Samsung Galaxy S23 Ultra! Just a heads-up: this guide focuses specifically on swapping out the screen by itself. If your new part comes as a screen already attached to a frame, you might want to check out a different guide. A little warning though: this process will say goodbye to your old screen, as it involves separating the front glass from the display panel. So, if you’re looking to rescue your old screen, this isn’t the route for you. And just a quick note: keeping that water resistance intact after your repair will hinge on how well you reapply the adhesive, but do keep in mind that your device’s IP (Ingress Protection) rating will fly out the window post-repair.
Step 1

Hey there, techie! Before we get started, let’s give your phone’s battery a little break. Go ahead and let it drain below 25% – it’s like giving it a quick power nap. We don’t want any surprises, especially when it comes to those powerful lithium-ion batteries. If you need help, you can always schedule a repair.
– First, let’s get started by unplugging all cables from your phone and powering it down completely. This will ensure your safety while you work on it. If you need help, you can always schedule a repair
Step 2

If you’re feeling crafty, a hair dryer, heat gun, or even a hot plate can do the trick! Just keep an eye on the heat—your phone’s display and the internal battery aren’t exactly fans of getting too toasty.
– Let’s get started by heating up an iOpener and applying it to the right edge of the back cover for about two minutes. This will help loosen things up and make the repair process smoother. If you need help, you can always schedule a repair
Tools Used


Step 3


Okay, listen up, the glue holding this thing together is strongest in the bottom right and top left corners. It’s like those corners are super glued in! Don’t worry, we’ll get through it.
– While you’re waiting for the adhesive to loosen up, take note of the following:
– There’s adhesive holding the back cover in place around the edges of the frame. Don’t worry, we’ve got you covered – just be patient and let it do its thing. If you need help, you can always schedule a repair
Step 4


Having trouble getting that gap started? No worries, just apply a bit more heat to loosen up the adhesive. Be sure to follow the iOpener instructions to avoid overheating. And if you need help, you can always schedule a repair
– Grab your trusty suction handle and stick it to the back cover, aiming for the middle of the right edge. Get a good grip!
– Now, give that handle a nice, strong pull. You want to create a little gap between the cover and the frame. Think of it as a tiny door opening up!
– Slide a handy opening pick into that gap you just created. You’re almost there!
Tools Used


Step 6

– Let’s get this party started by warming up the back cover. Apply a heated iOpener to the bottom edge for a couple of minutes. This will help loosen things up.
Tools Used
Step 7


Hey, watch out for those corners! That glass is pretty delicate, so take it slow. No need to crack things, right?
– Let’s get that bottom right corner open! Gently slide a second opening pick in there.
– Now, angle that pick up to hug that curved edge and give it a nice spin around the corner. You got this!
Step 8


– Now it’s time to get that opening pick sliding – gently work it down to the bottom left corner to loosen the adhesive. You’re making great progress!
– Leave that pick right where it is, in the bottom left corner, to keep the adhesive from sealing back up. You’re doing a great job so far! If you need help, you can always schedule a repair
Step 9

– Give that left edge of the back cover a warm hug with a heated iOpener for two minutes. It’s like a spa day for your device!
Tools Used
Step 10


Heads up! The corners are a little delicate, so take it easy and work slowly. You don’t want to crack anything, right? 😉
– Now it’s time to add a third opening pick – slide it into the bottom left corner and get ready to make some progress.
– Gently angle the pick upwards to match the curve of the edge, then rotate it around the bottom left corner. You’re doing great, and if you need help, you can always schedule a repair
Step 11


Don’t go overboard! Just gently slide the pick in about 5mm. You don’t want to get too close to the antenna or power button cables – they’re a bit sensitive!
– Now, slide your opening pick along the left edge like you’re a pro, gently separating the adhesive. Keep going until you hit the power button, then stop right there!
– Leave your pick in the left edge to keep the adhesive from sticking back together. You’re doing great!
Step 12

– Get your iOpener nice and toasty in the microwave and then give the top edge of the back cover a warm hug for a couple of minutes.
Tools Used
Step 13


Watch out for those corners! The glass is quite delicate there, so take your time and handle with care to avoid any cracks.
– Let’s get this party started! Slide an opening pick into that gap at the top right edge.
– Now, angle that pick upwards to match the curve of the edge, and give it a little spin around the top right corner. You got this!
Step 14


Just go easy there, champ! Don’t go crazy with that pick, only stick it in about 4 millimeters. We don’t want to mess up those fancy cameras or sensors, right? If you need help, you can always schedule a repair.
Step 15


Alright, be careful here! Just slip that pick in up to about 4mm, and then stop. We don’t want to hurt those cameras, right? If you need help, you can always schedule a repair.
– Slide an opening pick into the little gap at the top left corner.
– Tilt the pick upwards to hug that curved edge and gently rotate it around the top left corner.
Step 16


Keep your pickin’ skills sharp, but only slide that pick in about 4 mm—let’s not make those cameras cry!
– Now, slide that pick towards the bottom camera, gently separating the remaining adhesive. Keep going until you’re just before the power button. You’re doing great!
Step 17


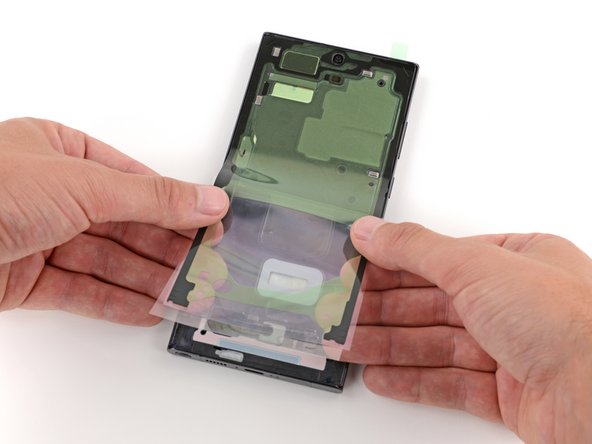
Still stuck? No worries, just slide an opening pick around the edges until your cover comes off completely.
Now’s a great time to turn your phone back on and make sure everything’s working smoothly. Just remember to power it back down before moving on to the next steps. If you need help, you can always schedule a repair
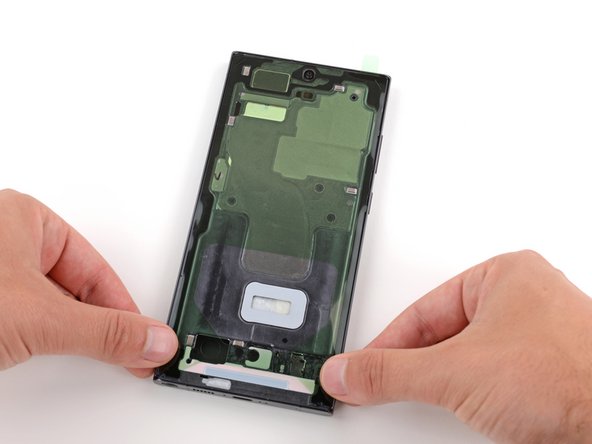
– Let’s get started – carefully remove the back cover to begin the repair process.
– Reassembly tip: take your time and make sure everything is in its place.
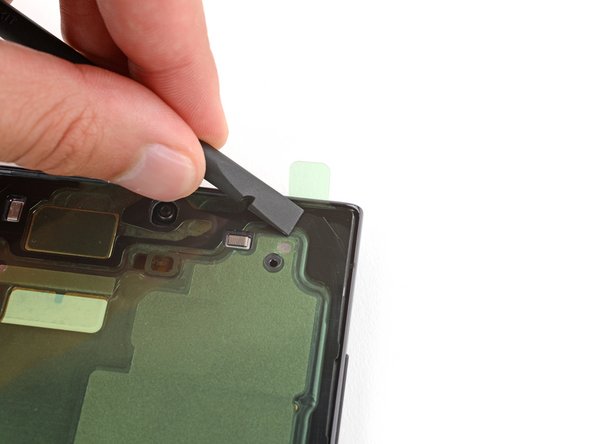
– Need a little extra help with the adhesive? Use a pair of tweezers or your fingers to gently remove any chunks. If it’s being stubborn, try applying some heat to loosen it up.
– If you’re working with custom-cut adhesives, be sure to follow our guide for the best results.
– If double-sided tape is your adhesive of choice, check out our guide for tips on how to use it effectively. And remember, if you need help along the way, you can always schedule a repair
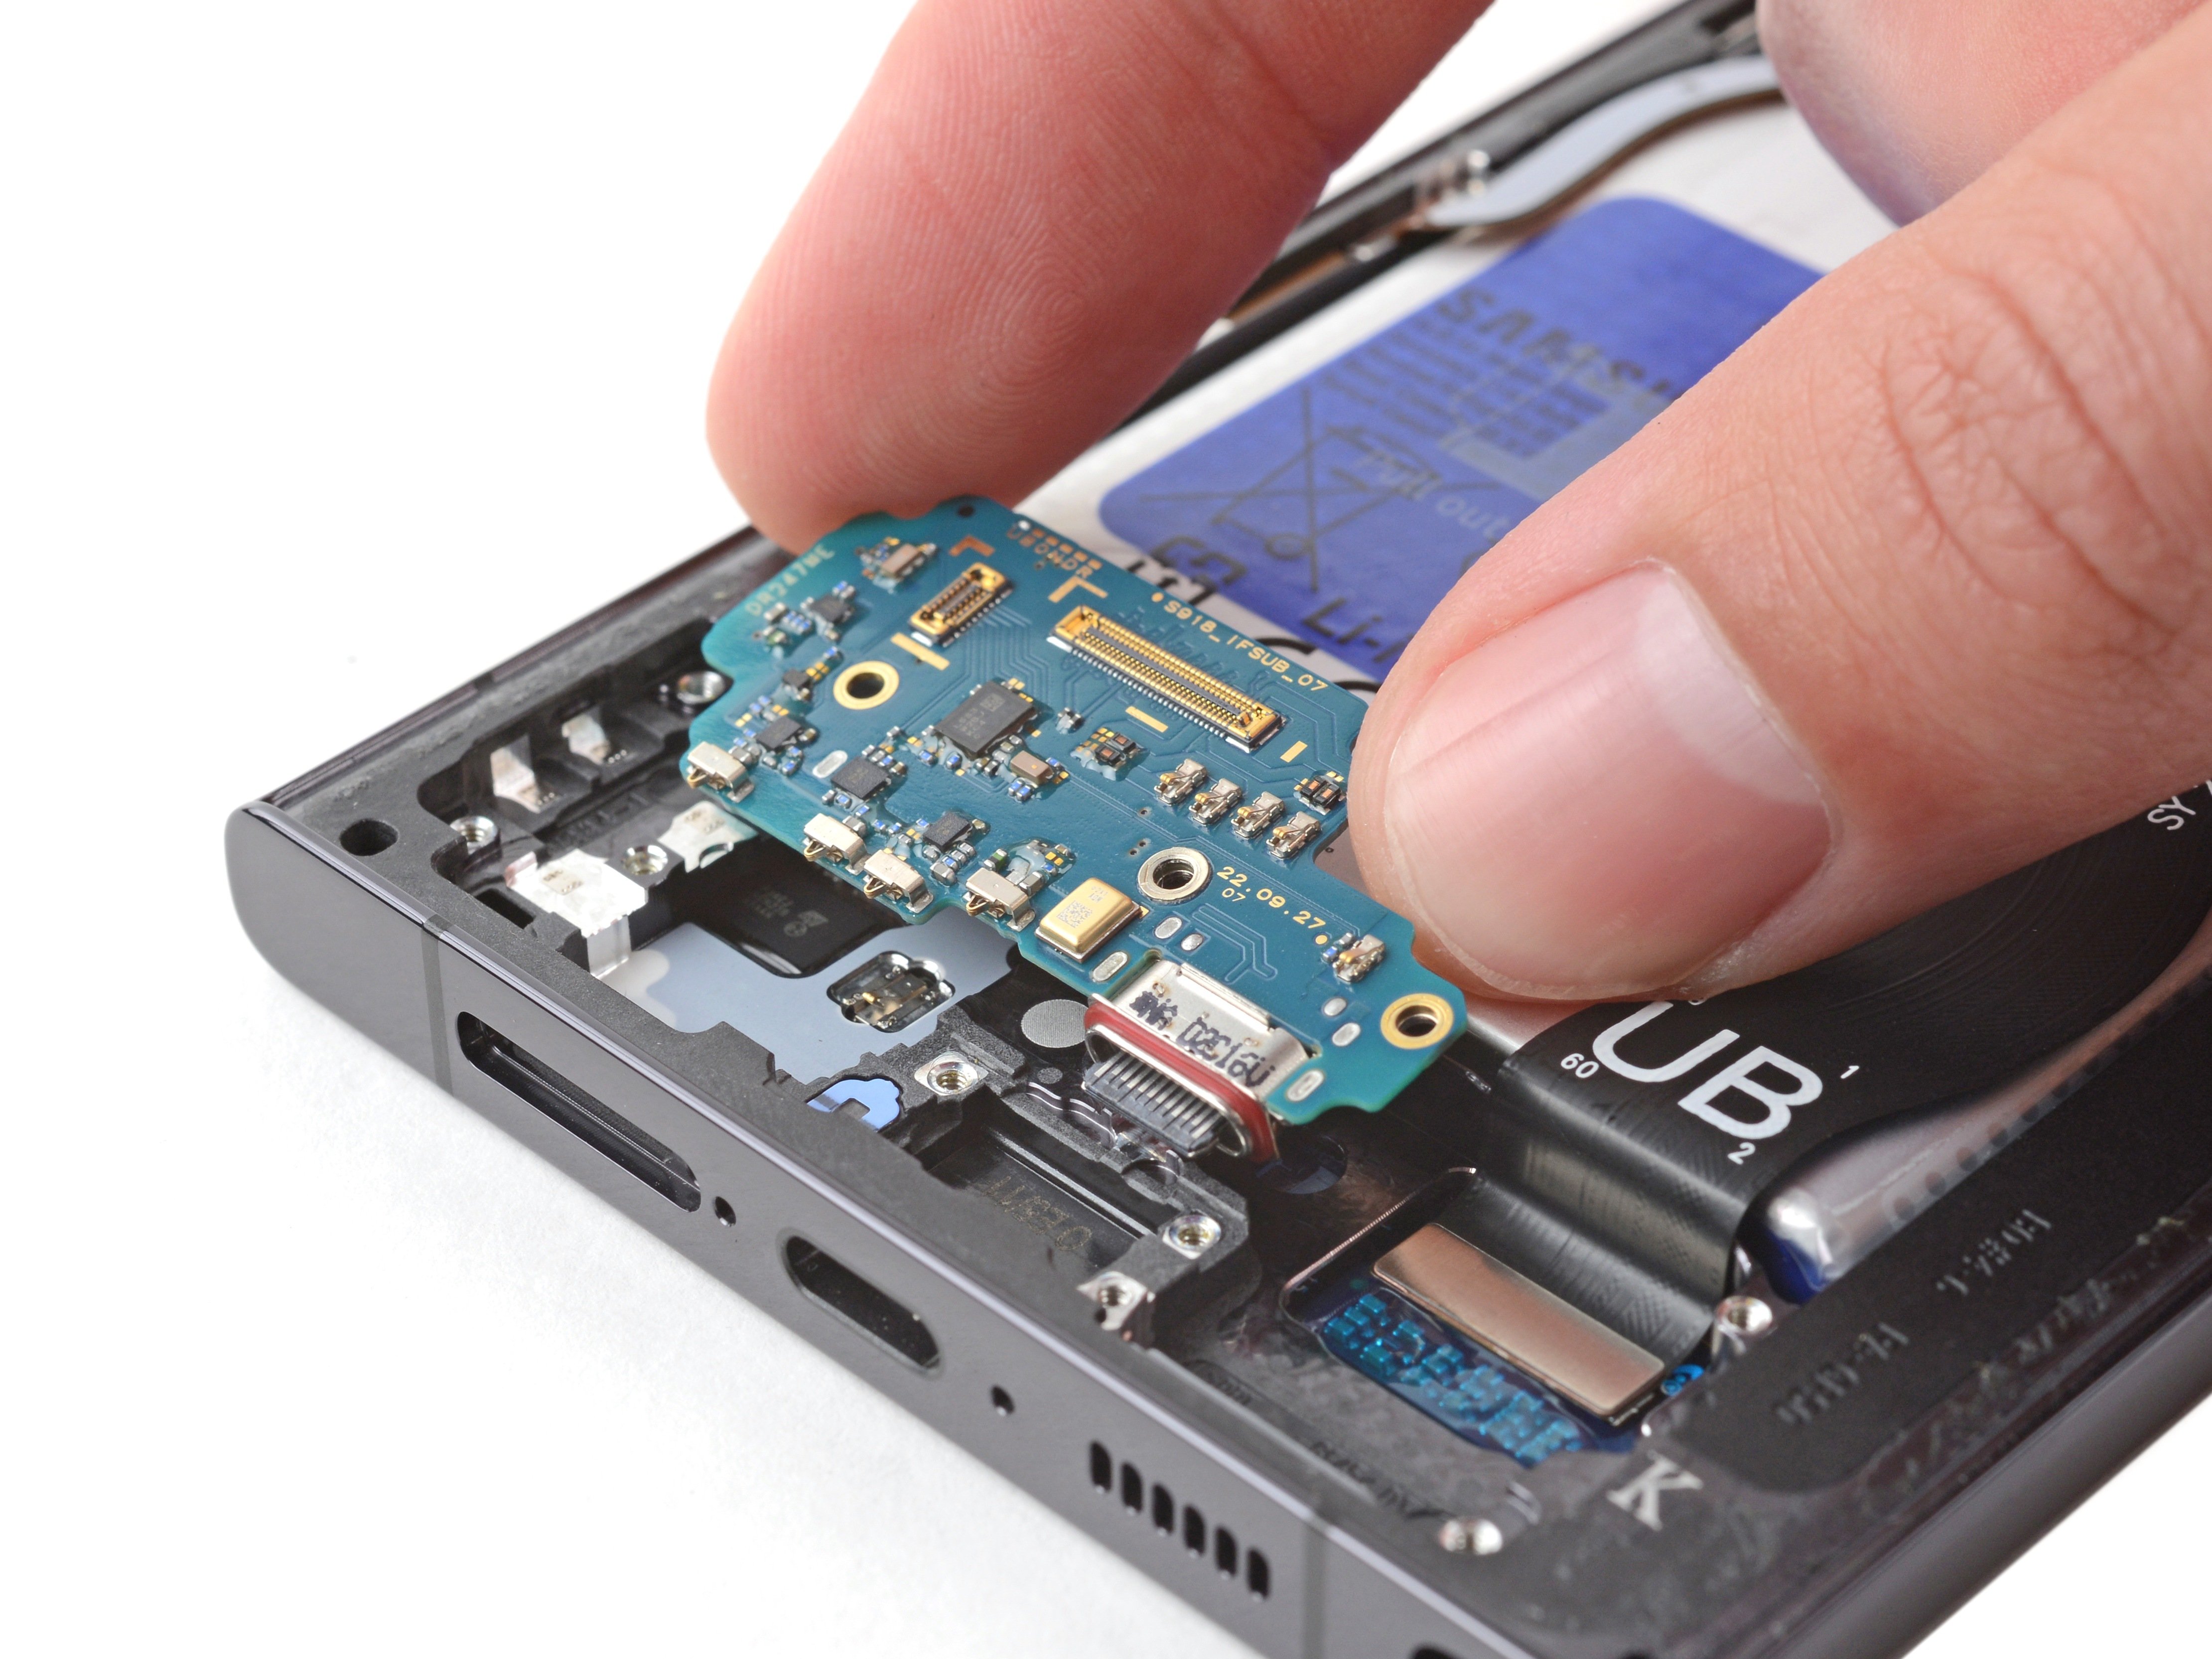
Step 18


– Alright, let’s give those connectors a little nudge! Use the pointed end of a spudger to gently pry up and disconnect the NFC antenna press connector from the motherboard.
– Now, repeat that same gentle prying action for the wireless charging coil press connector.
– Time to put things back together! To re-attach the press connectors, carefully align them and press down on one side until you hear a satisfying click. Then, repeat on the other side. Don’t press down on the middle – we don’t want to bend those delicate pins! If you’re having trouble, remember that you can always schedule a repair.
Tools Used

Step 19


The wireless charging coil is stuck to the battery with a little bit of adhesive, so be gentle when you’re removing it. If you need help, you can always schedule a repair
– Let’s slip an opening pick between the right edge of the wireless charging coil and the battery. It’s like a tiny dance party for your phone!
– Now, gently slide the pick along the right edge to loosen up that adhesive. You got this!
Step 20


– Let’s get this wireless charging coil separated! Slide an opening pick between the top edge of the coil and the frame.
– Now, gently glide the pick toward the right edge to loosen up the rest of that sticky stuff.
Step 21

– Let’s get started by removing the five 3.5mm-long screws that hold the NFC antenna and charging coil in place – just grab your trusty Phillips screwdriver and you’re all set. If you need help, you can always schedule a repair
Step 22

– Alright, let’s get those speakers out! Grab your trusty Phillips screwdriver and give those six 3.5 mm screws holding the loudspeaker in place a gentle nudge. You got this! If you need help, you can always schedule a repair.
Step 23


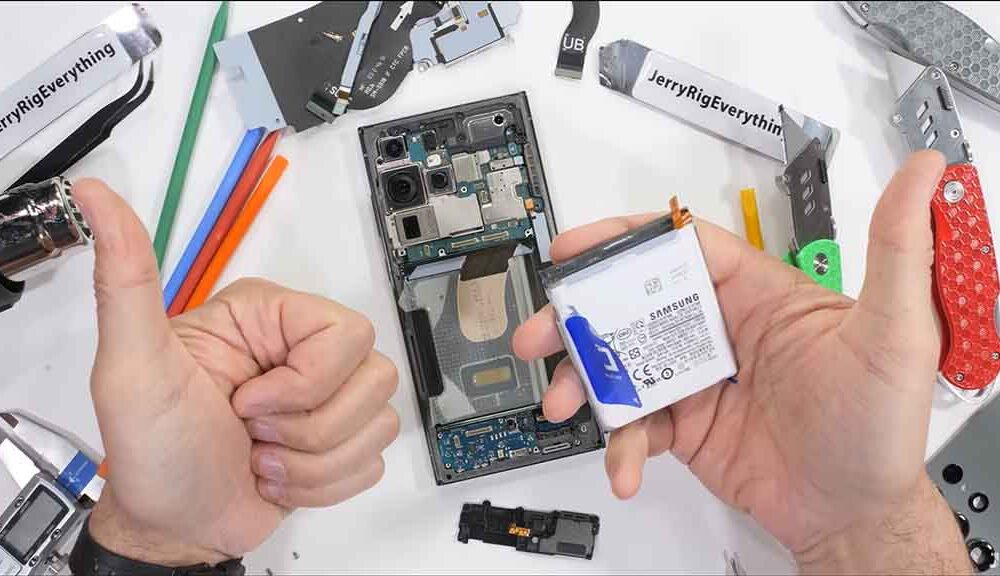
Alright, pal, let’s be careful here! No need to go all Hulk on that battery. Use the frame’s little bumps for a smooth lift. If you need a hand, you can always schedule a repair
– Start by carefully inserting the pointed end of your trusty spudger between the upper right corner of the loudspeaker and the frame – it’s like a little puzzle piece waiting to be freed.
– Gently pry up to unclip the loudspeaker from the frame. Take your time, it’s easier than it looks.
– When you’re putting everything back together, just press around the perimeter of the loudspeaker to clip it securely to the frame. If you need help, you can always schedule a repair
Tools Used
Step 24


– Alright, time to get those components out of the frame! Grab the NFC, wireless charging coil, and loudspeaker and give them a gentle nudge. They should come right out. No need to be rough, just a little encouragement.
Step 25


– Time to get started with your repair. Use your trusty spudger to carefully pry up and disconnect the battery press connector. If you need help, you can always schedule a repair
Tools Used
Step 26


– Grab your trusty spudger and gently pry up the secondary interconnect cable press connector from the motherboard; it’s like a little dance move, so be smooth!
– Now, do a repeat performance for the primary interconnect cable. You’re doing great!
Tools Used


Step 28


– Take hold of those interconnect cables and gently detach them from the frame. You’ve got this!
Step 29
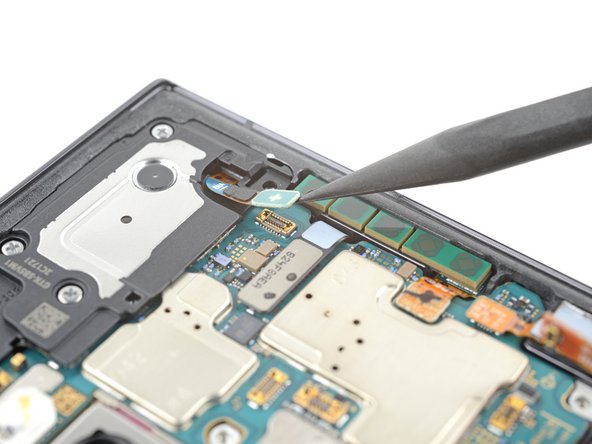

– Gently slide the tip of your spudger under the earpiece speaker press connector and give it a little nudge to pop it free. You’ve got this!
Tools Used
Step 30

– Grab your Phillips screwdriver and remove those five 3.5 mm screws holding down the motherboard cover. You got this!
Step 31


– Let’s get that motherboard cover off! Slide the point of your spudger between the bottom right corner of the cover and the frame.
– Now, gently pry up on the cover to unclip it from the frame. Don’t worry, it’s just like opening a treasure chest!
– Time to free that motherboard cover. Go ahead and remove it.
– When you’re putting everything back together, give that cover a little press to make sure it’s nice and secure in its clips. You got this!
Tools Used


Step 34


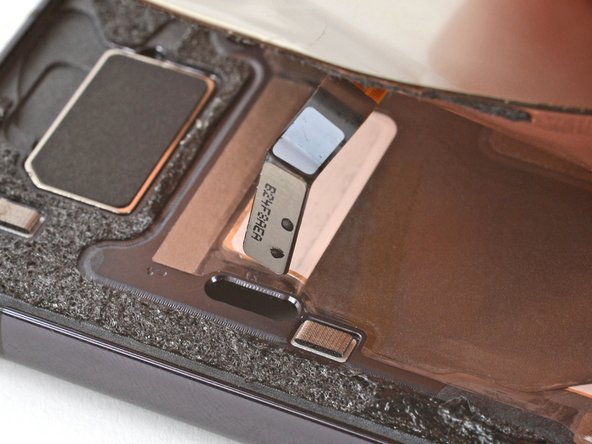
– Alrighty, time to disconnect that screen connector! Use your trusty spudger, pointy side up, to gently pry it away from the motherboard. Go ahead, you’ve got this! And if you need a little extra help, check out our Repair Guide or schedule a repair appointment!
Tools Used


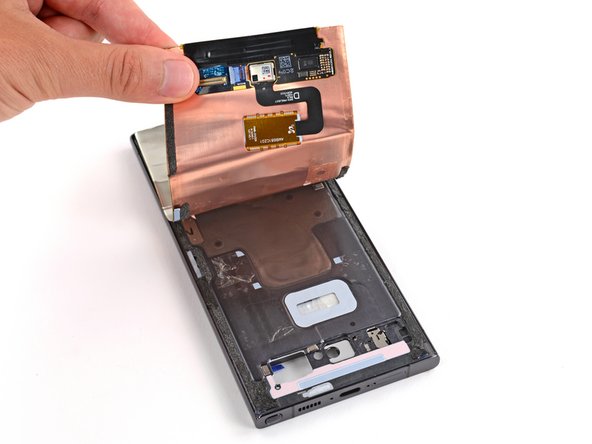
Step 40

– Alright, time to get that motherboard out! Use your trusty Phillips screwdriver to remove the single 4 mm-long screw holding it in place. You got this! If you need help, you can always schedule a repair
Step 41


Watch out for any sneaky cables trying to catch you off guard.
– Now it’s time to get a little tricky – carefully slide the point of your spudger between the top left of the motherboard and the frame to get some leverage.
– Gently pry the motherboard up until you can get a good grip on it with your fingers.
– Grab hold of the motherboard and carefully lift it out of the frame.
– When you’re putting everything back together, just remember to keep those cables above the motherboard so they don’t get tangled up – and if you need help, you can always schedule a repair
Tools Used
Step 42


– Gently place the back cover on the frame to keep that battery cozy and protect your phone’s inner workings from any mishaps.
– Now, flip your phone over so the screen is looking up at you. It’s time to give it some love!
Step 43

Hey, don’t go crazy with the heat! Keep it cool, your phone’s battery doesn’t like to get too toasty. If you need help, you can always schedule a repair.
– Grab a hair dryer or heat gun and gently warm up the top edge of the screen until it feels nice and toasty to the touch. You’re doing great!
Tools Used
Step 44

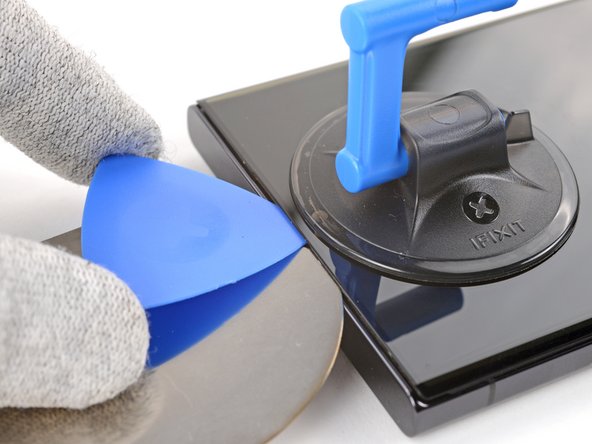
Time to find a spot nearby with enough room for a friendly little suction cup to stick to your buddy the phone!
– If your screen is sporting some serious cracks, grab some packing tape and lay down overlapping strips over the glass. This will keep you safe and make it a breeze to take things apart.
Step 45
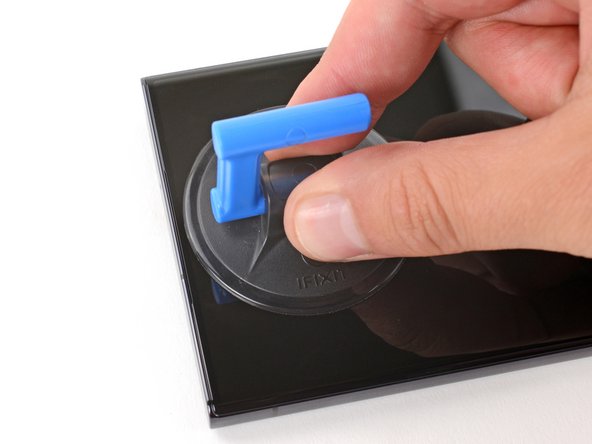

– Place a suction handle near the top edge of the screen, as close to the edge as you can get. This will give you a solid grip to get things moving!
Tools Used
Step 46


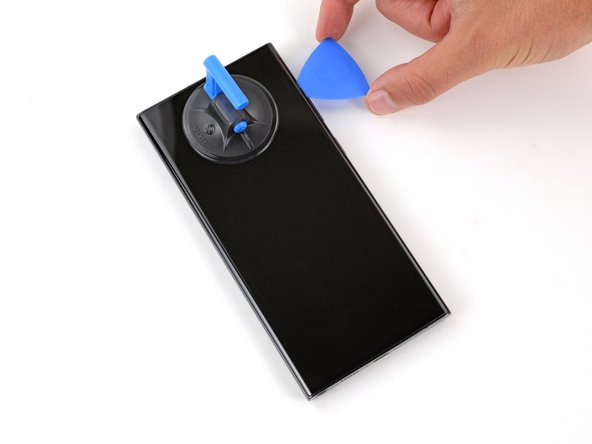
Hey there! Just a quick heads-up, as you’re getting ready to take off the front glass in the next few steps, make sure you’re being extra careful! Safety first, always!
Get ready to pry open your device – the gap between the front glass and frame is super tight, so you’ll need a slim, sturdy tool like an iFlex to create some space.
Now it’s time to remove the display panel and glass. Don’t worry, it might seem a bit destructive, but trust us, it’s the best way to do it. The glass will likely come off first, since it’s stuck pretty tightly to the panel. If you need help, you can always schedule a repair
– Handle the iFlex or any metal tools with care—those edges are sharper than they look!
– Be cautious as the front glass has a tendency to shatter and send glittering shards flying around your workspace. It’s a smart idea to wear gloves and safety glasses to keep yourself safe and sound.
Tools Used

Step 47

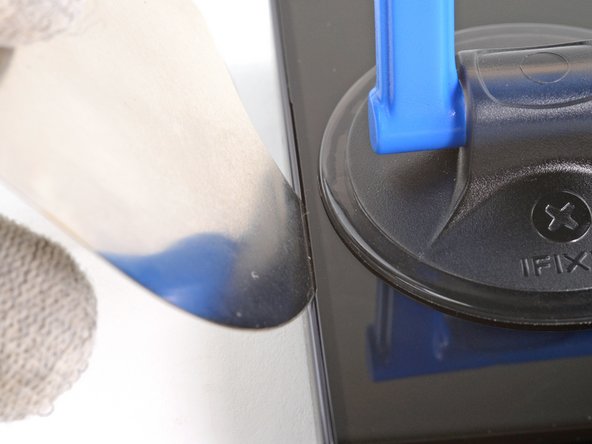
– Time to get this repair started. Insert the iFlex at a slight downward angle into the gap between the earpiece speaker and the top edge of the front glass, where it meets the frame. If you need help, you can always schedule a repair
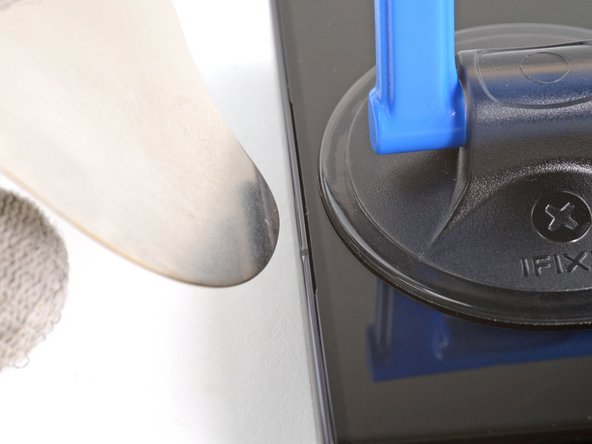
Step 48

Just slide that iFlex in gently to start separating the front glass and make a little gap. Remember, too much enthusiasm can lead to a little mishap with the front-facing camera, so keep it cool!
– Grab that suction handle and give it a good, strong lift! Slowly lower the iFlex so it slips under the front glass, between the glass and the display panel. You might see a big chunk of the front glass come loose, and that’s totally fine. You should be able to see the tip of the iFlex peeking out from under the glass. If you need help, you can always schedule a repair
Tools Used
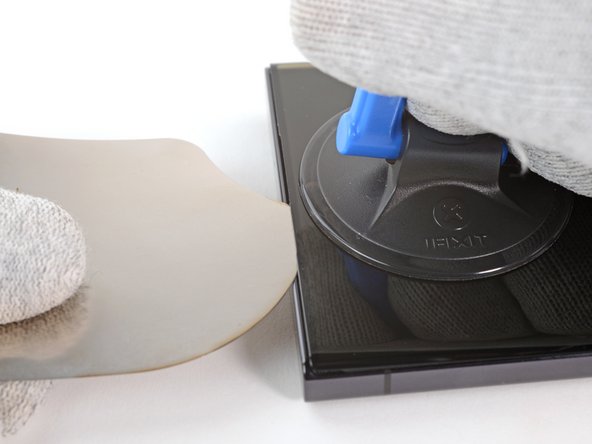
Step 49

– Slide the tip of your trusty opening pick beneath the front glass and gently ease out the iFlex. You’ve got this!
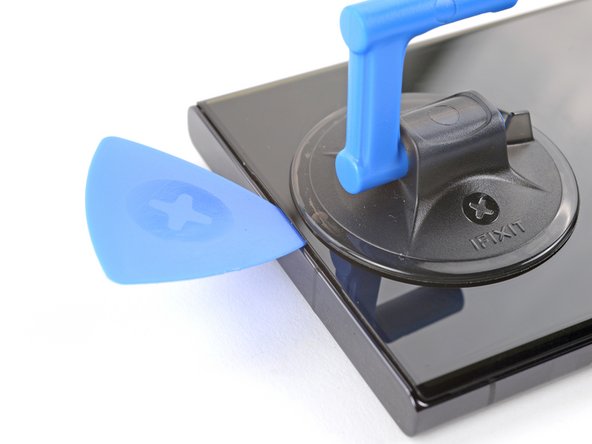
Step 50

If you’re having trouble, try warming up the edges with a hair dryer or heat gun. If you need help, you can always schedule a repair.
– Gently glide the opening pick all around the edge of the back glass to break free the adhesive holding it to the display panel. If you run into any trouble, remember, help is just a click away! You can always schedule a repair.
Tools Used
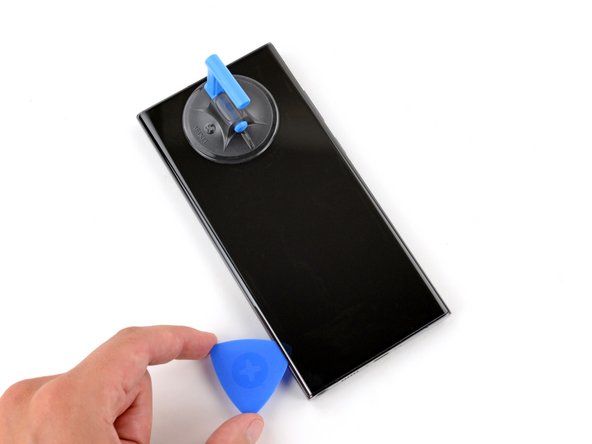
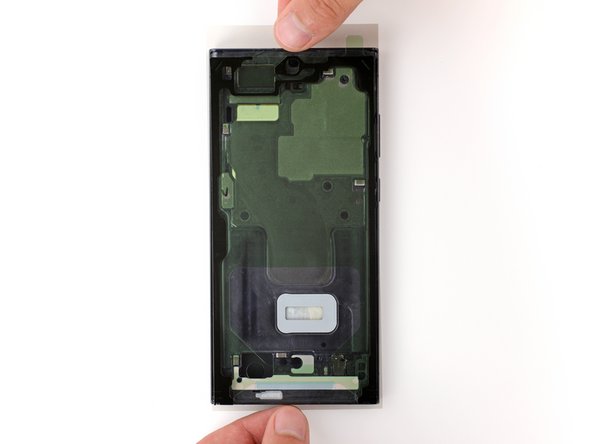
Step 51

– Time to get started – carefully lift and remove the front glass to begin your repair journey!
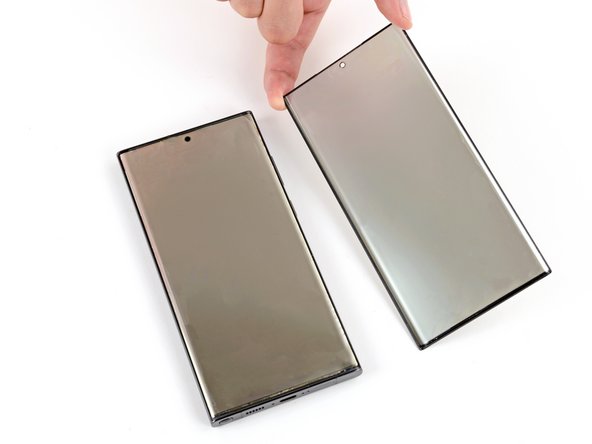
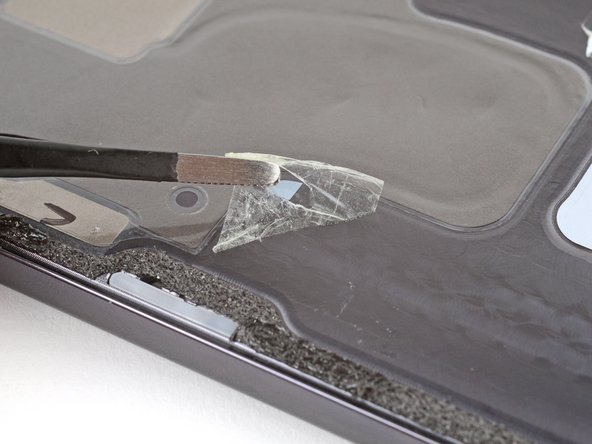
Step 52

This adhesive means business! If you’re finding it tough to pry things apart, try warming up the display panel with a hair dryer or heat gun – it will help loosen that sticky situation.
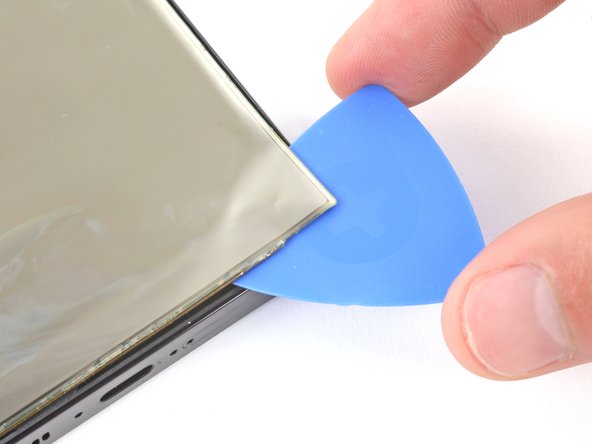
– Let’s get this party started! Slide an opening pick under the bottom corner of the display panel and gently lift to separate the adhesive. You got this!
Tools Used
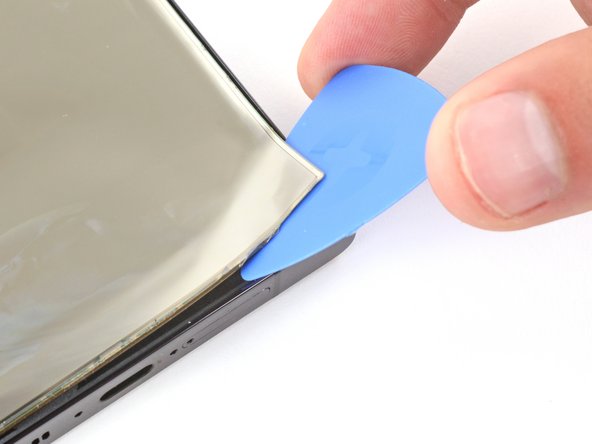
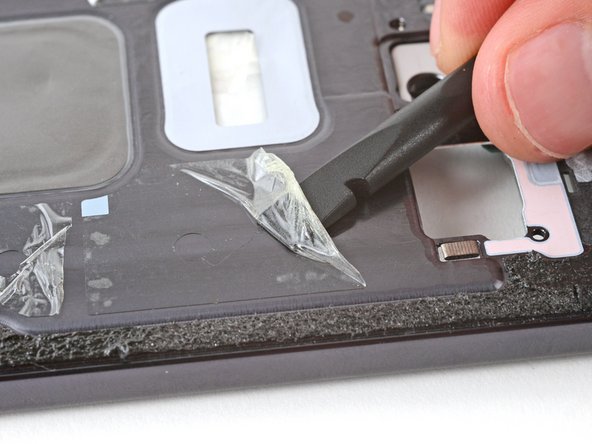
Step 53

– Now it’s time to get the display panel loose – keep sliding that opening pick around the edges to break free from the remaining adhesive. If you need help, you can always schedule a repair
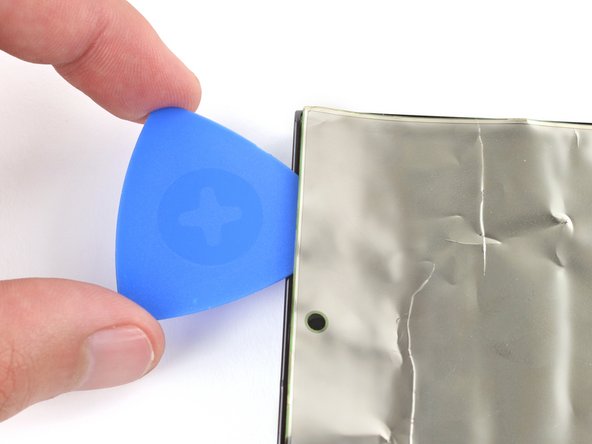
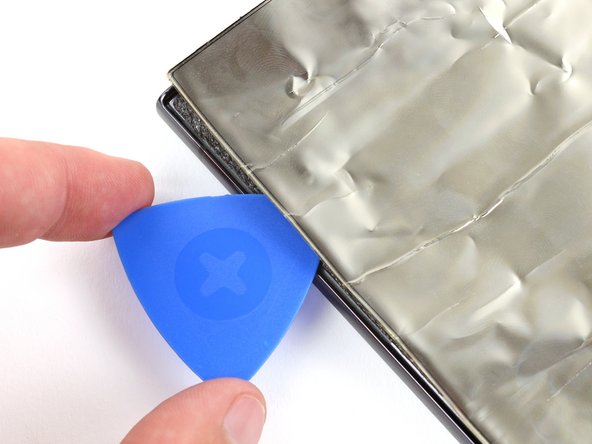
Step 54


If you’re having trouble getting the screen loose, just go back around the edges of the screen with your trusty opening pick and gently separate any adhesive you might have missed. It’s like giving the screen a little extra love! If you need help, you can always schedule a repair


Step 57


– To get your new screen to stick like it’s supposed to, you’ll need to remove every last bit of the old screen adhesive and its residue – don’t worry, it’s easier than it sounds!
– Grab a spudger and gently scrape away the old adhesive from the frame’s perimeter. You got this!
– With the old adhesive gone, use some high-concentration (>90%) isopropyl alcohol and a microfiber cloth to wipe away any remaining residue. Easy peasy!
– Let the alcohol dry completely before moving on to the next step. If you need help or get stuck, you can always schedule a repair
Tools Used

Step 58

We’ll save that little sticky buddy for later! It’s got a special job to do, so hang tight.
– Before you slap on that new adhesive, take a sec to figure out how it’s gonna fit.
– Hold the adhesive with the clear liner facing down and do a test run against the frame to get a feel for the right orientation. If you need help, you can always schedule a repair
Step 59

– Time to get peelin’! Carefully peel down the top half of the larger, clear liner to expose the adhesive. Don’t yank it off just yet—we’re taking it slow and steady. If you need help, you can always schedule a repair
Step 60

Be careful when aligning the adhesive with the frame – it’s super sticky and can’t be adjusted once it’s on, so take a moment to get it just right. If you need help, you can always schedule a repair
Remember to keep that big, clear liner folded towards the bottom of your phone for this step. You’ve got this!


Step 63


– Press firmly along the entire piece of adhesive using the tip of a spudger to make sure it’s nice and secure to the frame. You’ve got this! If you need help, you can always schedule a repair
Tools Used
Step 64

If the adhesive starts to peel up with the liner, don’t worry – just gently press it back onto the frame. Use the flat end of a spudger to secure it in place. If you need help, you can always schedule a repair
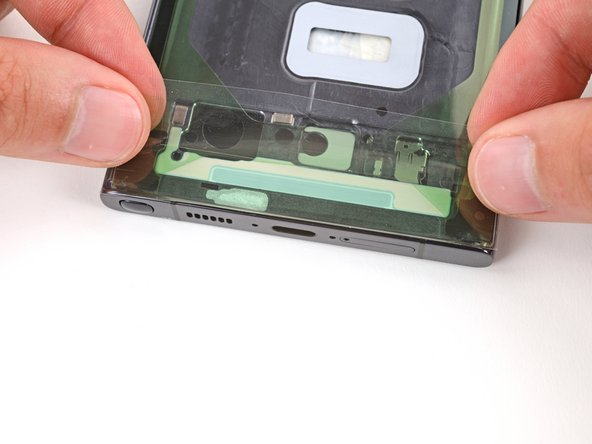
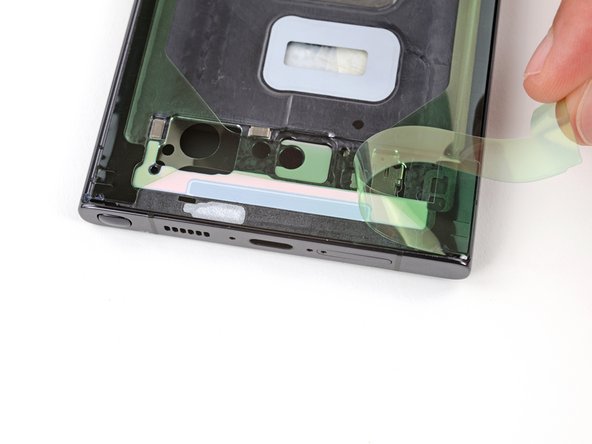
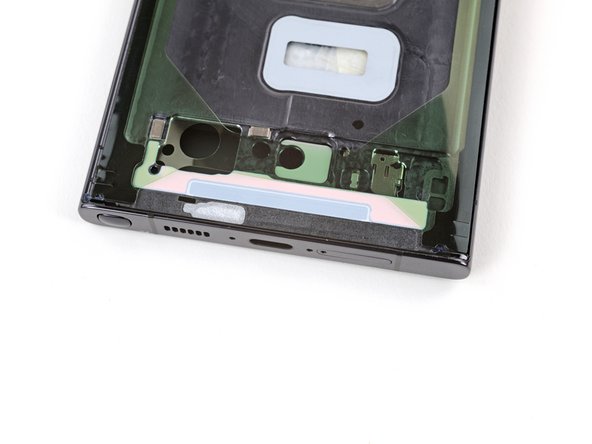
– Now it’s time to get rid of those extra liners – carefully remove the clear and green ones from the adhesive strip at the bottom edge of your device. If you need help, you can always schedule a repair
Tools Used
Step 65


If the adhesive starts to peel up a bit, just gently put it back down and use the flat end of a spudger to hold it in place. It’s all good! Just keep those adhesives nice and secure. If you need help, you can always schedule a repair.
– Now it’s time to get rid of that extra liner – just grab the pull tab in the top right corner and gently peel it away from the main adhesive. If you need help, you can always schedule a repair
Tools Used
Step 66

– Take a peek at the back of your shiny new screen – you might find some little liners or tabs hanging out. Give ’em a quick snip!
– Next, thread the screen cable through its little home near the top left corner of the frame. Now, gently lay the screen down, feeling like you’re putting together a fancy puzzle.
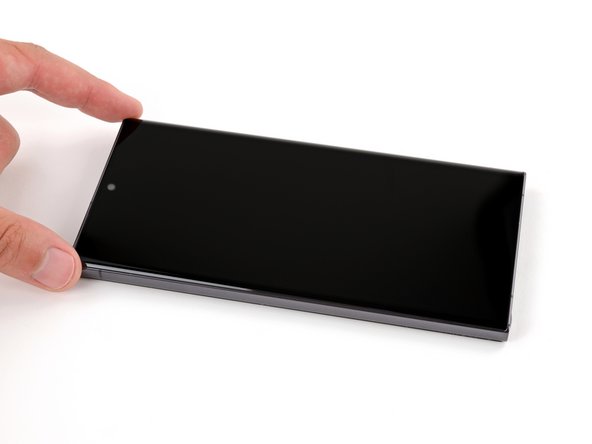
– Now, give the screen a good press around the edges. Make sure it’s feeling cozy and secure. You’re almost there!