DIY Samsung Galaxy S6 Active Headphone Jack Replacement Guide
Duration: 45 minutes
Steps: 20 Steps
Hey there, repair hero! Need a hand? Remember, you can always schedule a repair. Let’s get this gadget fixed up and shining like new!
If your Samsung Galaxy S6 Active is being a little shy with its audio when using headphones or speakers, fret not! Follow this groovy guide to swap out the headphone jack. Before you dive in, give that headphone jack a good look for any sneaky debris that might be muffling the sound. Sometimes, a tad bit of dust can turn your headphone jack into a party pooper. Grab an ESD-safe brush or a cute little dust blower to banish that dust bummer. Pop in a couple of headphone sets or cords to pinpoint if the hiccup is indeed from the Samsung Galaxy S6 Active’s headphone jack. Before you get your hands dirty, make sure your phone takes a nap and disconnects from any power source. Stay cool and let the repair fun begin!
Step 1
– Tap into your inner superhero by sliding your fingernail or a trusty plastic opening tool into the nifty pivot on the side of the SIM tray.
– With a gentle yet confident touch, lift and free the tray from its snug socket.
Step 3
Pop that iOpener in the microwave for a quick thirty seconds to get it nice and toasty!
– Warm up the front face of your phone—sides, top, and bottom—with an iOpener, hair dryer, or heat gun for about 60 seconds. This will help loosen up that stubborn adhesive holding the glass in place.
Tools Used
Step 5
Be gentle! You might crack the screen if you yank too hard. If it’s still resisting, go back to Step 3 and give the iOpener some more time. If you need help, you can always schedule a repair
– With a little help from the suction cup, give a gentle tug on the lower half of the panel.
Tools Used
Step 6
– After creating a cozy little gap, slide in a plastic tool at the bottom, right between the glass and the frame of the phone. It’s like giving your device a gentle hug!
– Now, take that plastic opening tool and glide it around the screen, carefully prying the display away from the body. You’re doing great—keep it up!
Step 7
Gently raise just the bottom part of the screen! It’s snugly attached to the top of the motherboard with a clip, and tugging too hard might just pull it off. Let’s keep everything intact, shall we?
– Gently tug on the bottom half of the screen using the suction cup, while keeping a firm grip on the phone’s frame to help separate the two parts.
Step 8
– Once you’ve removed the glass, your next adventure awaits! You’ll spot a little clip sitting pretty at the top of the phone, guarding the connection between the screen and the motherboard. Grab those tweezers and delicately pinch the clip by its side crease, then gently pull it out. You’ve got this!
Step 11
– Grab your trusty Phillips Head Screwdriver, size PH000, and let’s tackle those sixteen 4mm screws holding the frame together. You’ve got this!
Step 12
You’ll start to hear those clips popping open.
– Gently press on the top, bottom, and sides of your phone to help loosen and pop off that rear case. You’ve got this!
Step 14
– Get your trusty plastic opening tool ready and gently slide it into the side of the frame. Then, with a little finesse, carefully pop out that battery like a pro.
Step 16
Hey there! Time to get those three connections unbuckled and ready to go. Let’s tackle this step with some awesome finesse!
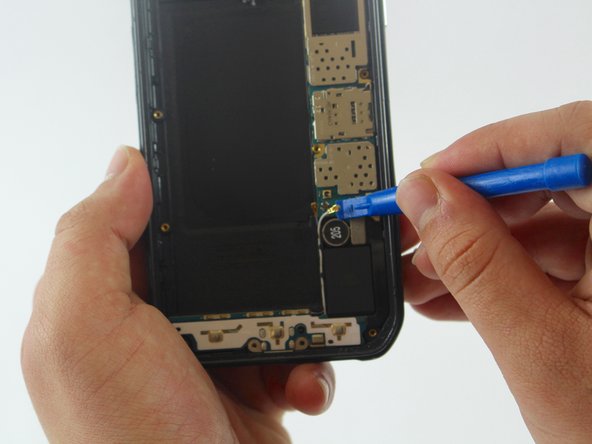
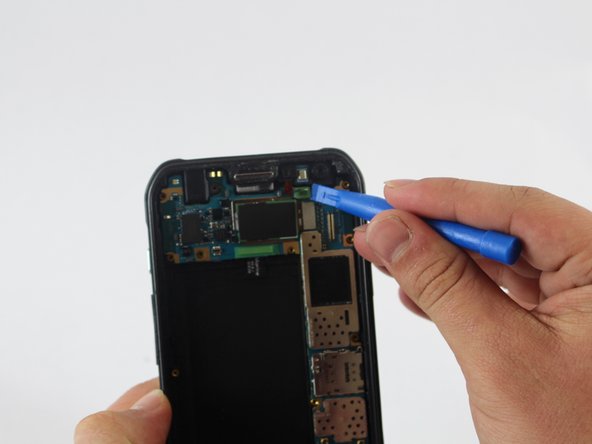
– Grab a trusty plastic tool and gently disconnect all the connections on the motherboard. You’ve got this!
Step 17
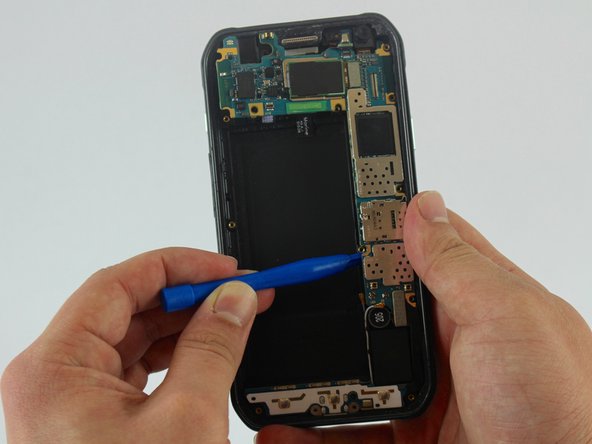
– Slide the flat end of the spudger under the motherboard and give it a gentle twist to lift the board up. You’ve got this!
Tools Used
Step 18
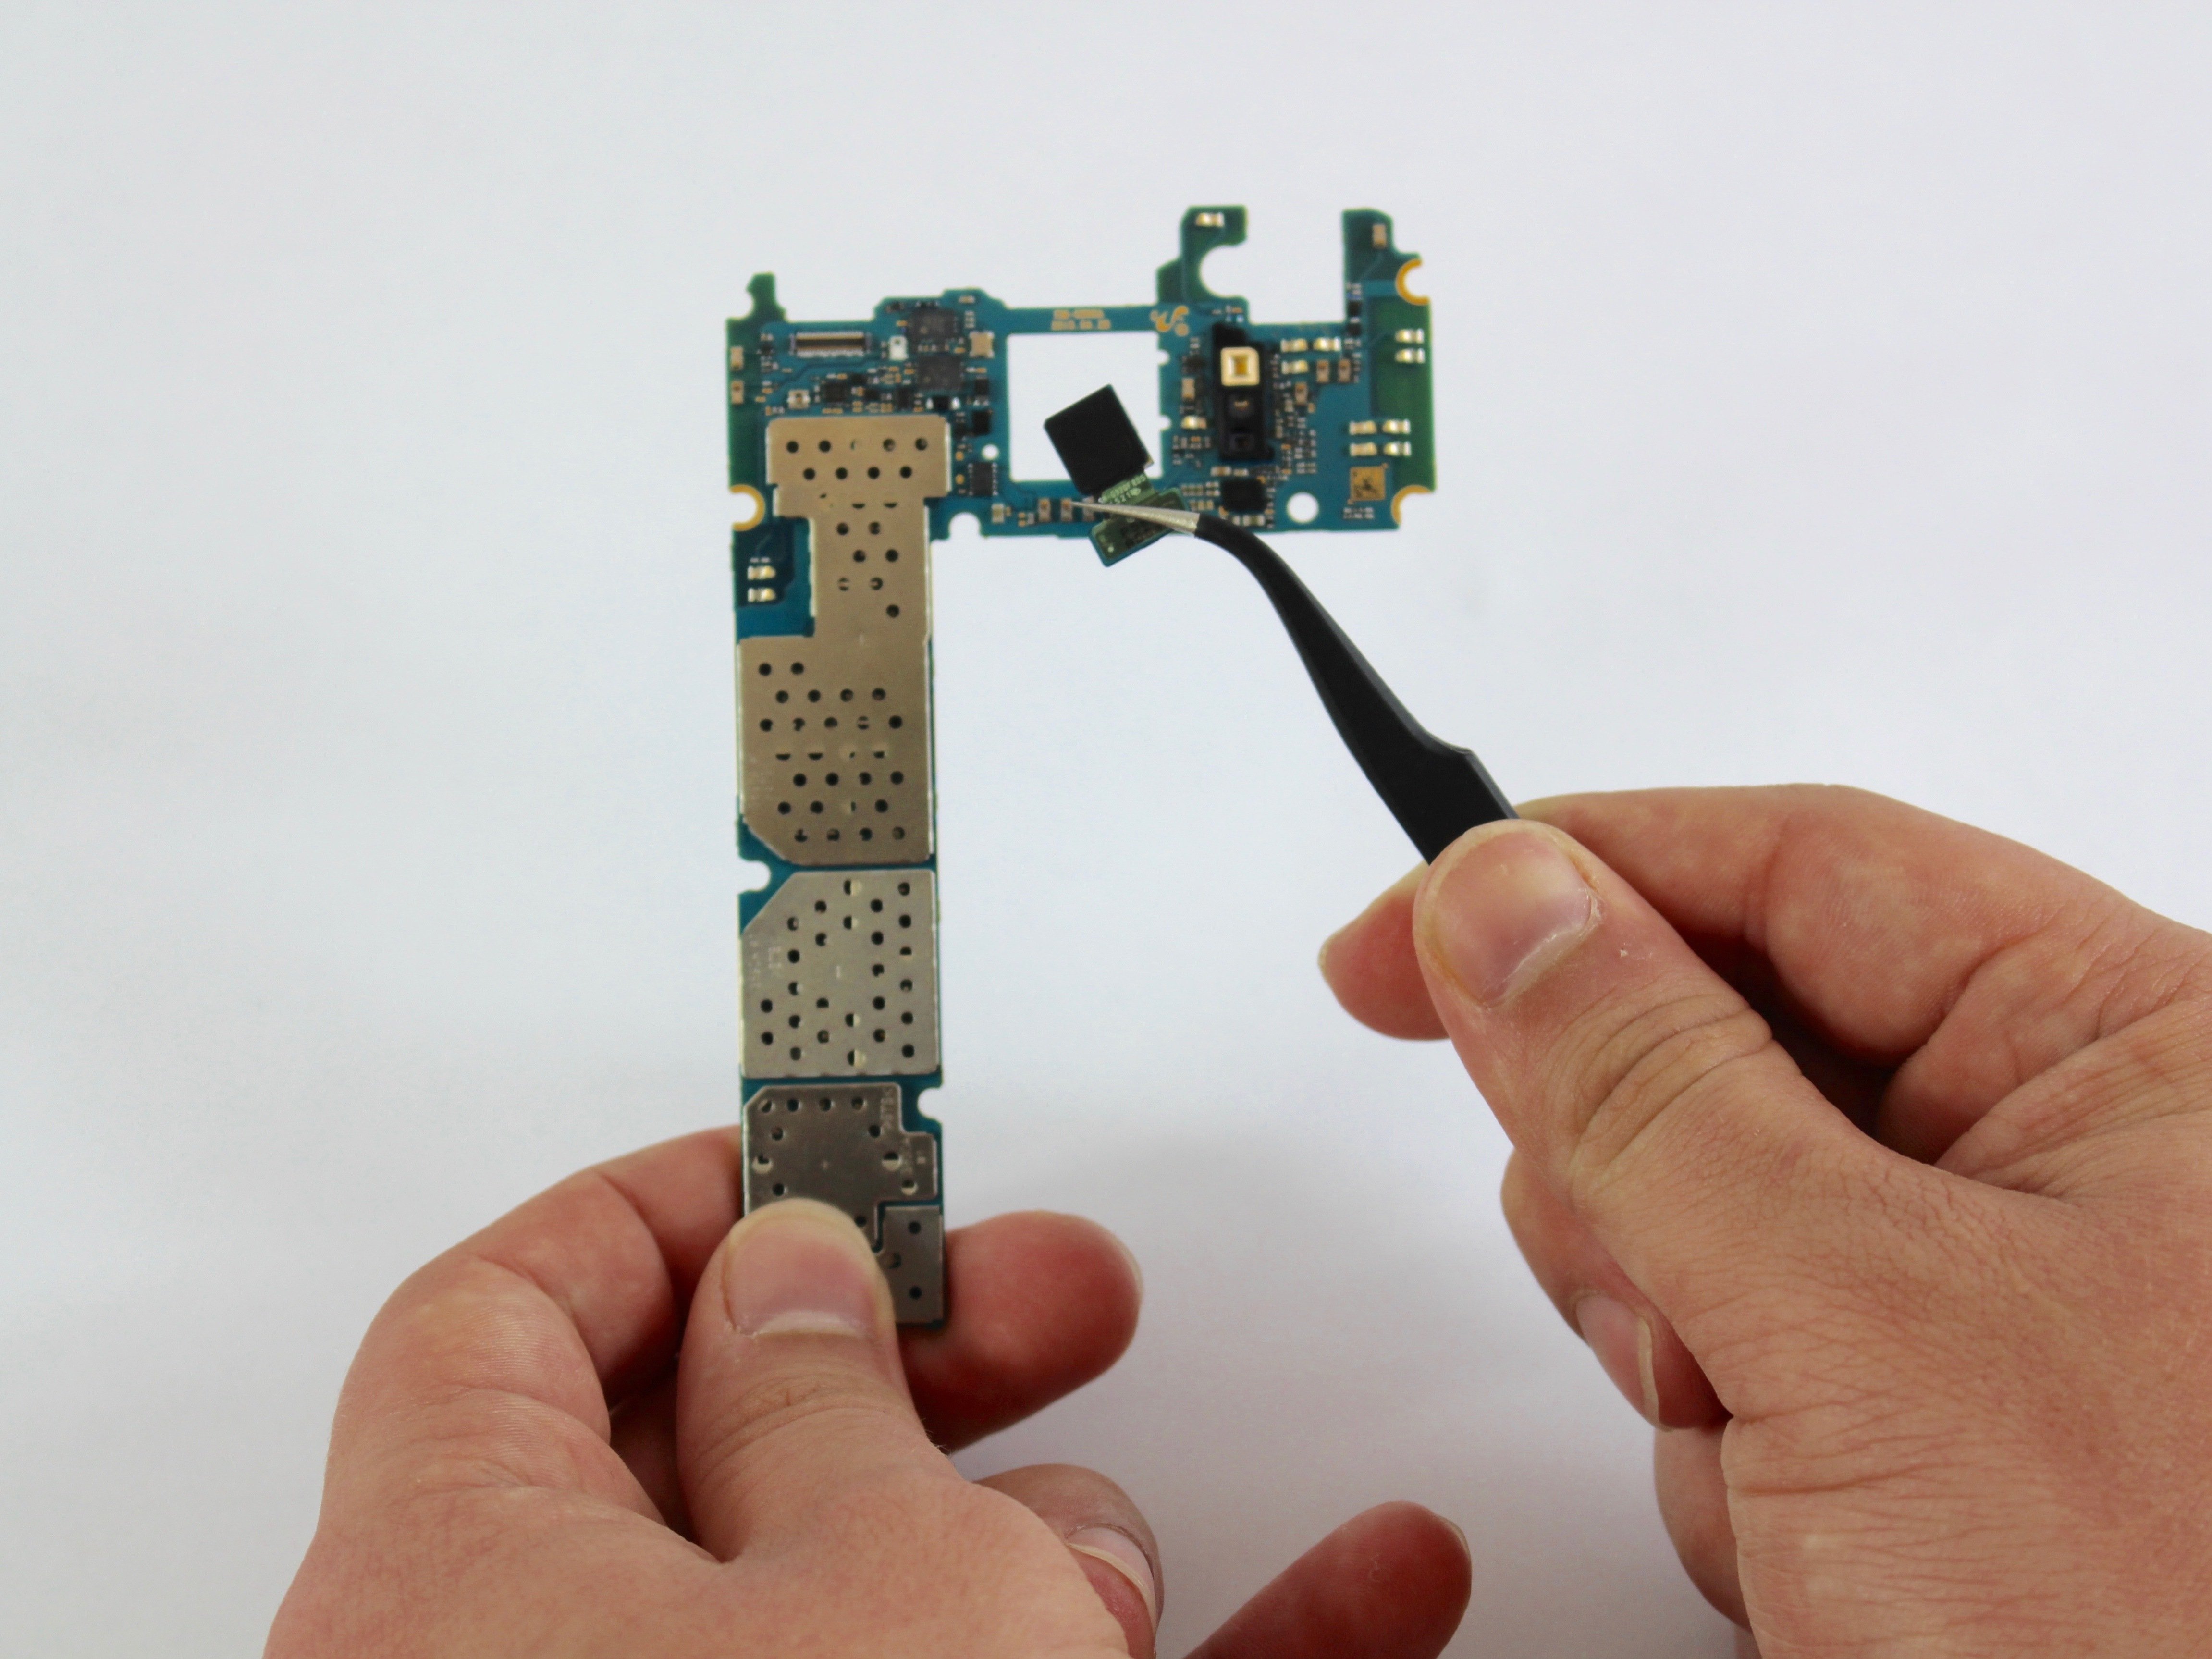
– Carefully take out the motherboard from the back case. It’s like giving your device a little hug and saying, ‘I’ve got you!’
Step 19
Gently pop off the headphone jack connection—it’s glued to the rear case, so take it easy.
– Slide a spudger into the gap at the bottom, right between the headphone jack connection and the rear case, to gently free the headphone jack. Remember, you got this!
Tools Used
Step 20
– Grab your trusty plastic opening tool, gently pop that headphone jack up, and voila—remove it from the rear case. If you need help, you can always schedule a repair


