DIY Samsung Galaxy S6 Active Rear Camera Replacement Guide
Duration: 45 minutes
Steps: 17 Steps
Heads up! Before diving into this repair adventure, make sure you’ve got everything you need at hand. If you hit any bumps along the way, don’t hesitate to reach out for some expert help. Just schedule a repair and we’ll get you sorted!
Hey there, ready to give your phone a new lens? Let’s dive in and swap out that rear camera lens like a pro! Time to bring your phone back to picture-perfect quality!
Step 1


– Slip your fingernail or a plastic opening tool into the pivot on the side of the SIM tray.
– Gently pry open the tray and pop it out of the socket.

Step 3


If you’ve got an iOpener, pop it in the microwave for thirty seconds.
– Alright, let’s get started with some warming up! Grab your trusty iOpener, a hair dryer, or even a heat gun. Heat up the front face of your device, making sure to hit all sides – top, bottom, left, and right – for a cool 60 seconds. This will help loosen up the sticky adhesive around the glass edges. Time to get things nice and toasty!
Tools Used


Step 5


Gently does it! Pull with care to keep that display happy. If it’s putting up a fight, just head back to Step 3 and let the iOpener do its thing a little longer.
– With the suction cup in hand, give a gentle tug on the lower half of the panel. You’ve got this!
Tools Used


Step 7

Give the lower part of the screen a gentle lift! It’s clipped to the top of the motherboard and yanking too hard might cause a disconnect.
– Gently pull the bottom half of the screen with the suction cup while holding down the phone frame to separate the parts. If you need help, you can always schedule a repair
Step 8


– Now that the glass is off, take a peek at the top of your phone and you’ll spot a tiny clip covering the screen connection to the motherboard. Grab those tweezers, find the little crease on the side of the clip, and gently pull it out. You’ve got this!
Tools Used

Step 9

– Time to give your device a little breathing room – gently use a plastic tool to undo the screen connection.

Step 11


– Grab your trusty Phillips Head Screwdriver, size PH000, and let’s tackle those sixteen 4mm screws holding the frame together like a champ!
Step 12

Get ready for a little symphony of clips coming undone all by themselves!
– Give a gentle squeeze at the top, bottom, and sides of your phone to pop off the rear case.


Step 14

– Slide in a plastic opening tool along the side of the frame and gently coax out the battery.


Step 16
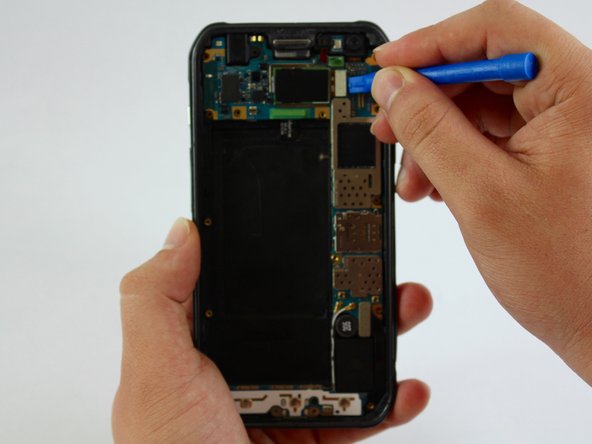

– The rear camera is snugly connected to the motherboard inside the back case. Let’s give it a little love!
– Grab a plastic tool and gently release the rear camera connection from the motherboard. You’re doing great!
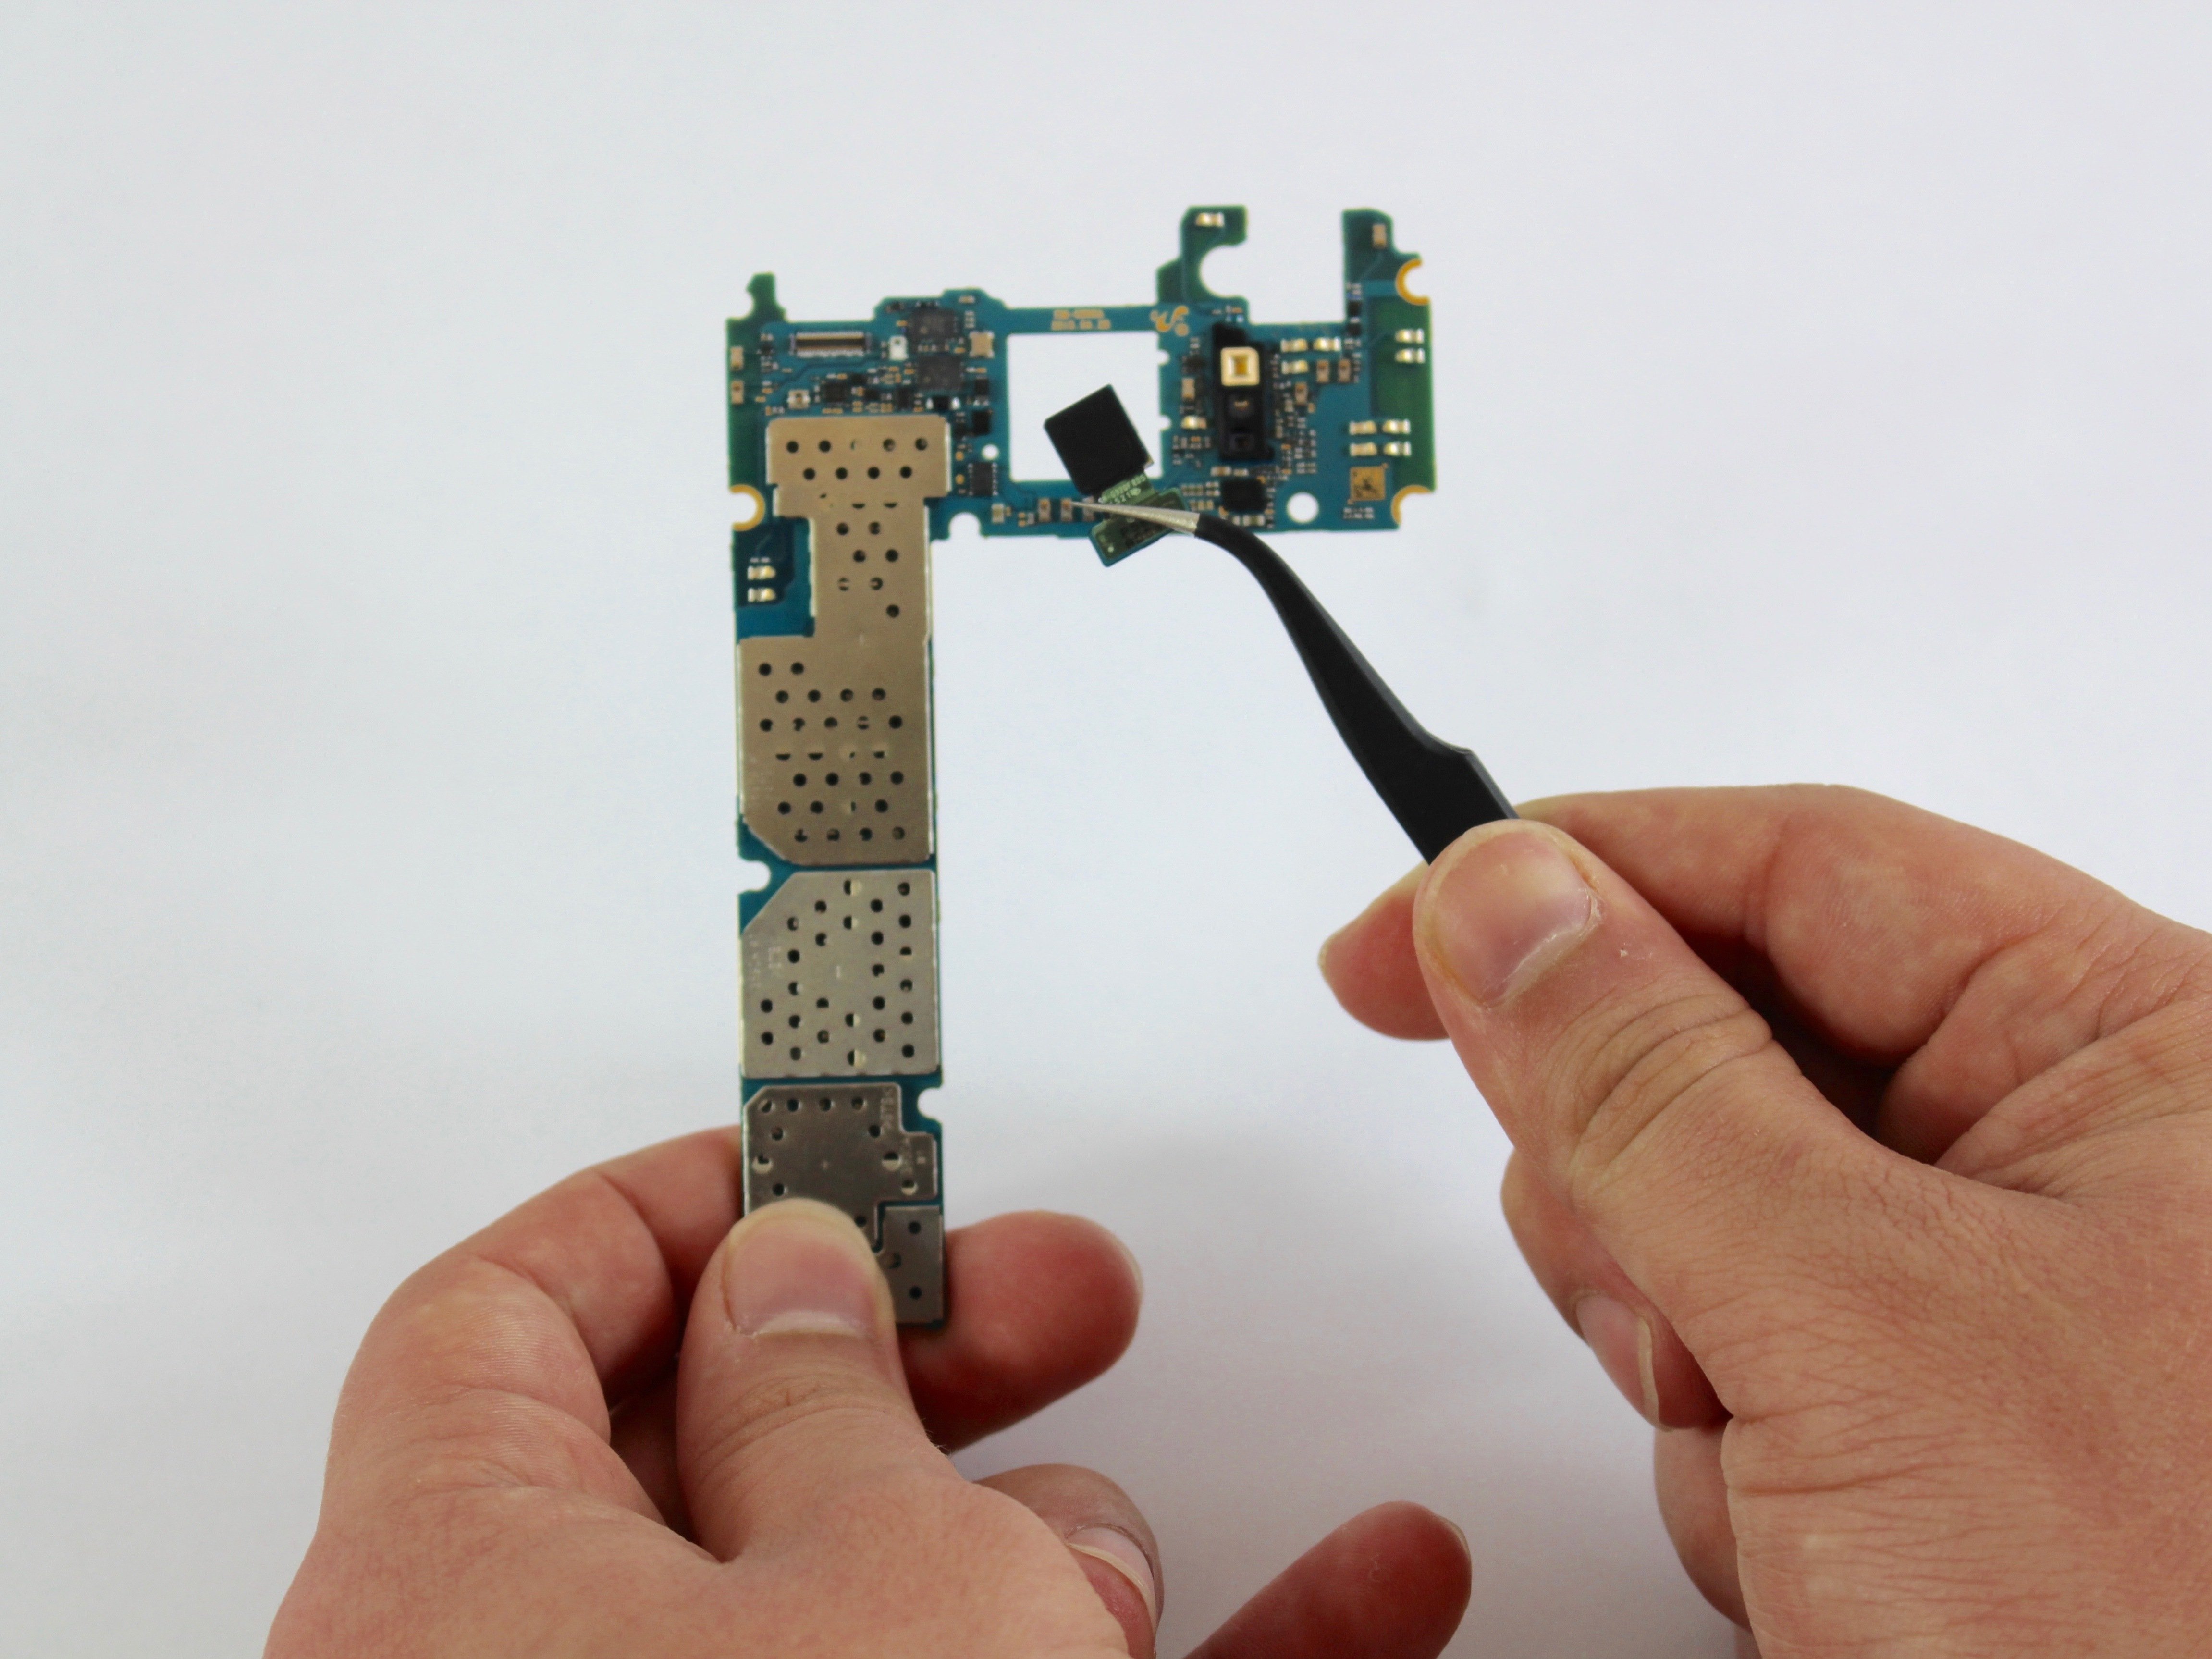
Step 17

– Grab those tweezers and gently lift the rear camera off the motherboard. You’ve got this!
Tools Used