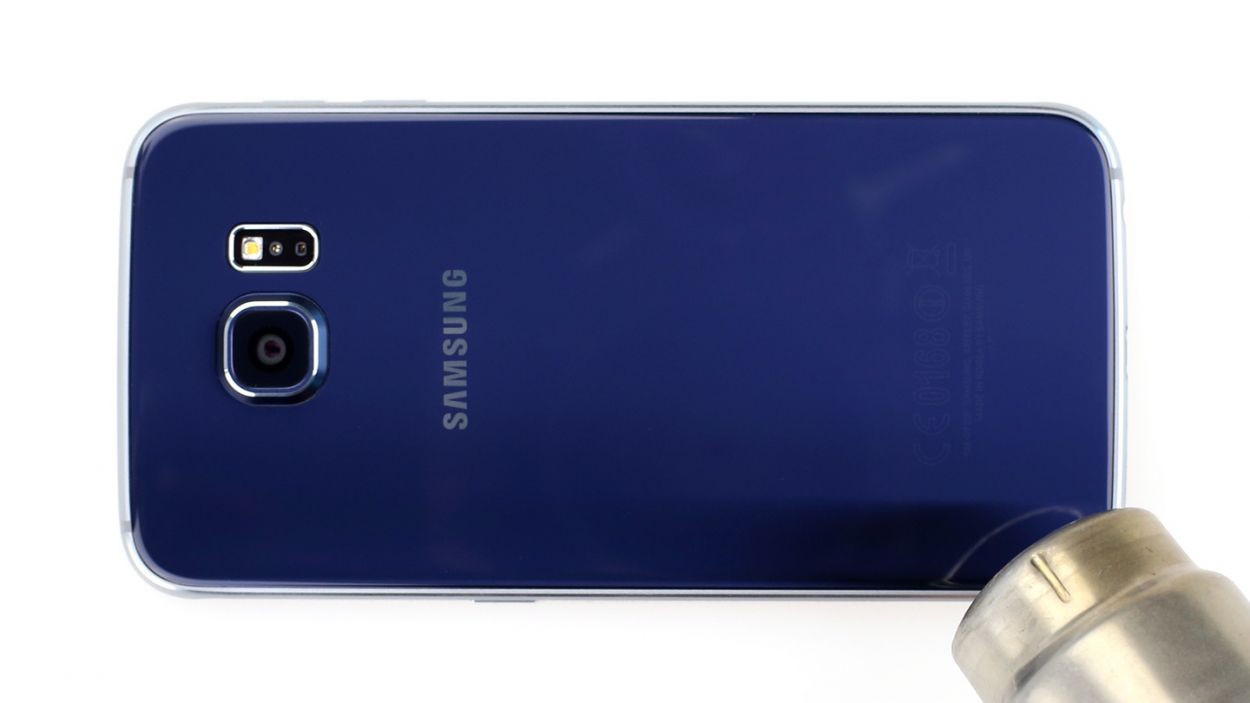
DIY Samsung Galaxy S6 vibration motor Replacement Guide
Duration: 45 minutes
Steps: 24 Steps
Hey there! If you need a hand with this repair, don’t sweat it. Just go ahead and schedule a repair with us. We’ve got you covered!
Ready to give your Samsung Galaxy S6 a little TLC? This guide will walk you through swapping out the vibration motor. Just a heads up, you’ll need to take off the rear glass, which means saying bye-bye to the adhesive holding it snugly in place. But don’t worry, we’ve got you covered with steps to pop that rear glass back on like a pro!
Step 1


Watch that thumb strength, boss! Don’t go ninja-ramming the SIM card tray, alright?
– Grab a paper clip or your trusty SIM eject tool and gently insert it into the tiny hole on the SIM card slot located on the side of the power button of your phone.
– Give it a little press to pop out the SIM card tray like a pro!
Step 2

– Pop out the SIM card tray like a pro!
Step 3


– Pop the iOpener right in the middle of the microwave.
For carousel microwaves: Ensure the plate spins smoothly. If your iOpener gets stuck, it might overheat and burn. If you need help, you can always schedule a repair.
Before starting, it’s a good idea to clear out any yucky residue from your microwave’s bottom, so the iOpener can work its magic effectively. Also, if you run into any snags, the friends at schedule a repair are always ready to lend a hand.
Tools Used

Step 4

Watch out for overheating the iOpener—it might pop! Keep it under 100˚C (212˚F).
Avoid touching the iOpener if it’s swollen.
If it’s still too hot to handle in the middle, keep using it while waiting for it to cool down a bit before reheating. A well-heated iOpener stays warm for up to 10 minutes.
Just like cooking in a microwave, the iOpener needs to get nice and cozy in there. It’s perfect when it’s just a touch too warm for comfort. Get it to that sweet spot and you’re good to go!
– Get the iOpener all warmed up for about thirty seconds.
– While tackling the repair, keep an eye on the temperature of the iOpener. If it starts to feel chilly, just pop it back in the microwave for another burst of warmth — around thirty seconds should do the trick.
Tools Used
Step 5

The iOpener will be sizzling hot, so handle with care! Use an oven mitt if needed. If you need help, you can always schedule a repair.
– Grab the iOpener from the microwave, making sure to hold it by one of the two flat ends to steer clear of the hot center.
Tools Used
Step 6


The iOpener gets super toasty, so make sure to grab it by the end tabs only. Stay safe and keep those fingers happy!
No microwave? No problem! Just follow this step to warm up your iOpener in boiling water. If you need help, you can always schedule a repair.
– Grab a pot or pan and fill it up with enough water to give your iOpener a nice, warm bath.
– Bring that water to a rolling boil and then turn off the heat. Safety first!
– Carefully place your iOpener into the hot water for about 2-3 minutes. Make sure it’s fully submerged and soaking up all that heat.
– Using tongs (because we want to keep those fingers safe), fish out the heated iOpener from the water.
– Give the iOpener a good towel dry to make sure it’s nice and ready to go.
– And voilà! Your iOpener is all set for action! If it needs a little more warmth, just repeat the process: heat the water to a boil, turn off the heat, and let the iOpener soak for another 2-3 minutes. If you need help, you can always schedule a repair.
Tools Used
Step 7


Using a hair dryer, heat gun, or hot plate can work wonders, but remember to keep it cool! Your phone’s OLED display and internal battery are like sunbathers—too much heat can cause some serious damage.
Popping open your phone means its waterproofing will take a hit. Make sure you have some replacement adhesive on hand, or be extra cautious about avoiding water if you skip the adhesive step when reassembling.
If your screen is shattered, slap on some packing tape over the whole panel to keep it together while you remove it.
You might need to warm up and use the iOpener a few times to get your phone hot enough. Stick to the iOpener instructions to avoid overheating.
– Place that cozy, warmed iOpener on the back panel for about two minutes to help loosen up the adhesive hugging the edges of the glass.
– Now, shift the iOpener around to warm up the rest of the panel for another couple of minutes.
Tools Used
Step 8


Optional fun fact: Once you insert the pick, you can daresay shake things up a bit by adding a few drops of isopropyl alcohol! This little trick helps weaken the adhesive and makes for a smoother sail in the upcoming steps. If you need help, you can always schedule a repair!
– Once the rear glass is feeling warm and cozy, grab a suction cup and place it near the bottom edge of the glass.
– Gently pull on the suction cup to create a little gap beneath the rear glass, then slide in an opening pick to keep that gap open.
Step 9


Pro tip: Keep that first pick in place while you grab a second one for the next step. It’s like a little insurance policy against the glue trying to pull a fast one and sticking back together!
Give the rear glass a little extra love with some heat if it starts getting too cool. We want to keep that glue feeling nice and soft!
– Gently glide the pick along the bottom edge of your phone to carefully cut through the adhesive holding the rear glass in place.
Step 10


– Now, let’s keep the momentum going! Just like before, heat things up and slice away at the other three sides of your phone.
– To keep things nice and open, slide an opening pick under each edge. This will stop that pesky adhesive from sticking back together.
Step 11


– Grab your trusty opening pick and gently slice through any stubborn adhesive that’s still hanging on.
– Carefully lift off the rear glass and set it aside.
Step 12


– Time to get that new rear glass on! Here’s how to do it:
– If you’re putting the old rear glass back on or using new glass without any adhesive, check out this guide.
– Grab those tweezers and gently remove any leftover adhesive from the phone’s chassis.
– Next up, clean those adhesion spots with some high concentration isopropyl alcohol (at least 90%) and a lint-free cloth. Remember to swipe in one direction only – no back and forth shenanigans! This will set the stage for the new adhesive.
– Now, peel off the adhesive backing from your new rear glass, align one edge with the phone chassis, and give it a good press to secure it. You’ve got this!
Tools Used

Step 13

– Pop out the thirteen little 3.5mm Phillips #00 screws that are holidng the midframe to the phone. If you need help, you can always schedule a repair!
Step 14


First things first, pop out that SIM card tray before diving in.
Watch out! Don’t let that opening pick sneak between the glass and display.
– Grab that midframe assembly like a pro!
– Gently lift the midframe assembly while giving the battery a little push downwards to help separate it from the rest of your device.
– If the midframe doesn’t want to budge, a little heat from an iOpener around the display edges can work wonders to loosen up that stubborn adhesive.
– As you’re lifting the midframe, keep an eye on the audio jack and charging port to avoid any little snags.
– Once you’ve got the midframe partially separated, carefully slide an opening pick around the edges to free the top of the midframe.
– To protect that headphone jack, make sure to detach the top of the midframe first, then nudge the midframe downwards to let it slip away from the headphone jack.
Tools Used
Step 15

– Gently lift the midframe assembly to free it from the rest of the phone. You’re doing great!
Step 16


– Gently slide the flat end of the spudger under the battery connector and pop it free from its cozy spot on the motherboard. You’ve got this!
Tools Used

Step 17


– Grab your trusty spudger and use its pointed edge to gently unplug the Bluetooth and Wi-Fi antenna cable connectors from their cozy little sockets on the motherboard. You’ve got this!
Tools Used
Step 18


– Don’t worry, just gently use the flat end of the spudger to disconnect the home button connector.
Tools Used
Step 19


– Alrighty, time to get disconnecty with the display assembly cable! Use the flat end of your trusted spudger friend to gently unplug it from the motherboard. If you need help, you can always schedule a repair!
Tools Used
Step 20


– Unplug that earpiece speaker assembly cable from the motherboard with care! You’re doing great, keep it up!
Step 21


Hold your horses! Don’t yank that motherboard out just yet—it’s still buddies with the daughterboard through a ribbon cable on the bottom. Let’s keep them together a little longer!
While delicately lifting the motherboard, make sure to gently relocate any ribbon cables obstructing its path. If the board seems stubborn, double-check that it is completely detached and free from entanglements with the ribbon cables.
– Gently lift the camera-side end of the motherboard to free it from the display frame.
Step 22


– Grab your trusty spudger and gently use its flat end to pop that daughterboard ribbon cable connector right out of its cozy socket on the underside of the motherboard. You’ve got this!
Tools Used


Step 24

– Let’s dive in and gently remove the vibration motor.