DIY Samsung Galaxy S7 Active Screen Replacement Guide – Step-by-Step
Duration: 45 minutes
Steps: 6 Steps
Hey there! Just a friendly reminder to handle those delicate parts with care. We want your repair journey to be smooth and successful. If you ever feel stuck or need a helping hand, don’t hesitate to schedule a repair. You’ve got this!
This guide is here to help you open your phone’s screen from the front side like a pro with one easy peasy step!
Step 2
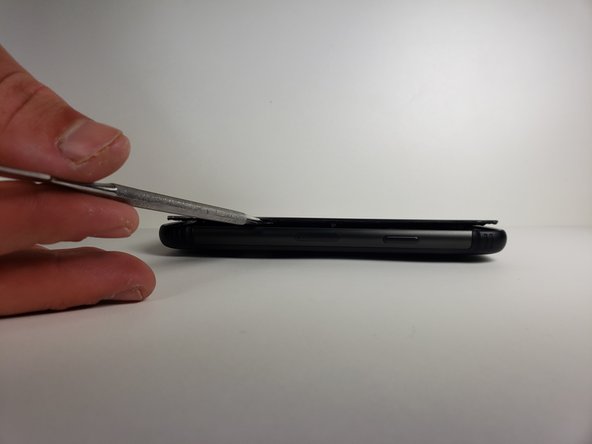
Using more than one metal spudger makes separating the screen from the sealing adhesive a breeze!
Just a heads-up, your device may not be fully watertight once reassembled, but don’t worry, we’ve got you covered!
– Slip the metal spudger between the screen and the frame to start gently prying them apart. Remember to take your time and be careful – you’ve got this!
Tools Used
Step 3
To make things go smoother, give your metal spudger some love with a little blow dryer action in the same direction you’re sliding.
– Give that metal spudger a little dance around the phone at least once.
Tools Used
Step 4
Don’t forget to give those hands a good scrub with hot water and soap after you’re done!
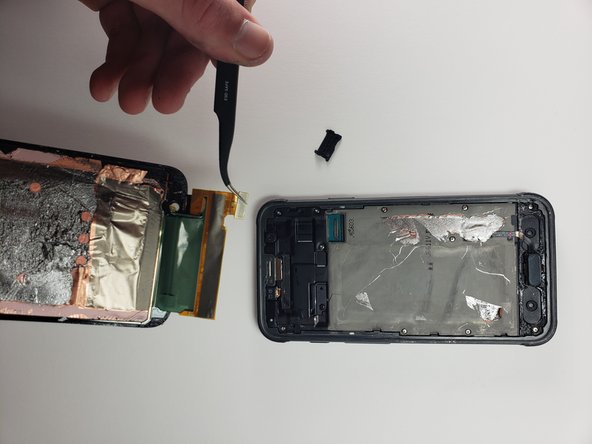
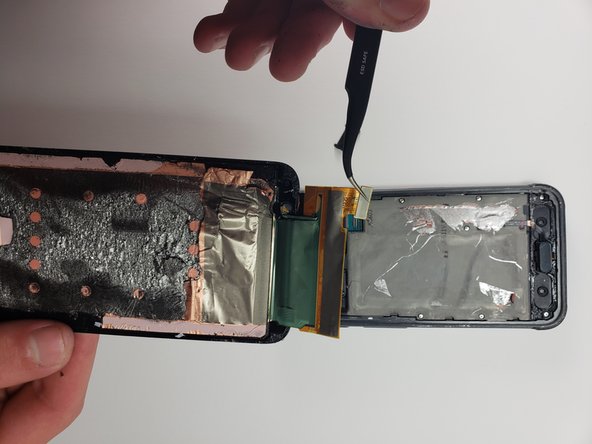
– Gently raise the screen using your hands. Just give it a little lift and you’ll be on your way!
Step 6
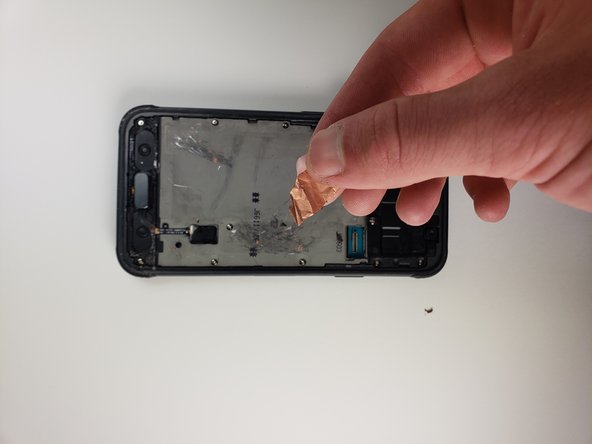
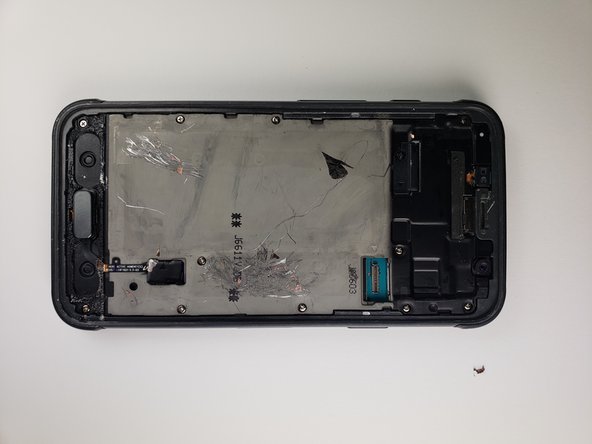
– Let’s tackle the leftover adhesive by gently scraping it off the phone using a trusty metal tool!
– Time to give that adhesive a good cleanse with some rubbing alcohol. Grab a napkin and pour a bit of alcohol on it.
– Now, with your alcohol-dampened napkin, delicately wipe down the phone to leave it squeaky clean!


