DIY Samsung Galaxy Tab S 10.5 Headphone Jack Replacement Guide
Duration: 45 minutes
Steps: 7 Steps
Having trouble with your headphones on your device? It might be time to swap out the headphone jack. Follow this fun and easy guide to replace the headphone jack in your tablet.
Step 1
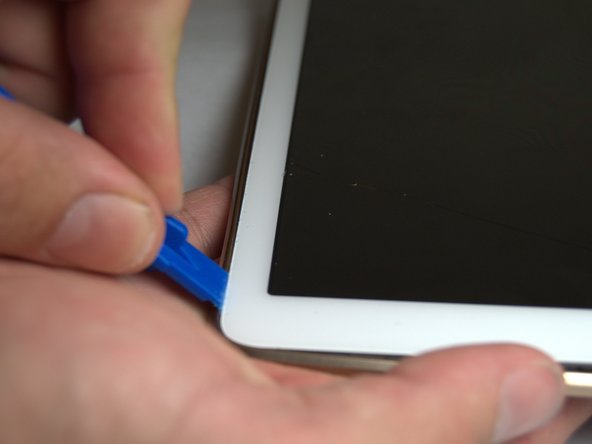
– Gently slide the plastic opening tool into the SD card slot or charge port.
– Give it a little upward nudge until you notice a gap forming between the tablet and the back cover.
Step 2
If this is your first rodeo, separating the back cover from the tablet might feel a bit tricky. Don’t worry, you’ve got this!
The clips are spaced about 5 cm apart. As you work your way around the device, listen for the satisfying pop of the clips as they disconnect. It’s like music to your ears!
– Groove around the entire device by cruising the plastic opening tool along the rim.
Step 3
Handle those internal components of the tablet with care, like you would a precious cupcake!
– Time to get started! Remove the back cover once you’ve carefully separated all the links.
Step 4
– Pop your plastic opening tool between the outer rim and the main body.
– Gently slide the tool downwards to start separating the two parts.
– Glide the tool along the rim to unclip all the connectors keeping the outer rim attached to the back. Keep going, you’ve got this!
Step 5
– Do this for each side, then lift off the rim.
Step 6
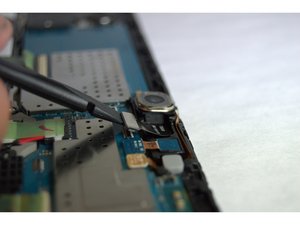
– Grab your trusty Phillips #00 screwdriver and loosen the two screws keeping that headphone jack in place.
Tools Used
Step 7
– Time to put everything back together! Just retrace your steps and follow these instructions in reverse. You’ve got this!
– If you hit a snag, no worries! Just remember, you can always schedule a repair for expert help.
– And hey, you’re not alone in this—many others have tackled this guide successfully!
Tools Used
Success!


