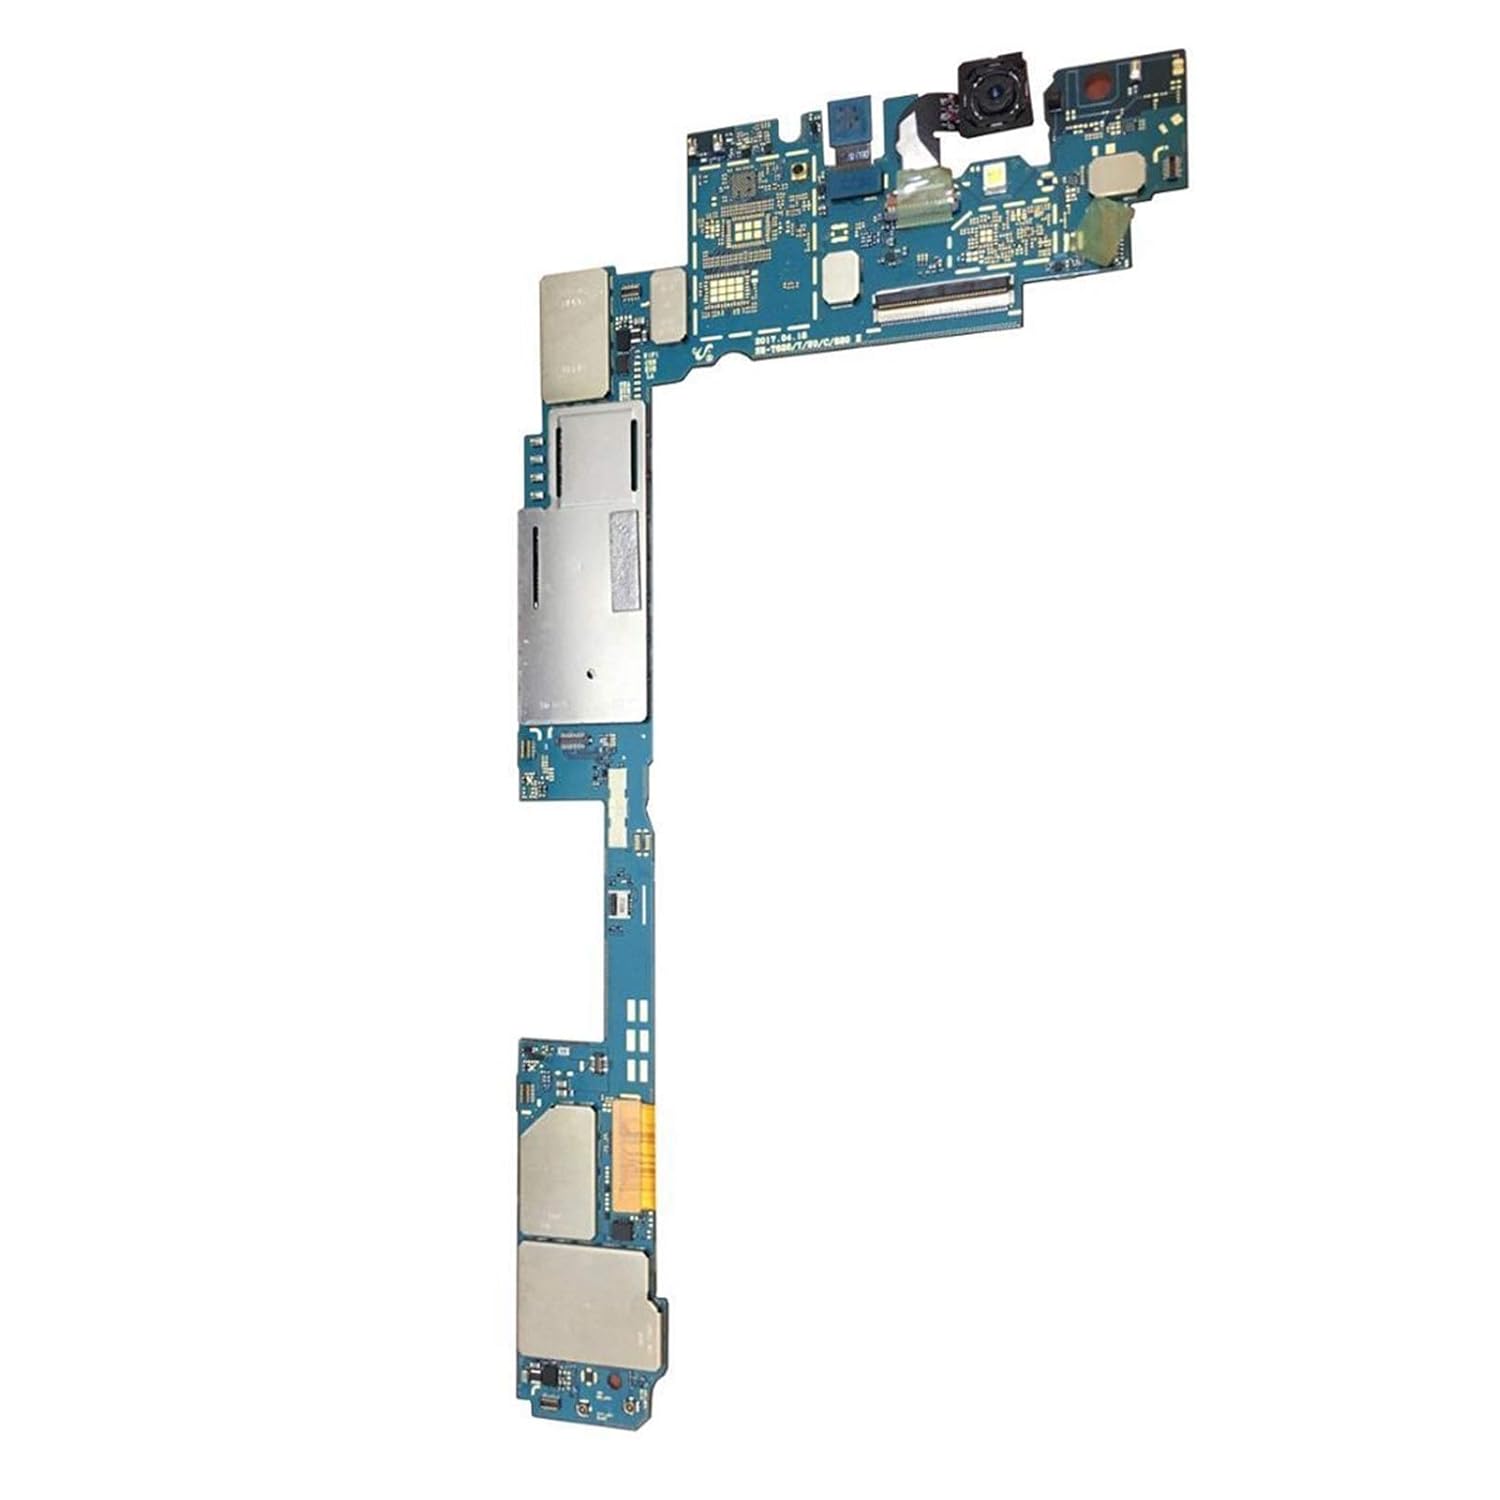
DIY Samsung Galaxy Y Motherboard Replacement Guide
Duration: 45 minutes
Steps: 5 Steps
Get ready to dive into some fun as we guide you through the process of swapping out the motherboard for your Samsung Galaxy Y. It’s easier than you might think, and we’re here to help every step of the way! If you need assistance, you can always schedule a repair.
Step 1
– Alright, let’s get this party started! Grab that awesome blue plastic opening tool and gently pry off the back panel. It’s like popping open a treasure chest! If you’re feeling a little hesitant, no worries, you can always schedule a repair. We’re happy to help!
Step 2
– Grab your trusty Phillips #000 screwdriver and get ready to take out those four 5mm screws hanging out in the corners of the interior back panel. They won’t know what hit them!
– Next up, gently slide the SD card out of its cozy little slot. It’s time for a little break!
Tools Used
Step 3
– Now it’s time to get inside – use your trusty metal pry tool to carefully separate the interior back panel from the rest of the hardware and screen. If you need help, you can always schedule a repair
Step 4
– Alright, let’s get this party started! First things first, you’ll want to gently disconnect the orange motherboard connection. Then, you can confidently remove the interior hardware from the front screen display. It’s like taking apart a puzzle, but with more cool tech stuff! If you need help, you can always schedule a repair.
Step 5
– Grab your trusty Phillips #000 screwdriver and carefully remove the five 2mm screws hiding in the corner of the silver protective panel – you got this!
– If your motherboard is cracked or damaged, it’s time to swap it out with a brand new one. Remember, if you need help, you can always schedule a repair
Tools Used


