DIY Smart Soldering Iron Quick Start Guide
Duration: 45 minutes
Steps: 13 Steps
A peek at the soldering iron’s components!
Understanding the Touch-Safe Indicator LED—it’s your buddy!
Plugging in the USB-C cable like a pro.
Powering up—let’s get energized!
All about free fall detection—stay safe out there!
Active, Idle, and Sleep modes—know your device’s vibe.
How to grip that soldering iron safely and securely.
Ready, set, solder! Turning on the iron and diving in.
Welcome to your go-to guide for the FixHub Smart Soldering Iron! Here, we’ll take a breezy tour through its parts, features, and how to get started with soldering like a pro. We’ll cover everything from a quick component rundown, how to interpret that handy Touch-Safe Indicator LED, to hooking up the USB-C cable and connecting to a power source. Plus, we’ll share info on free fall detection, modes like Active, Idle, and Sleep, tips for holding the iron safely, and how to flip the switch and dive into soldering. Remember, if you need help, you can always schedule a repair.
Step 1

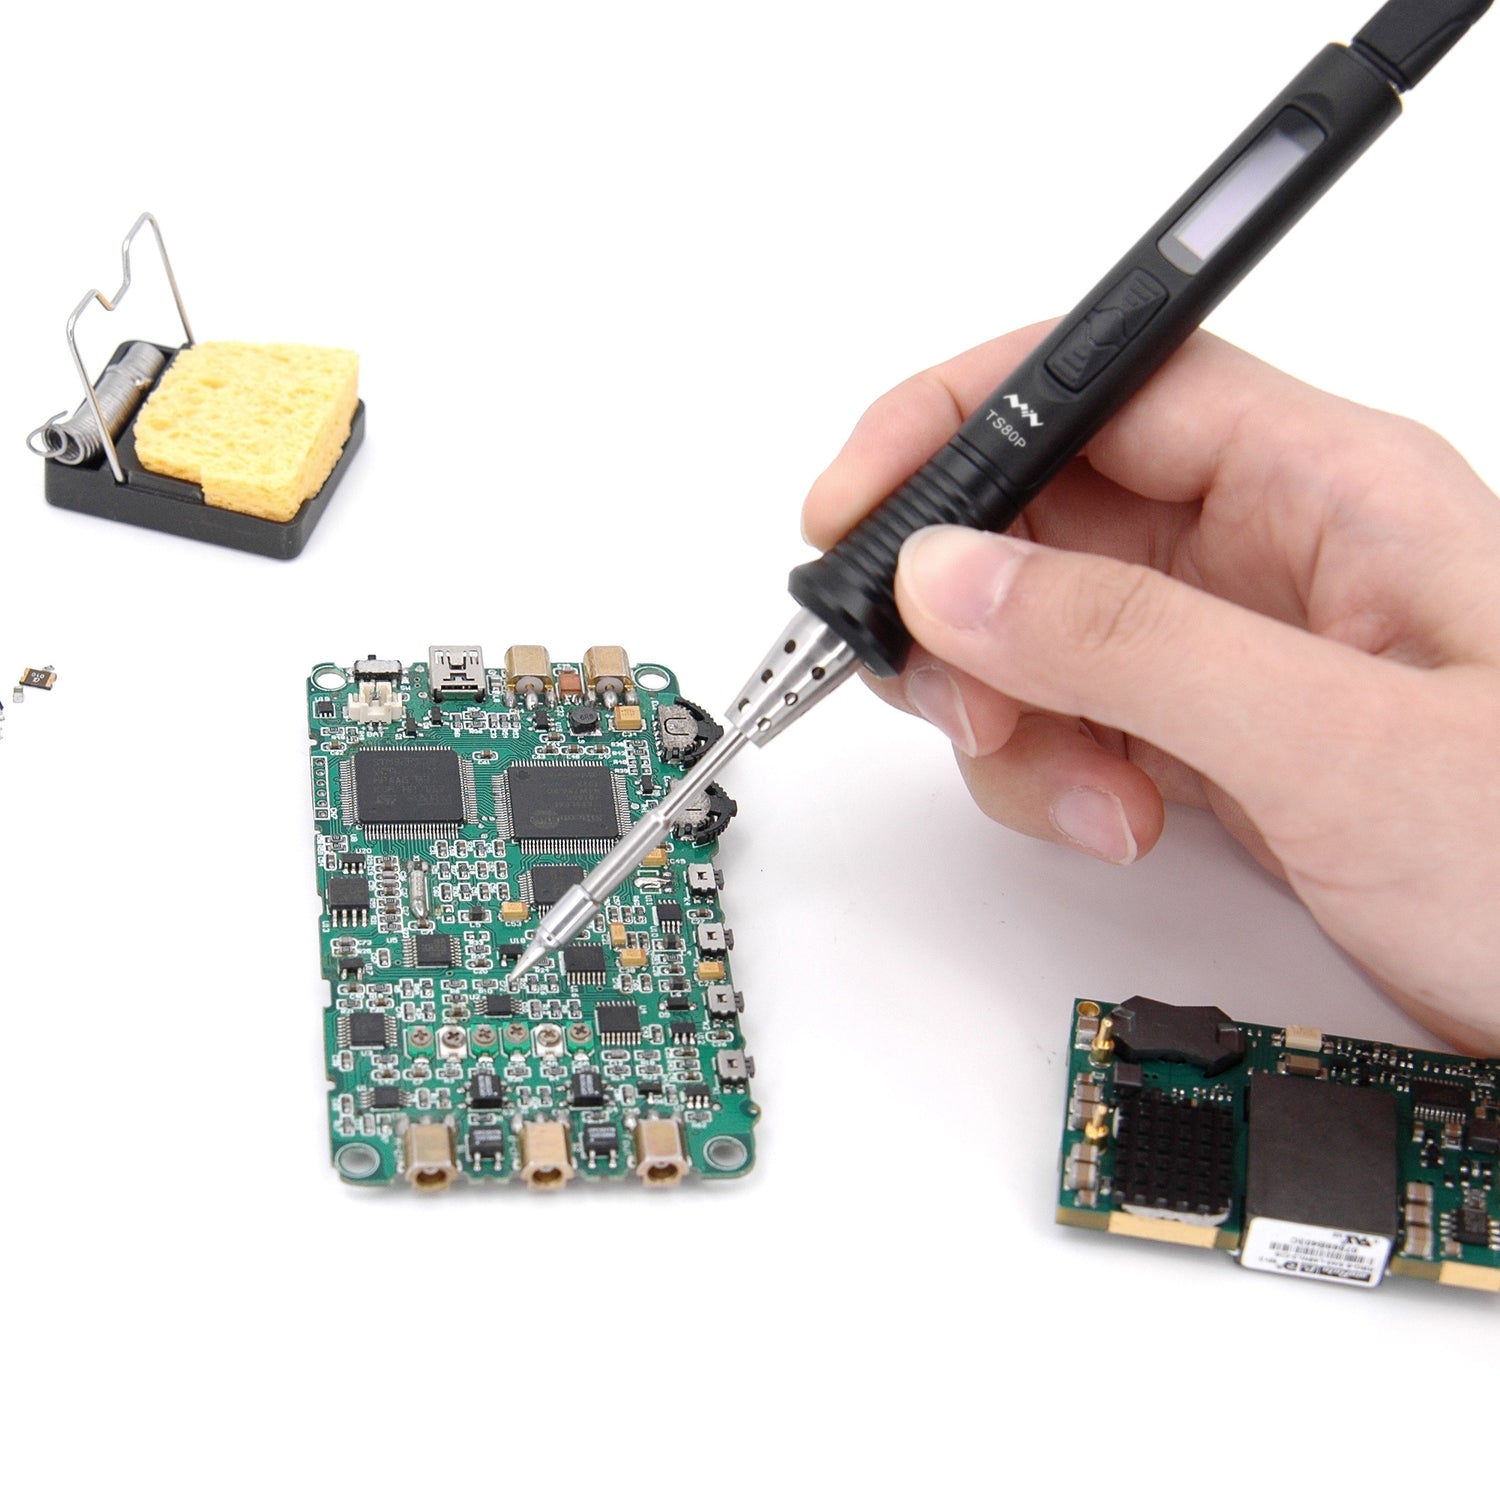
For a closer look at the various parts of the soldering iron, check out this exploded diagram.
– Here’s a fun look at all the components that come together to form the Smart Soldering Iron:
Tools Used

Step 2


The color of the Touch-Safe Indicator LED tells you what’s going on with the soldering iron tip. Just a heads up: the grip of the soldering iron is always safe to touch, so no worries there!
– Blue LED: Chill out! The iron’s cooled down below 40 °C (100 °F), so it’s totally safe to touch the tip now.
– Purple LED: When it’s pulsing, the iron’s on a hot and cold adventure. If it’s steady, it’s in Idle Mode. Just a heads up, the iron tip isn’t safe to touch right now.
– Orange LED: The iron’s hit the sweet spot temperature and is all set for some soldering action! Just remember, the iron tip is still too hot to touch.
Step 3

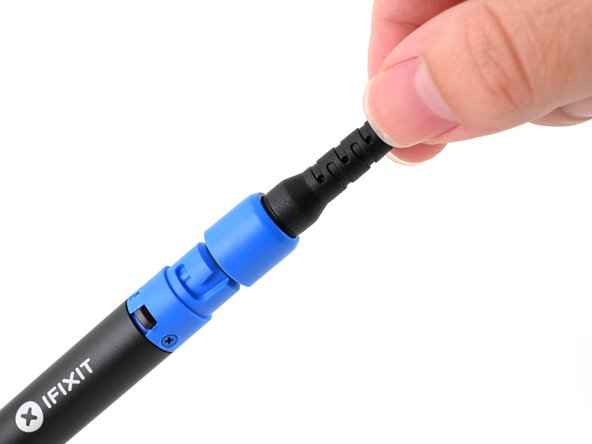
– First things first, let’s make sure the soldering iron is chillin’ in the blue OFF position. Safety first, right?
– Now, grab that USB-C cable and line it up with the blue locking collar. Give it a gentle push to connect it to the blue USB-C port on the soldering iron. You’ve got this!
Step 4
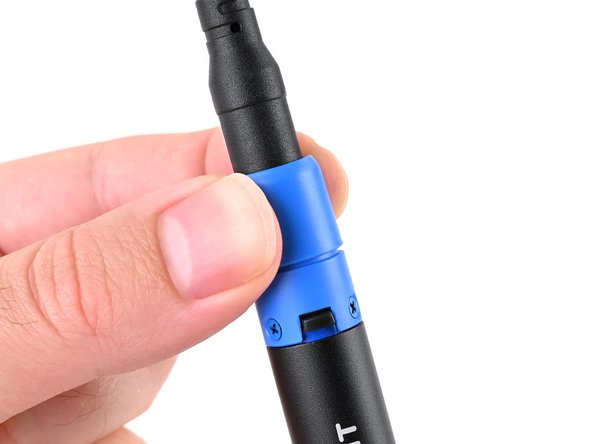
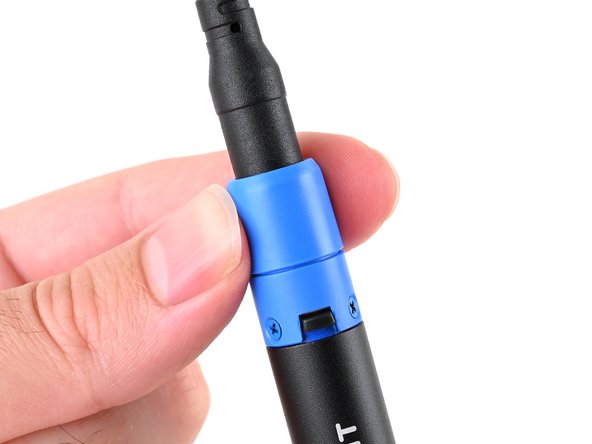

– Get those nubs aligned with the slots on your soldering iron like a pro! It’s like putting together a puzzle, just a bit more electrifying.
– Now, give that collar a snug hug against the soldering iron, and then twist it to the right to secure it in place. You’re doing great!
Step 5


The Smart Soldering Iron shines brightest when teamed up with a Portable Power Station, giving you sweet control over temperature and all those nifty settings.
But no worries if you don’t have that fancy setup! It’ll still work like a charm with any power source that can dish out at least 20W via USB-C PD.
– Plug the end of the USB-C cable that doesn’t have the blue locking collar into a compatible USB-C power source. You’ve got this!
Tools Used
Step 6

The Smart Soldering Iron comes packed with a cool accelerometer-based safety feature to keep things safe while you work your magic.
Tools Used
Step 7


Keep an eye on that soldering iron! It’s not a pet you can just leave alone.
Steer clear of the hot tip of the soldering iron—it’s not as friendly as it looks!
When you’re in Active Mode, your iron is either heating up or keeping that perfect working temperature. Keep an eye on that LED – it’ll be pulsing purple when it’s heating up and orange when it’s holding steady. You’re doing great!
Step 8

Hey there! Avoid touching that sizzling soldering iron tip when it’s in Idle Mode. Trust us, your fingers will thank you!
While you can turn off Idle Mode if you want, we totally recommend keeping it on to help the tip last longer. It’s like giving your tools a little spa day!
If your soldering iron gets a bit too relaxed and hasn’t moved in 30 seconds, it switches to Idle Mode, chilling out in low-power mode and cooling down to a cozy 200 °C. Perfect for taking a little break while you work your magic!
Step 9

After the Idle Mode kicks in, Sleep Mode takes over when the iron has been totally still for a little while. Just think of it as the iron’s way of taking a quick nap!
Feel free to give the soldering iron tip a gentle touch during this snooze, as long as the indicator ring is still shining blue. No burns here, just a friendly little rest!
Step 10

Keep your fingers away from the hot stuff! The soldering iron can get pretty toasty, especially when the Touch-Safe Indicator LED is flashing orange or purple. Yikes! Treat that metal tip like it’s a sizzling pan on the stove—always assume it’s hot. Stay safe and keep those burns at bay!
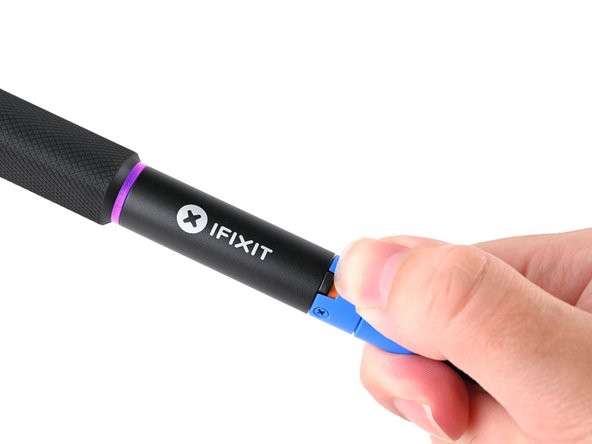
– Grip the soldering iron firmly by the base of the handle, letting your fingers rest on the textured grip for a steady hold.
Step 11


Keep your soldering iron in sight and don’t let it wander off when the power switch is glowing orange. It’s a hot ticket and needs your attention!
The sliding power switch features a handy color indicator for each position:
– Give that power switch a little slide to the orange ON position and let the magic begin!
Step 12
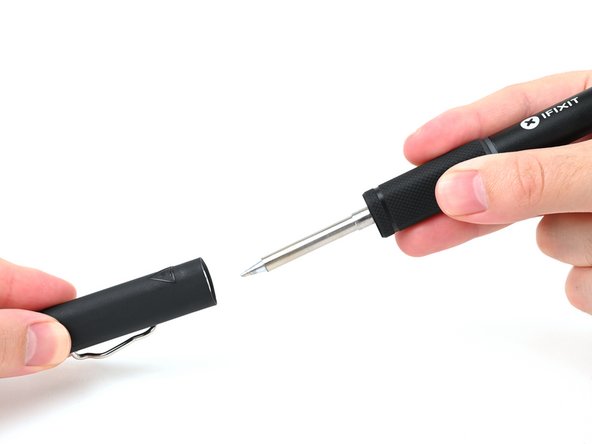

For safety’s sake, make sure to pop the cap back on your iron when it’s not in action. The cap is designed to handle the heat and can snugly cover your iron, even if it’s still warm. Stay safe and keep it cool!
– Grab the iron by both ends and give a gentle pull to pop off the cap.
Step 13

When the Touch-Safe Indicator LED glows orange, it means your iron has hit the sweet spot and is all set for some serious soldering action!
– Your iron is all set and ready to rock the soldering scene!