DIY Tutorial: Replace Optical Drive Disc – Computer Hardware Device Model Repair Guide
Duration: 45 minutes
Steps: 3 Steps
Hey there! Just a friendly reminder to take your time and follow each step carefully. If you hit a snag or need a hand, don’t hesitate to reach out and schedule a repair. You’ve got this!
Is your optical drive munching on your favorite CD? Or did your little one decide it was a piggy bank? No need to stress! This guide will help you get that stuck disk or pesky foreign object out of your optical drive in no time. If you need help, you can always schedule a repair.
Step 1

– After successfully removing the optical drive from your device, proceed to unscrew the top panel of the optical drive.
Step 2


– Now that those pesky screws are out of the way, gently nudge the top panel towards the back of the optical drive to give those tabs some room to breathe.
– Time to give the top panel a lift off the optical drive – you’ve got this!
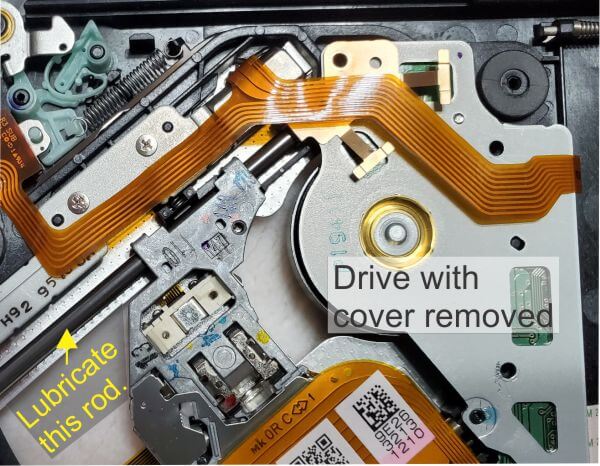
Step 3

– Give your optical drive a little TLC by removing any pesky objects that may be stuck inside.
– If you’ve got a stubborn disk that’s decided to play hide and seek, just gently lift it off the spindle motor to set it free!