DIY Tutorial: Samsung Galaxy S Motherboard Replacement Guide – Step-by-Step Tutorial for Samsung Galaxy S5 Sport Motherboard Replacement
Duration: 45 minutes
Steps: 11 Steps
Hey there! Just a friendly reminder to handle your device with care. If you encounter any hiccups, don’t hesitate to reach out for support. Remember, if you need help, you can always schedule a repair!
Ready to dive into the world of motherboard removal? This guide will walk you through the safe extraction of your device’s motherboard—it’s a breeze once you get the front screen and the plate underneath off! Just a heads up: if you’re planning to swap out the motherboard, you’ll need to take the screen off first. Since this is a waterproof phone, there’s a good chance the screen might not survive the extraction. So, gear up and be ready to replace the screen too! If you need help, you can always schedule a repair.
Step 1


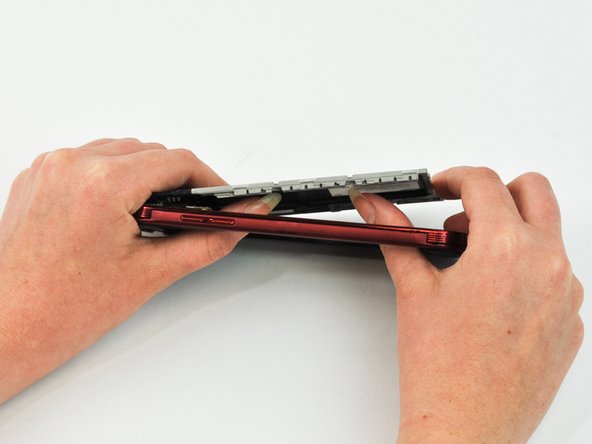
– Time to give your phone a little makeover! Pop the back casing off using the handy notch at the top.
Step 2


Be careful with the battery—bumping it could lead to a big mess or even a little ouch!
– Get ready to lift up the battery using a plastic spudger or fingernail with a smile on your face.
Step 3


– Grab your plastic opening tool or spudger, and carefully lift the screen once the adhesive is soft.
– Since this phone is water-resistant, you’ll need to break the screen to take it apart.
Choosing the right tool is crucial when working with electronics. Always opt for an ESD-safe tool to avoid accidental damage. If you need some serious prying power, the metal spudger is your go-to. However, whenever possible, stick to the regular black nylon spudger or a plastic opening tool. If you need help, you can always schedule a repair.
Tools Used

Step 4


Hey there, just a heads up – make sure you’re not holding the phone too close to your face or eyes. We don’t want any small glass shards causing trouble or the metal spudger slipping away on you. Stay safe and keep a good distance!
Top-right of the LCD screen, you’ll spot a ribbon cable. Handle with care – you don’t want to break its connection to the motherboard. If you need help, you can always schedule a repair
Tools Used
Step 5


– Unscrew the bolts surrounding the cover like a pro!


Step 9

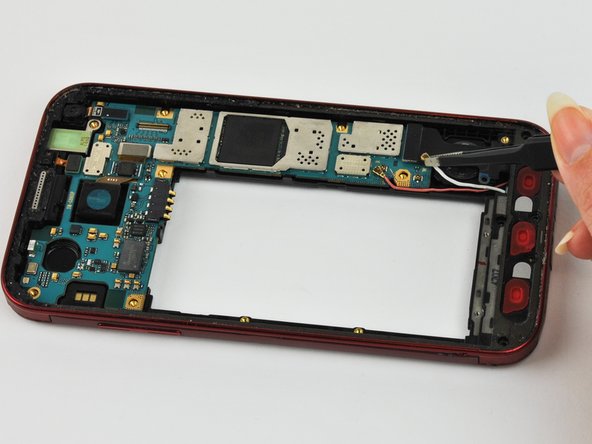
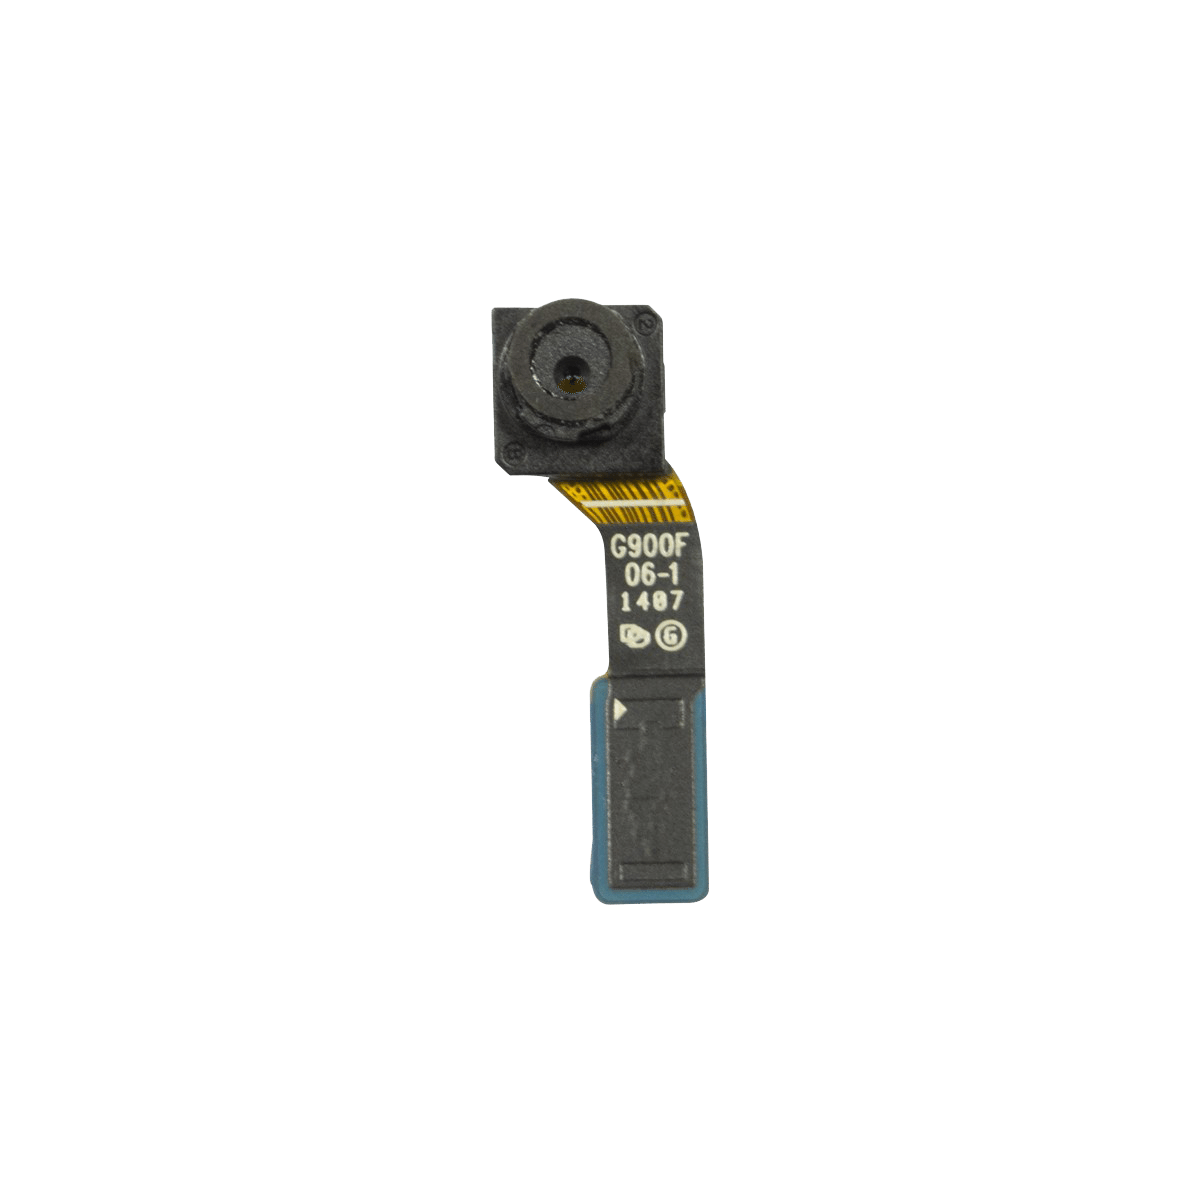
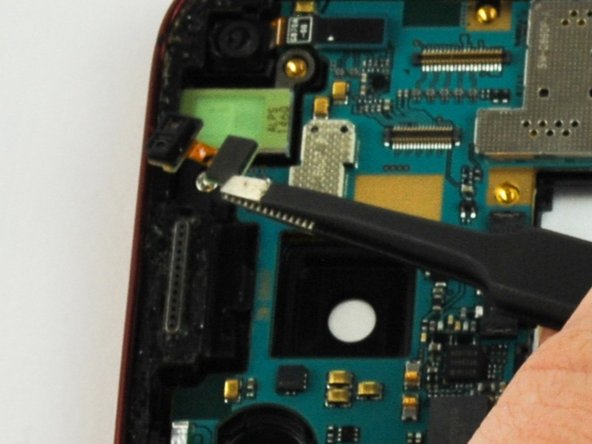
– Gently pull on the metallic caps to detach the pink and white wires from the motherboard. You’ve got this!


Step 11

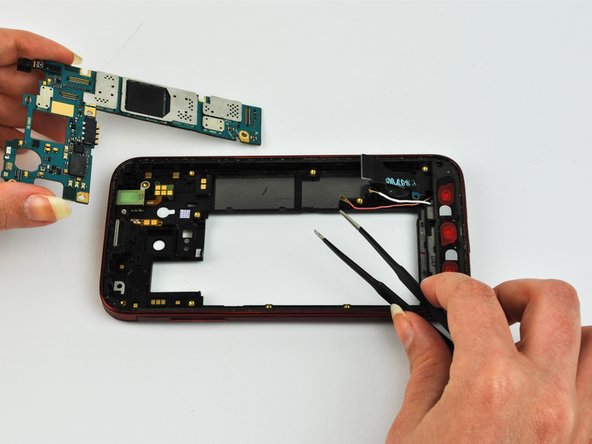
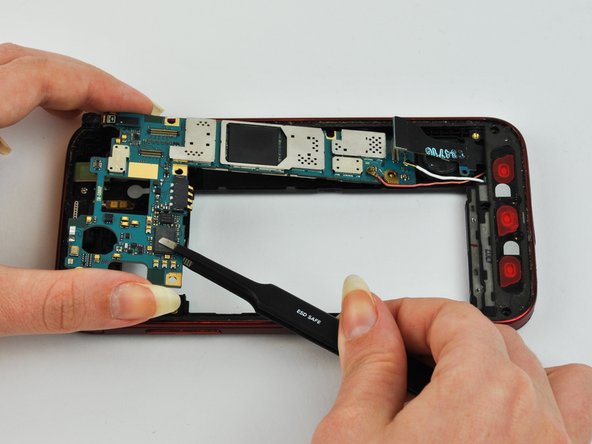
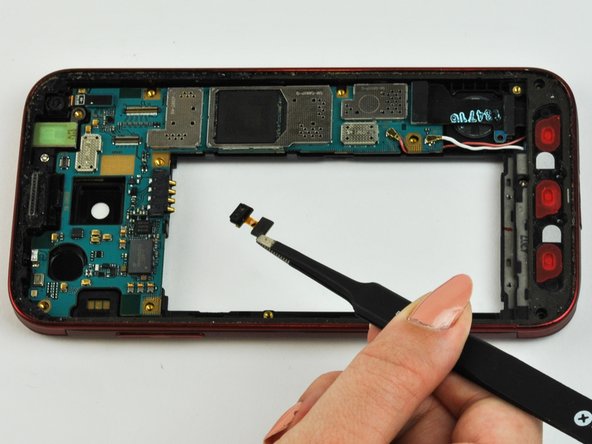
– Gently lift the motherboard out of its cozy spot in the phone. It should come out without much fuss, just like pulling a blanket off a sleepy puppy!