DIY Xbox 360 S RF Board Repair: Step-by-Step Guide
Duration: 45 minutes
Steps: 5 Steps
Having some trouble with your Xbox 360 S? If the faceplate buttons, like power and eject, aren’t working and your wireless controller won’t connect or turn it on, don’t worry – we’ve got you covered. First, make sure it’s not a power supply issue. If that’s not the problem, it’s likely related to the RF board. Let’s get started on fixing it!
Step 1

– Gently take out the two 5.6 mm T8 Torx screws that are holding the RF module snug against the metal case. You’re on the right path!
Step 2


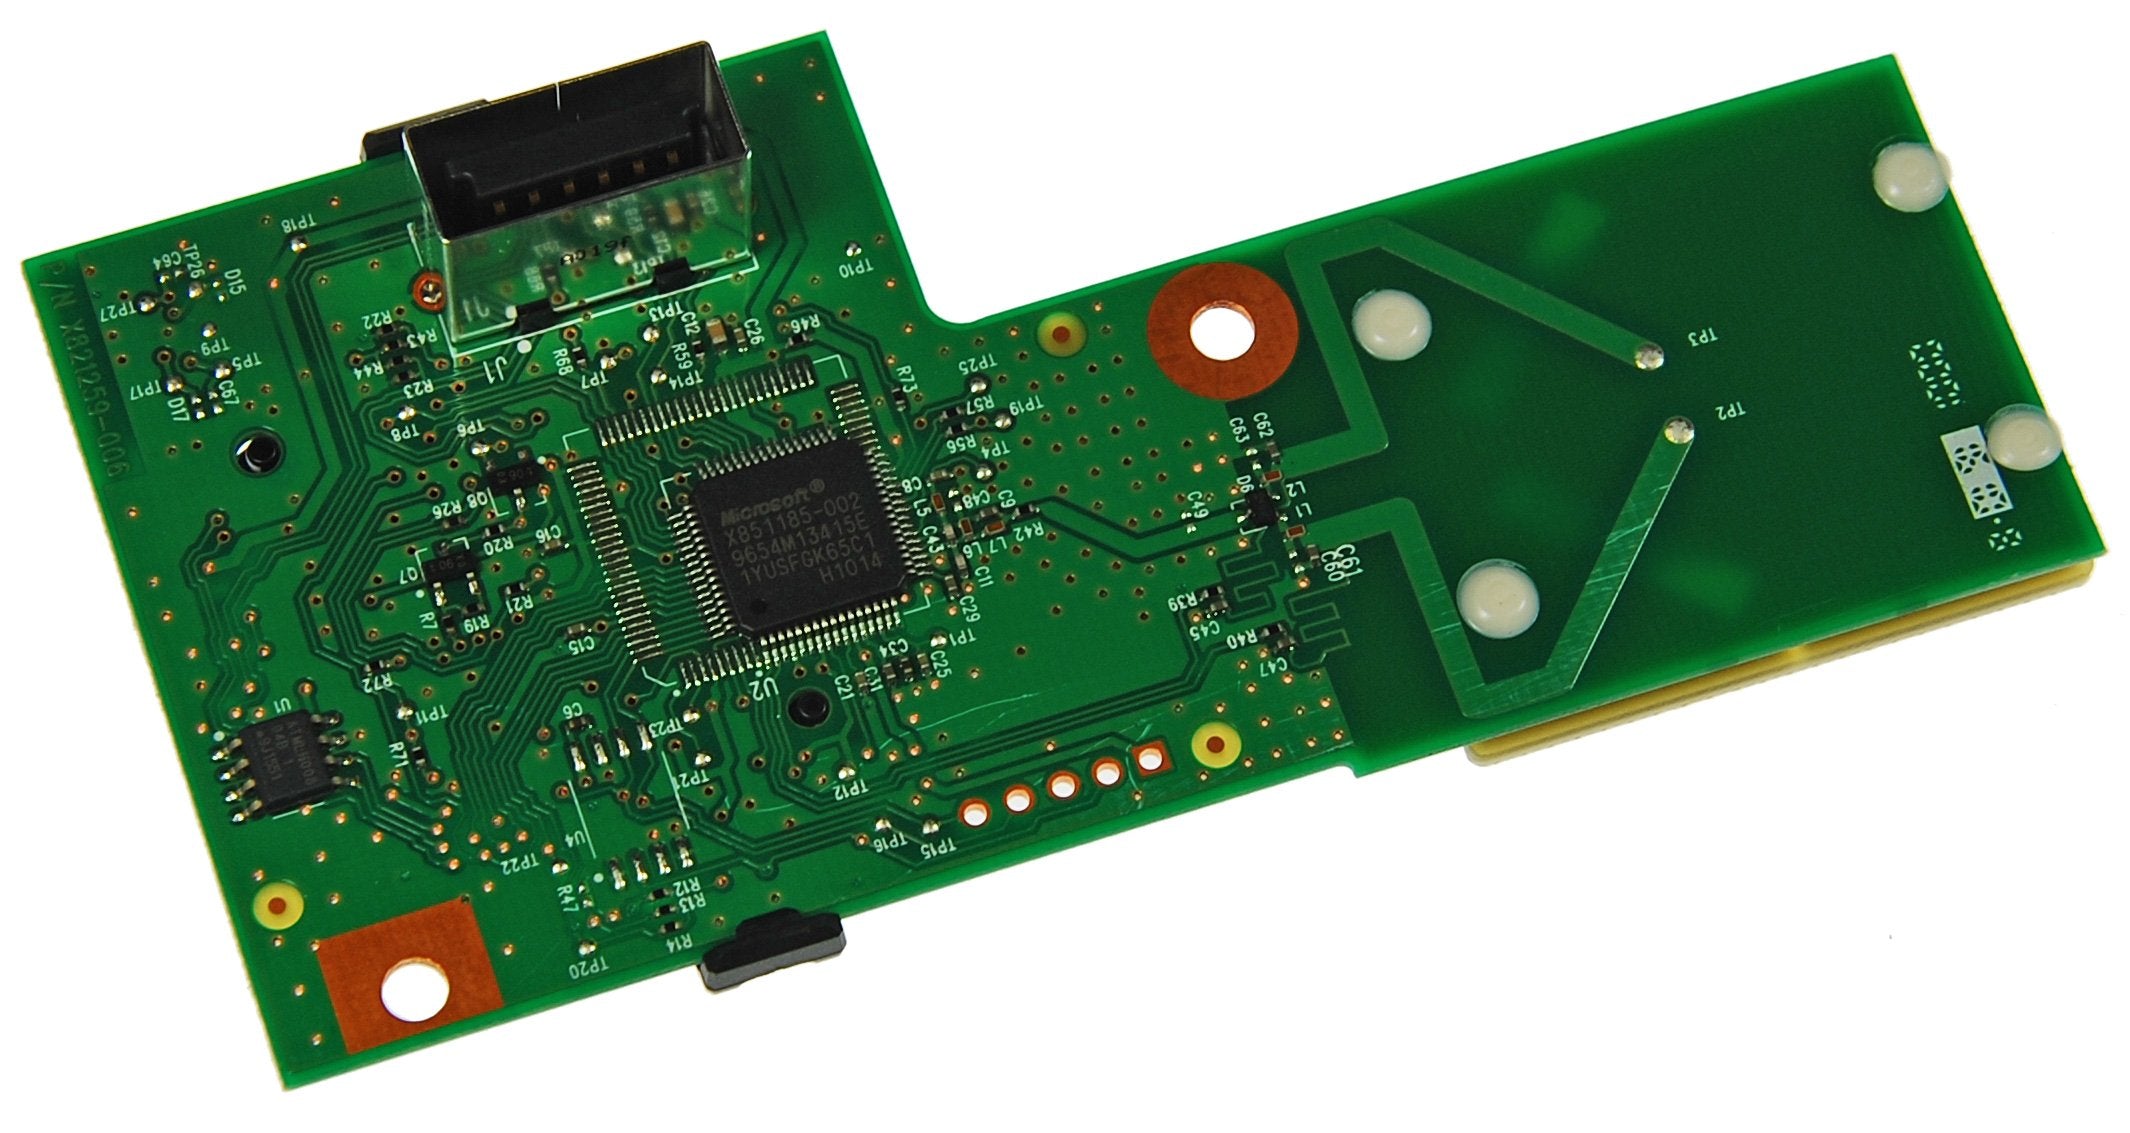
The RF module is still connected to the Xbox via a big ol’ USB-type connector. Let’s keep it together as we dive into the repair process!
– Gently pull the board straight out from the Xbox to detach it.
Step 3

– Alright, let’s kick things off by checking the power supply! When it’s plugged into the wall but not into your device, it should glow a friendly orange, indicating it’s lounging in standby mode. Once you plug it into your device, that orange light should keep chillin’. If it starts flashing red, it looks like you’ve got a PSU issue on your hands. No worries though, you got this!
Step 4

– Ready to dive into the world of RF boards? Start your journey by checking out the RF module replacement guide for your device, which you can find linked here.
– Give that ribbon cable for the faceplate a little TLC by disconnecting and then reconnecting it. If that doesn’t do the trick, no worries—keep on trucking with the guide!
Step 5

– Ready to put your device back together? Just retrace your steps and follow these instructions in reverse. You’ve got this!
– If things didn’t go as planned, no worries! You can always opt out and take a breather.
– Feeling accomplished? You’re not alone in this journey!
Success!