DIY Xbox Series S Bluetooth Board Replacement Guide: Step-by-Step
Duration: 45 minutes
Steps: 8 Steps
Get ready to tackle the exciting task of swapping out the Bluetooth board in your Xbox Series S! Follow this guide and give your console a new lease on life. You’ve got this!
Step 1


Alright, before we get started, let’s make sure your Xbox is off and unplugged. Just a safety thing, you know?
– Grab your trusty tweezers and gently peel away the two white screw covers hiding out at the bottom corners of the back panel. They’re just waiting to be liberated!
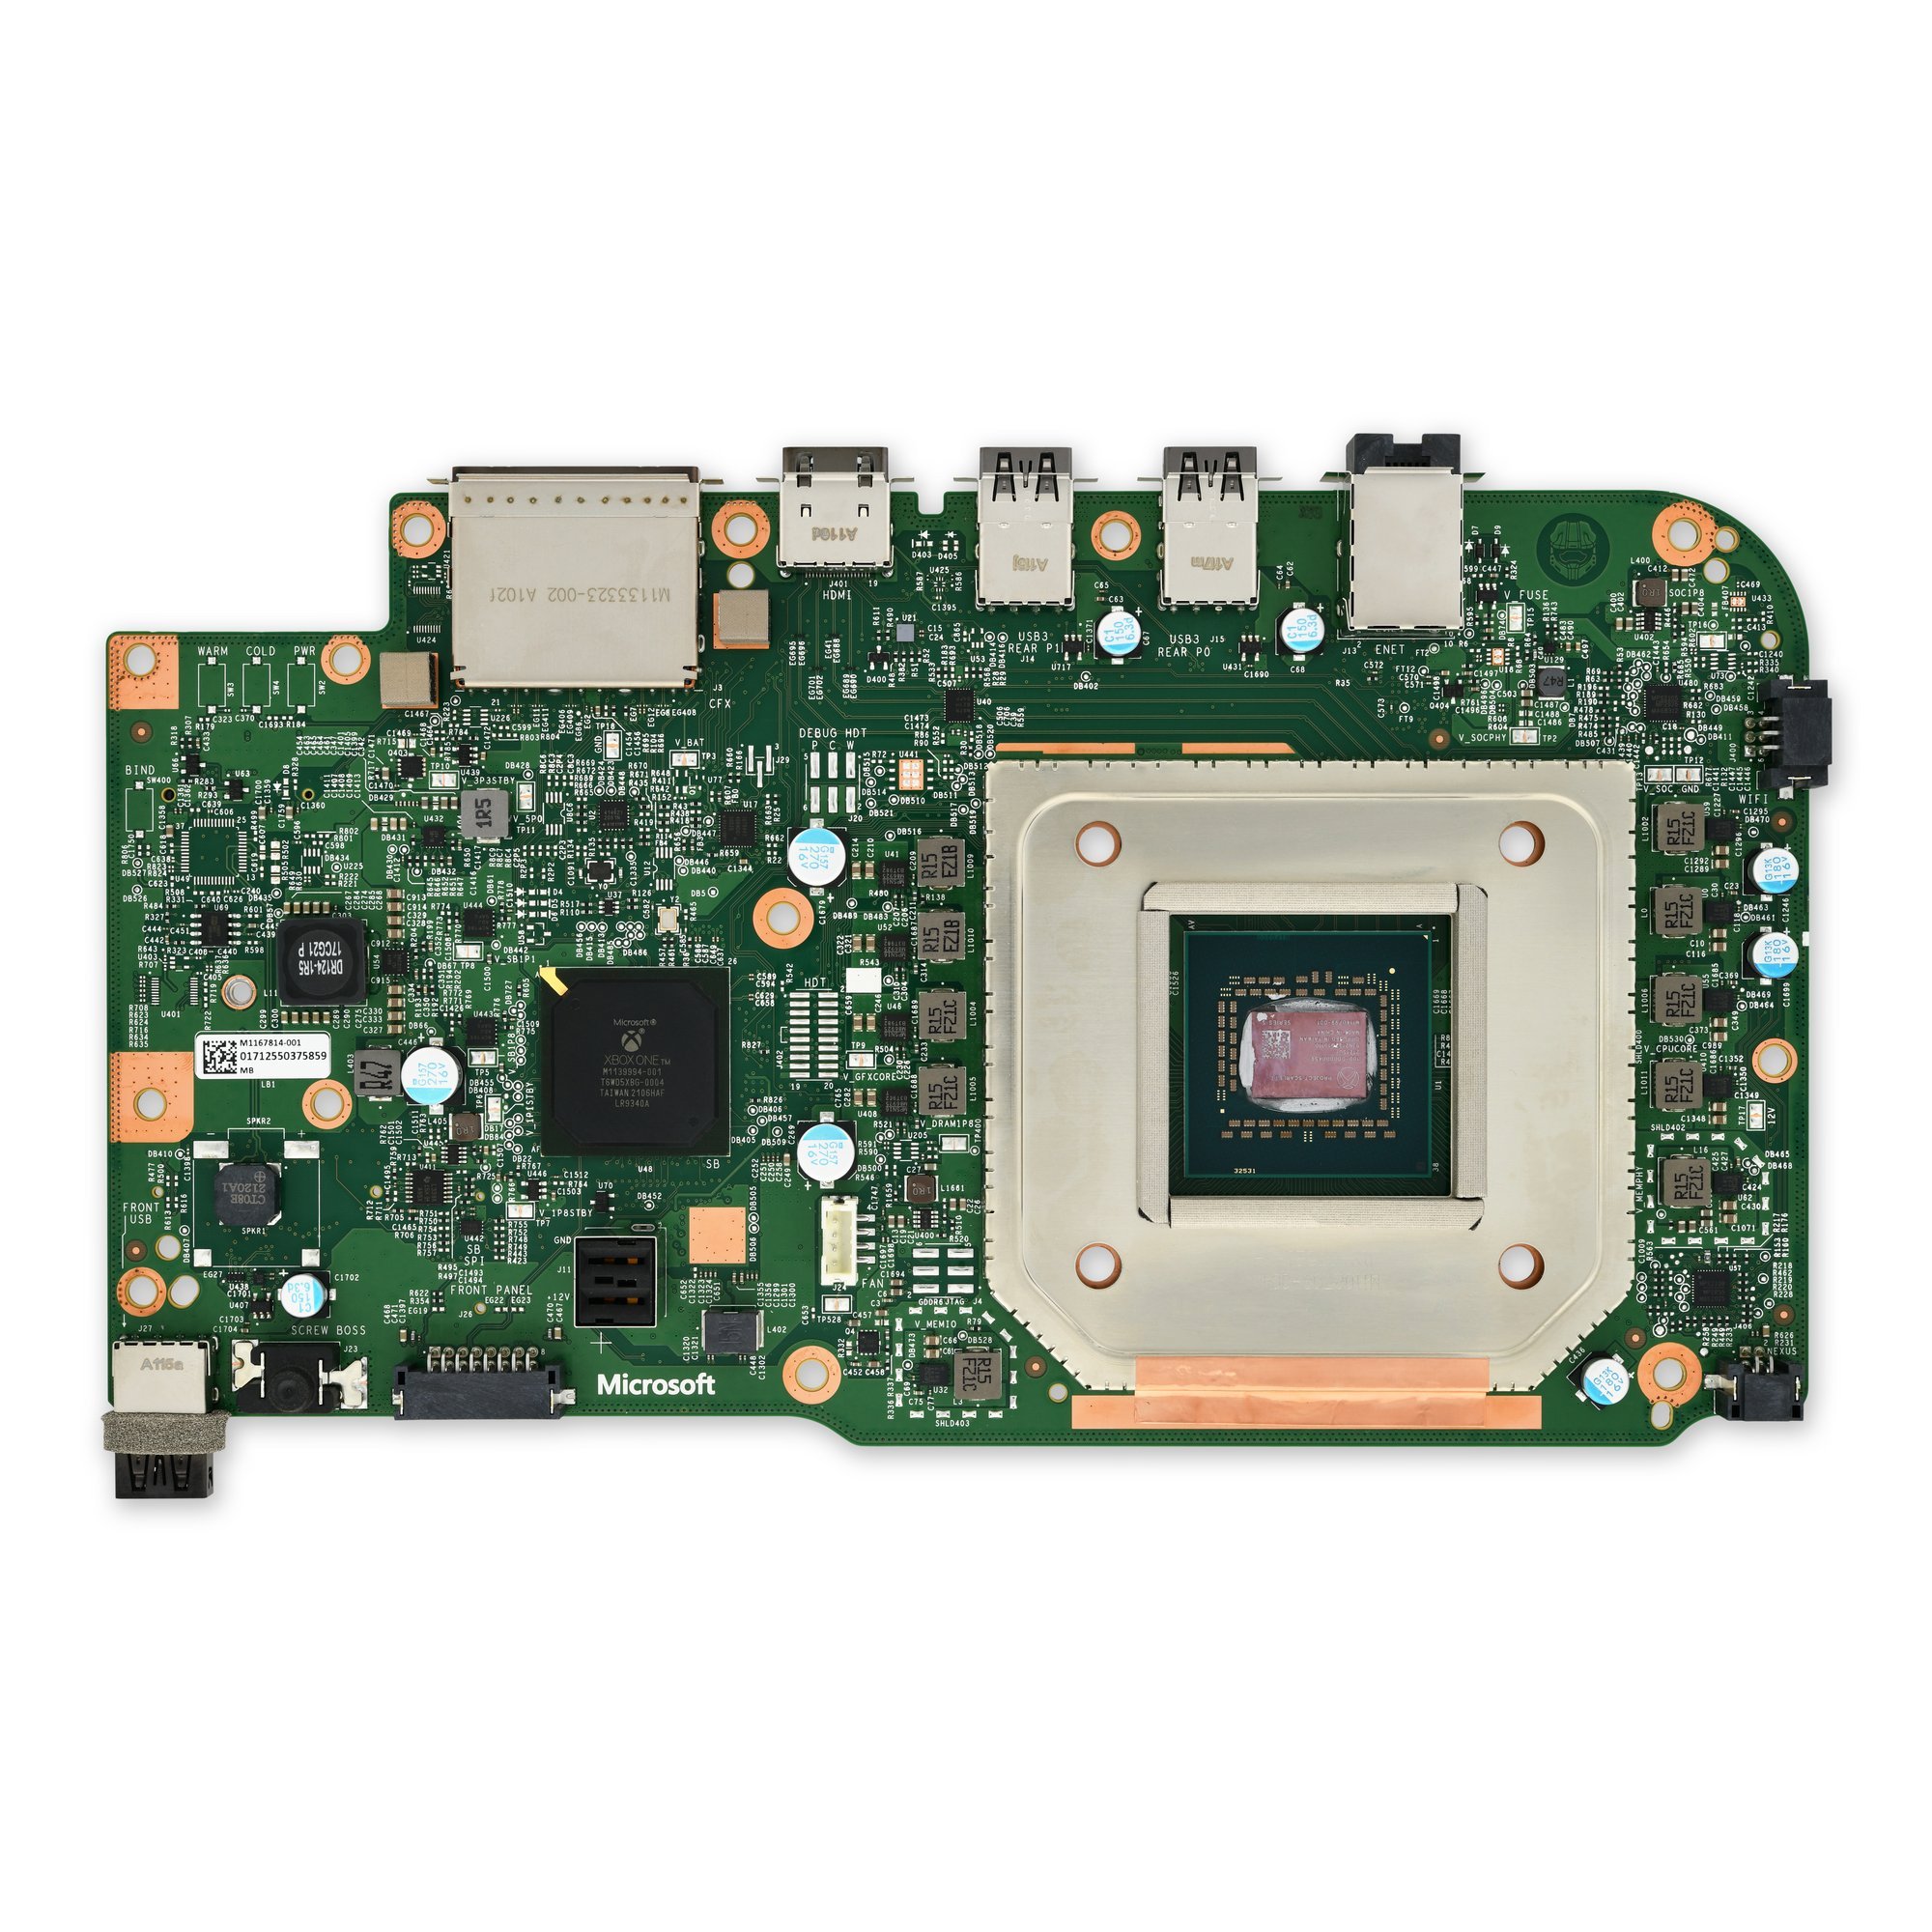
Tools Used

Step 2

As you tackle this repair, keep a close eye on every little screw. They all want to return home, so make sure each one finds its way back to where it belongs!
– Grab your trusty T8 Torx driver and let’s get to work! Remove those two 10 mm-long screws holding the back panel to the bottom panel, and remember, teamwork makes the dream work!
Step 3


Gently slide those clips right out of their cozy little slots on the plastic case!
– Gently slide the bottom panel back like you’re giving it a little nudge until it can’t go any further.
– Now, lift it straight up and wave goodbye as you remove the bottom panel from the plastic case.
Step 4

– Alright, time to loosen things up! Grab your trusty T10 Torx driver and give those seven 51 mm-long screws holding the chassis to the plastic case a gentle twist. You’ve got this!
Step 5


Hey there! Just a quick heads up: try to avoid yanking the chassis completely out of the plastic case with this method. You wouldn’t want to end up with a broken case, right?
Snap the back panel into place over the clips on the back of the plastic case. You’re almost there!
The back panel is now securely attached to the aluminum chassis. High five!
– Alright, cool cat, let’s get this back panel off! Face the bottom of your Xbox towards you. Grab the bottom-rear corners of the plastic case and give ’em a gentle pull away from each other.
– Keep pulling those corners apart, and then slide the back panel towards the bottom of your Xbox. You’ll hear it release from the plastic case and be ready for the next step. Smooth move, amigo!
Step 6


During this step, be ready to gently lift the chassis to release it from the clips at the bottom-front of the plastic case. You’ve got this!
– Gently tug at the bottom-left corner, allowing the chassis to gracefully swing away from the plastic case.
– Carefully detach the plastic case from the chassis.
Step 7

– Grab your trusty T8 Torx driver and let’s get those three 9.5 mm-long screws outta there! They’re holding the Bluetooth board tight to the long edge of the chassis, so give them a little twist and watch them come loose. You’ve got this!
Step 8


Avoid prying at the bottom or sides of the Bluetooth board – it could lead to a bent connector!
– Time to put your device back together! Just retrace your steps and reverse those instructions.
– Got some e-waste? Be a hero and drop it off at an R2 or e-Stewards certified recycler.
– If things didn’t go quite as you imagined, don’t sweat it! Check out some basic troubleshooting tips, or swing by our Answers community for a hand.
– All done? If you need to bail, that’s totally fine. No worries!
– You got this! Now, go forth and repair with confidence.
Tools Used

Success!