DIY Xbox Series X Galaxy Fan Replacement Guide
Duration: 45 minutes
Steps: 10 Steps
Time to switch off and disconnect all the cords!
Get ready to tackle that pesky cooling fan in your Xbox Series X (2TB Galaxy Black edition)! Whether you’re swapping out a faulty fan or just giving a dusty one a good clean, this guide has got your back. Before diving in, make sure to power down your console completely and unplug all those cables. And hey, don’t forget to keep it safe by following those electrostatic discharge (ESD) safety tips while you work your magic!
Step 1


Alright, let’s get this show on the road! First things first: make sure to power down your console completely and unplug all those pesky cables. Safety first, my friend!
– Grab a trusty pair of tweezers and gently peel off the sticker that’s covering the first screw located on the back panel, right by the base. You’re doing great!
Tools Used

Step 2


To make removal a breeze, grab an iOpener or a hair dryer to warm up that sticker.
Just peel back the sticker enough to reveal the hidden screw—no need to completely remove it!
These are technically tamper-evident stickers, but don’t sweat it—your warranty is safe with Microsoft as long as you keep everything intact. Enjoy the process!
– Grab a pair of blunt tweezers and gently lift that big sticker off the back panel to uncover the hidden second screw. You’ve got this!
Tools Used


Step 3

As you dive into this repair adventure, remember to keep a close eye on every screw! They each have a special home, and putting them back in the right spot will help keep your device safe and sound.
– Grab your trusty T8 Torx driver and let’s unscrew those two 7.4 mm-long screws that are keeping the back panel in place. You’ve got this!


Step 6


– Grab the back panel at the opening you just made and gently lift it up, pulling it away from the shell to release those long edges.
– When putting everything back together, give a little press along the edges of the back panel to click it snugly into place.
Step 7


Just slide that back panel right into the cozy gap at the top of the shell!
– Gently lift the back panel and slide it away from the top edge of the shell to free it from the groove.
– Now, go ahead and remove the back panel completely.
Step 8

– Grab your T8 Torx driver and let’s get those screws out! We need to remove three screws that are holding the fan snugly to the center chassis:
– One shiny 10.5 mm pancake screw, all ready to be freed!
– And don’t forget the two 8.8 mm screws, they want to join the party too!
Step 9


Always grab those pesky cables by the connectors, not the wires themselves!
– Time to show that fan cable connector who’s boss! Gently grip the edges using your fingers or some trusty blunt tweezers, and give it a little tug upwards to disconnect it from the center chassis. You’ve got this!
– When you’re putting everything back together, be sure to tuck that fan cable neatly under its tiny cable guide on the fan housing. This way, it won’t get in the way of the back panel. You’re doing great!
Tools Used
Step 10


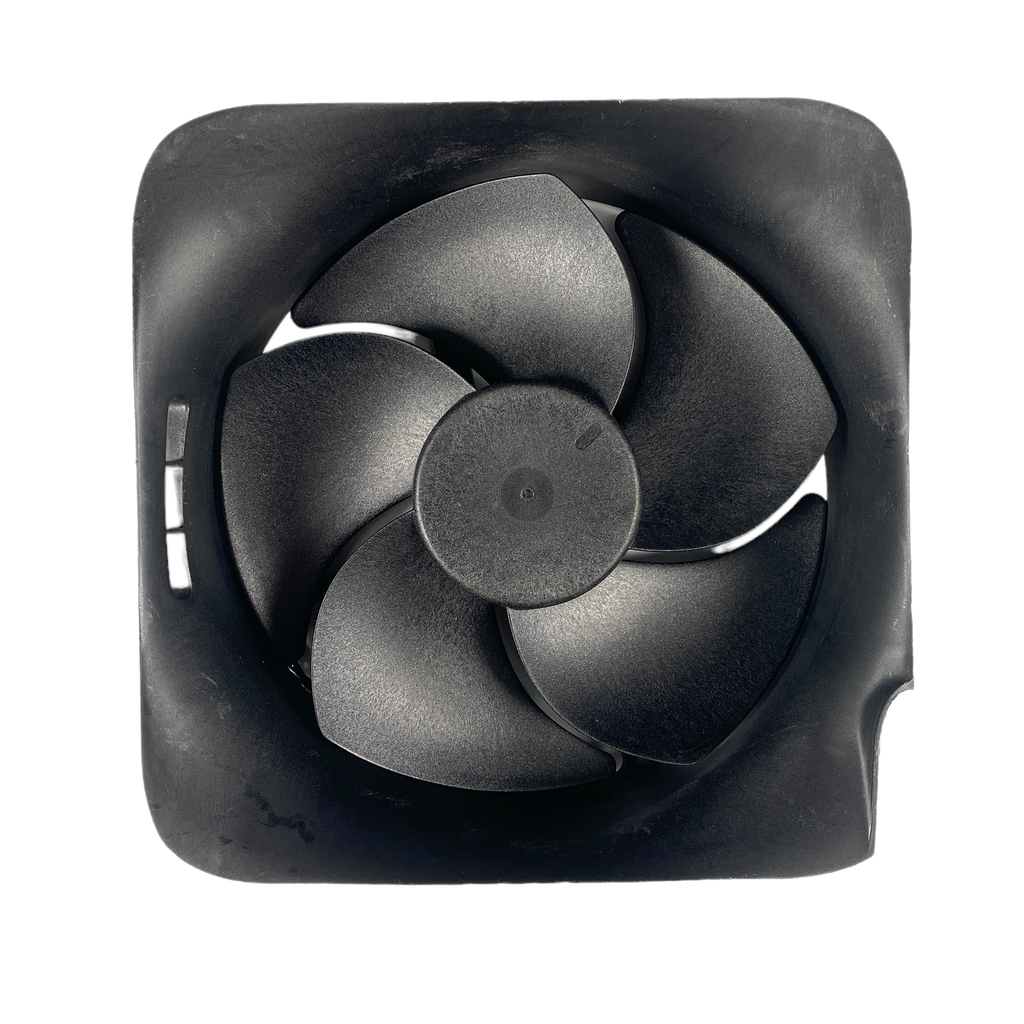
Heads up! If you’re swapping out the fan, keep in mind that the new one might not come with the plastic installation bracket. It’s usually attached to the fan with four T10 Torx screws. Just a little FYI since it’s not shown in this guide. If you need help, you can always schedule a repair.
– To put your device back together, just retrace your steps in reverse order.
– Dispose of your e-waste responsibly by taking it to an R2 or e-Stewards certified recycler.
– Ran into a snag? Try some basic troubleshooting or reach out to our Xbox Series X community for tips.
– If all else fails, you can always schedule a repair with us.
– Cancel: I didn’t finish this guide.
Success!