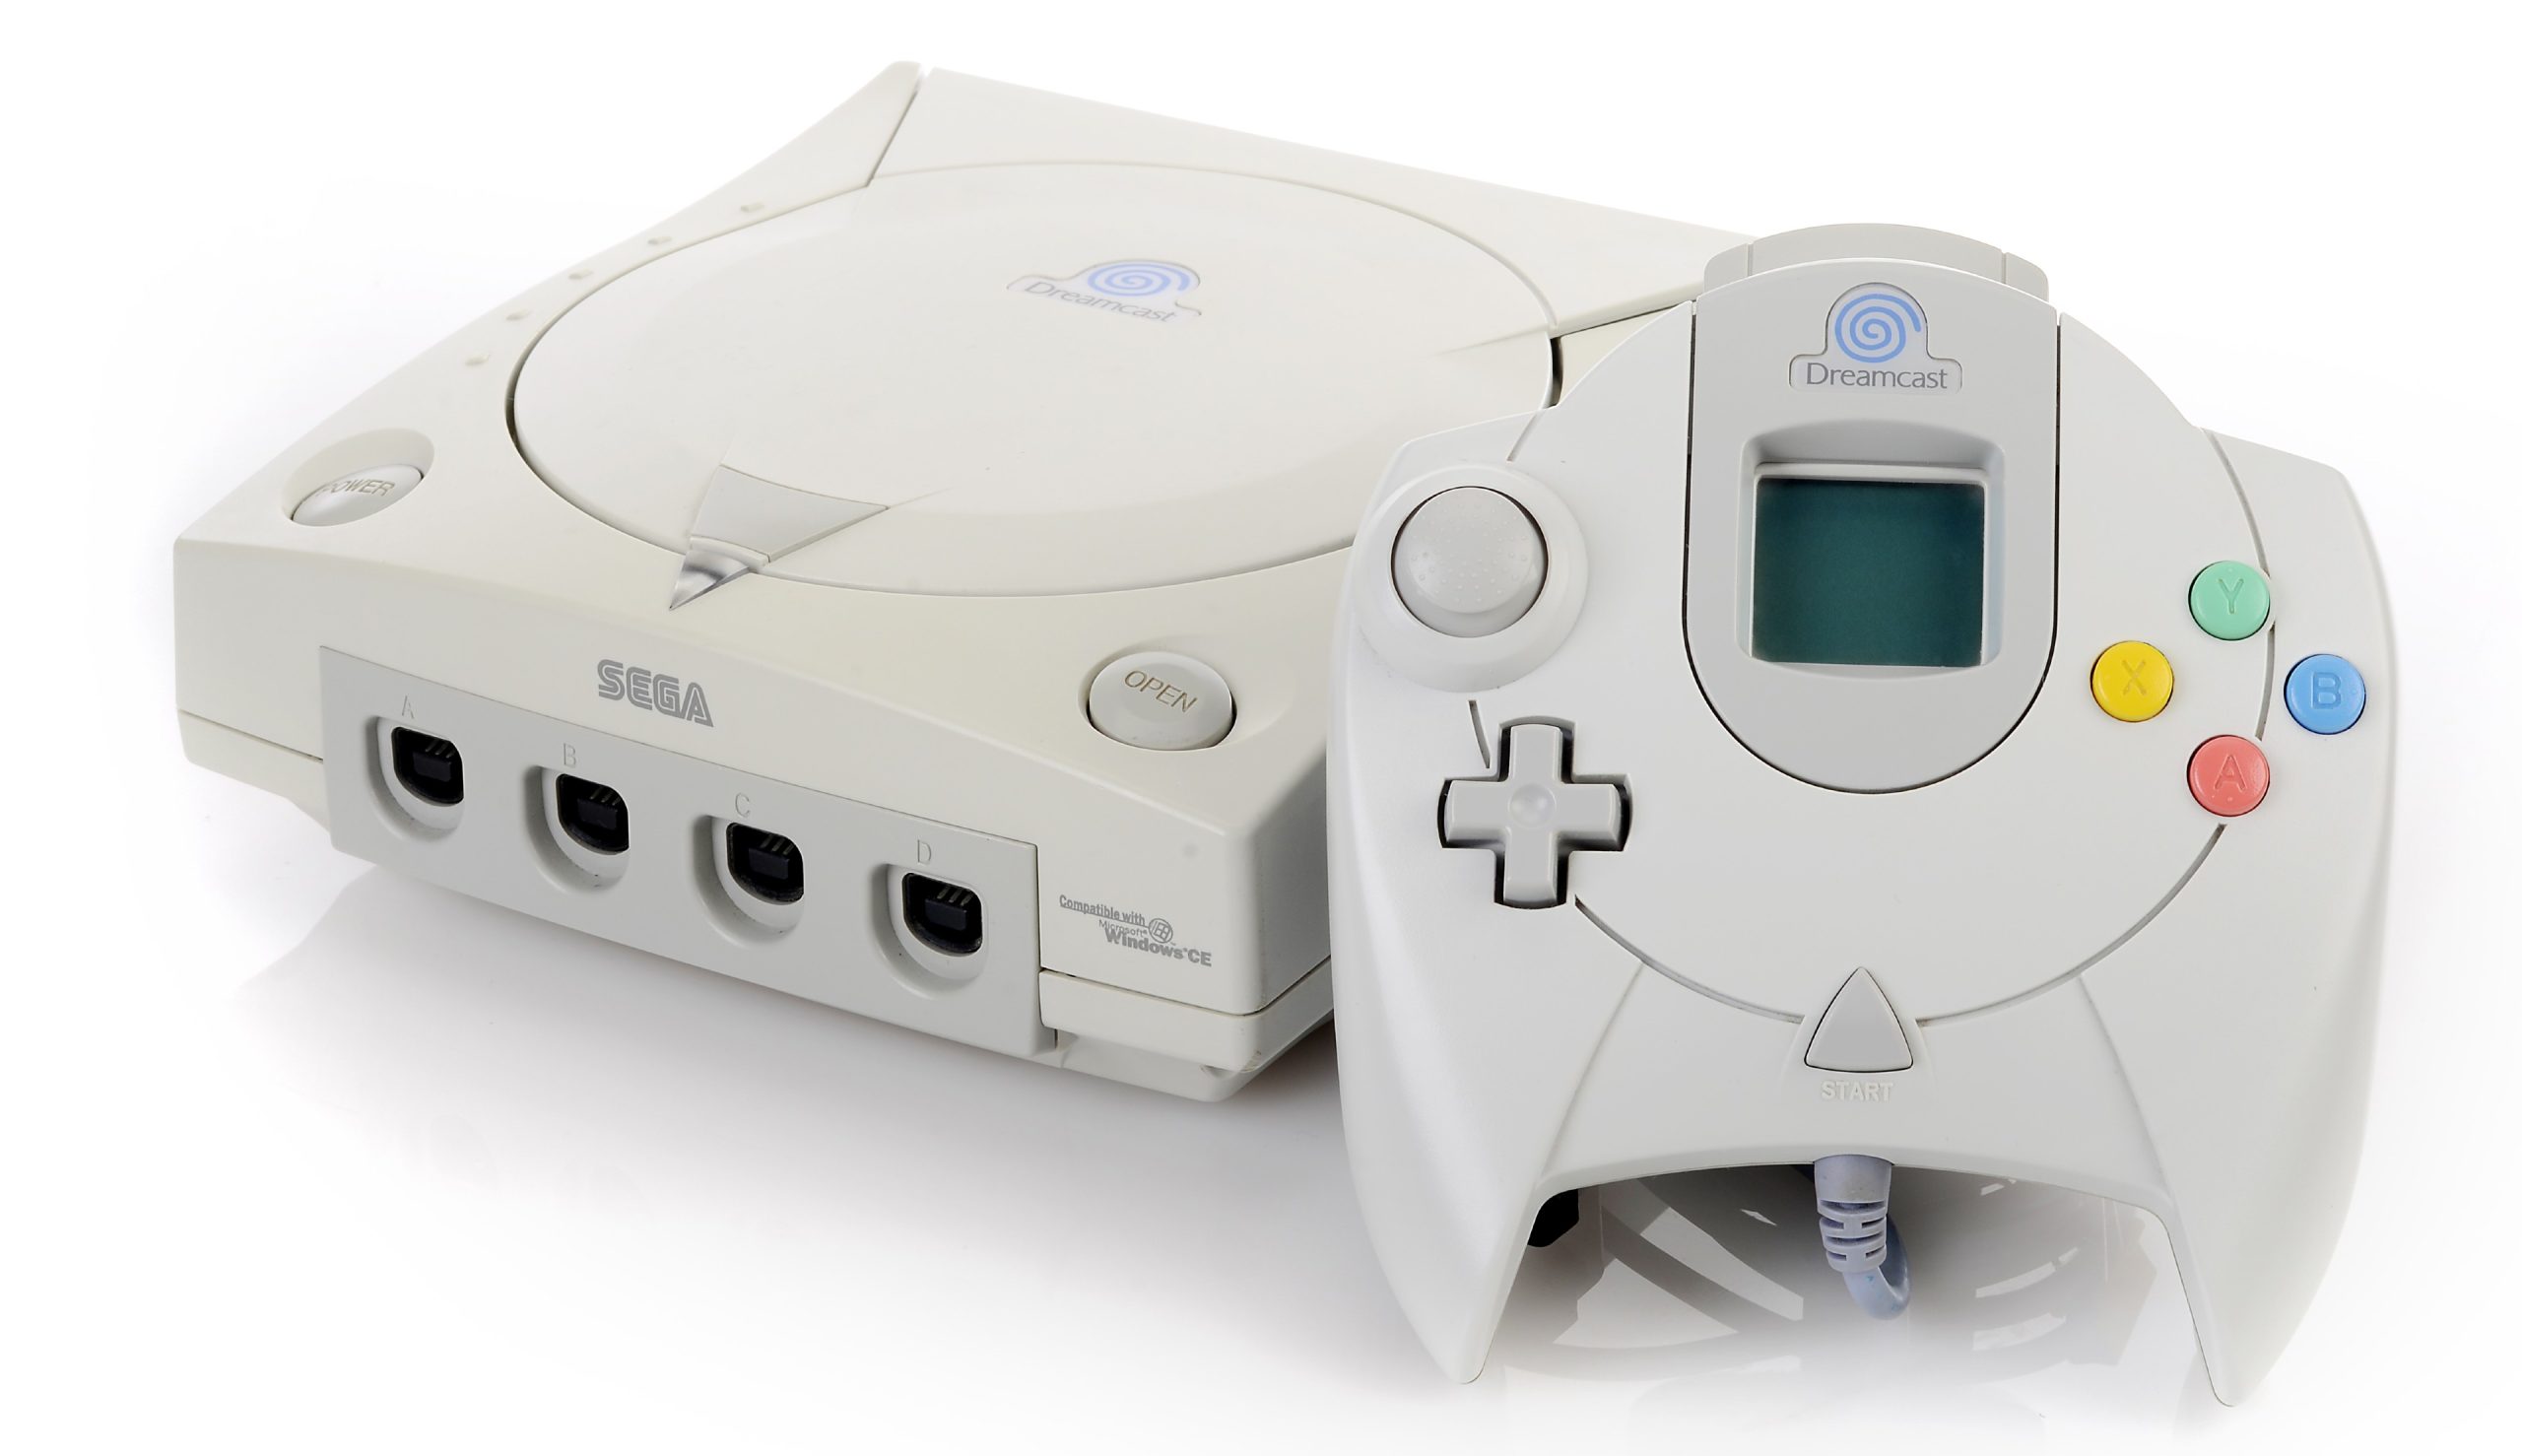
Dreamcast VMU Teardown
Duration: 45 minutes
Steps: 4 Steps
Step 1
– Pop out that shiny silver screw and slide the batteries out.
Step 2
Watch out for that speaker wire – it can be a bit sneaky! Handle it gently to avoid any accidental damage.
– Unscrew those four black screws—easy does it!
– Gently coax the speaker away from the shell using your Spudger.
Step 3
– Remove the two battery terminal screws
Step 4
– Gently pop the main board out of the shell—take your time, no wrestling moves required.
– Next, separate the screen from the motherboard. Nice and easy does it.
– Lift out the screen stay, D-pad, and those squishy rubber buttons from the shell.
– And just like that, you’re finished! If things got tricky or you want a pro touch, you can always schedule a repair.
Success!


