
Ematic FunTab 3 Motherboard Replacement
Duration: 45 minutes
Steps: 15 Steps
If your device is playing hard to get by refusing to charge, not turning on, and leaving you without sound, and you’ve recently given some TLC to the screen, speaker, and battery, it’s time to face the music: your motherboard needs a makeover. Don’t worry; this guide is here to walk you through the process of removing that motherboard. Let’s get started!
Step 1


Before you dive in, power down that device completely.
To avoid any hiccups, start by opening the device on the side without the buttons.
– Slide the hooked end of the plastic opening tool into the gap between the screen and back panel along the device’s edge.
– Carefully run the plastic opening tool down the length of the device to loosen things up.
– Reinsert the tool and give it another go, sliding it down the side once more to help separate the case.
Step 2

– Gently lift the back panel away from the screen. It’s easier than it sounds, and you’re doing great!
Step 3

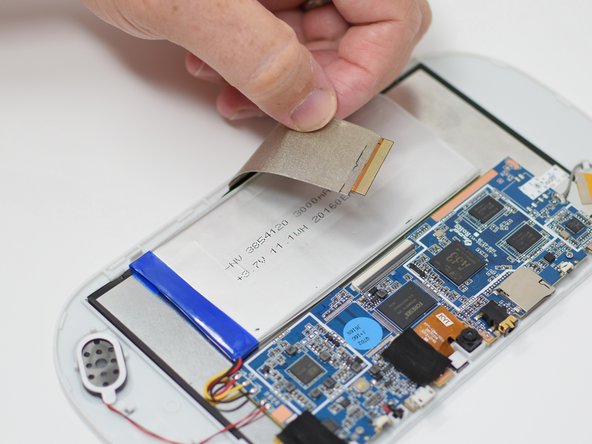
– Peel back the black tape—it’s like unwrapping a little tech present—to expose the wire ribbon connector.
Step 4

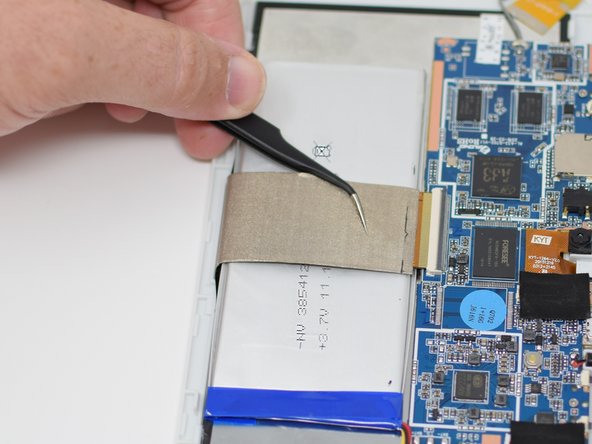
Time to get a little delicate! You may need to bust out the tweezers to gently pull out that wire ribbon.
– Time to get your groove on! Gently lift the black retaining tab using your trusty plastic opening tool.
– Now, give a little tug to the large wire ribbon that’s draped over the battery and pull it out.
Tools Used

Step 5
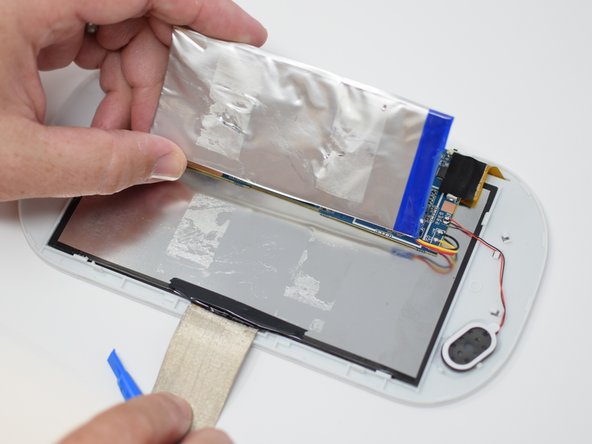


There’s some sneaky tape stuck on the back of the battery. You might need to channel a little extra oomph to pry the battery off the back of the display.
– Slide the plastic opening tool gently beneath the battery. No rush, take your time.
– Now, use that same plastic opening tool to gently lift the battery up. It should pop free with a little nudge!
Step 6

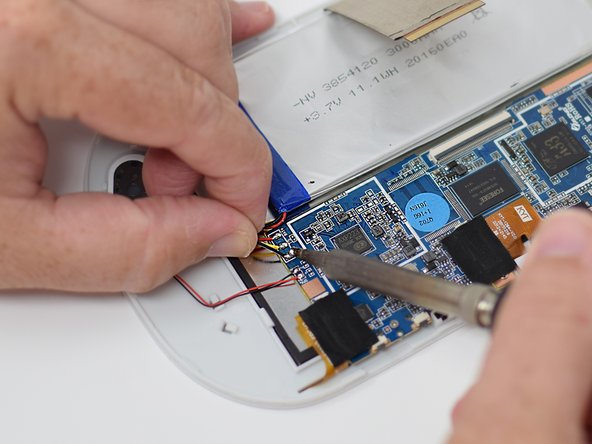
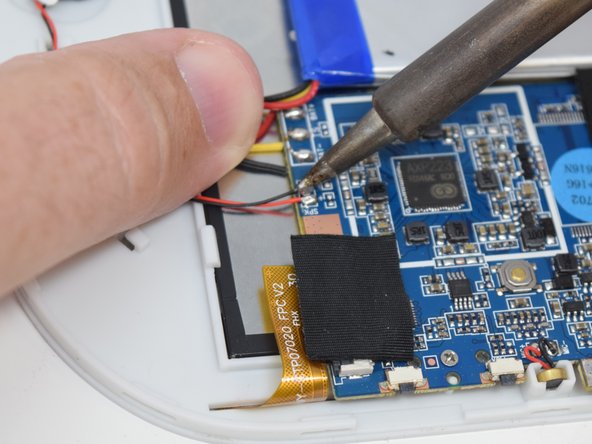
– Time to work some magic with your soldering iron! Carefully detach those wires from the motherboard. If you’re unsure how, check out our guide on How To Solder and Desolder Connections.
– Once you’ve conquered the desoldering, it’s time to bid farewell to the battery.
– During reassembly, don’t forget to snap those black ribbon retaining tabs back in place once the ribbons are all snugged in.
Tools Used

Step 7

– Carefully detach the wires from the motherboard with your trusty soldering iron. If you’re unsure about the process, check out this handy guide on how to solder and desolder connections.
Tools Used
Step 8

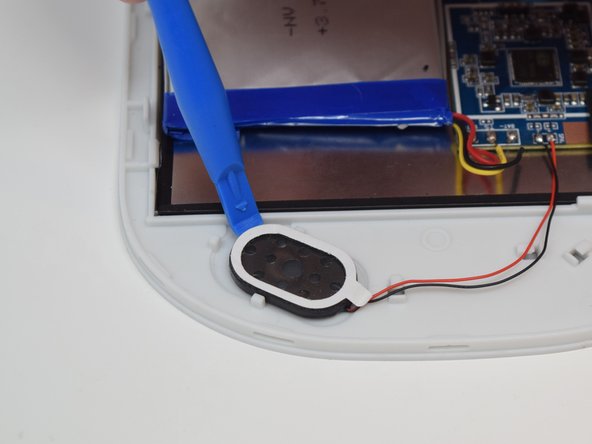
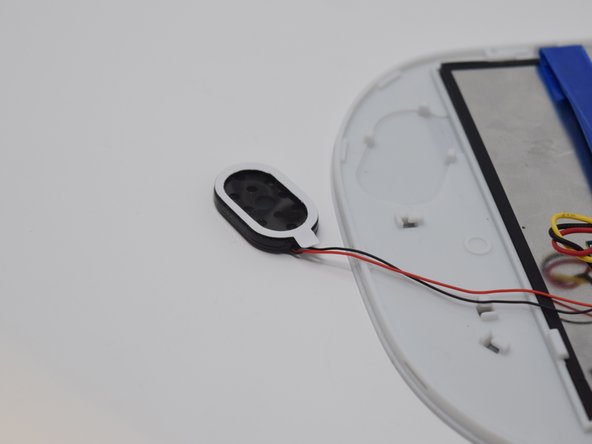
Be prepared for a bit of a struggle – there’s glue holding the speaker in place, so you’ll need to apply some extra force to get it out.
– Once you’ve desoldered those connections like a pro, it’s time to say goodbye to the speaker! Gently pry it up with a plastic opening tool and watch it pop right out.
Step 9


– Peel away the black tape to uncover the wire ribbon connector. It’s hiding under there, just waiting for you to find it.
Step 10

– Grab that trusty plastic opening tool and gently pop up the black retaining tab like a pro.
Step 11

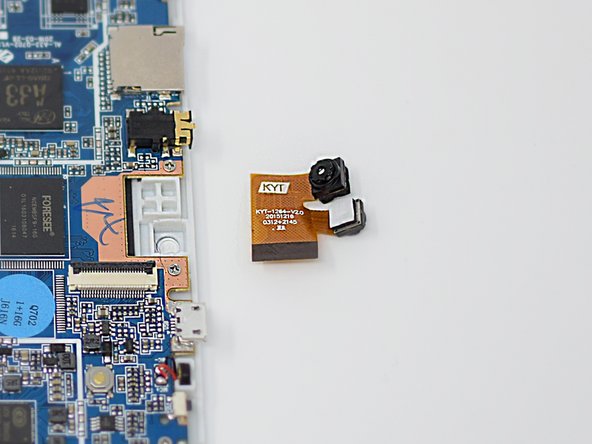
The camera is stuck in place with some pretty stubborn glue, so you might need to bring a little extra muscle to the job. Take it slow and steady, and if it feels like it’s resisting too much, reassess your approach before going full Hulk mode.
– Gently disconnect the wire ribbon attached to the camera—no tug-of-war needed!
– Lift out the camera like a pro and set it aside.
– When reassembling, make sure those black ribbon retaining tabs are closed up snug to keep everything secure.
Step 12

– Peel off that black tape like you’re unwrapping a secret mission—underneath, you’ll find the screen connector ready for action.
Step 13


– Pop the retaining tab open with the plastic opening tool—be gentle, it’s like unlocking a little treasure chest!
– Slide the screen wire ribbon out smoothly to separate the screen from the motherboard. No tugging battles here—just a graceful disconnect!
Step 14


– Grab your PH 00 screwdriver and get ready to unscrew the four 4.5 mm screws that are keeping the motherboard snug and secure. Once they’re out, the motherboard will be ready to come loose.
Step 15

– Now’s the time to swap out that old motherboard for your shiny new one – it’s a breeze from here!
– When putting everything back together, don’t forget to secure those black ribbon retaining tabs once the ribbons are in place.
Success!