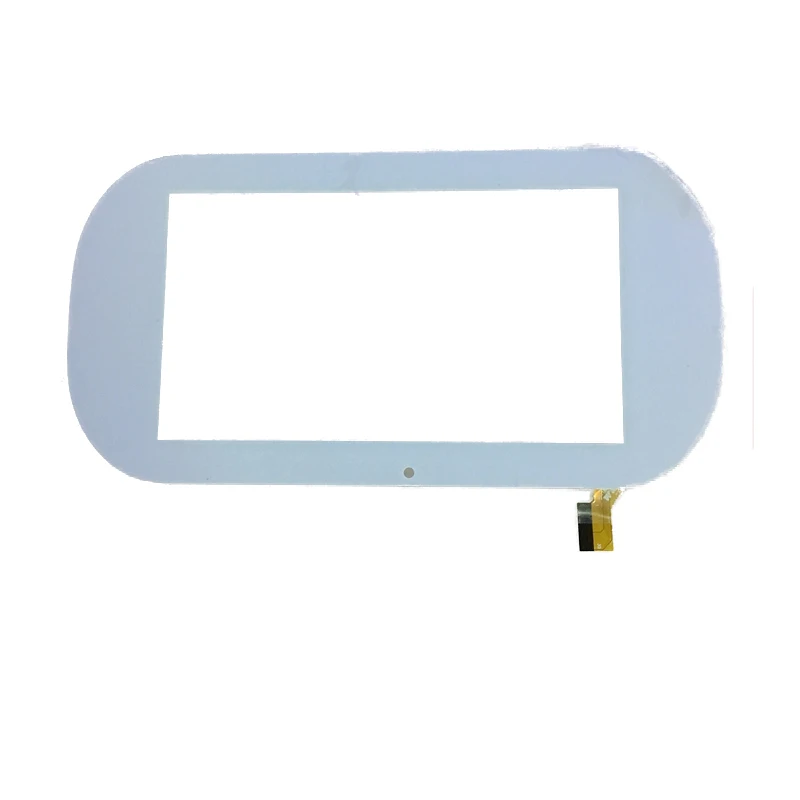
Ematic FunTab 3 Touch Screen Replacement
Duration: 45 minutes
Steps: 8 Steps
If your device remains as blank as your Monday morning mindset and won’t power on when you hit that power button, it might be time for a new screen! If the display took a hit, we’ve got your back with steps to swap out that worn-out screen. After handling the battery and motherboard like a pro, the screen replacement will be a breeze. And remember, if you hit any snags along the way, don’t hesitate to schedule a repair!
Step 1


First things first—let’s give your device a little nap! Power it down before diving in.
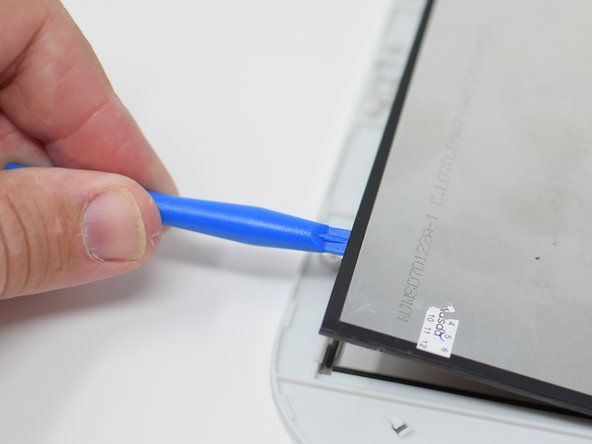
For a smooth opening, make sure to tackle the side without the buttons. That way, you’ll avoid any accidental mishaps!
– Gently wedge the hooked end of your trusty plastic opening tool into the little gap between the screen and back panel on the edge of your device.
– Carefully slide that plastic tool down the long side of the gadget, giving it a little love as you go.
– Now, insert the tool once more and glide it down the same side of the case for a second pass.
Step 2

– Gently lift the back panel away from the screen. It’s easier than it sounds, and you’re doing great!
Step 3

– Peel back that black tape to uncover the screen connector—it’s like unwrapping a tiny tech surprise!
Step 4


– Gently lift the retaining tab with your trusty plastic opening tool. You’re doing great!
– Carefully tug on the screen wire ribbon to disconnect it from the motherboard. You’ve got this!
Step 5


– Grab your trusty PH 00 screwdriver and let’s get to work! Unscrew those four 4.5 mm screws that are keeping the motherboard snug as a bug in a rug. You’ve got this!
Step 6

– You’re all set to swap out that old motherboard for a shiny new one! Go ahead and make the switch.
– Once those ribbons are snugly in place during reassembly, just snap the black ribbon retaining tabs back into their happy home.
Step 7

It’s a good idea to tackle this on the corner that’s nearest to the wire ribbon.
– Time to get this repair started! Insert the hook side of the opening tool between the case and display, and gently work your way around.
– Press down on the tool until the screen is clear of the white retaining tabs – you’ll know you’re making progress when you start to see some give.
– Use the plastic opening tool to carefully pry up the screen. Don’t force it, just gently coax it away from the case.
– Keep prying around the screen until it pops out. If you need help, you can always schedule a repair with the experts at Salvation Repair.
Step 8

– Once the screen has decided to make a getaway, gently detach it from the device.
– As you put everything back together, give the screen a little nudge to ensure it clicks into place. A bit of extra press may be needed here!
– Don’t forget to secure those black ribbon retaining tabs after you’ve tucked the ribbons in during reassembly.
Success!