Emerson Research CKS1850 Teardown
Duration: 45 minutes
Steps: 19 Steps
Step 1


– The Emerson Research SmartSet alarm clock magically adjusts the time when plugged in – no wizardry required.
– That soft blue display looks nice during the day, but it’s so bright at night, it might as well be a spotlight.
– Now, let’s dive in and get to work.
Step 2


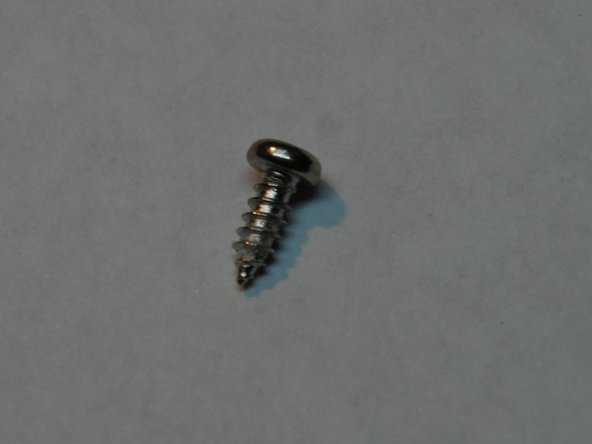
– Take out the 5/16” screw and slide the battery tray right out.
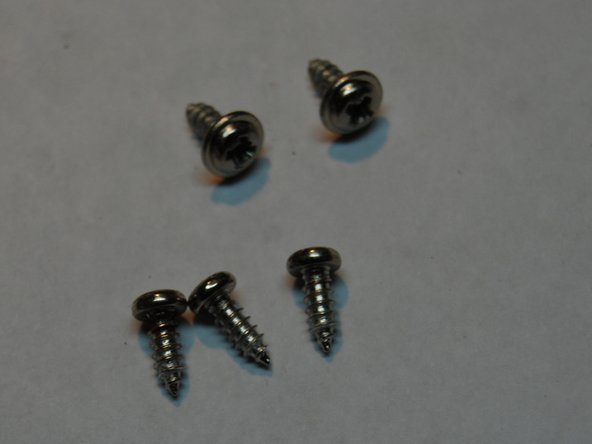
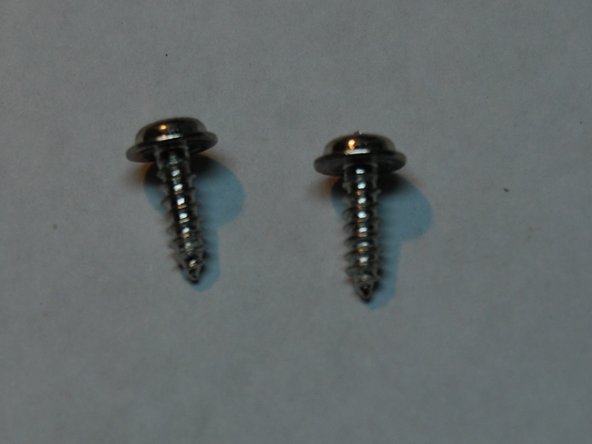
– Remove the four 1” screws—don’t lose them in the carpet!
– Check out the address on the ID sticker. Maybe send a holiday card and see if you get one back.
Step 3

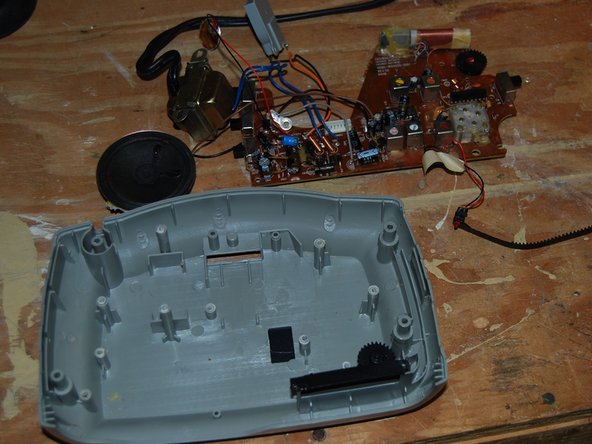
Heads up: a ribbon cable and three little wires are keeping the lid and bottom shell together.
Feel free to label this ribbon as ‘top’ or leave it as is. You know your memory skills better than anyone else!
– Gently lift the lid from the bottom shell by pulling from front to rear. Then, grasp the ribbon connector by its corners—avoid the wires—and pull straight back to disconnect it from the board. If you need help, you can always schedule a repair.
Step 4
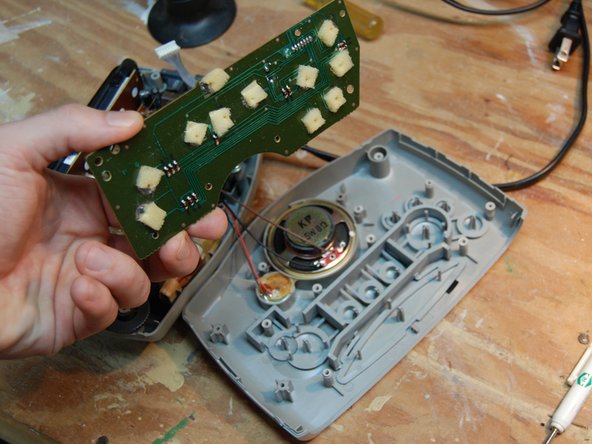

The wires for the speaker and chime are soldered directly onto the circuit board. Make sure to handle them carefully to avoid any damage during removal or reinstallation.
– Carefully lay the lid down flat, like you’re setting down a delicate triple-decker sandwich.
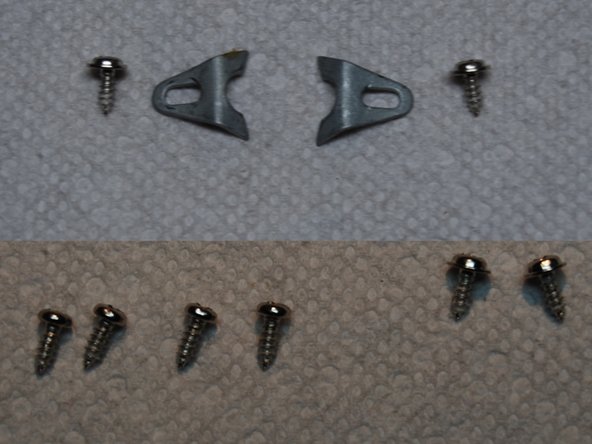
– Take out the two 5/16” screws and pop off the two speaker brackets.
– Unscrew four 5/16” screws holding the board in place.
– Remove another two 5/16” screws from the board—yep, more screws!
– Lift out the board. Take a second to admire your progress—this is going great!
Step 5

This is the toughest part of the teardown. Take a deep breath. Clear your mind. Get in the zone.
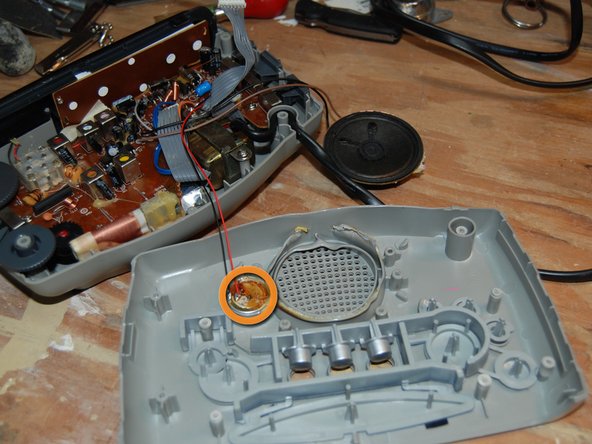
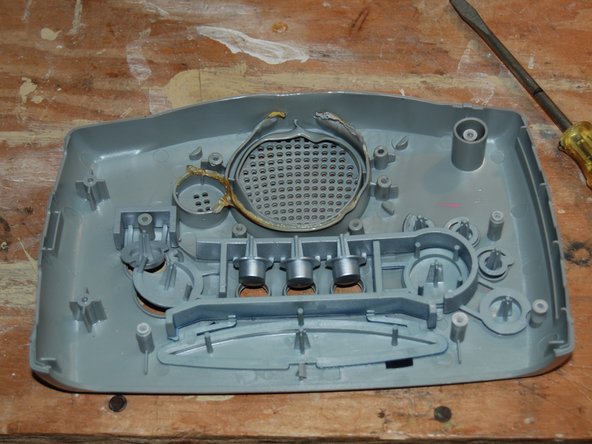
– Heat the glue along the plastic frame of the speaker carefully. Be cautious—using too much heat can warp the plastic, especially since a generous amount of glue was used and the frame tends to soften easily. If you’ve got steady hands, you might be able to gently pull the speaker free without damaging the frame. Otherwise, apply some heat, then slide in a wedge or prying tool, and proceed patiently. Removing the chime is usually simpler than the speaker; just warm it up and lift it out gently. If you need assistance, you can always schedule a repair.
Step 6

– Now that you’ve gently pulled those Sleep/Snooze buttons away from the lid, you’ve successfully disassembled it! Nice work!
– Way to go! You’ve tackled the tricky part like a pro.
Step 7

Consider marking your ribbons for easy identification later on. Whether it’s ‘Left/Right’ or ‘Tim/Tom’, it’s totally up to you!
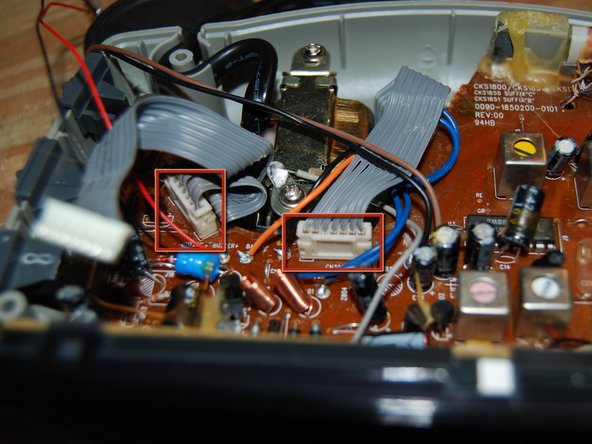
– Moving down to the bottom shell area now. Carefully disconnect two ribbon cables from the board. Grab each ribbon connector by its corners—avoid pulling on the wires—and gently lift straight up and away from the connector on the board. If you need a hand, you can always schedule a repair.
Step 8

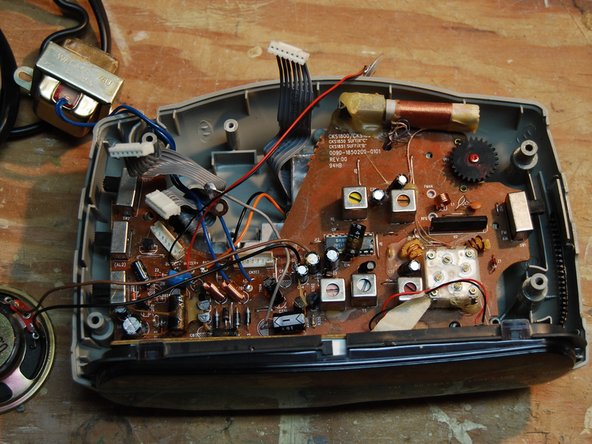
– Unscrew those two 9/16” screws from the power source with a smile!
– Gently lift the power source out from the bottom shell.
Step 9

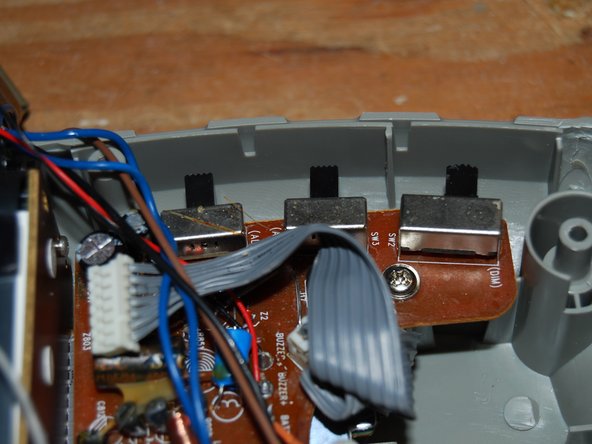
– Gently pull off the three selector switches—they come off without much fuss. Make a mental note of where each one belongs, unless you’re in the mood for a puzzle later.
Step 10
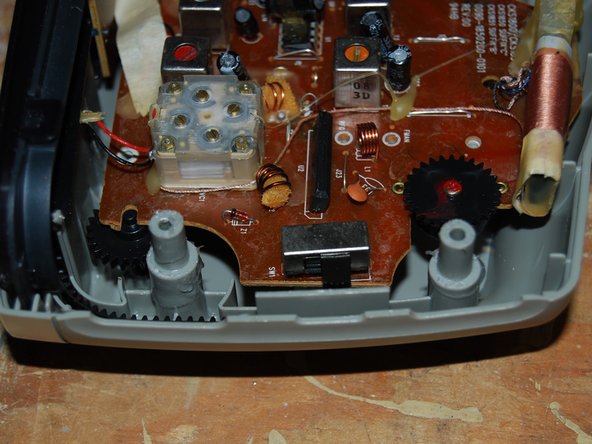

– Take off the selector switch—just one, you got this!
– Unscrew those two thumb knobs and set them aside for later.
Step 11

Alright, looks like you just took out those two thumb screws and the switch shown in the picture. No worries, we’ve all been there. Let’s move forward!
– Take out three 5/16” screws—don’t worry, they’re all the same size, so no mixing and matching required.
– Next, unscrew two more 5/16” screws. That’s a total of five screws to keep track of. You got this!
Step 12

Hold your horses! Before you lift that board, remember there’s a wire still hanging on to the battery tray connector.
– Flip the board around so you can easily access the two screws holding the display board in place.
– Unscrew and remove those two 3/8” screws. Nice and easy!
Step 13

– Gently slide the main board and display board forward to reveal the battery tray connector. Time to get a peek at what’s underneath!
– Unscrew the 5/16” screw. It’s a small one, but it does the job!
– Now, carefully pull the battery tray connector away from the bottom shell. It should come off with a little nudge.
Step 14

– Gently lift the display cover and display board away from the bottom shell, then set them aside for safekeeping.
Step 15

– Gently warm up the bracket holding the radio frequency indicator LED assembly—just enough to loosen it up. Be careful, as it might be a bit stubborn and could crack if you’re too forceful.
– Carefully extract the radio frequency indicator LED assembly from its spot.
– Gently separate the main board from the bottom shell to continue with your repair.
Step 16
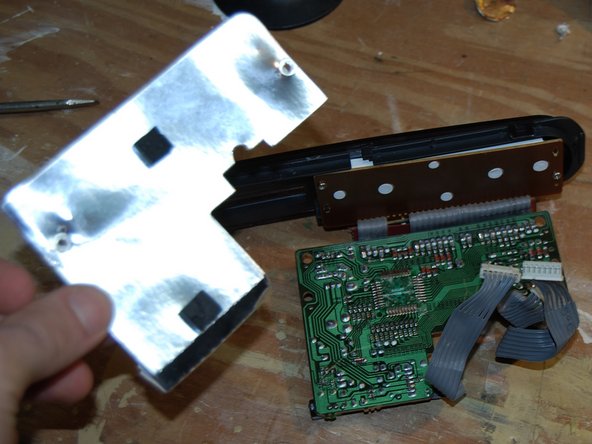

– Back to the screen—almost there!
– Gently peel off the shiny reflector shield.
Step 17
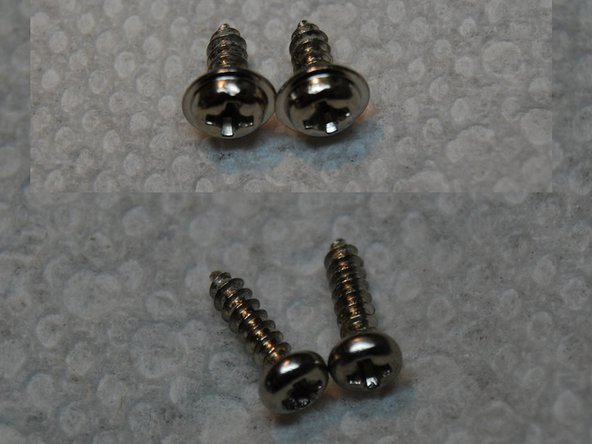


– Unscrew those two 5/16” screws and set them aside.
– Grab your screwdriver again and remove two more 5/16” screws.
– Now, gently separate the display cover from the display board. Take your time, it’ll come apart with just a little effort.
Step 18

– Gently lift the display cover away from the display board—like opening a book to a brand new chapter.
Step 19

– All done! Time to kick back and relax. Grab a cold drink of your choice – maybe a beer or, if you’re feeling fancy, a refreshing glass of horchata. Enjoy!
Success!