Fairphone 1 Midframe Replacement
Duration: 45 minutes
Steps: 14 Steps
Ready to get inside your Fairphone? Follow these steps to pop off the plastic midframe and reach those inner parts. Let’s make your phone feel brand new!
Step 1
A small indentation is visible on the side of the phone, near the bottom of the back cover.
– Use the indentation to your advantage and gently pry the bottom portion of the back cover away from the phone using your fingernail. If it doesn’t budge, don’t worry – it’s supposed to be a bit tricky. Take your time and work carefully.
Step 2
– Gently slide the back cover down and lift it off the phone. Take your time, it’ll come off smoothly.
Step 3
Notice the small indentation on the back of your phone, just below the battery – it’s the perfect spot to get started with your repair.
– Use your fingernail to nudge the battery upward from the little groove at the bottom.
– Gently pull the battery out and set it free from the phone.
Step 4
– Pop out that battery from your Fairphone and set it aside—easy as pie!
Step 5
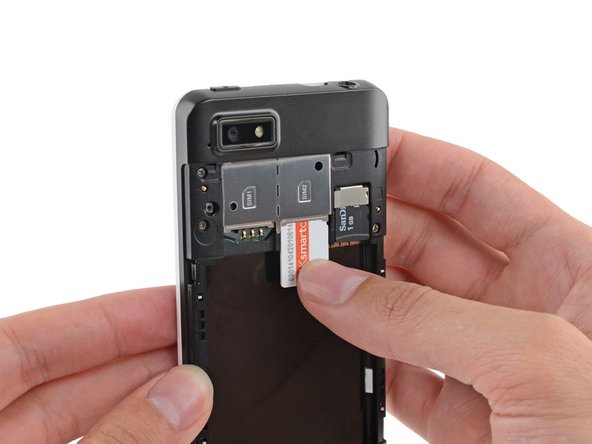
Don’t forget to pop out your SIM cards before diving in – it’ll save you from any surprises later!
Go ahead and do the same thing if you’ve got a second SIM card hanging out.
– Gently slide the SIM card out of its tray with your finger, keeping it nice and straight.
– Carefully take the SIM card out of your Fairphone. You got this!
Step 6
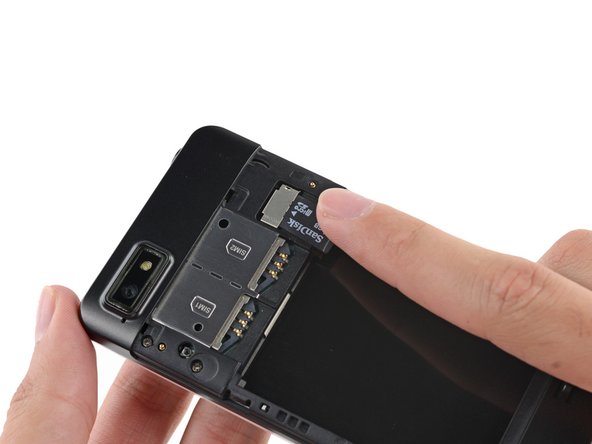
– Gently slide your microSD card out of its slot using your finger—no fancy moves required.
– Take the microSD card out and set it aside somewhere safe.
Step 7
– Time to bust out the Phillips #000 screwdriver! Remove those five 3.9 mm screws holding the midframe to the display assembly.
Step 8
The midframe is held in place on the display assembly by a bunch of tiny plastic clips doing their sticky job.
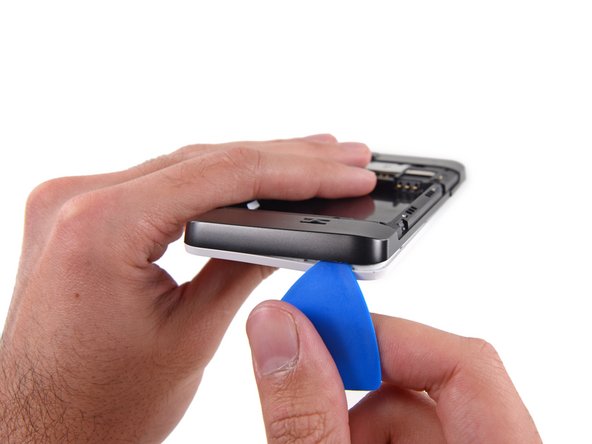
– Grab an opening pick and gently slide it to pop the midframe away from the display assembly—think of it like convincing two best friends to take a break.
– Start just under the volume buttons and make your way down the side to the bottom, freeing up those plastic clips as you go. Take it slow and steady—no need for any wrestling moves here!
Step 9
– Gently curve around the corner, carefully prying the midframe away from the display assembly.
Step 10
Swing around that last corner and—bam!—the midframe should now be loose along the bottom and both sides.
Step 11
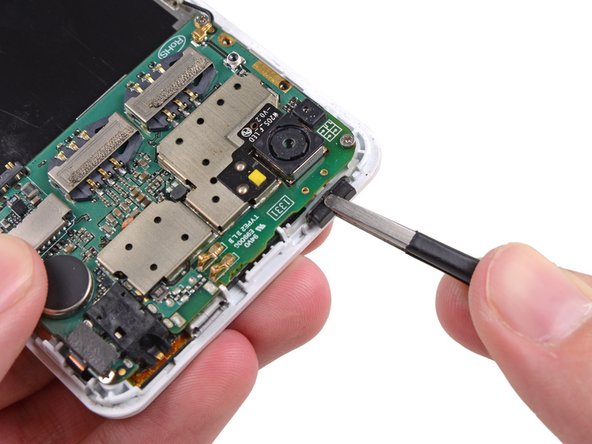
Keep those opening picks safe and sound—steer clear of prying near the power switch, USB port, or headphone jack to avoid bending or damage.
– Slide the opening pick gently along the top seam to pop it open like a pro.
Step 12
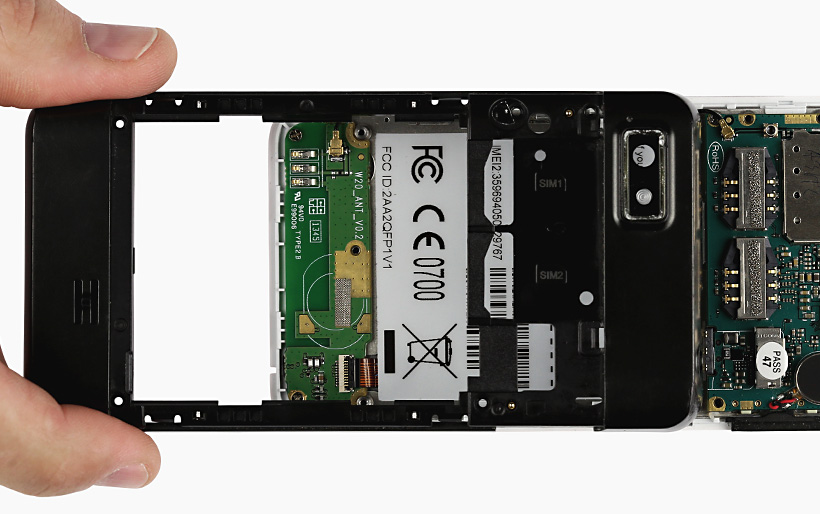
– Gently pop apart any last clips holding the midframe, then lift it out of the phone like a pro.
Step 13
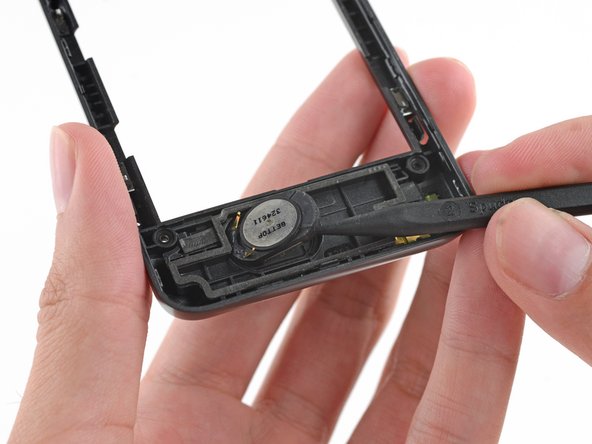
The speakerphone speaker is stuck to the midframe with a bit of adhesive, but don’t worry, it’s easy to remove!
– Gently pop the speaker out of the midframe using the tip of your spudger—just a little wiggle and it’ll come right out!
Step 14
– Gently pop the speaker out of the midframe, making sure not to damage any nearby components.
Success!
