Fairphone 1 Speaker Replacement
Duration: 45 minutes
Steps: 14 Steps
Get your Fairphone’s hands-free speakerphone back in action by swapping out that busted loudspeaker. Let’s bring those calls back to life!
Step 1


Look for a little notch along the side of your phone, close to the bottom edge of the back cover.
– With the indentation providing a helpful grip, gently use your fingernail to lift the bottom edge of the back cover away from the phone.
Step 2


– Gently slide the back cover downward, then lift it off to reveal the inside of your phone.
Step 3


Just below the battery, you’ll spot a tiny dip on the back of the phone.
– Pop your fingernail into the little slot and nudge the battery up toward the top edge of your phone.
– Now, just pull the battery out and away from the phone. Easy as pie!
Step 4

– Pop out the battery from your Fairphone to get started.
Step 5


Take out all SIM cards before you get started—your phone appreciates the heads-up!
Got a second SIM card? No worries, just follow the same steps again and you’re all set!
– Gently slide the SIM card down from its tray using your finger – no need to rush!
– Carefully lift the SIM card out of your Fairphone, and you’re done!
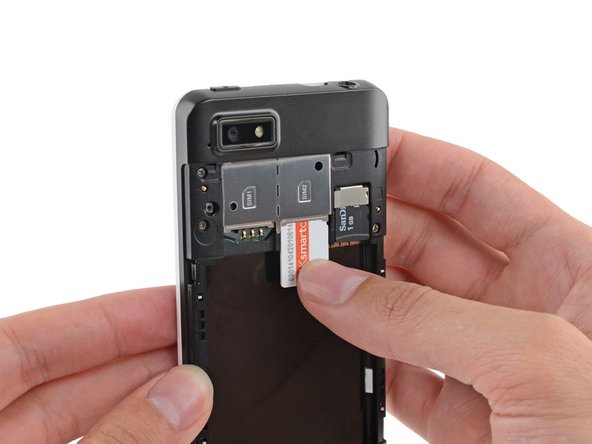
Step 6

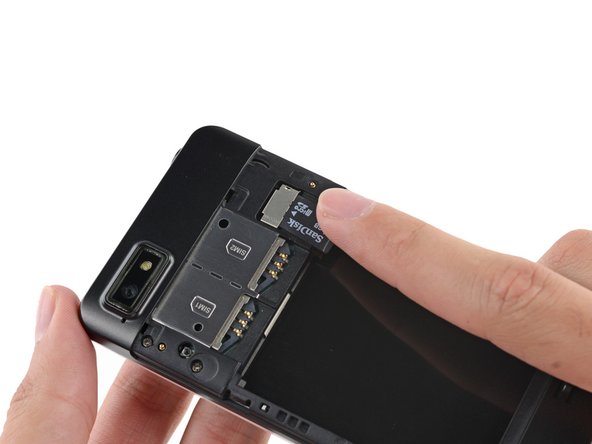
– Got a microSD card? Gently slide it out of its slot with your finger—no tools needed.
– Take the microSD card all the way out and set it aside for safekeeping.
Step 7

– Unscrew the five 3.9 mm Phillips #000 screws that are holding the midframe to the display assembly—time to loosen things up and keep that momentum going!
Step 8


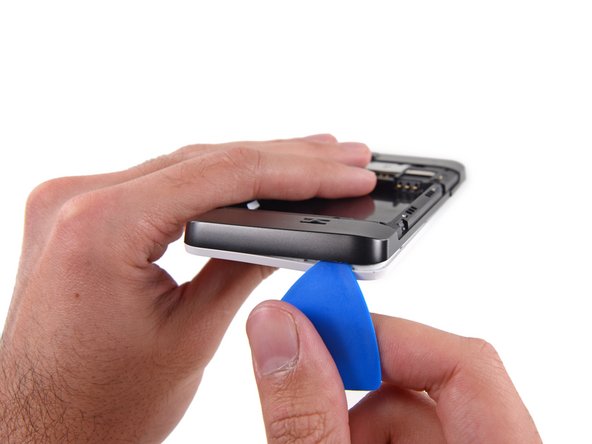
The midframe is held in place on the display assembly by a series of small plastic clips. A little push here and there, and you’ll have it free in no time!
– Grab an opening pick and gently wiggle the midframe away from the display assembly—take it slow and steady!
– Begin just under the volume rocker and glide your way down toward the bottom of the phone, carefully popping the plastic clips along the side free.
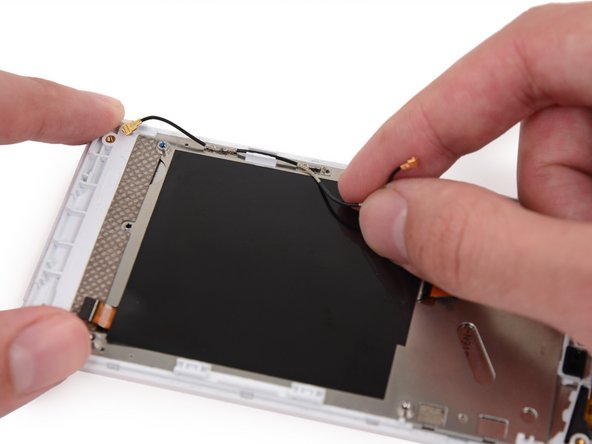
Step 9

– Gently curve around the corner to release the midframe from the display assembly. Take your time and be patient, it’s a delicate process.
Step 10

Now that you’ve made it around the next corner, you should start to see the midframe loosen up along the bottom and sides – you’re making great progress!
Step 11


Be gentle with those opening picks! Avoid prying too close to the power switch, USB port, or headphone jack to keep them safe from bending or damage. Patience is key!
– Now it’s time to get this repair started! Run the opening pick along the top seam and gently pry it open.
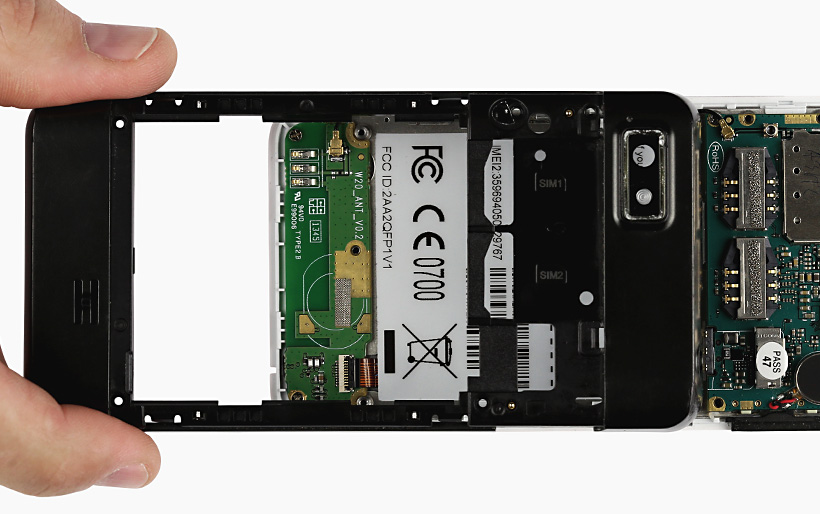
Step 12

– Gently pop any stubborn clips free and lift the midframe off the phone like a pro.
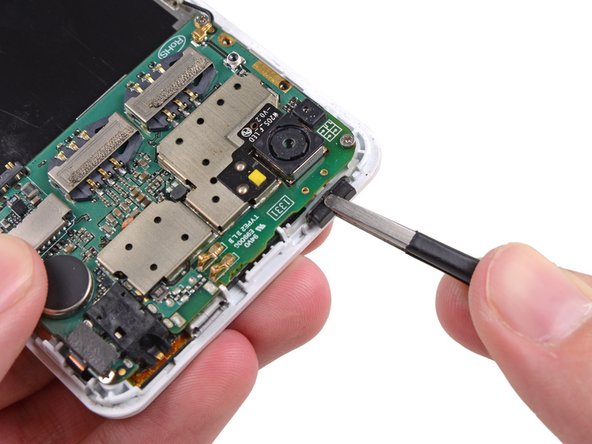
Step 13

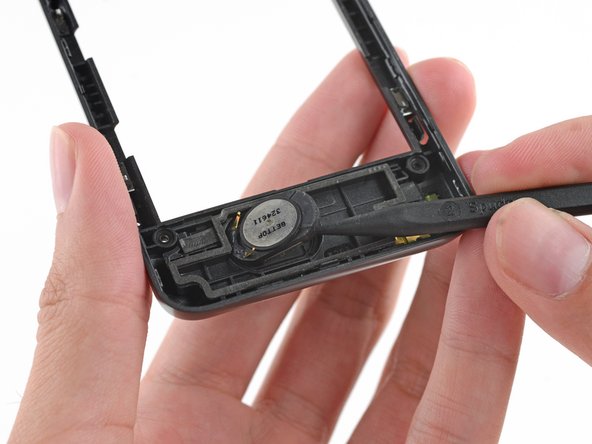
The speakerphone speaker is stuck to the midframe with a bit of adhesive, but don’t worry, it’s easy to remove!
– Gently use the spudger’s tip to carefully lift the speaker off the midframe. No rush – just take it slow and steady.
Step 14

– To put everything back together, just work your way through these steps in reverse. You got this!
– You’re all done! If you need help with anything else, you can always schedule a repair
Success!