Fairphone 1 Teardown
Duration: 45 minutes
Steps: 9 Steps
Fairphone has stirred up quite a buzz in the repair world by creating a truly fair-trade phone. Dive in with us to see if their promise of a “smart, open design” and “lasting value” lives up to the dream of every repair enthusiast. We got our hands on Fairphone #3 — yep, the third prototype unit straight from their production line! That means some parts might be a bit rough or have unique markings you won’t find on finished models, but that’s the trade-off for this exclusive sneak peek. Curious about our passion for repair and device care? Feel free to schedule a repair if you ever need a hand.
Step 1


– The Fairphone isn’t trying to win a style contest, but it’s a dependable smartphone with some solid features under the hood:
– 4.3″ qHD display (960 x 540 pixels) at 256 ppi—easy on the eyes and fits in your pocket.
– MediaTek MT6589M quad-core processor running at 1.2 GHz—enough power to keep things snappy.
– 16 GB of built-in storage, plus microSD support (up to 64 GB), and 1 GB RAM—plenty of room for your favorite apps.
– 2000 mAh battery that you can swap out yourself—no tools required.
– 8 MP main camera with autofocus, stabilization, and image sensor; 1.3 MP selfie camera up front.
– Wi-Fi (2.4GHz 802.11b/g/n) and Bluetooth (v2.1 + EDR, v3.0 + HS, v4.0 LE)—all the wireless basics covered.
Step 2


Even though the battery cover seems sturdy, it’s just hanging on for the ride. Set your phone down with a little too much enthusiasm, and that cover will make a break for it when you pick it back up.
– The battery cover feels pretty solid—definitely built tough to keep your phone sturdy and protected.
– On the inside of the cover, there’s a cool engraving giving a shoutout to the early supporters who helped bring Fairphone’s vision to life: ” This phone and you and 9635 people made fairphone possible. “
– Update: We got our hands on one of the actual shipping models after teardown and confirmed that the flexible battery cover snaps on nice and secure.
Step 3


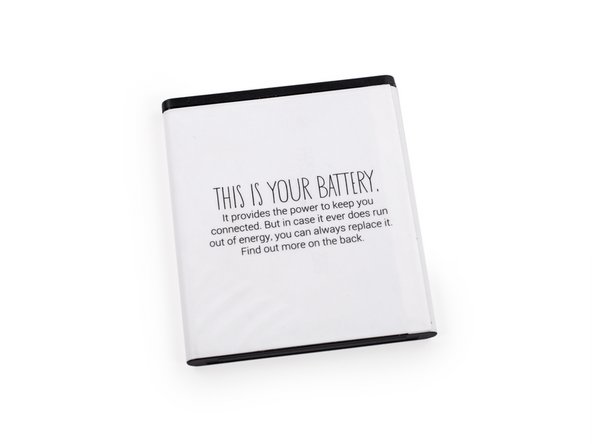
We haven’t had the chance to test the battery life ourselves yet, but Fairphone says it can last up to 400 hours on standby.
– First up is the 2000 mAh battery, easy to pop out and ready for action.
– For comparison:
– The iPhone 5s carries a 1560 mAh battery, offering up to 250 hours on standby.
– Meanwhile, the Samsung Galaxy S4 packs a 2600 mAh battery, holding out for up to 300 hours of standby time.
Step 4


Samsung phones have generally scored well in repairability, despite having sealed and pricey display assemblies. Let’s hope other manufacturers like Fairphone take a different approach, making repairs easier for everyone. If you’re feeling stuck, don’t worry – Salvation Repair is here to help, and you can always schedule a repair if you need a hand.
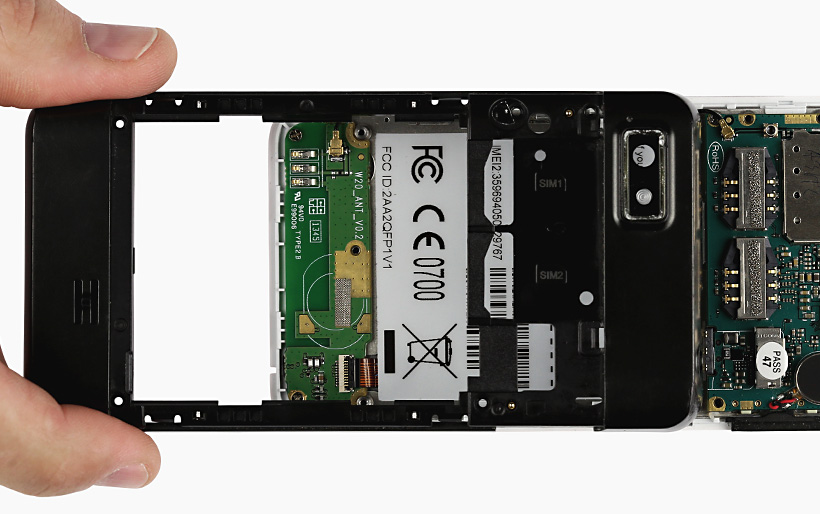
– A little gentle pry with the snappy opening pick, and voila! The clips along the midframe should pop right out.
– This midframe design is pretty similar to what you see in most Samsung phones, so the opening process should feel pretty familiar.
Step 5

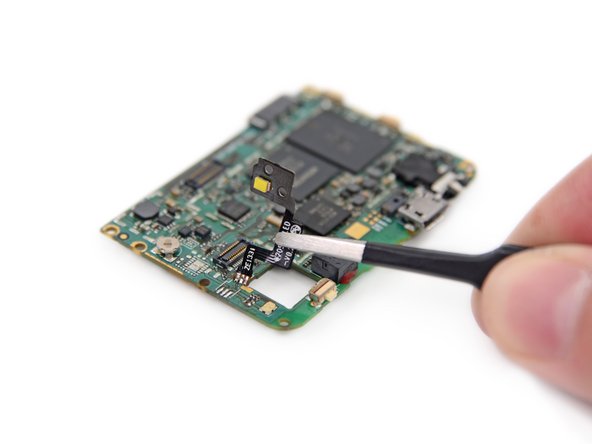
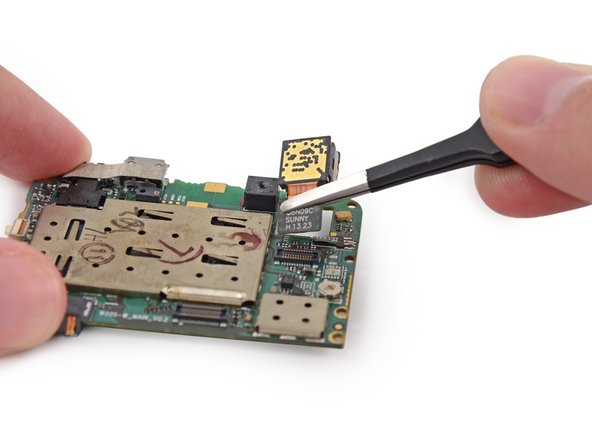
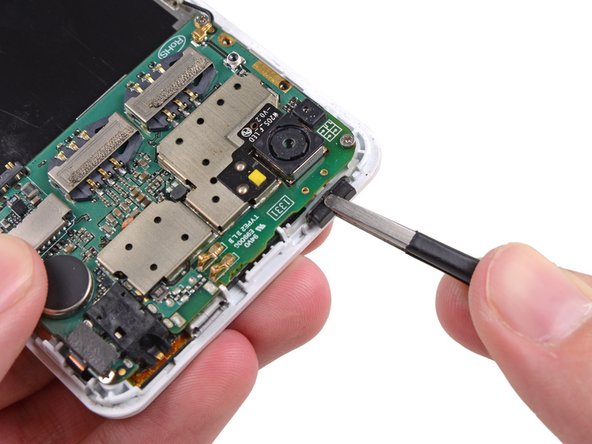
– After a bit of gentle maneuvering, we carefully lift the motherboard and set it down for a closer inspection.
– The 8 MP rear camera pops out easily, but sadly, some parts are soldered in place and won’t budge:
– We’re crossing our fingers that future Fairphone models will be more modular and easier (and cheaper) to fix.
– Front-facing camera
– Vibrator motor
– LED flash
– Headphone jack
Step 6

– Let’s take a peek under the hood at the cool chips powering your device:
– Mediatek MT6589 ARM Cortex A7 1 GHz CPU SoC
– SanDisk 16 GB NAND Flash storage (16 GB)
– InvenSense MPU-3050 Triple Axis Gyroscope with built-in digital motion wizardry
– Mediatek MT632
Step 7

– On the other side of things:
– RFMD RF3236 WEDGE (Linear) Transmit Module – It’s got your back for some smooth signal transmitting.
– AzureWave AW-NH520, similar to the AW-NH580 802.11 b/g/n WLAN, Bluetooth, GPS, and FM Combo Module IC – A multitasker for your device with WiFi, Bluetooth, GPS, and FM, all packed in one.
– MediaTek MT6167A RF Transceiver – Making sure everything is smoothly connected in the RF world.
– Skyworks SKY77768-1 SkyHi Power Amplifier Module for WCDMA/ HSDPA/ HSUPA/ HSPA+/ LTE – Band VIII (880–915 MHz) – Supercharging your mobile connection, especially in the 880-915 MHz range.
– Skyworks SKY77761 SkyHi Power Amplifier Module for CDMA / WCDMA / HSDPA / HSUPA / HSPA+ / LTE – Band I (1920–1980 MHz) – Boosting your signal game in the 1920-1980 MHz range.
Step 8


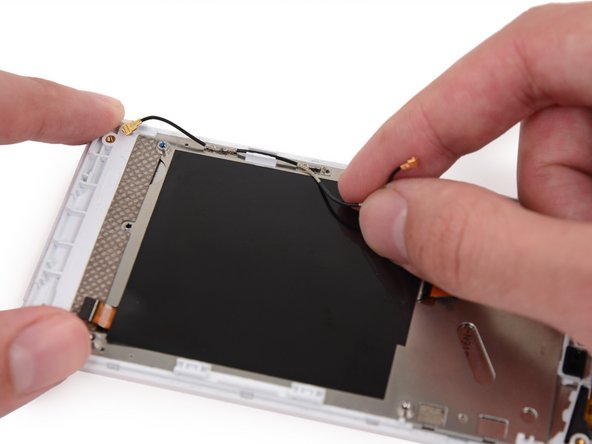
– Now, let’s tackle the last major component attached to the display assembly – a tiny daughterboard that’s home to an embedded antenna and spring contacts for the speaker. It’s an important part, so take your time!
– Take a peek at the back of the 4.3 qHD display and you’ll spot the touch screen controller, which is a FocalTech FT5316DME. Nice to meet you, tiny chip!
Step 9

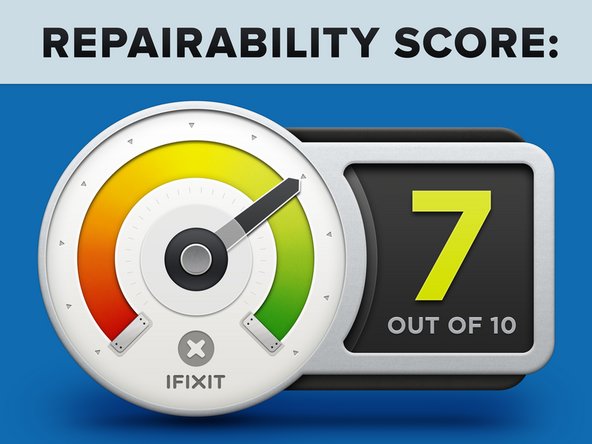
– Fairphone repairability score: 7 out of 10 (10 is a walk in the park to repair).
– Replacing the battery? No tools needed—just a simple swap!
– Opening up the device and reaching the internals? Easy as pie.
– You only need to deal with 8 screws in total—yep, all standard Phillips #000 (no tricky proprietary stuff).
– Fairphone comes with a set of handy, open-source repair manuals to guide you through the process.
– Some components, like the front-facing camera, vibrator motor, LED flash, and headphone jack, are soldered to the motherboard, which bumps up the difficulty a bit.
– The glass is fused to the display and frame, which means repair costs could be a little higher, but still totally manageable.
Success!