Fairphone 1 Wi-Fi Antenna Daughterboard Replacement
Duration: 45 minutes
Steps: 16 Steps
Ready to swap out the Wi-Fi antenna daughterboard in your Fairphone? This step-by-step guide will walk you through it, making the whole process smooth and stress-free.
Step 1


Notice a small dent on the side of your phone, near the bottom of the back cover. Let’s get that fixed!
– Use the little indentation as your secret weapon—slide your fingernail in and gently pop the bottom part of the back cover off the phone.
Step 2


– Gently slide the back cover downward and pop it off the phone.
Step 3


Right below the battery, you’ll spot a tiny little dent on the back of the phone.
– Hook your fingernail into the little groove and nudge the battery up toward the top edge of your phone.
– Gently pull the battery out and set it aside.
Step 4

– Let’s get started by removing the battery from your Fairphone – this is the first step towards getting your device up and running again!
Step 5


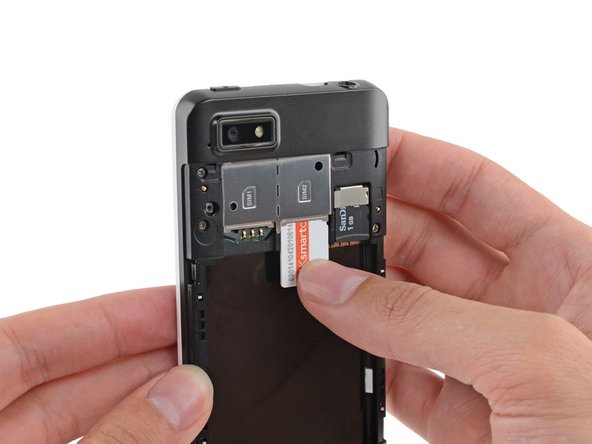
Before you start, don’t forget to pull out all the SIM cards from your phone to avoid any damage or data loss during the repair process.
Got a second SIM card? No problem! Just repeat the steps and you’re good to go.
– Gently slide the SIM card out of its tray using your finger – it’s like sliding a card out of a wallet!
– Now, carefully remove the SIM card from your Fairphone – you’re making great progress!
Step 6

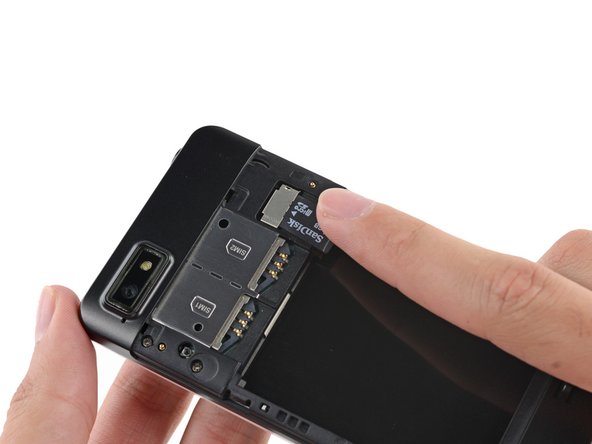
– Time to set that microSD card free! Gently slide it straight out of its slot using your finger.
– Now, carefully remove the microSD card from your phone to get started on this repair journey.
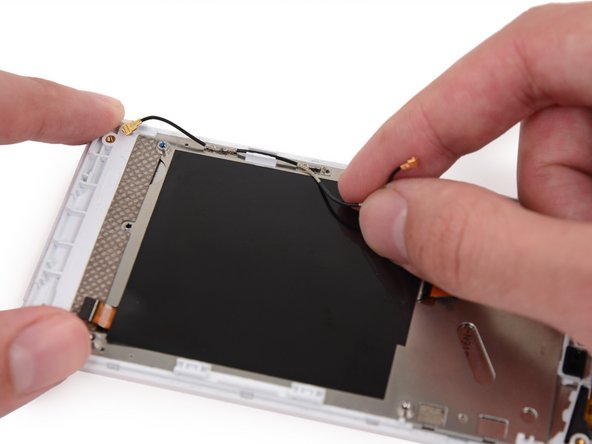
Step 7

– Unscrew the five 3.9 mm Phillips #000 screws holding the midframe and display assembly together. Keep those little guys somewhere safe—you’ll need them later!
Step 8


The midframe is held in place on the display assembly by a bunch of tiny plastic clips doing their job.
– Let’s get started! Use an opening pick to gently pry the midframe away from the display assembly – it’s time to set it free!
– Begin just below the volume rocker and work your way down toward the bottom of the phone, carefully releasing the plastic clips along the side. You’ve got this!
Step 9

– Gently curve around the corner, carefully prying the midframe away from the display assembly to avoid any damage.
Step 10

Now that you’ve made it around the next corner, you should see the midframe start to loosen up along the bottom and sides – you’re making great progress!
Step 11


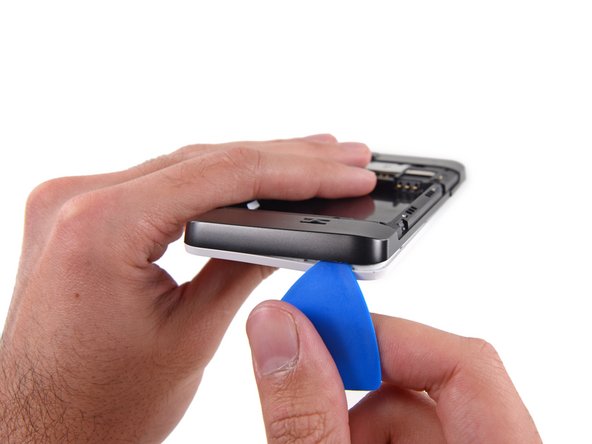
Keep those opening picks safe and sound—steer clear of prying near the power switch, USB port, or headphone jack to avoid any unwanted bends or damage.
– Take your trusty opening pick and carefully work it along the top seam to get things started.
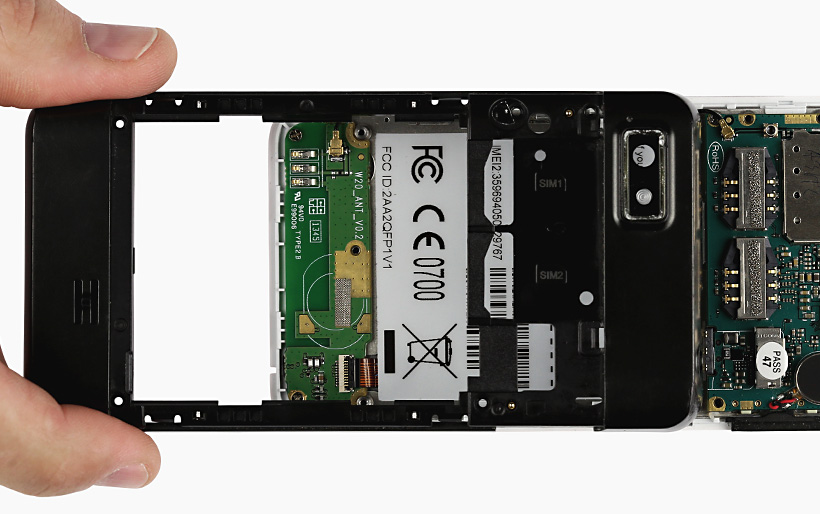
Step 12

– Separate any remaining clips and remove the midframe from the phone.
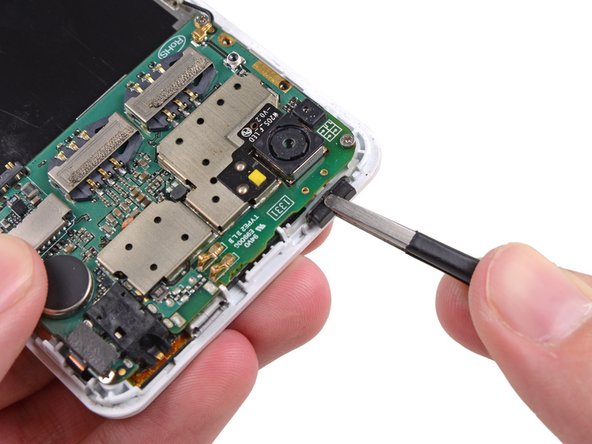
Step 13

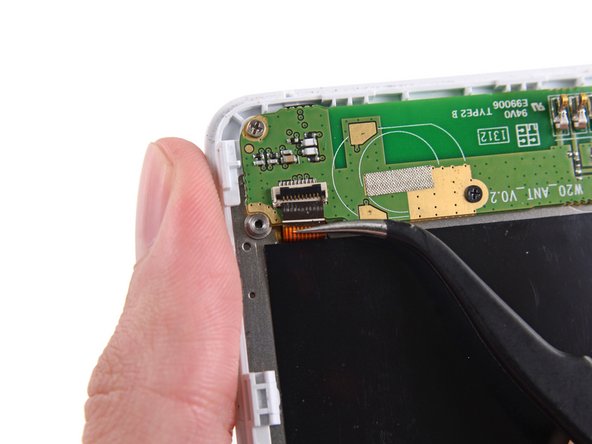
Gently pry on the connector, not the socket. It’s a delicate move, so take your time!
– Gently pry up the antenna cable connector using the flat end of your spudger.
Tools Used


Step 15

– Let’s get started by removing the screws that hold the Wi-Fi daughterboard in place:
– You’ll need to take out two 2.5 mm Phillips #000 screws
– And don’t forget the one 1.6 mm Phillips #000 screw
Step 16


The Wi-Fi antenna daughterboard is stuck to the front assembly with a bit of mild adhesive, so be gentle when you’re trying to pry it loose.
– Put your device back together by reversing these steps—easy peasy!
– If you run into any tricky spots, remember you can always schedule a repair with the pros.
Tools Used
Success!