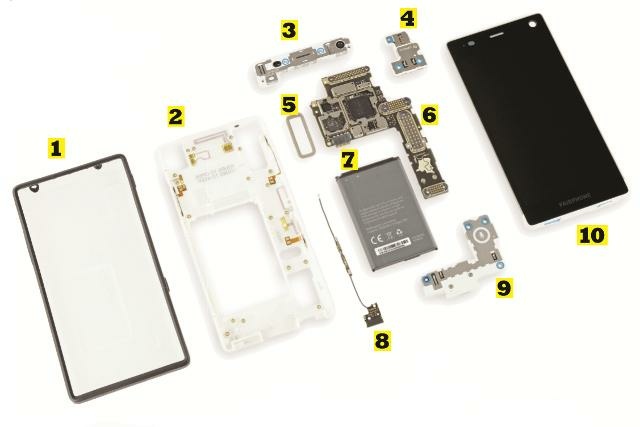
Fairphone 2 Headphone Module Replacement
Duration: 45 minutes
Steps: 9 Steps
Ready to give your Fairphone 2 a new lease on life? This guide will walk you through replacing the headphone module. Don’t worry, it’s a lot easier than it sounds. Just follow these steps, and you’ll have your phone sounding as good as new in no time. If things get tricky, you can always schedule a repair.
Step 1
– Find a corner of your slim case and use your thumb nails to gently wedge between the two layers.
– Lift the back section away, popping the small snap connections loose as you go.
– Take off the back piece of the slim case.
Step 2
– Carefully pry between the front part of the slim case and the phone’s body with your thumbnail – it’s like a little puzzle to solve!
– Gently release the snap fit connectors on the front part by pulling it to the side and giving the display a little nudge. It might take some finesse, but you got this!
Step 3
– Let’s get started by removing the front part of the slim case. It’s time to take a peek inside!
Step 4
– Slide the battery gently toward the top of your phone.
– Carefully pull the battery out, away from the phone.
Step 5
– First, remove the battery and unlock the display assembly. You’re almost there!
– Next, flip the two blue switches inward. They should snap right into place.
– Now, gently slide the display assembly down towards the bottom of the phone. You’ve got this!
Step 6
Here’s another smooth move for sliding the display assembly open—give it a try and see what works best for you!
Step 7
– Gently detach the display assembly and set it aside. You’re making progress!
Step 8
– Take out the two Phillips #0 screws from the headphone module—they’re the ones highlighted with blue circles.
Step 9
– Put your device back together by simply reversing these steps.
– For tips on how to responsibly recycle or dispose of the old module, check out the FairPhone support page and forum.
– If you hit a tricky spot or just want a hand, you can always schedule a repair.
Success!


