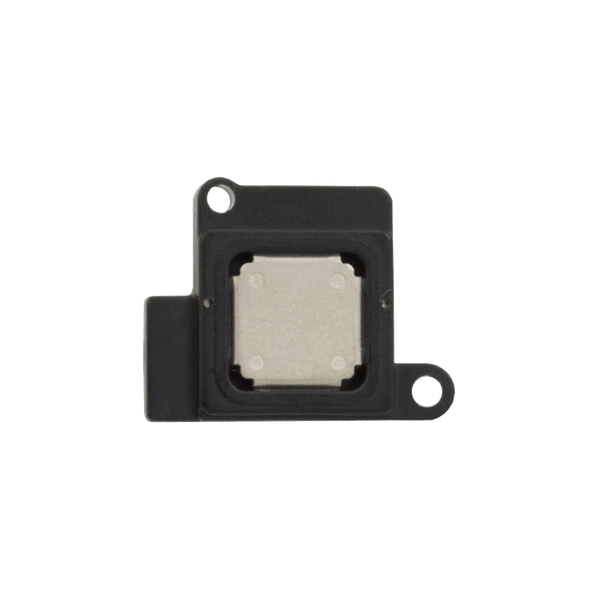
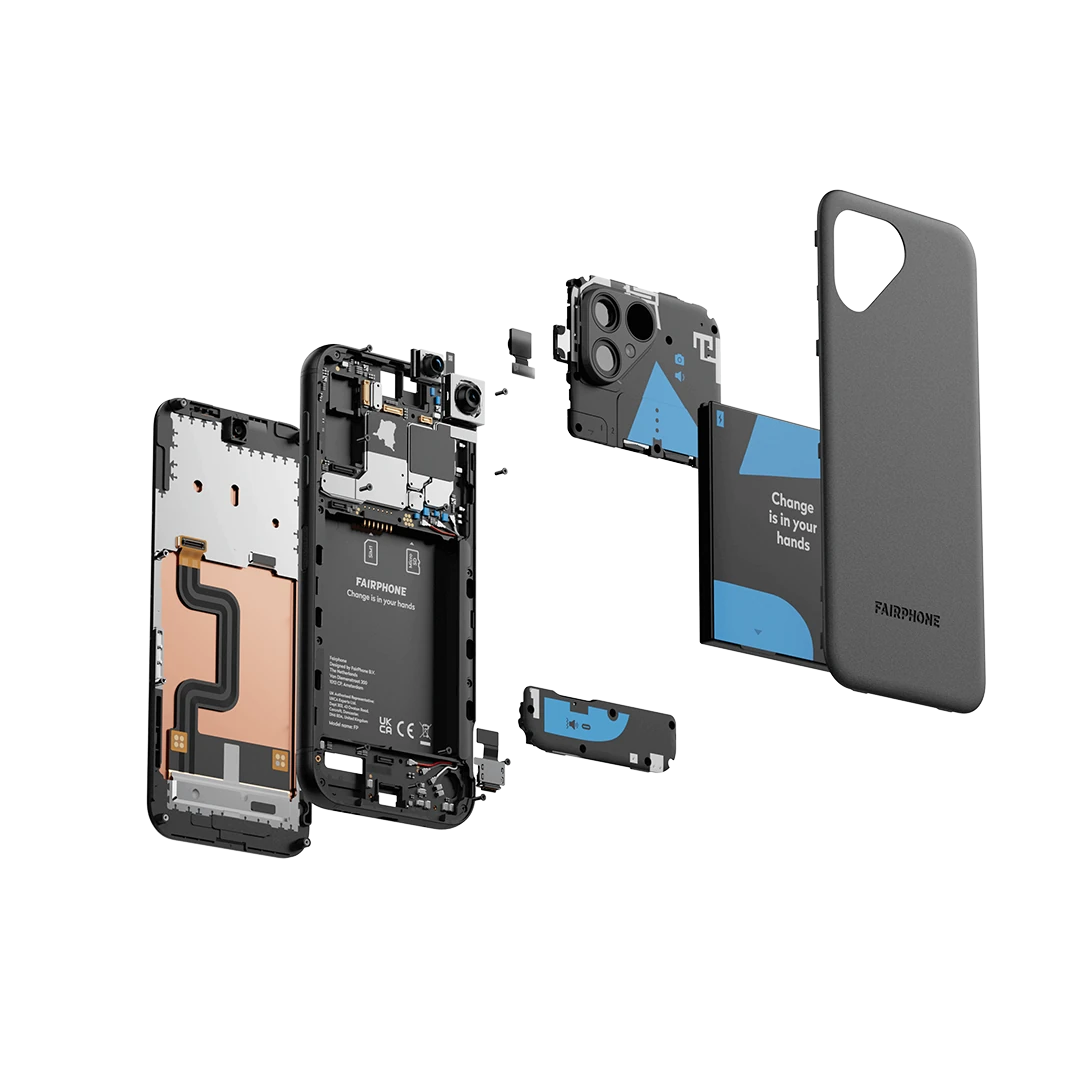
Fairphone 5 Earpiece Speaker Replacement
Duration: 45 minutes
Steps: 10 Steps
Ready to swap out that worn-out earpiece speaker in your Fairphone 5? Let’s make some noise in the best way possible! Follow along as we guide you through this simple replacement process. Just remember, if you find yourself in a pickle, feel free to schedule a repair!
Step 1
Hold down both the power button and the volume up button at the same time to bring up the shutdown menu. It’s like a mini power move, just a simple combo to get you where you need to go!
– Alright, time to give your device a breather! Unplug all cables, power it down, and let it take a well-earned nap.
Step 2
– Slip your fingernail, or a handy pry tool like a spudger, into the notch at the bottom right corner of the back cover.
– Gently pop off the back cover to loosen the corner clips at the bottom right.
Tools Used
Step 3
– Hold the bottom right corner of the back cover with one hand and steady the phone frame with the other. You’ve got this!
– Gently lift the back cover away from the phone to pop the clips along its edges. A little finesse goes a long way!
– Take off the back cover—success!
– When you’re reassembling, line up the back cover over the phone and press around the edges until all the clips snap snugly into place. Smooth moves!
Step 4
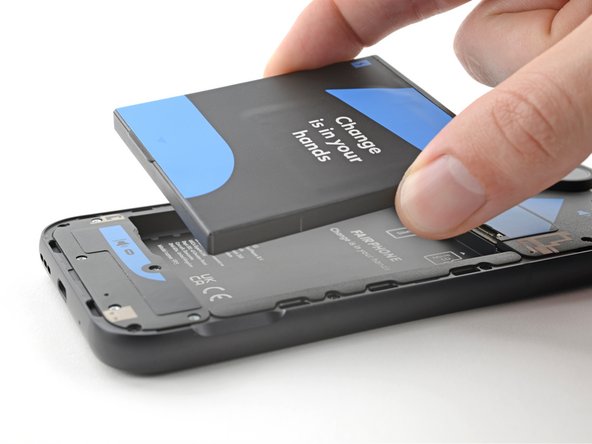
– Gently pop the battery up using your fingernail or a trusty pry tool like a spudger—start at the tab along the bottom edge.
– Carefully take the battery out.
– When you’re putting it back together, slide the battery’s top edge into its spot in the frame, then press it snugly into place.
Tools Used
Step 5
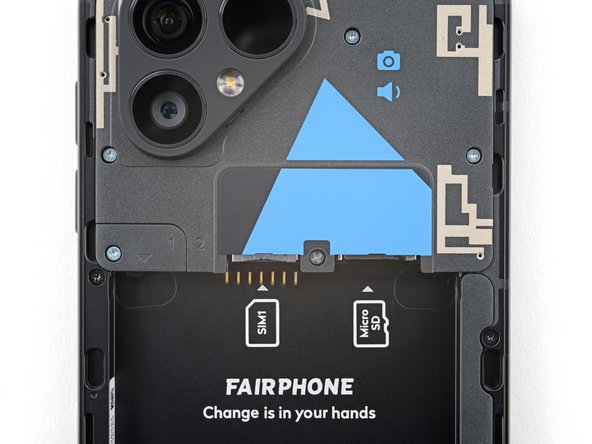
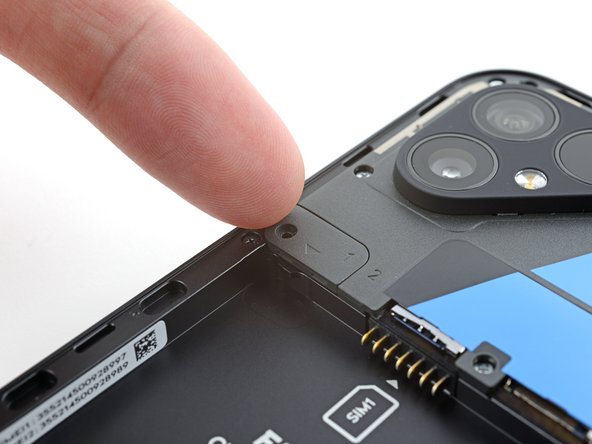
Look for the connector cover marked with a “1” and a downward-pointing triangle. You’ve got this!
– Grab your Phillips driver and pop out the 3.9 mm screw holding down the top unit connector cover—it’s chilling at the bottom left corner.
Step 6
The cover is connected to the top unit by a plastic cord, so there’s no need to completely detach it from the top unit. Just keep it connected and proceed with care!
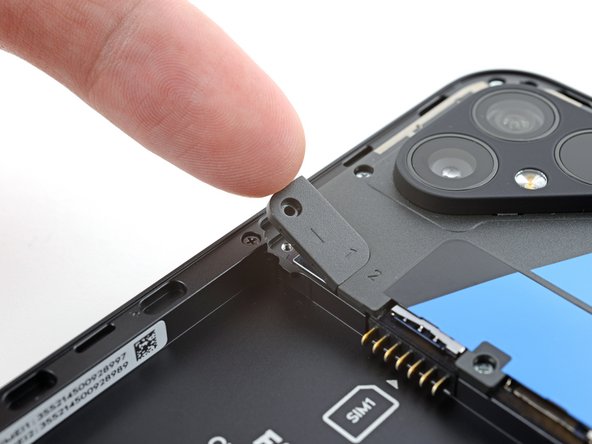
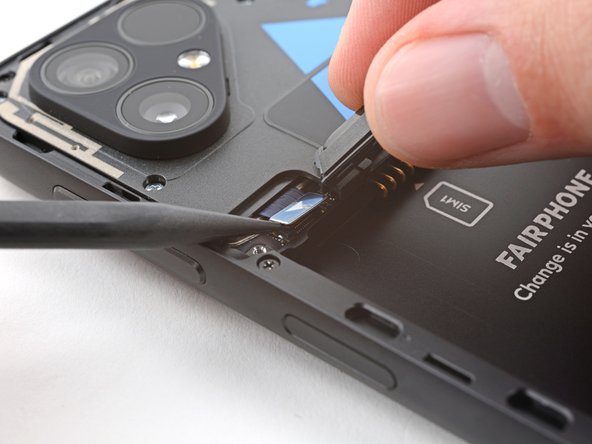
– Slide your fingernail or grab a handy pry tool like a spudger under that little notch on the left edge of the connector cover.
– Give the cover a gentle nudge to pop it up and separate it from the top unit.
Tools Used
Step 7
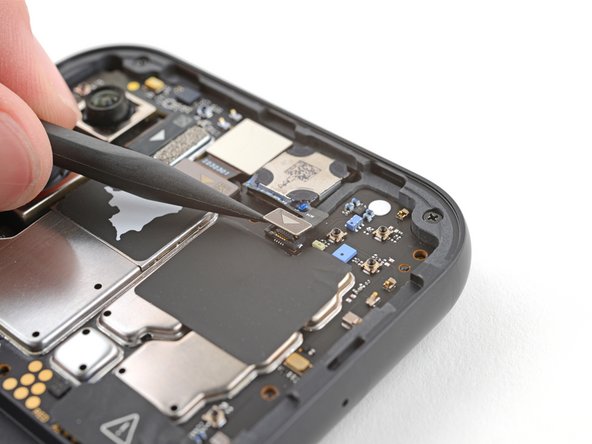
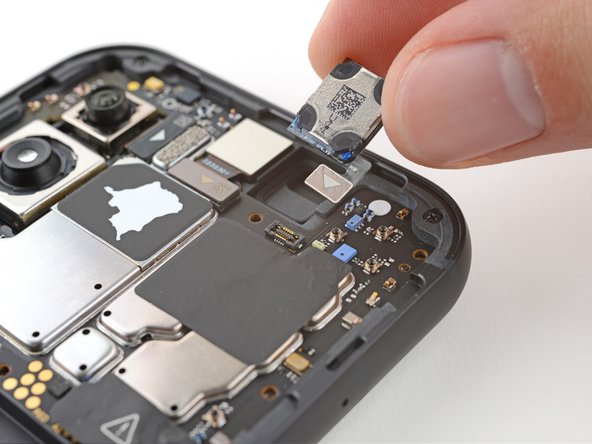
– Now it’s time to get a little tricky! Hold the cover out of the way and use a spudger to carefully pry up and disconnect the top unit press connector. Take your time and be gentle, we don’t want any accidental damage.
– Re-attaching press connectors can be a bit finicky, but don’t worry, you’ve got this! To get it just right, align the connector carefully and press down on one side until it clicks into place. Then, repeat the process on the other side. Remember, pressing down in the middle can be a no-go, as it can cause those pesky pins to bend and lead to permanent damage. If you’re feeling unsure, just take a deep breath and go for it – you’re doing great!
Tools Used
Step 8
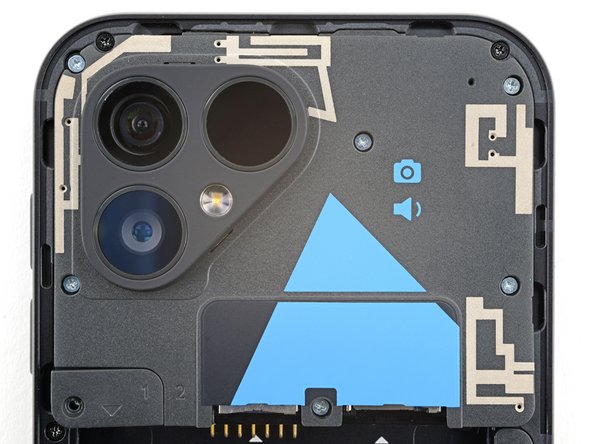
– Grab your Phillips driver and unscrew the six 4.9 mm-long screws holding down the top unit. Let’s get this show on the road!
Step 9
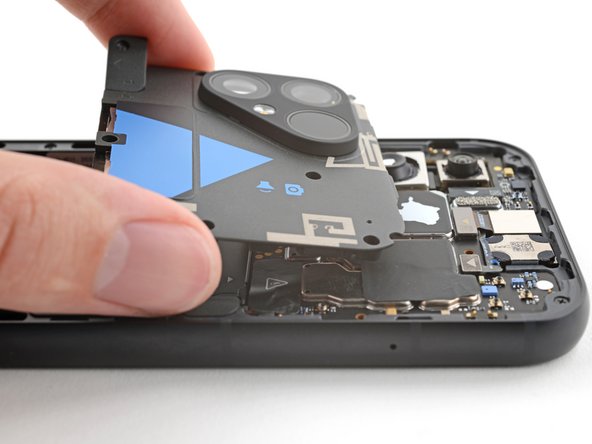
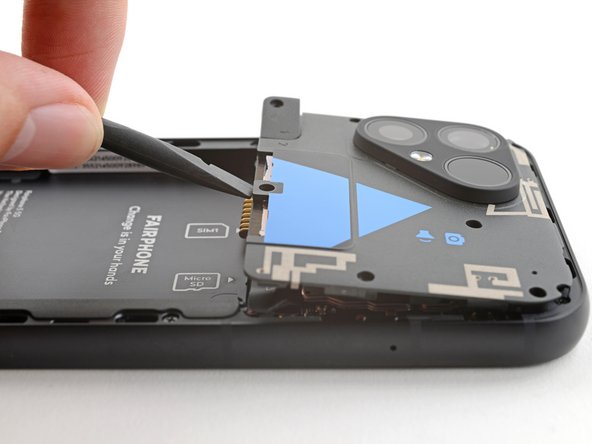
– Gently slide the flat end of your spudger under the screw hole along the bottom edge of the top unit.
– Give it a little pry to release the clips holding the top unit in place on the phone frame.
– When putting things back together, start by angling the top edge of the top unit into the frame, then press it down to snap the clips back into place.
Tools Used
Step 10
– Time to put your device back together! Just retrace your steps and follow these instructions in reverse.
– Got some e-waste? Don’t forget to give it a new home at an R2 or e-Stewards certified recycler.
– If things didn’t go quite as planned, don’t sweat it! A little basic troubleshooting might save the day, or feel free to reach out to our Answers community for some friendly advice.
–
Tools Used
Success!
