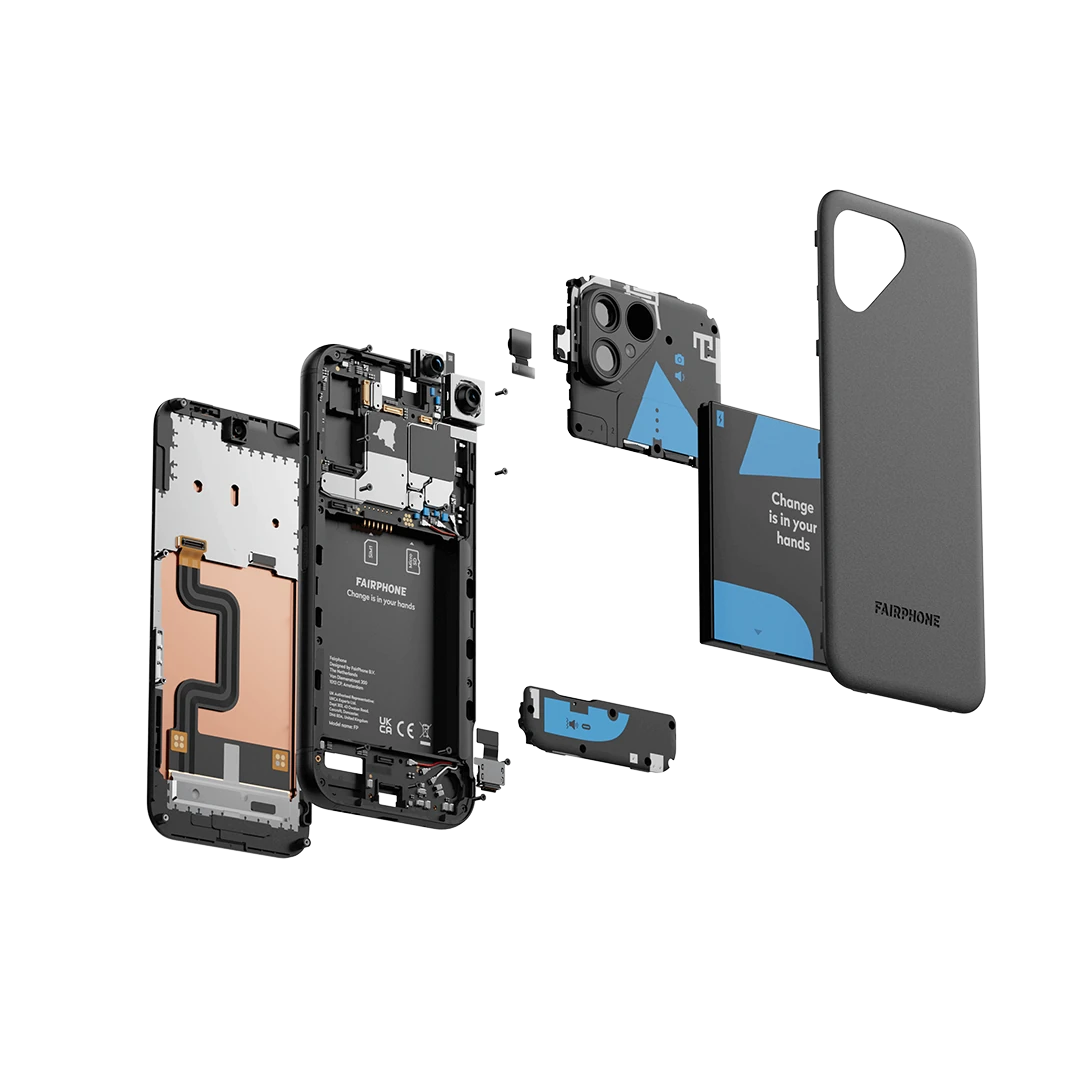
Fairphone 5 Main Camera Replacement
Duration: 45 minutes
Steps: 11 Steps
Got a busted main camera (aka the wide camera) on your Fairphone 5? No worries, you’re about to swap it out like a pro. Follow these steps and bring your phone’s photography game back to life. Let’s get into it!
Step 1

Hold down both the power and volume up buttons simultaneously to pop up the shutdown menu.
– Disconnect all cords and switch off your phone.
Step 2


– Gently slide your fingernail or a nifty pry tool like a spudger under the little notch at the bottom right of that back cover.
– Give the back cover a gentle nudge to pop up those clips in the bottom right corner.
Tools Used

Step 3


– Grab the bottom right corner of the back cover with one hand, and hold the phone’s frame steady with your other hand.
– Gently lift the back cover off the phone, releasing the clips around the edges.
– Carefully remove the back cover from the phone.
– When putting everything back together, align the back cover over the phone and press around the edges until the clips snap back into place.
Step 4
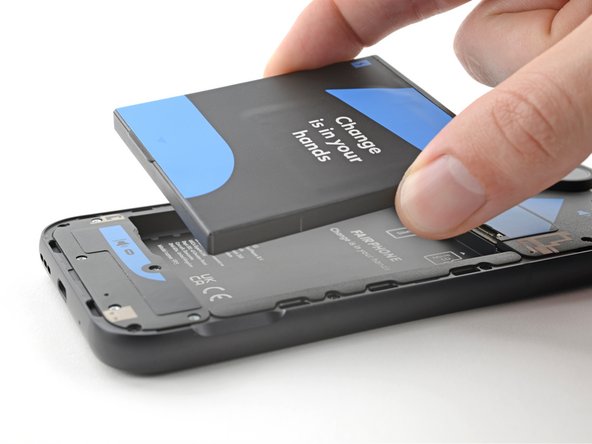


– Gently lift the battery using your trusty fingernail or a nifty pry tool like a spudger, grasping that tab at the bottom edge.
– Next up, it’s time to say goodbye to the battery – just remove it!
– When you’re putting everything back together, remember to slide the top edge of the new battery into its cozy spot in the frame before pressing it down snugly.
Tools Used
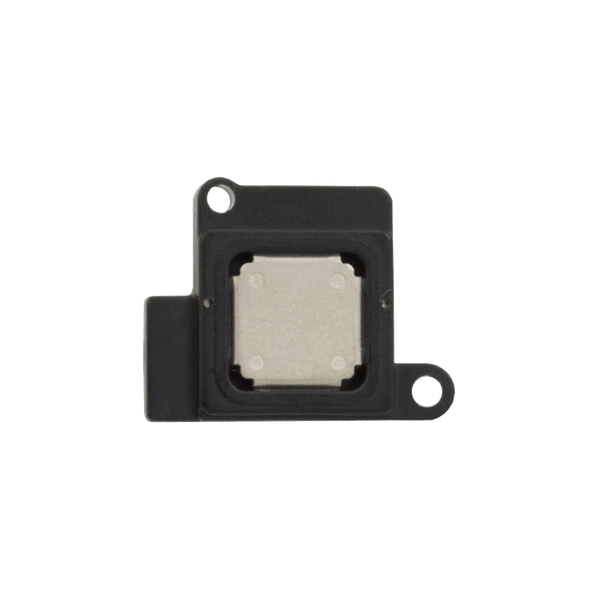
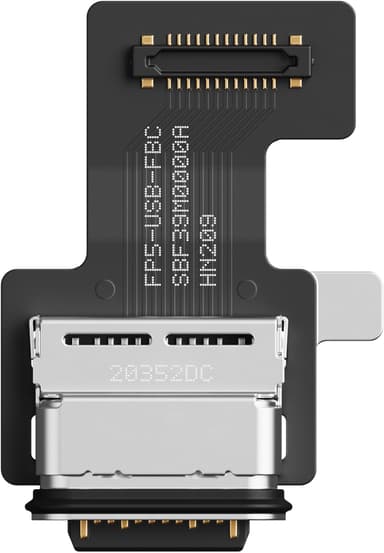
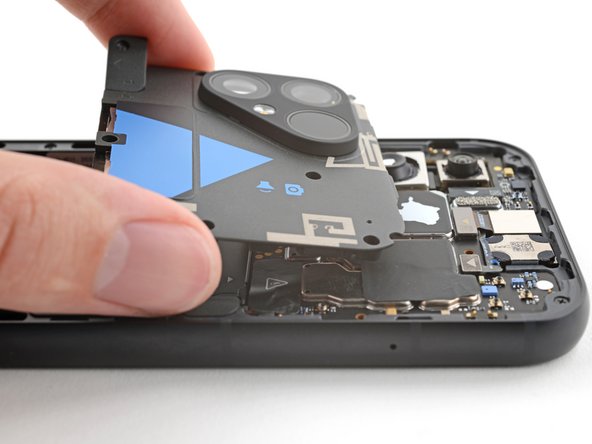
Step 5
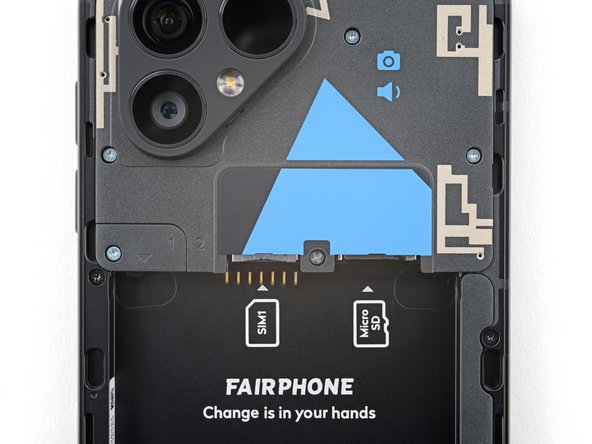

The connector cover sports a ‘1’ and a downward-pointing triangle—easy peasy to spot!
– Grab your trusty Phillips driver and unscrew that 3.9 mm-long screw keeping the top unit connector cover snug in the bottom left corner. Let’s get this cover out of the way, shall we?
Step 6


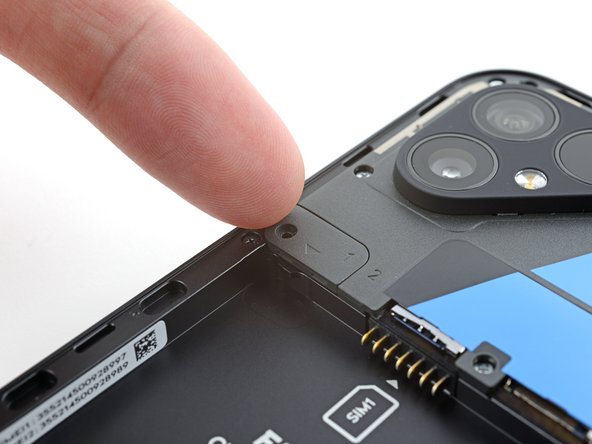
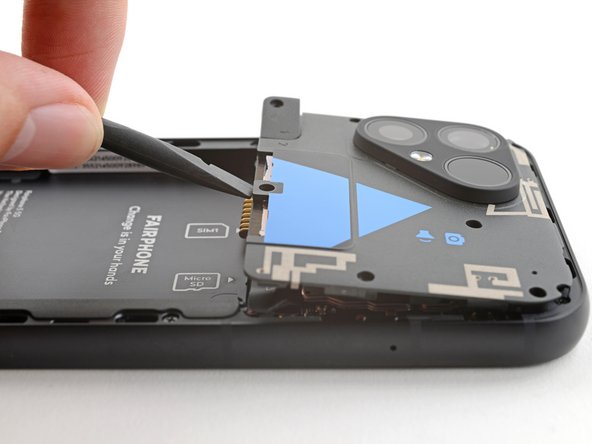
The cover is tethered to the top unit by a plastic cord—so don’t go yanking it off just yet! Keep it attached while you work, and avoid any unnecessary tug-of-war.
– Slide your fingernail—or if you want to feel professional, use a pry tool like a spudger—under the notch on the left edge of the connector cover.
– Gently pry it up to pop it off from the top unit. No need to wrestle with it, just ease it off like you’re opening a soda can.
Tools Used
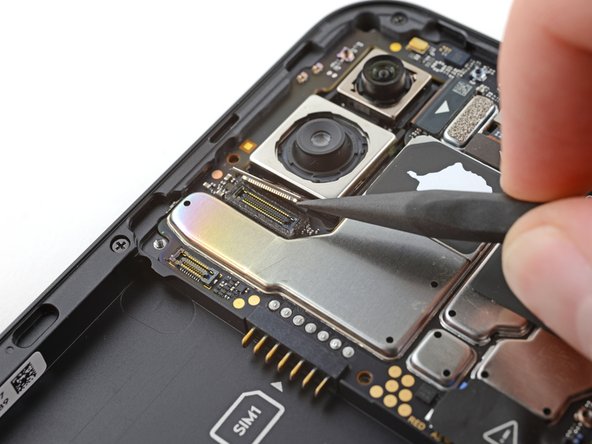
Step 7
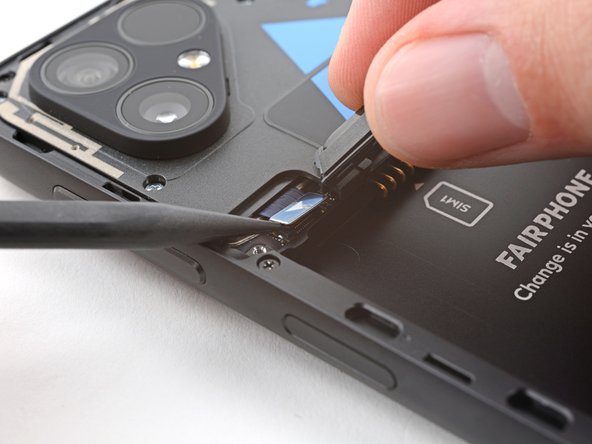

– Keep that cover out of the way and use your trusty spudger to carefully pry up and disconnect the top unit press connector – it’s an easy one!
– Time to put things back together! When reattaching press connectors like this one, just line it up nicely and press down gently on one side until you hear that satisfying click. Then, repeat the same move on the other side. Remember, no pressing down in the middle – we don’t want those pins to get bent and cause any trouble.
Tools Used
Step 8

– Grab your trusty Phillips screwdriver and get ready to tackle those six 4.9 mm screws holding the top unit in place. Let’s make it happen!
Step 9

– Slide the flat end of a spudger into the screw hole along the bottom edge of the top unit. Be gentle, you’re not prying open a treasure chest!
– Give it a lift to pop those clips holding the top unit to the phone frame. They’re ready to let go—just a little persuasion will do!
– When putting it all back together, angle the top edge of the top unit downward as you slide it into the frame. Once it’s nestled in, press down to lock those clips back into place. Nice work—you’re basically a tech wizard now!
Tools Used
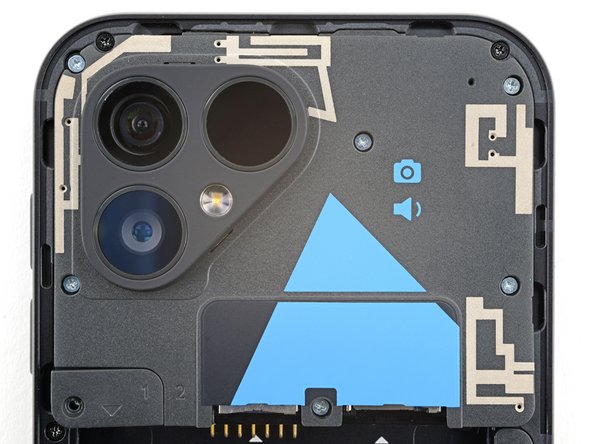
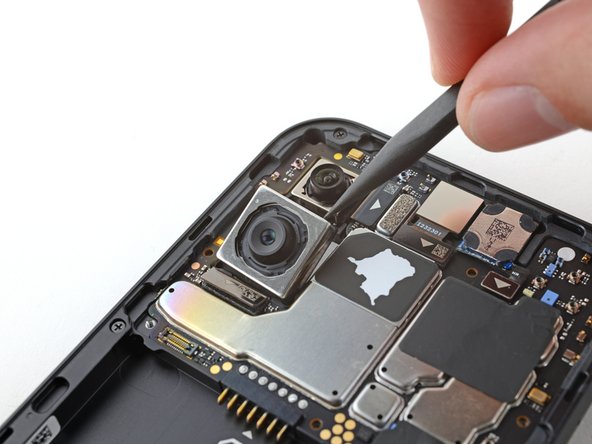
Step 10

– Gently slide the spudger tip under the right edge of the main camera press connector.
– Lift it up to free the main camera from its cozy spot.
Tools Used
Step 11
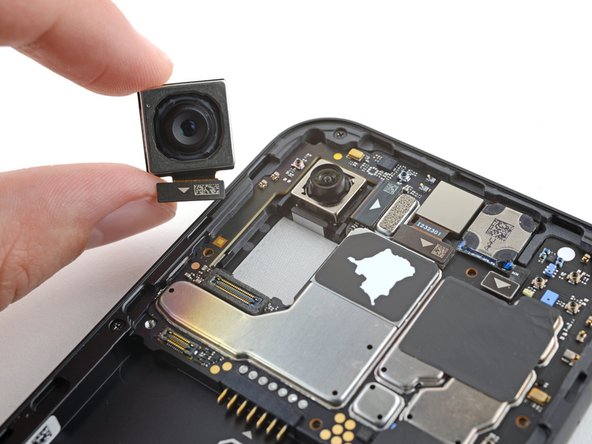

Keep your cool and steer clear of the lens on the other camera while working on this step.
– Now it’s time to put everything back together! Just retrace your steps and follow the instructions in reverse.
– Got some old gadgets lying around? Make sure to drop them off at an R2 or e-Stewards certified recycler.
– Things didn’t go quite as planned? No worries! Give some basic troubleshooting a shot, or swing by our Answers community for a helping hand.
–
Tools Used
Success!