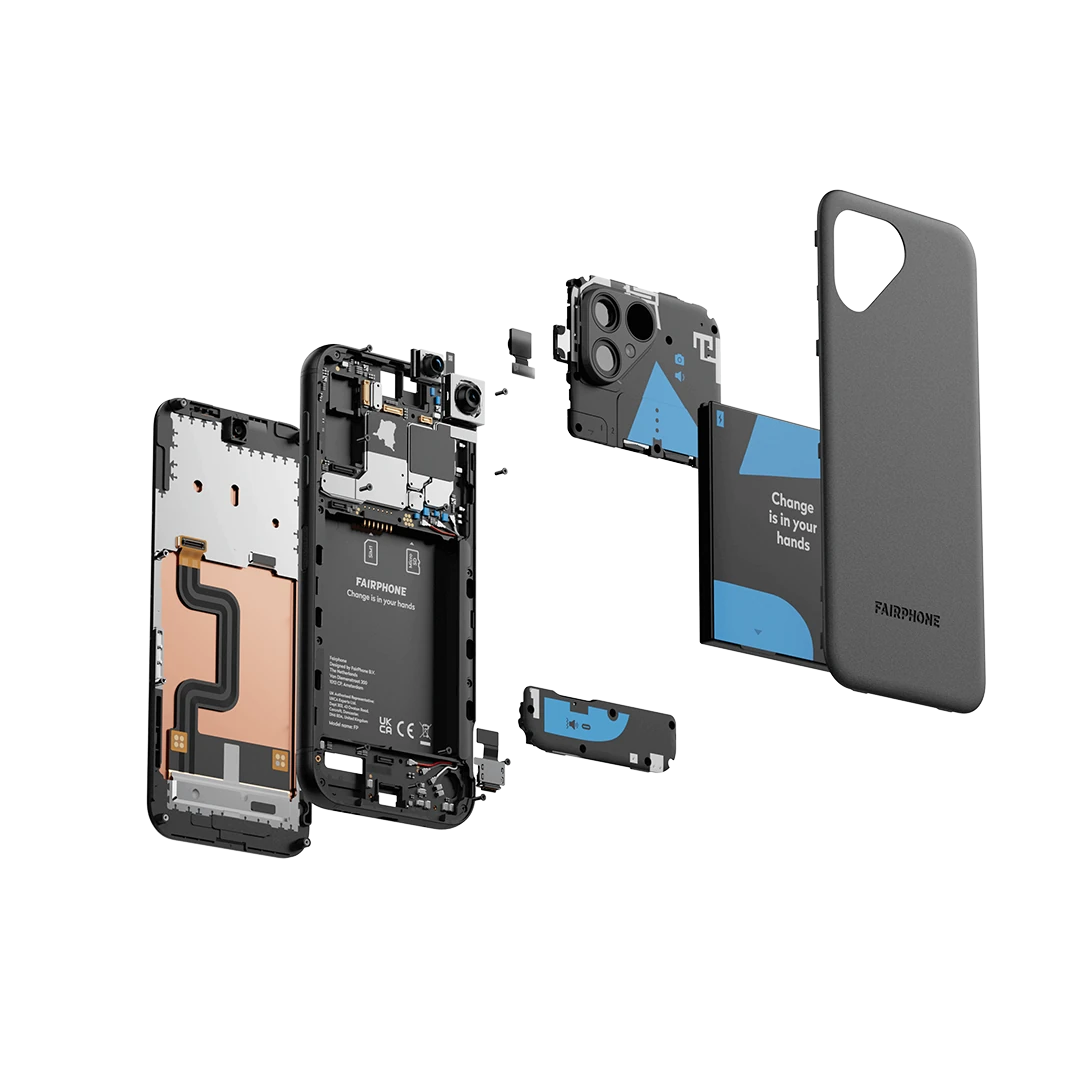
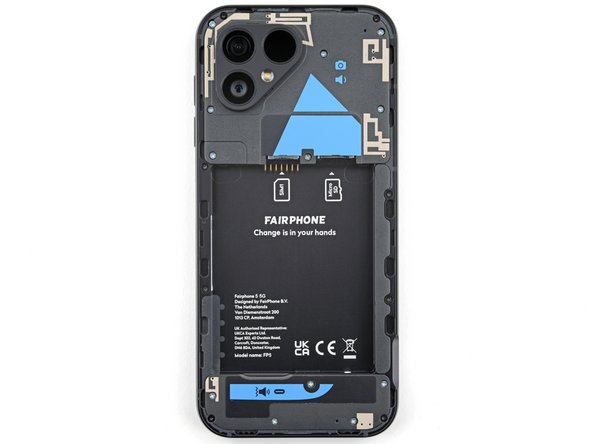
Fairphone 5 Screen Replacement
Duration: 45 minutes
Steps: 7 Steps
Get ready to bring your Fairphone 5 back to life by swapping out that cracked or broken screen! Follow this guide, and you’ll be on your way to a flawless display in no time. And hey, if you find yourself scratching your head at any point, don’t hesitate to schedule a repair for expert help!
Step 1

Hold down the power button and volume up at the same time—like you’re summoning a secret command—to bring up the shutdown menu.
– Disconnect all cords and switch off your phone.
Step 2


– Gently slide your fingernail, or a handy pry tool like a spudger, under the notch at the bottom right of the back cover.
– Carefully lift the back cover to release those bottom right corner clips. They’re ready to pop!
Tools Used

Step 3


– Grab the bottom right corner of the back cover with one hand and hold the phone frame steady with the other. You got this!
– Gently lift the back cover away from the phone—don’t be shy—and pop those clips around the edge.
– Say goodbye to the back cover as you remove it completely.
– When you’re ready to put it back together, align the cover with the phone and press all around the edge until those clips snap back snugly into place. Easy peasy!
Step 4
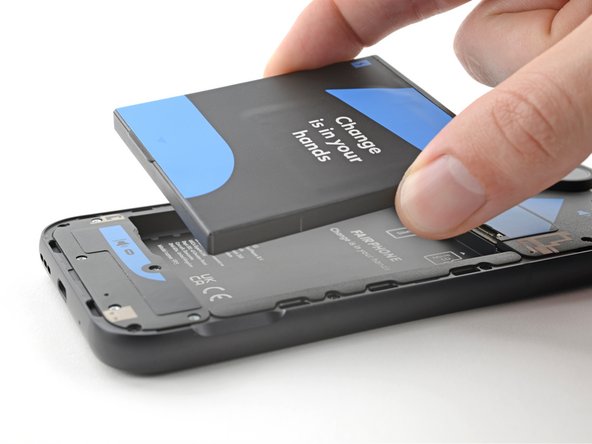


– Get a grip on that battery! Use your fingernail or a trusty pry tool like a spudger to carefully lift the battery by its tab, starting from the bottom edge.
– Time to say goodbye to the old battery – gently remove it from its home.
– When you’re putting everything back together, make sure to slide the top edge of the new battery into its cozy spot in the frame before pressing it into place. Easy peasy!
Tools Used
Step 5

– Grab your trusty Phillips driver and go to town on those eight little screws that are holding the screen tight at 3.9mm long. Let’s get that screen off with ease!
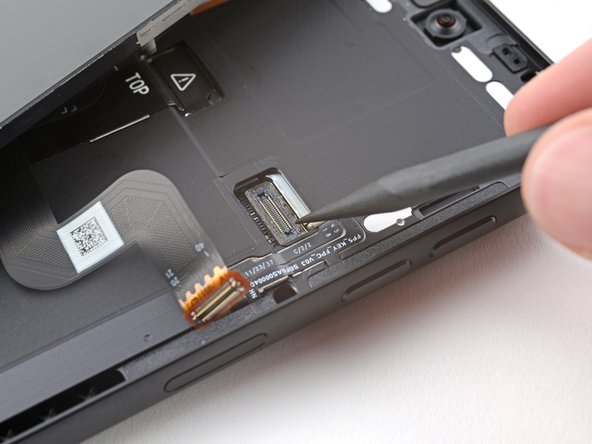
Step 6


Handle the cable with care—just create enough wiggle room to reach the screen press connector without any tug-of-war.
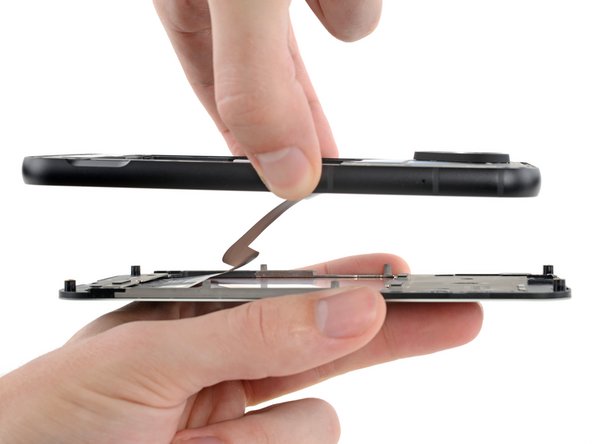
– Let’s get started! Carefully lift the phone, keeping the screen facing down, and support it as you go.
– Now, gently pull the phone frame upward to separate it from the screen – it’s like a little puzzle coming apart!
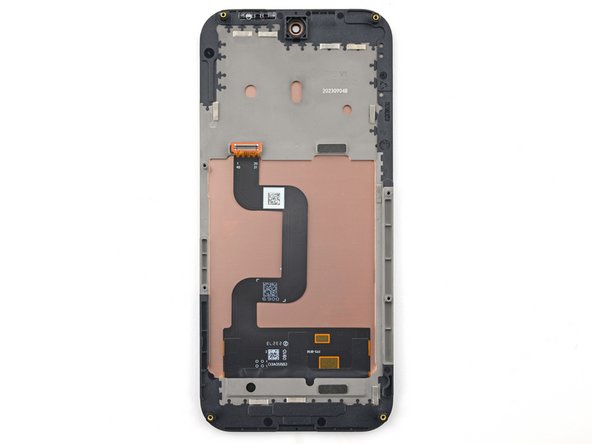
– Time to flip things around: turn the screen and frame over, and lay them down so the screen rests on the top left part of the frame, revealing the display cable. You’re doing great!
Step 7

– To get your device back in action, simply follow these steps in reverse.
– Now, be kind to the planet and recycle your e-waste with an R2 or e-Stewards certified recycler.
– If things didn’t quite go as planned, don’t worry! Try some basic troubleshooting or reach out to our community at Salvation Repair for some expert help. And if you’re still stuck, you can always schedule a repair.
–
Tools Used
Success!