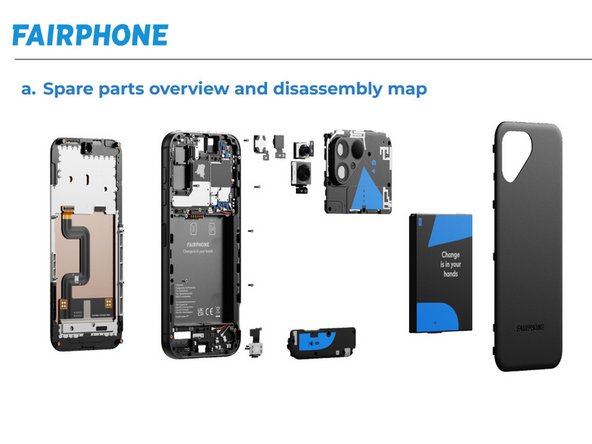
Fairphone 5 Top Unit Replacement
Duration: 45 minutes
Steps: 9 Steps
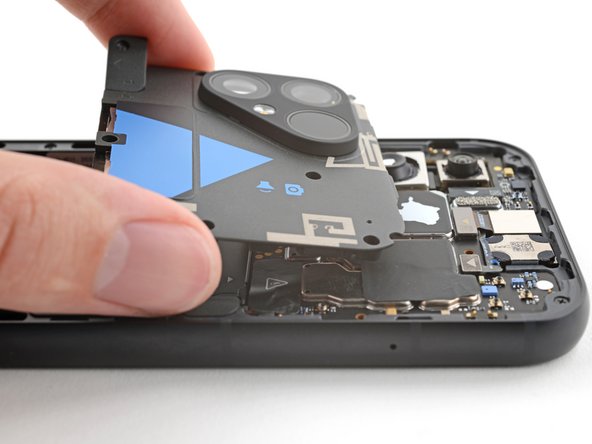
Ready to tackle your Fairphone 5 top unit replacement? This guide will walk you through swapping out that worn-out top unit, which houses the time of flight sensor, camera flash, and those handy SD and SIM card slots. Let’s get your device back in action!
Step 1

Hold down the power button and the volume up button together to summon the shutdown menu like a tech-savvy pro.
– Disconnect all the cables and give your phone a little rest—power it down like it’s taking a much-needed nap.
Step 2


– Gently slide your fingernail or a nifty pry tool like a spudger under the little notch at the bottom right of that back cover.
– Give the back cover a gentle nudge to pop up those clips in the bottom right corner.
Tools Used

Step 3


– Let’s get started! Grip the bottom right corner of the back cover with one hand, and use your other hand to steady the phone frame.
– Now it’s time to set that back cover free! Lift it away from the phone to release the clips around its edges.
– The back cover should now be completely removed. Take a moment to appreciate your handiwork!
– When you’re ready to put everything back together, simply align the back cover over the phone and press along the edges until you hear those satisfying clicks as the clips snap back into place.
Step 4
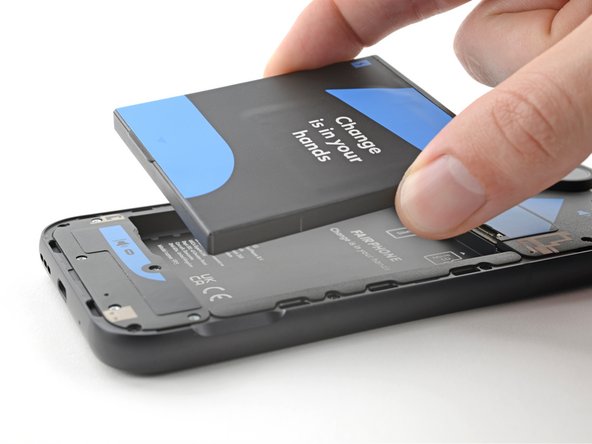


– Time to liberate that battery! Use your trusty fingernail or a pry tool (like a spudger) to gently lift the battery by its tab along the bottom edge. No brute force—just finesse.
– Go ahead and remove the battery. Say farewell for now!
– Putting it back? Slide the top edge of the battery into its designated spot in the frame first—give it a little wiggle to make sure it’s snug—then press it into place like the finishing touch on a masterpiece.
Tools Used
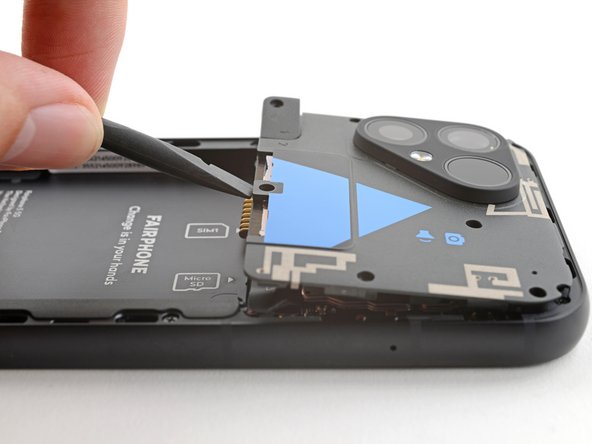
Step 5
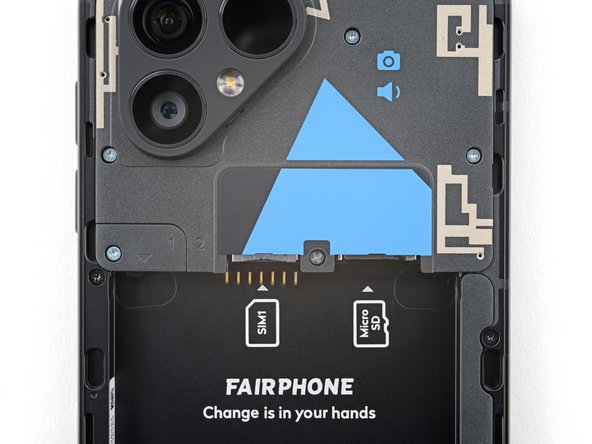

Check it out—the connector cover is rocking a ‘1’ label and a triangle pointing downward. It’s not just there for style; it’s your key to figuring out the orientation!
– Grab your trusty Phillips driver and unscrew that 3.9 mm-long screw holding down the top unit connector cover in the bottom left corner. You’ve got this!
Step 6


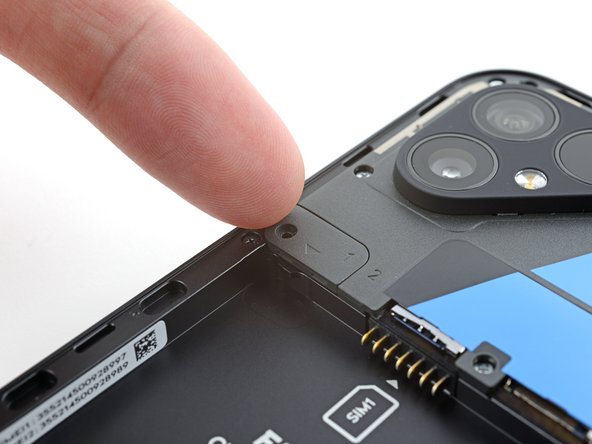
The cover is attached to the top unit by a plastic cord, so no need to yank it off completely. Just give it a little wiggle and you’ll be good to go!
– Slide your fingernail or a trusty pry tool (like a spudger) under the notch on the left side of the connector cover.
– Gently pop the cover up and lift it away from the top unit—like a pro!
Tools Used
Step 7
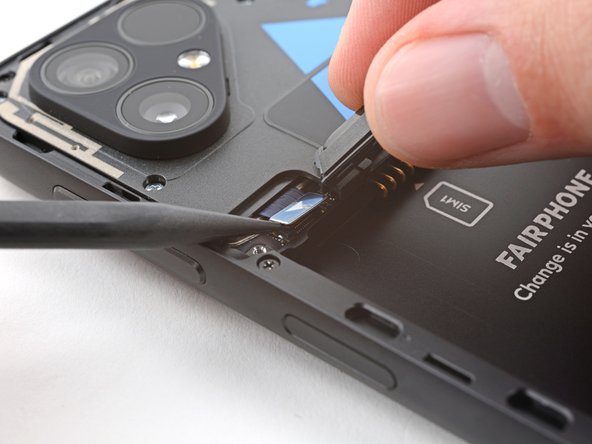

– While keeping the cover out of the way, take your trusty spudger and gently pry up to disconnect that top unit press connector.
– When it’s time to re-attach press connectors like this one, make sure to align it just right. Start by pressing down on one side until you hear that satisfying click, then do the same on the other side—just avoid pressing the middle! If it ends up being a bit off, the pins might bend, and we don’t want any permanent damage, do we?
Tools Used
Step 8
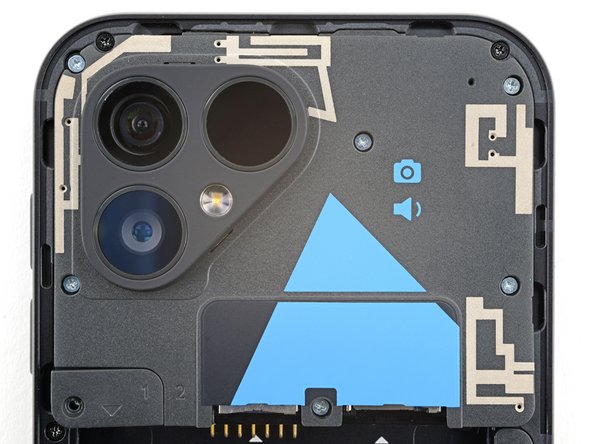

– Grab your trusty Phillips driver and let’s dive in! Start by loosening up those six screws that are holding the top unit snugly in place. Each one is 4.9mm long, so keep an eye on them as you go!
Step 9

– Now, just reverse the steps to get your device back together and good to go.
– Got some old electronics? Be sure to recycle them with an R2 or e-Stewards certified recycler.
– Things not working out as planned? No worries, try some quick troubleshooting or head over to our Answers community for a helping hand.
–
Tools Used
Success!