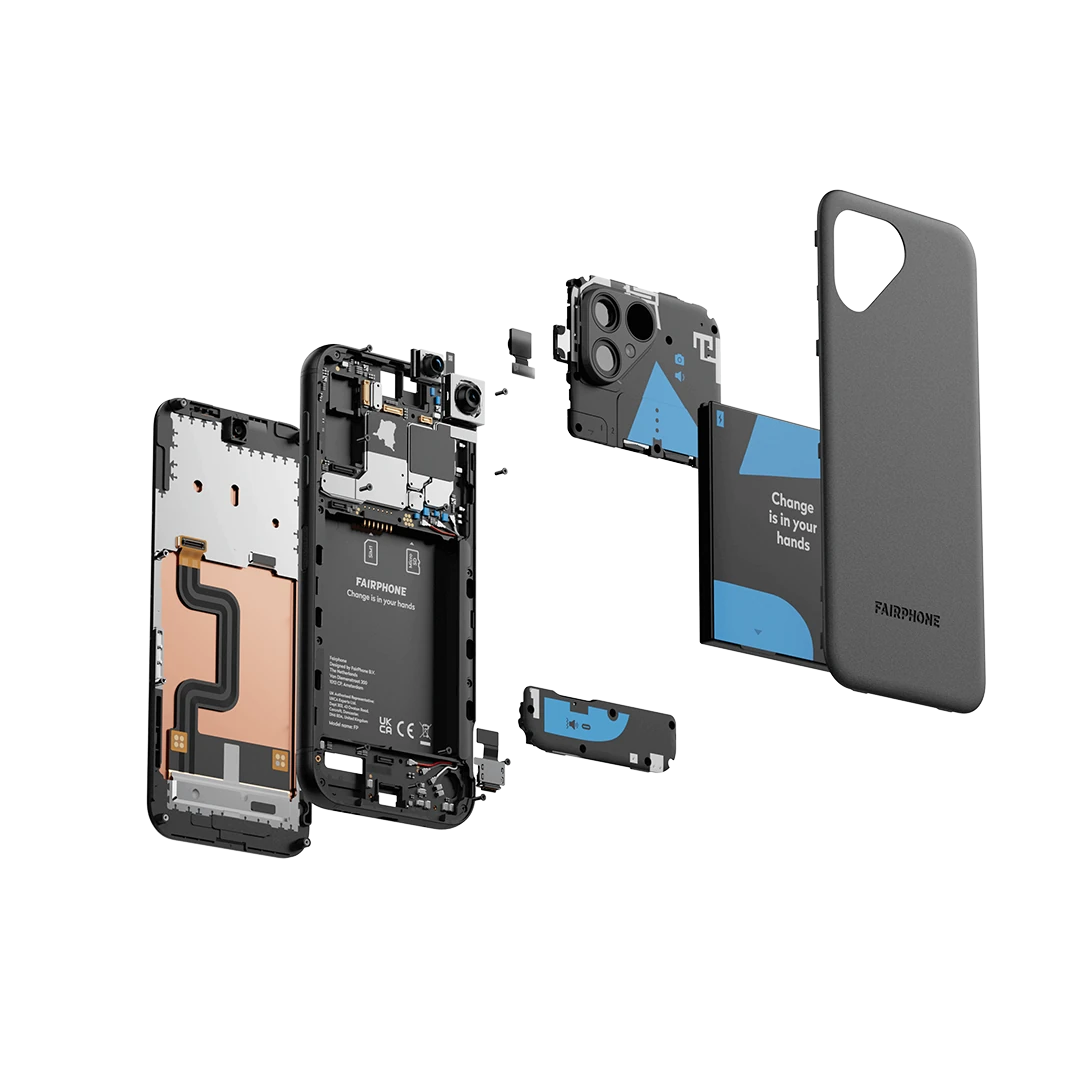
Fairphone 5 Ultra-Wide Camera Replacement
Duration: 45 minutes
Steps: 11 Steps
Get ready to swap out that pesky damaged ultra-wide camera in your Fairphone 5 with this handy guide. Let’s dive in and give your phone the upgrade it deserves! And remember, if you hit a snag, you can always schedule a repair.
Step 1

Hold down the power button and volume up button together, and voilà—the shutdown menu will pop up like magic!
– Disconnect all cords and switch off your phone.
Step 2


– Gently slide your fingernail or a nifty pry tool like a spudger under the little notch at the bottom right of that back cover.
– Give the back cover a gentle nudge to pop up those clips in the bottom right corner.
Tools Used

Step 3


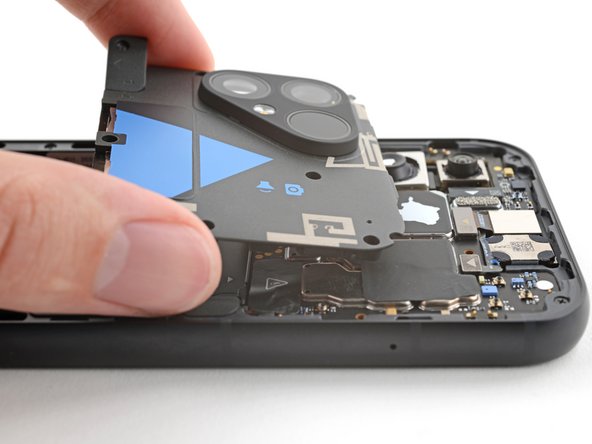
– With one hand, grab the bottom right corner of the back cover, and use your other hand to steady the phone frame.
– Gently lift the back cover to unclip it from the phone’s edges.
– Now, take off the back cover.
– When putting it all back together, just line up the back cover with the phone and give it a gentle press around the edges until all the clips click back in place.
Step 4
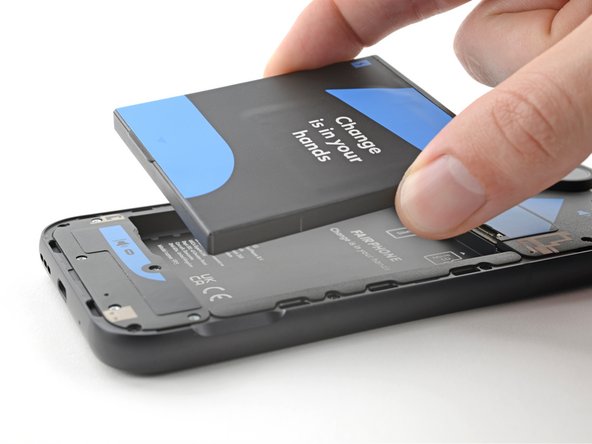


– Gently lift the battery using your trusty fingernail or a nifty pry tool like a spudger, grasping that tab at the bottom edge.
– Next up, it’s time to say goodbye to the battery – just remove it!
– When you’re putting everything back together, remember to slide the top edge of the new battery into its cozy spot in the frame before pressing it down snugly.
Tools Used
Step 5
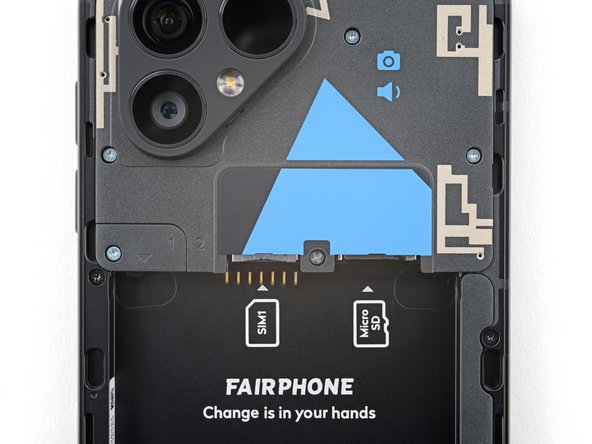

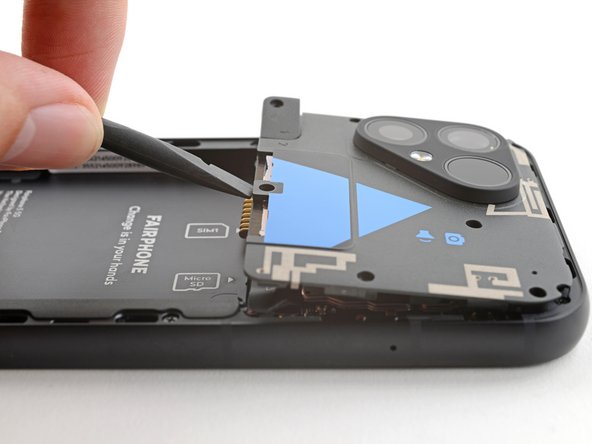
The connector cover sports a ‘1’ and a triangle pointing downward. It’s like the connector’s way of saying, ‘I’m number one—let’s get this done!’
– Grab your trusty Phillips driver and let’s get to work! Carefully take out the 3.9 mm-long screw that’s holding the top unit connector cover in place at the bottom left corner. You’ve got this!
Step 6


The cover is connected to the top unit by a plastic cord, so there’s no need to completely detach it from the top unit. Just keep it connected and proceed with care!
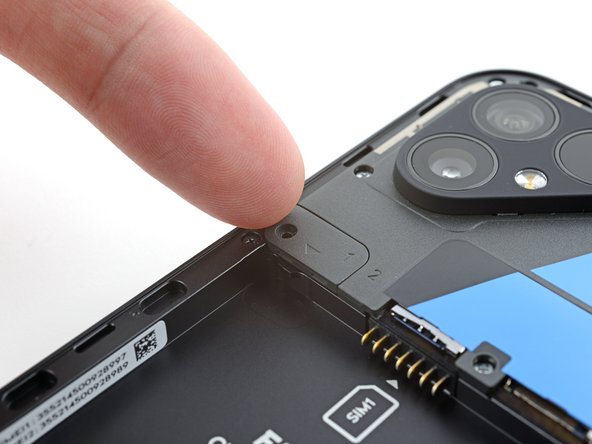
– Slide your fingernail or a pry tool, like a spudger, gently under the notch at the left edge of the connector cover.
– Lift the cover carefully to separate it from the top unit.
Tools Used
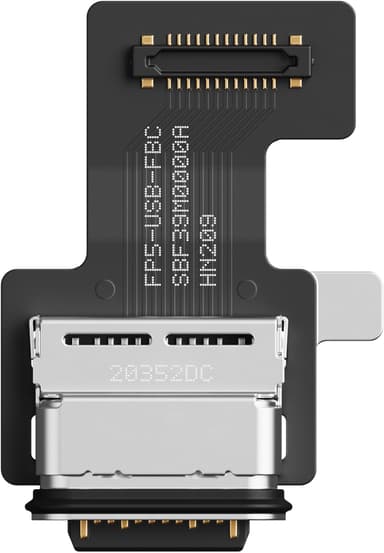
Step 7
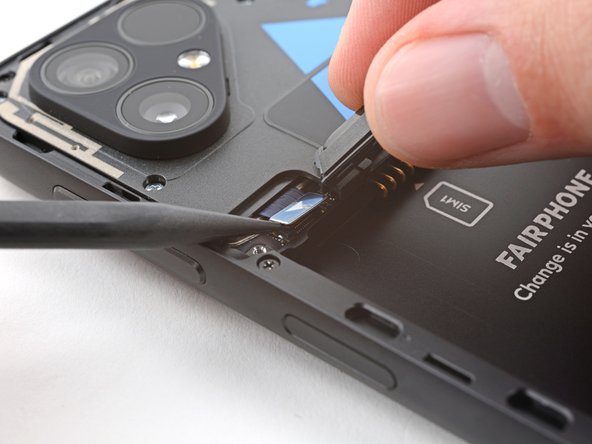

– While keeping the cover safely out of the way, grab your trusty spudger and gently pry up to disconnect the top unit press connector.
– When it’s time to re-attach connectors like this, just align it carefully and give one side a gentle press until you hear that satisfying click! Then, do the same on the other side—easy peasy! Just remember, steer clear of pressing down in the middle. If things get a bit wonky and it’s misaligned, those little pins can bend and we definitely don’t want that. If you hit a snag, don’t hesitate to schedule a repair!
Tools Used
Step 8
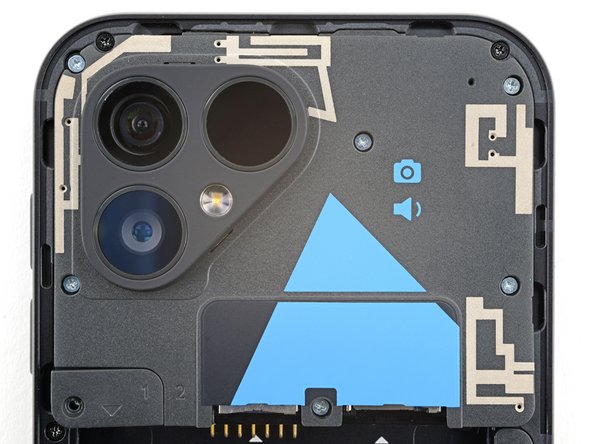

– Grab your trusty Phillips driver and unscrew the six 4.9mm-long screws holding the top unit in place. Easy peasy!
Step 9

– Slide the flat end of that trusty spudger under the screw hole on the bottom edge of the top unit.
– Gently pry it up to pop those clips loose that are holding the top unit against the phone frame.
– When it’s time to put everything back together, angle the top edge of the top unit down into the frame first, then press it down to snap those clips back in place.
Tools Used
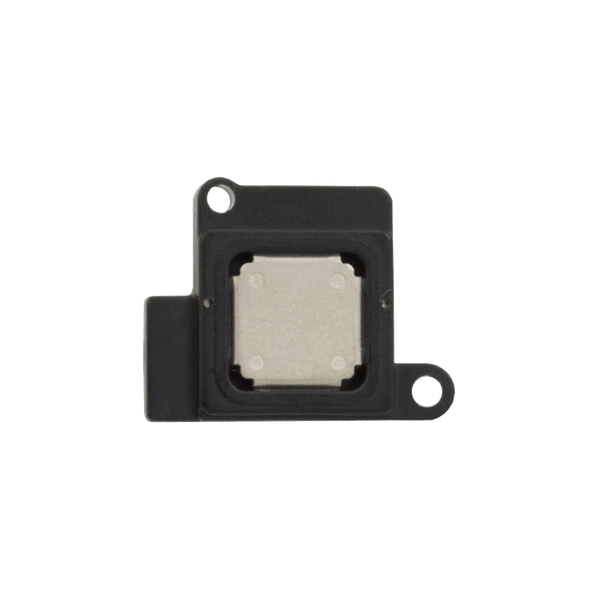
Step 10

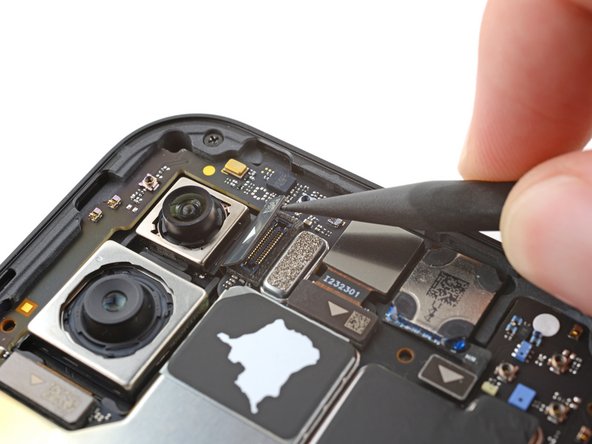
Watch out for those tiny surface-mounted parts around the ultra-wide camera’s press connector! You don’t want to accidentally knock them off the motherboard, so take it easy and avoid prying against them during this step.
– Gently slide the tip of your spudger under the bottom-right corner of the ultra-wide camera’s press connector—it’s like giving it a little lift with style.
– Use the spudger to lift straight up and separate the ultra-wide camera. Easy does it!
Tools Used
Step 11

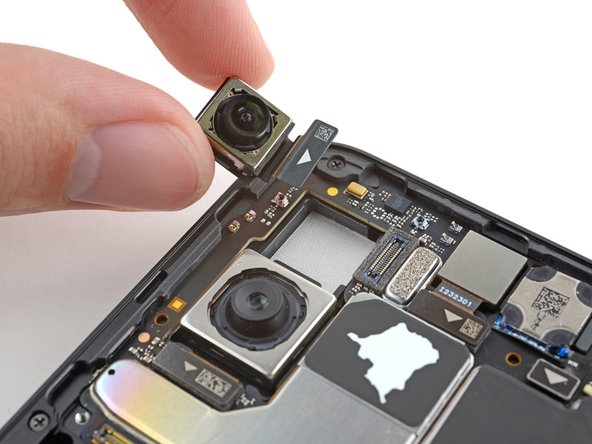
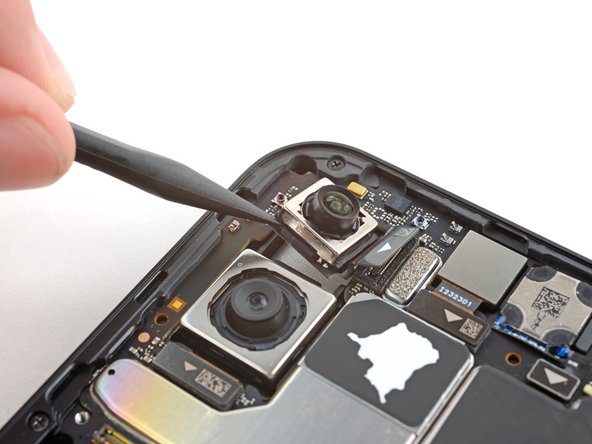
Watch out! Don’t accidentally bump the other camera lens while you’re working on this part. It’s easy to do, but just be careful!
– To put your device back together, simply follow these steps in reverse. Easy-peasy!
– Recycle responsibly—take your e-waste to an R2 or e-Stewards certified recycler.
– If things didn’t go as planned, don’t sweat it! Give troubleshooting another shot, or hit up our Answers community for some solid advice.
– Need an extra hand? You can always schedule a repair.
Tools Used
Success!