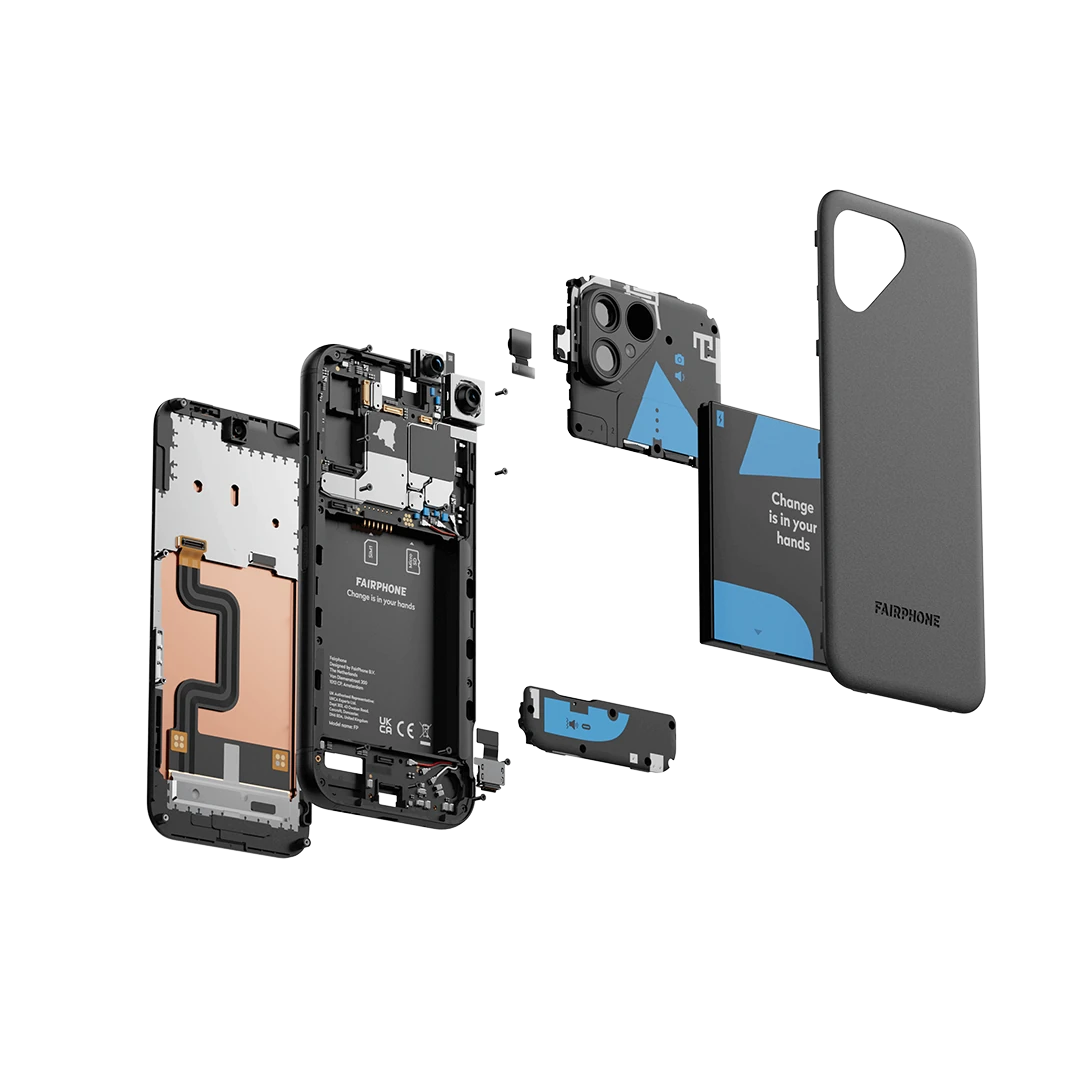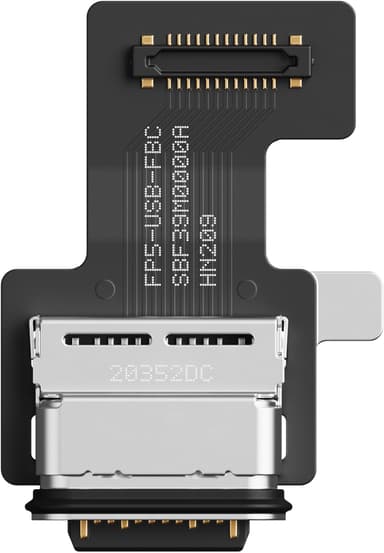
Fairphone 5 USB-C Port Replacement
Duration: 45 minutes
Steps: 8 Steps
Get ready to tackle the task of swapping out a worn-out USB-C port, also known as the charging port, in your Fairphone 5! It’s a straightforward process that you can totally handle. Just follow along, and if you hit a snag, remember, you can always schedule a repair for some extra support!
Step 1

Hold down both the power and volume up buttons simultaneously to pop up the shutdown menu.
– Disconnect all cables and turn off your phone, so it can take a little break before we dive into the repair magic!
Step 2


– Gently slide your fingernail or a nifty pry tool like a spudger under the little notch at the bottom right of that back cover.
– Give the back cover a gentle nudge to pop up those clips in the bottom right corner.
Tools Used

Step 3


– Hold onto the bottom right corner of the back cover with one hand, and keep a firm grip on the phone’s frame with the other.
– Gently pull the back cover away from the phone to pop the clips loose around its edges.
– Take off the back cover completely.
– When putting it back together, line up the back cover with the phone and press along the edges until all the clips click back into place.
Step 4
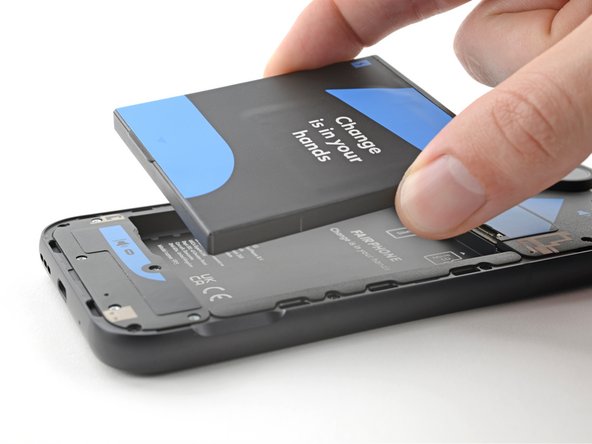


– Pop that battery out like a pro! Use your fingernail or grab a pry tool like a trusty spudger to lift the battery by its tab along the bottom edge.
– Carefully remove the battery and set it aside like the hero you are.
– When putting it all back together, slide the top edge of the battery into its groove in the frame, then press it firmly into place. Smooth and easy!
Tools Used
Step 5
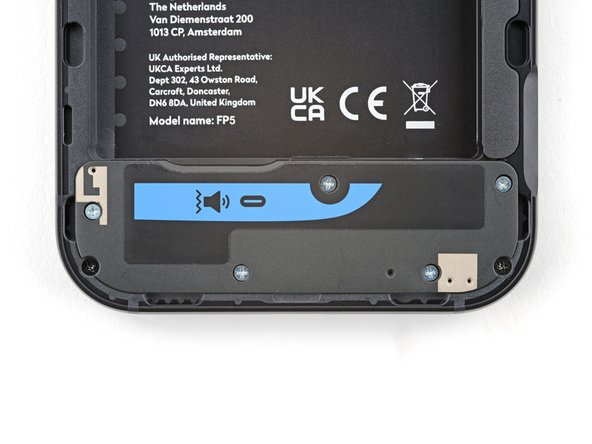

– Let’s get started by removing the five 4.9mm-long screws that hold the loudspeaker in place – grab your trusty Phillips driver and get to work!
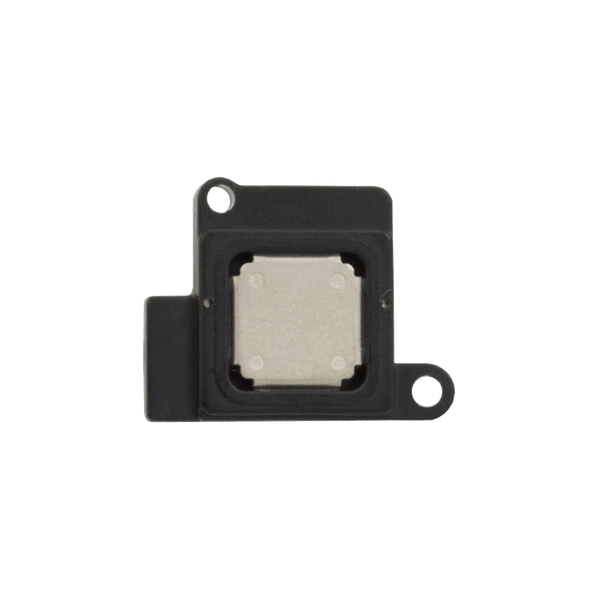
Step 6

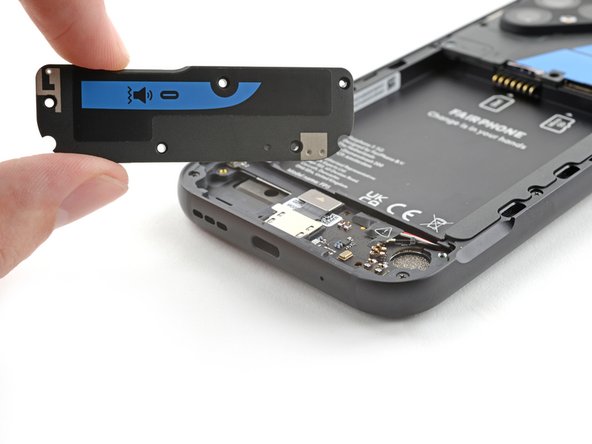

– Slip your fingernail, or a trusty pry tool like a spudger, into the notch at the bottom right corner of the loudspeaker.
– Gently pop up the loudspeaker and ease it away from the bottom edge of the phone to separate it from the frame.
– When you’re putting it back together, nestle the bottom edge of the loudspeaker into its spot in the frame before pressing it securely into place.
Tools Used
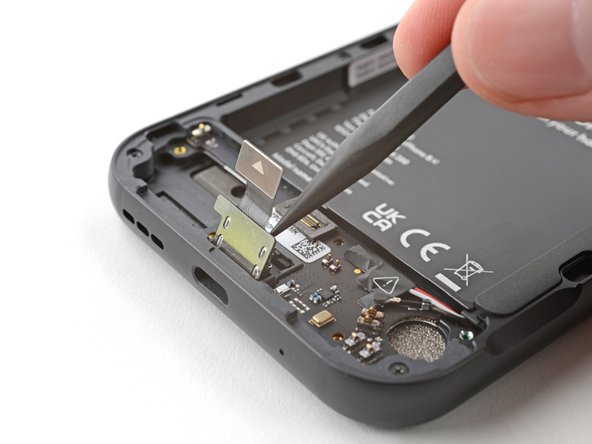
Step 7

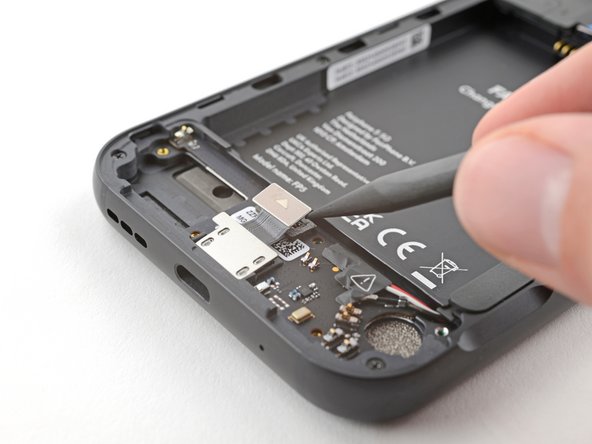
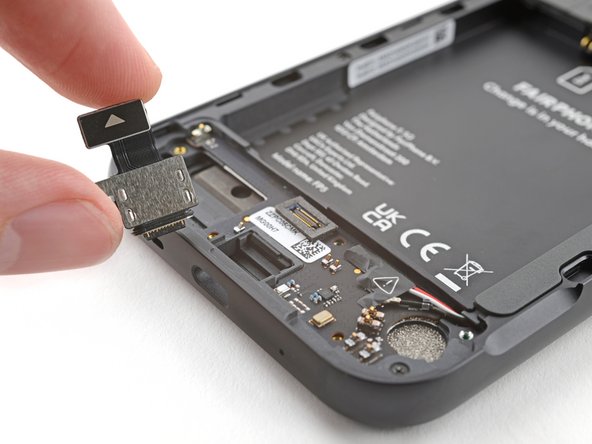
– Grab your trusty spudger and gently poke the tip to lift and disconnect that charging port press connector like a pro.
– When it’s time to reconnect those press connectors, just align one side carefully and give it a gentle press until you hear that satisfying click. Then, do the same on the other side. Easy peasy! Just remember to avoid pressing down in the middle—it’s not a trampoline! If it looks a bit off, try adjusting it gently, since misaligned connectors can lead to bent pins and some serious trouble!
Tools Used
Step 8

– Put your device back together by following these steps in reverse—it’s like hitting rewind on your repair adventure.
– Make sure to recycle your e-waste responsibly with an R2 or e-Stewards certified recycler—let’s keep things eco-friendly!
– Having trouble? Don’t sweat it. Try a bit of troubleshooting, or reach out to our friendly community for tips.
– If you’re still stuck, you can always schedule a repair for some professional TLC.
Tools Used
Success!