
Fix iPhone 12 Pro Stuck on Apple Logo
Duration: 45 minutes
Steps: 6 Steps
Step 1


- So, your phone was working fine before, but now it's stuck on the Apple logo after charging? That’s frustrating! Let's see if we can sort it out.
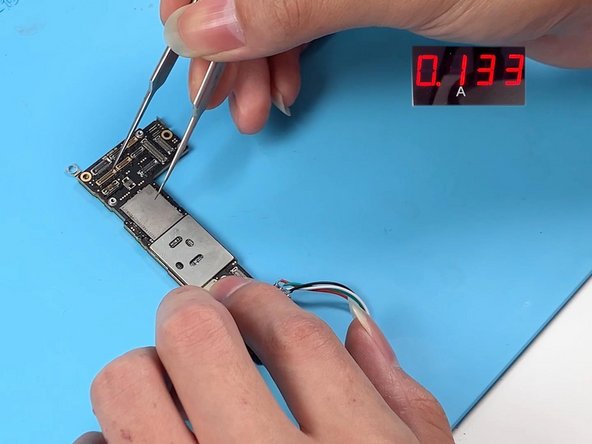
- Start by disconnecting all the flex cables except the power cable. Then, hook up the display and power cable again. If the phone is still stuck on the Apple logo, it’s likely not a cable issue. We can pretty much rule out that possibility. The culprit here is probably a motherboard fault. At this point, you'll notice the boot current stalls at around 240 mA.
Step 2

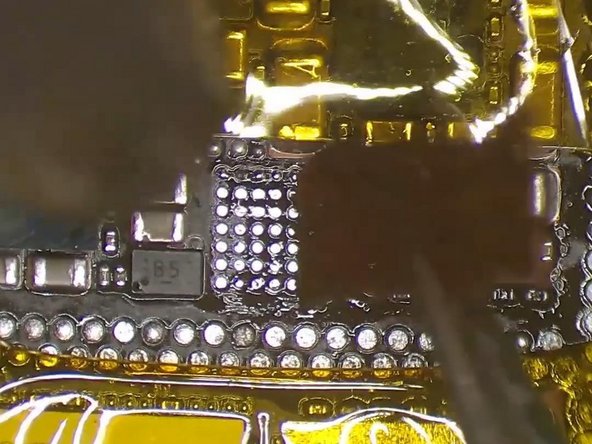
- Alright, so the current is topping out at around 240 mA and the phone is stuck on the Apple logo after charging. This pretty much points us to an issue with the USB charging circuit. The USB IC sits right at the front of the circuit, so that's where we'll focus our attention. Time to swap out that USB IC!
- Next up, grab the motherboard and place it on a 200 °C Heating Platform to warm things up. Now, take your trusty 330 °C vertical Hot Air Gun and start heating the motherboard. As you're heating, gently pry the logic board with a Pry Bar. Once it starts to loosen up, carefully remove it with tweezers.
Step 3

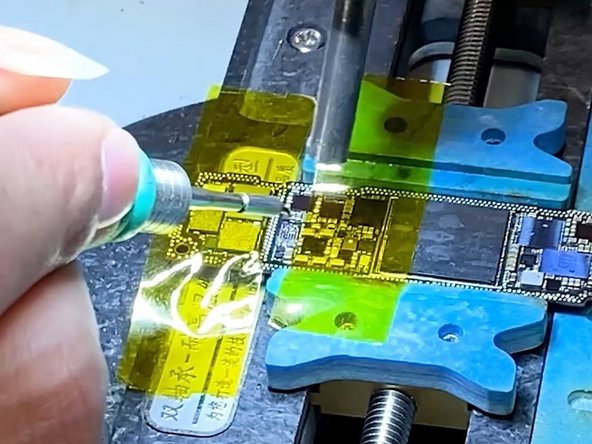
- First, attach the logic board to the holder. Now, let's get some Paste Flux on that USB IC. Grab your Hot Air Gun, set it to 340°C with airflow 3, and give that USB IC a little heat. Gently nudge the IC with your tweezers while heating it up. If it starts to loosen up, carefully remove the USB IC.
- Next, let's tidy up the bonding pad. Use your Soldering Iron set to 365°C and the Hot Air Gun at 340°C to remove any tin on the pad. Grab some solder wick and clean up the pad one more time for a clean and smooth surface.
Step 4

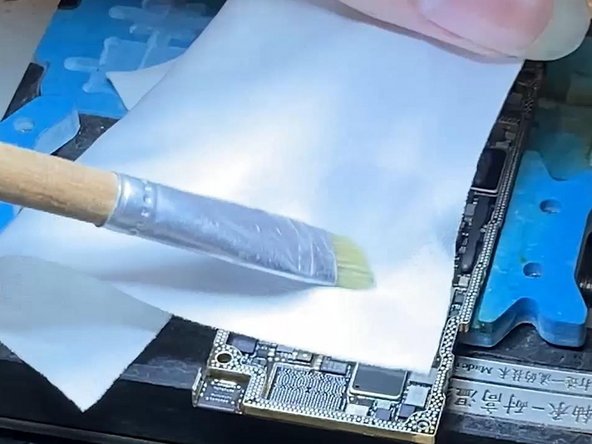
- Start by adding a little Paste Flux to the bonding pad. Next, carefully position the new USB IC in place. Time to bring out the Hot Air Gun – set it to 340 °C and heat things up to solder that USB IC in. Now, let’s tidy up the bonding pad: grab your Soldering Iron at 365 °C along with some solder wick to remove the excess tin. Use the same technique to clean the tin on the bonding pad of the signal board. Finally, give that bonding pad a good clean with some PCB Cleaner.
- Once that's all done, it’s time to put the motherboard onto the Testing Fixture. Connect the power cable and the screen, then use some tweezers to give it a nudge and trigger the boot-up. And just like that, your phone should spring to life!
Step 5
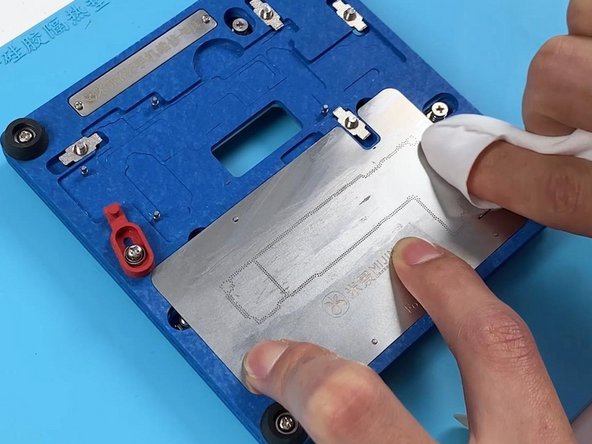

- Alright, let’s get our hands a little dirty and reball that signal board! First, secure the signal board onto the Reballing Platform. Next, position the reballing stencil just right. Now, spread a nice, even layer of Solder Paste on there—smooth is the goal!
- Once you’ve got that sorted, wipe away any extra solder paste and gently lift off the reballing stencil. Easy peasy!
Step 6

- Place the signal board on a 160°C Heating Platform—let it get toasty until those solder balls are looking good. Cool down the signal board, then dab a bit of Paste Flux on the bonding pad. Line up the logic board with the signal board like you’re matching puzzle pieces.
- Keep the heat going to fuse the motherboard back together. After about 2 minutes, pull the motherboard off and let it chill. Hook up the power cable once it’s cooled down. Use tweezers to trigger the boot-up and watch for that nice boot current jump.
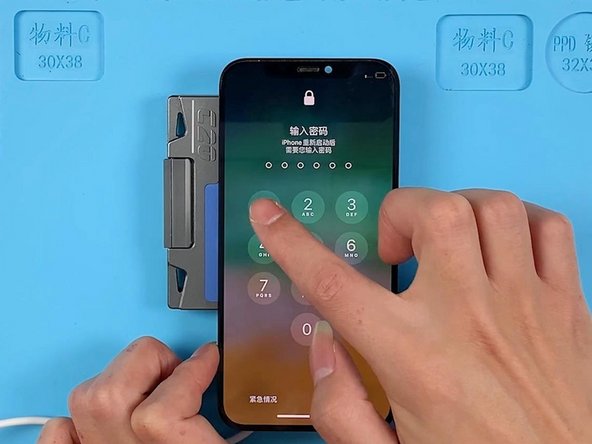
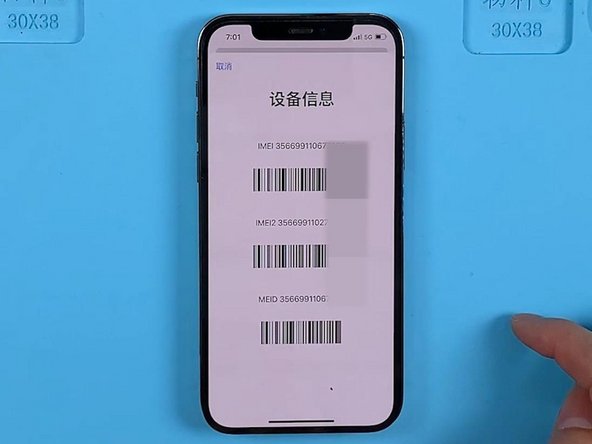
- Pop the motherboard back in place and fire up the phone. IMEI number should be front and center. Problem solved, device revived! If you run into trouble, you can always schedule a repair.


