Fix iPhone X Stuck On Apple Logo/iTunes Error 4013
Duration: 45 minutes
Steps: 9 Steps
Step 1


- First up, it says: iPhone X Error 4013. Let's check out what's going on.
- Start with a cosmetic inspection of the motherboard. Make sure it’s looking good – no bends, no water damage. A little TLC never hurt anyone!
Step 2


- Time to get that motherboard in and see what happens!
- Hit the power button and watch the phone boot into recovery mode all on its own. If that’s the case, it looks like the motherboard’s got a restore hiccup, which is why the phone can’t start up normally.
Step 3


- Alright, let's get that phone back on track and see if we can kick that pesky error 4013 to the curb! First up, connect your phone to your computer. Then, give it a fresh start by restoring it with 3U Tools.
- Good news! The phone should restore just fine. Plus, once it's restored, you should be able to activate it like a champ!
Step 4

- Head over to Settings > General > About. Here, you can check out the baseband info. At this point, we can confidently say the motherboard is all good, so the issue is likely somewhere else in the device.
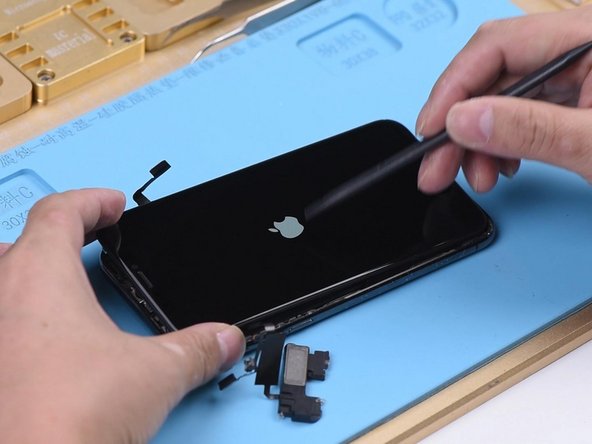
- Now, grab the earpiece speaker and sensor flex cable, and the front camera flex cable, and get them installed properly.
- Turn on your phone. Uh oh, it's stuck on the Apple logo and keeps restarting, huh? Don't worry, we’ll figure it out together.
Step 5

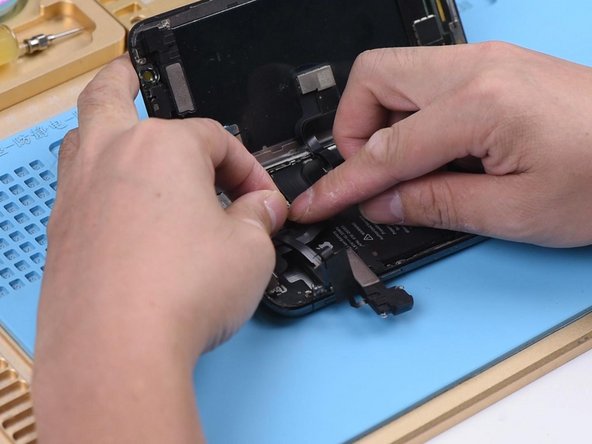
- Looks like the issue is probably tied to the earpiece speaker and sensor flex cable, or maybe the front camera flex cable. Let's take it step by step and figure it out. First, disconnect the earpiece speaker and sensor flex cable.
- Now, press the power button to turn on the phone. If it powers up without any issues, then we're pretty sure the problem is with the earpiece speaker and sensor flex cable.
Step 6
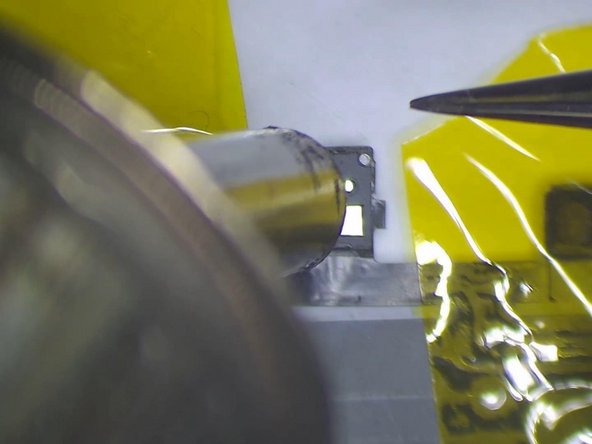

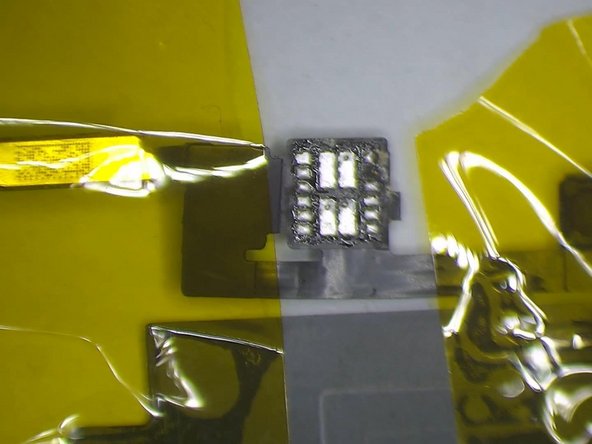
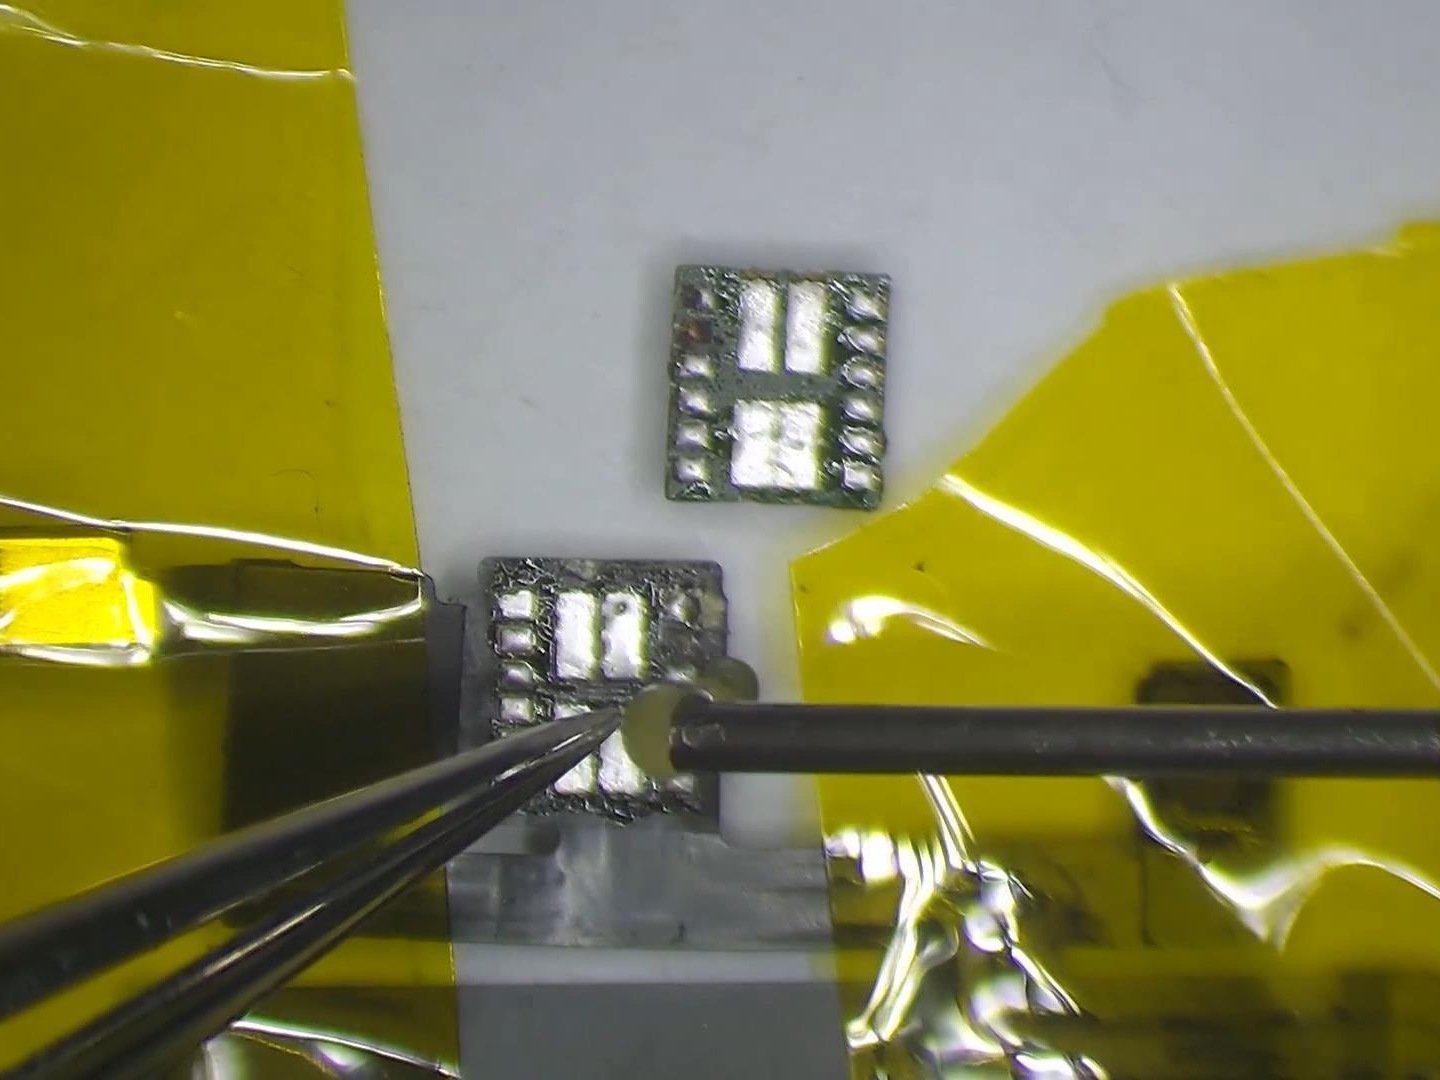
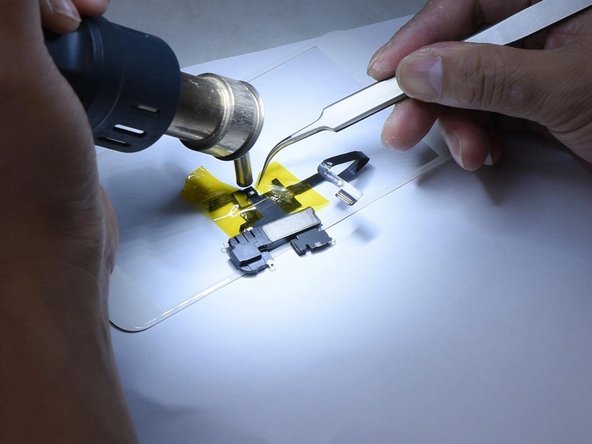
- Grab your microscope and take a peek at the earpiece speaker and sensor flex cable. Looks like the Flood illuminator module's been partying a little too hard—it’s got some mold going on.
- To get things back in shape, secure the earpiece speaker and sensor flex cable with high-temperature tape. Fire up your hot air gun to 320℃ with an airflow of 35, and carefully remove that Flood illuminator module.
- Check out those bonding pads—they’ve seen better days and are seriously corroded.
Step 7
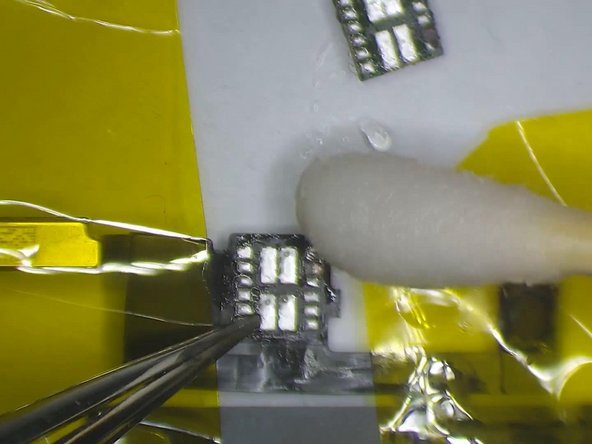

- Start by adding a bit of paste flux to the bonding pad. Grab your Soldering Iron, set it to 360℃, and clean up the pad a bit. If the pad's looking rough, don't worry—apply some medium-temp solder paste to give it some TLC, then clean it up with a bit of PCB Cleaner.
- Next up, apply some paste flux to the Flood illuminator module. If the pad is seriously corroded, lay down some medium-temp solder paste. Clean it up with PCB Cleaner afterward. Once you're done with that, give the bonding pad some paste flux love.
Step 8

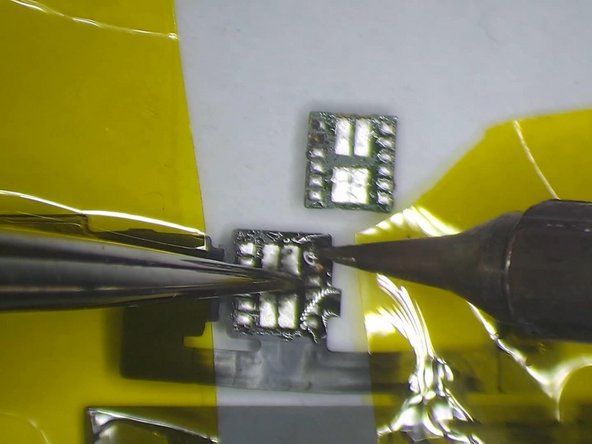
- Place the Flood illuminator module carefully in its spot. Use a Hot Air Gun set to 320℃ with an air flow of 35 to solder it in place. After that, let it chill for 2 minutes before moving on.
Step 9
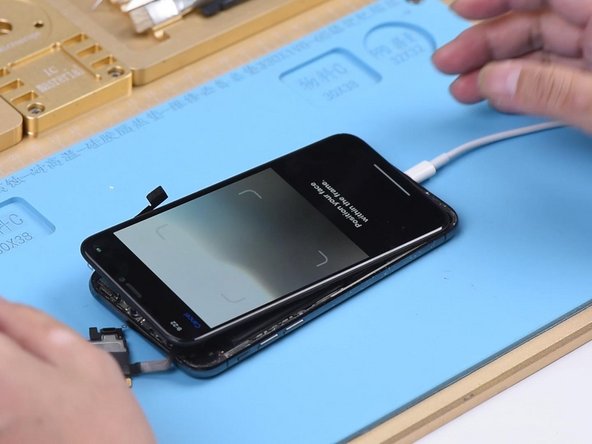


- Now, grab the earpiece speaker and sensor flex cable and get them installed. Next, connect the battery. Hit the power button and voilà, the phone powers on as expected.
- Since those two flex cables were left unconnected during the previous restore, let's fix that! We'll need to restore again, but this time with both cables connected so that Face ID can work like a charm. Start by putting the phone into DFU mode, then hook it up to your computer.
- Now, use 3U Tools to restore the phone. It should go smoothly, and once it’s done, the phone will boot up like normal. Face ID will also set up without a hitch.


