
Fix iPhone X Stuck On Apple Logo/iTunes Error 4014
Duration: 45 minutes
Steps: 8 Steps
Step 1


- First, let's give that motherboard a quick once-over. Make sure it's looking nice and straight, with no signs of water damage or warping.
- Now, let's get that motherboard back into place and see if the phone powers up. If it's still not turning on, we’ll need to dig a bit deeper.
- Try connecting your phone to your computer and restore it via iTunes. If you hit error 4014, it’s time to call in the pros. If you're stuck, don’t hesitate to schedule a repair.
Step 2


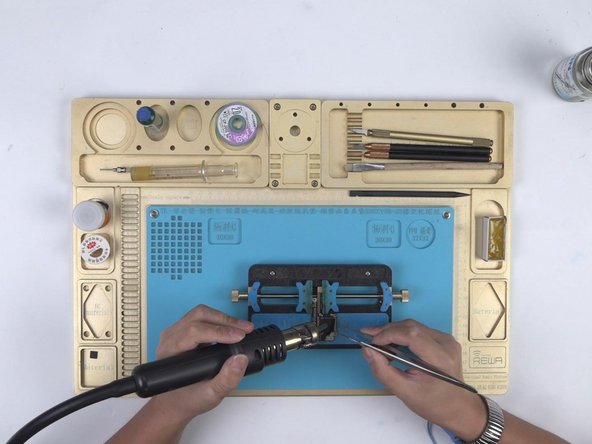
- Alright, folks! Based on those sneaky iTunes error codes, it looks like we might be dealing with a pesky NAND flash chip or some circuits that just aren't playing nice. Let's kick things off by checking out the power supply of that NAND chip. Grab your trusty battery connector and plug it into the DC Power Supply. Use some tweezers to power up the motherboard and get the party started!
- Now, let's get our voltage measurement game on for the NAND power supply. We're looking for those golden numbers: 0.9V, 1.8V, and 3.0V. If you see those, you're in the clear!
- Time for a little upgrade! Let's swap in a shiny new NAND flash chip and see if it brings our device back to life. Place that motherboard on a specialized Heating Platform and don't forget to remove the sponge cover first. Fire up the heating platform and dial the temperature up to a cozy 155℃.
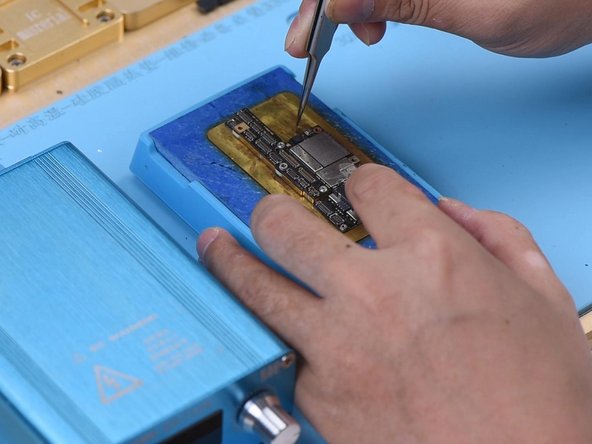
Step 3

- As the platform heats up to a sizzling 155℃, take a deep breath and gently grab the upper layer with tweezers. Quick tip: be extra cautious while separating that motherboard, it's a delicate dance!
- With those solder balls on the third space PCB staying put, we’re in luck! We can skip the reballing when we put those two layers back together. Now, attach the upper layer to the PCB Holder. Time to heat things up with the Hot Air Gun at 280℃, airflow set to 3, to peel off that sticker. Keep that heat coming to loosen up the black adhesive around the NAND.
- Next up, crank that Hot Air Gun to 340℃, airflow at 5. Now, gently pry up the NAND flash chip with care. You’ve got this!
Step 4
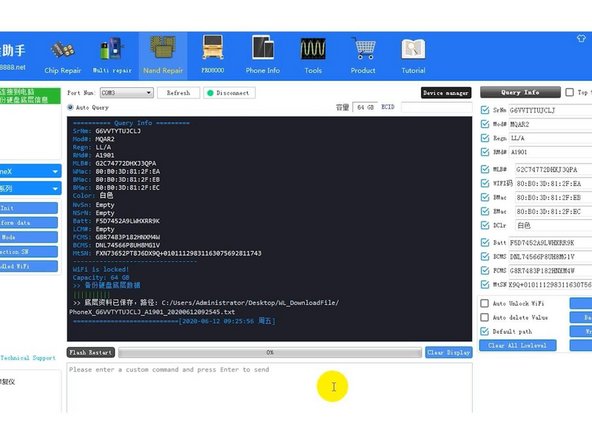

- Set the NAND flash chip down in the cozy staging area of your PCIE repair programmer. Hit that ‘Backup Kernal Data’ button to save the chip's data. Don't worry, your precious backup will be snugly saved on your computer.
Step 5

- Pop out the old NAND flash chip and get the new one ready on your workspace. Hit ‘Write Kernel Data’ in your software, then pick the data file you saved earlier. The software takes care of transferring your backup to the fresh chip—just sit back and watch the magic happen.
Step 6

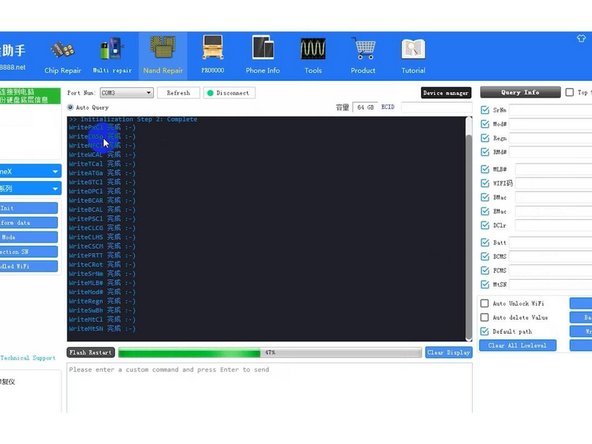
- After you’re done, hit ‘Query Info’ to see the basic details of your new chip pop up on the screen. Once that’s checked off, carefully remove the new NAND Flash chip. Next up: time to get that NAND flash chip reballed. Position the BGA Reballing Stencil just right, then spread some medium-temp solder paste evenly over it.
- Use your Hot Air Gun set to 300℃ with an airflow of 3 to heat things up so all the solder balls form perfectly. When that’s done, give it a minute to cool down and settle.
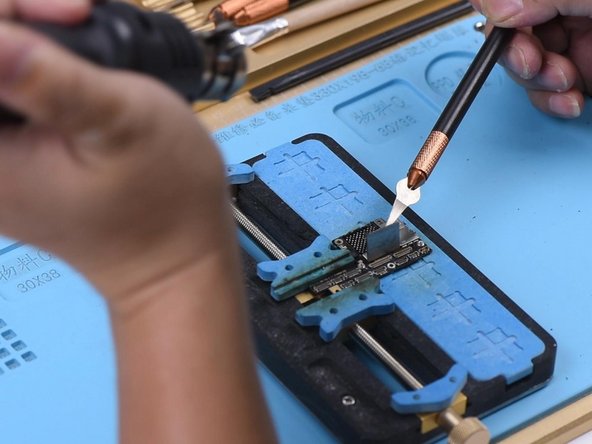
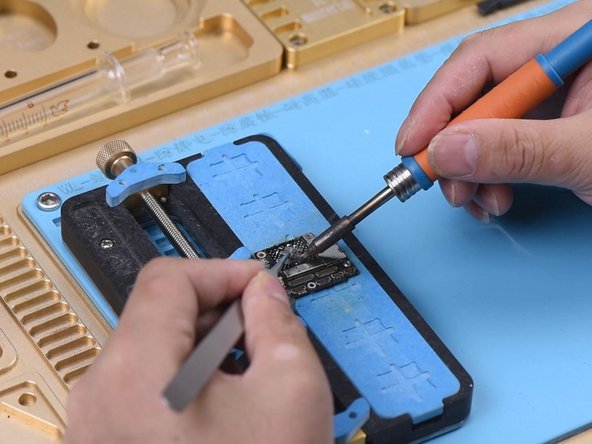
- Peel the NAND flash chip off the stencil gently. Give it another quick heat to make sure those solder balls are nicely shaped. Now, let’s get ready to solder the NAND. Before you start, apply a little medium-temp solder paste to the bonding pad using a Soldering Iron at 365℃.
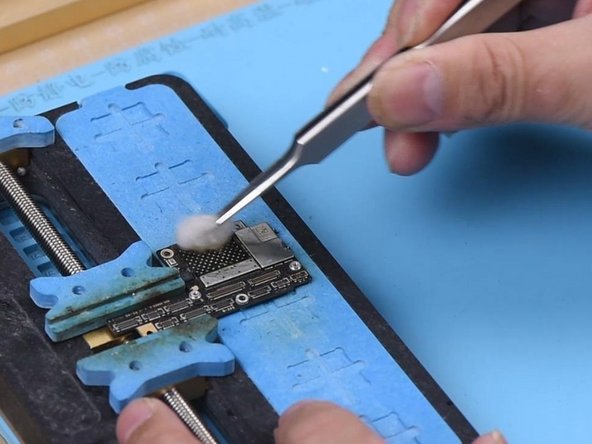
- After soldering, clean the bonding pad carefully. Use Solder Wick to remove any leftover solder, then finish up with a thorough cleanup using PCB Cleaner.
Step 7

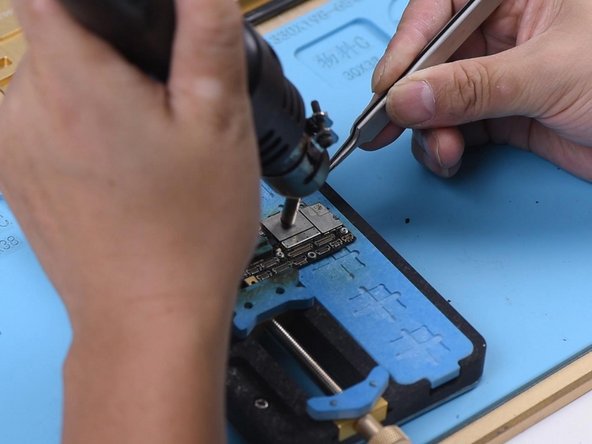
- Keep the Hot Air Gun going at 300℃ with a flow of 3, and let it work its magic. Once that's done, remove any leftover black adhesive on the bonding pad. Now it’s time to apply some fresh paste flux to the pad and get ready for the next step.
- Place the new NAND flash chip in position, making sure it's snug. Use the Hot Air Gun at 330℃ with a flow of 4 to solder it in place. Nice and steady, and you'll be all set.
Step 8

- Alright, let’s get our hands a little dirty! First up, we need to solder those two layers together like a pro. But hold your horses! Before we dive into soldering, let’s peel off the heat insulation adhesive from the lower layer. Next, grab some Paste Flux and apply it to the third space PCB. Now, let’s position the upper layer just right. Time to fire up that heating platform! Once it hits a cozy 155℃, let’s keep it cooking for a solid minute.
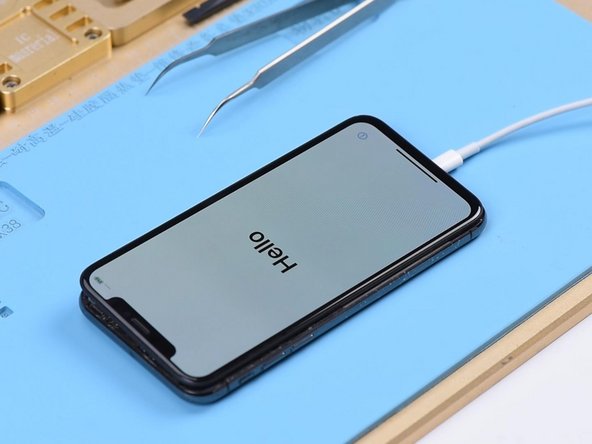
- Once that minute’s up, power down the heating platform and let the motherboard chill for about 5 minutes. Now we’re ready to put this phone back together and see what’s what! Connect the phone to the computer and let’s hit the ‘restore’ button via iTunes. If all goes well, your phone should restore like a champ! Once it’s all done, it’ll power on without a hitch, and you’ll see that SN and IMEI number pop up.
- Just a heads up, since this motherboard is iCloud locked, the activation magic can only be performed by its rightful owner. If you find yourself in a bit of a jam, remember, you can always schedule a repair.


