Fix iPhone X Unable to Activate By Jumper Wires
Duration: 45 minutes
Steps: 8 Steps
Step 1


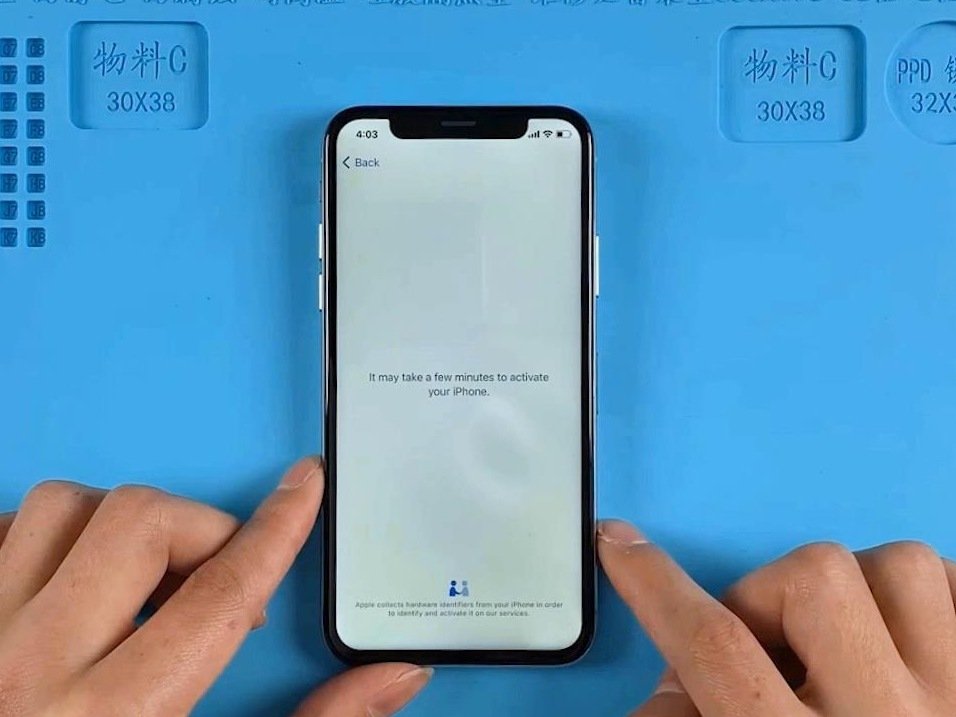
- Looks like our iPhone X has taken a tumble and is refusing to play nice! After a restore, it's still throwing a fit and won't activate. Let's give it another shot with 3uTools.
- First up, connect that trusty phone to your computer and launch 3uTools. Click on 'Activate Now' and then hit 'Start.'
- Hang tight! The activation process usually takes just a few minutes, but if after about 20 minutes you're still stuck on the activation screen, don't worry—it's not you, it's the phone. It's still being a bit stubborn!
Step 2


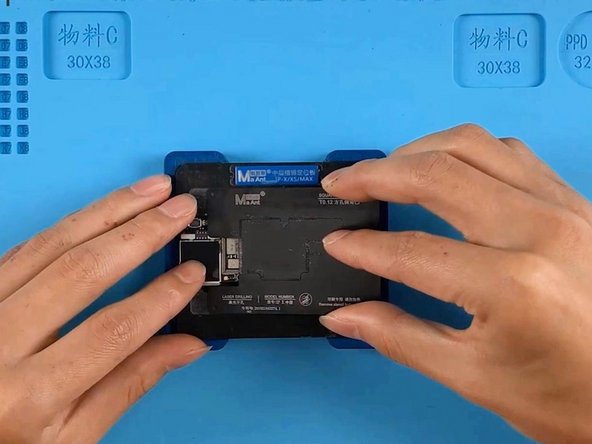
- Alright, time to carefully separate the motherboard for a closer look.
- Place the motherboard on the 165 °C Heating Platform and let it warm up. Once it hits 165 °C, gently lift the logic board and signal board off using tweezers.
Step 3
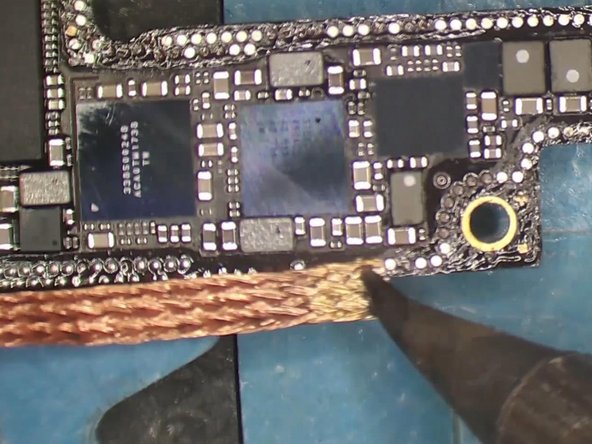

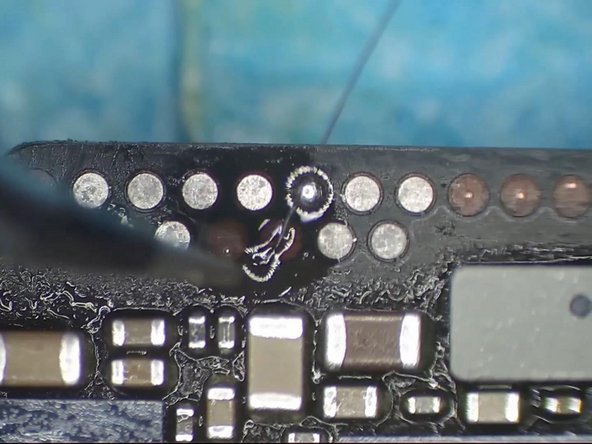
- Wave goodbye to that old thermal grease using a Sculpture Knife. Super satisfying.
- Once things are separated, you might notice some pads have gone AWOL. No worries—grab some jumper wires and bring those useful pads back to the party.
- Secure the logic board in the holder, crank up your Soldering Iron to 365°C, and clear off the tin from the bonding pad with some Solder Wick. Smooth sailing.
Step 4

- Slap on some Solder Paste onto those bare pads and heat things up with a Hot Air Gun set to 340 °C to get that tin flowing. Give the bonding pad a nice clean with PCB Cleaner and don’t forget to add a touch of Paste Flux for good measure.
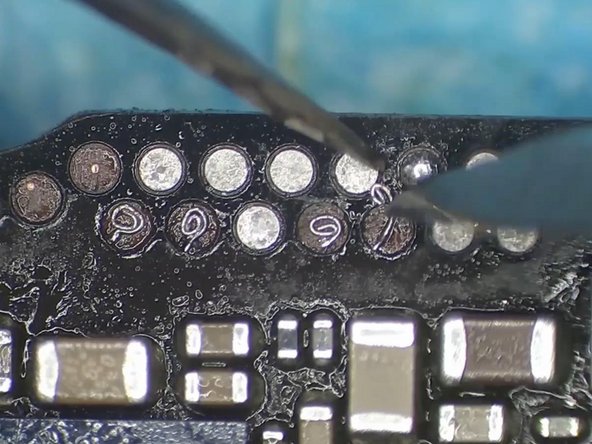
- Next up, grab your trusty Soldering Iron and attach some 0.02 mm copper wires to the bonding pad. Make sure those wires are snug as a bug – we want them firmly soldered in place!
- Time for another round of PCB Cleaner to tidy things up! Then, using your Tweezers and Sculpture Knife, gently curl those copper wires to form neat little pads.
Step 5
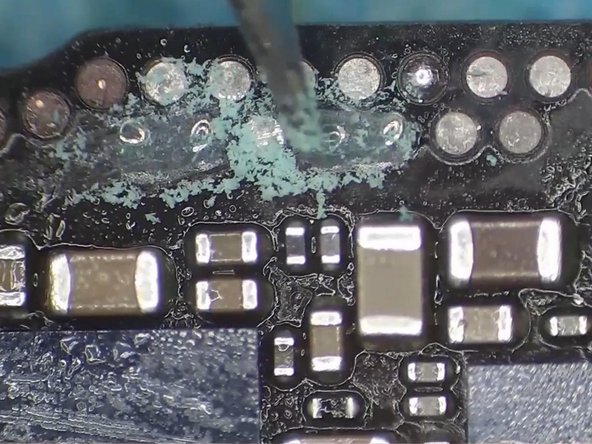
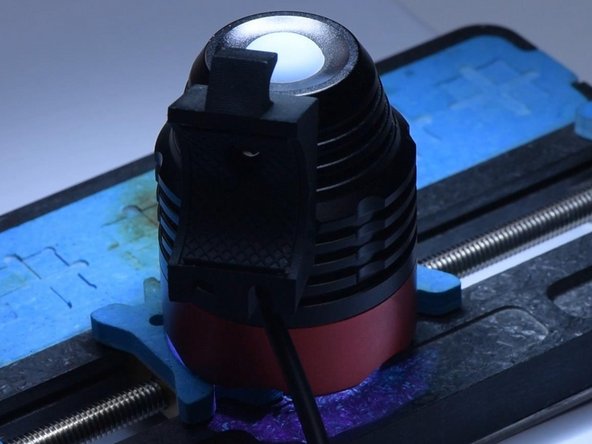

- Spread a layer of solder mask over the bonding pad to secure the copper wires, then let the UV lamp work its magic for 5 minutes to harden the mask.
- Gently scrape off the extra solder mask with your sculpture knife to reveal the copper wires underneath.
- Now, use a soldering iron set to 365 °C and a solder wick to remove the tin from the bonding pad. Finish up by cleaning the pad with some PCB cleaner.
Step 6

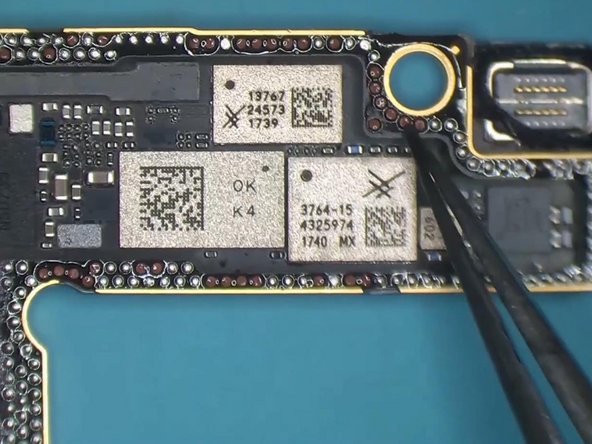
- Snap that signal board onto the Reballing Platform and line up the reballing stencil so it’s sitting pretty.
- Slip in a metal plate to block any solder paste from sneaking into the motherboard—no surprise messes here.
- Spread a smooth, even coat of low-temp solder paste like you're icing a cake. Keep it neat and steady!
Step 7


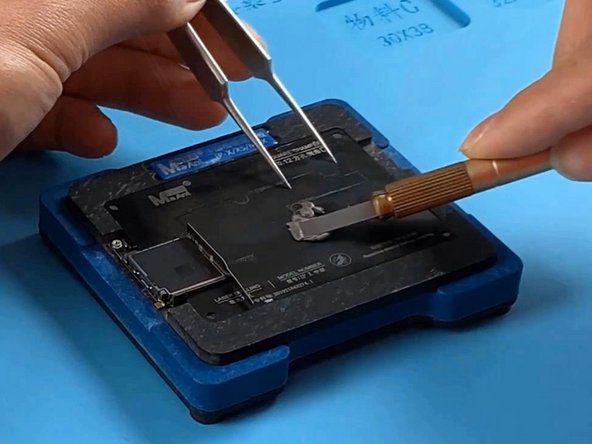
- Place the motherboard on the 165°C heating platform and let it soak up some cozy warmth.
- Once the solder balls have made their grand entrance, power down and let the signal board chill out. Dab on some paste flux, then line up the logic board with the signal board like puzzle pieces.
- Give it another minute of heat at 165°C, then switch off and let the motherboard cool off. If things get tricky, you can always schedule a repair.
Step 8
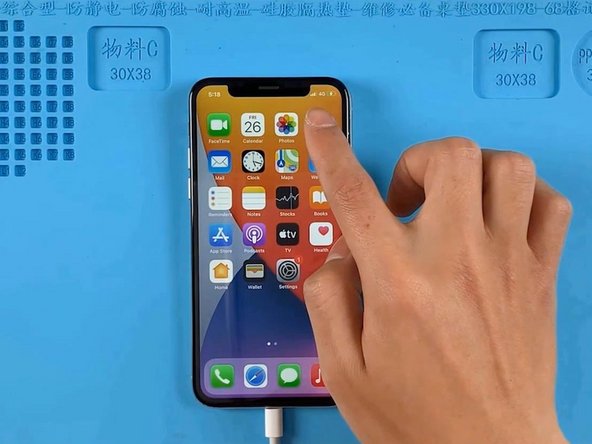

- Ready to bring your device back to life? Just work your way back through the steps, and you’ll be powered up in no time. If things get tricky, you can always schedule a repair and let the pros handle it.


