Galaxy A13 Screen Replacement DIY Guide: Step-by-Step Tutorial
Duration: 60 min.
Steps: 29 Steps
If your display glass is looking like a spider web, don’t panic! Just grab some parcel tape and give it a good wrap. It’ll keep things safe and sound while you work your magic on the repair!
Wishing you all the best on your repair journey! You’re going to do great!
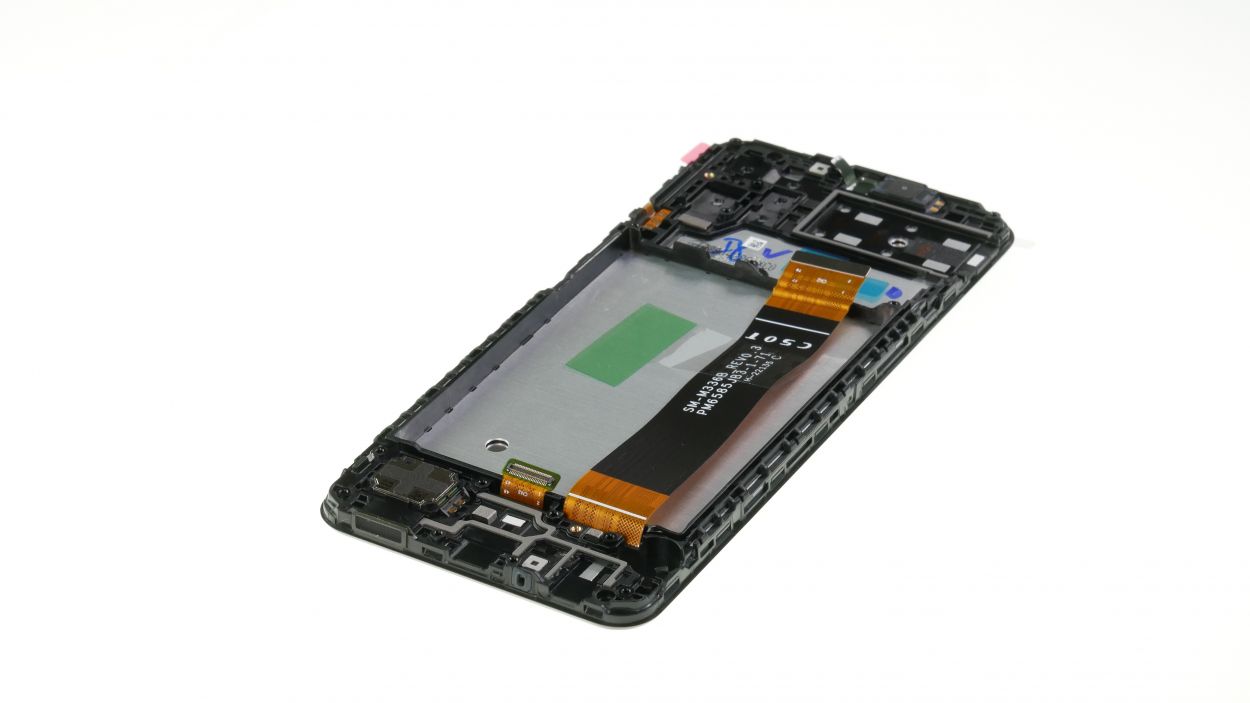
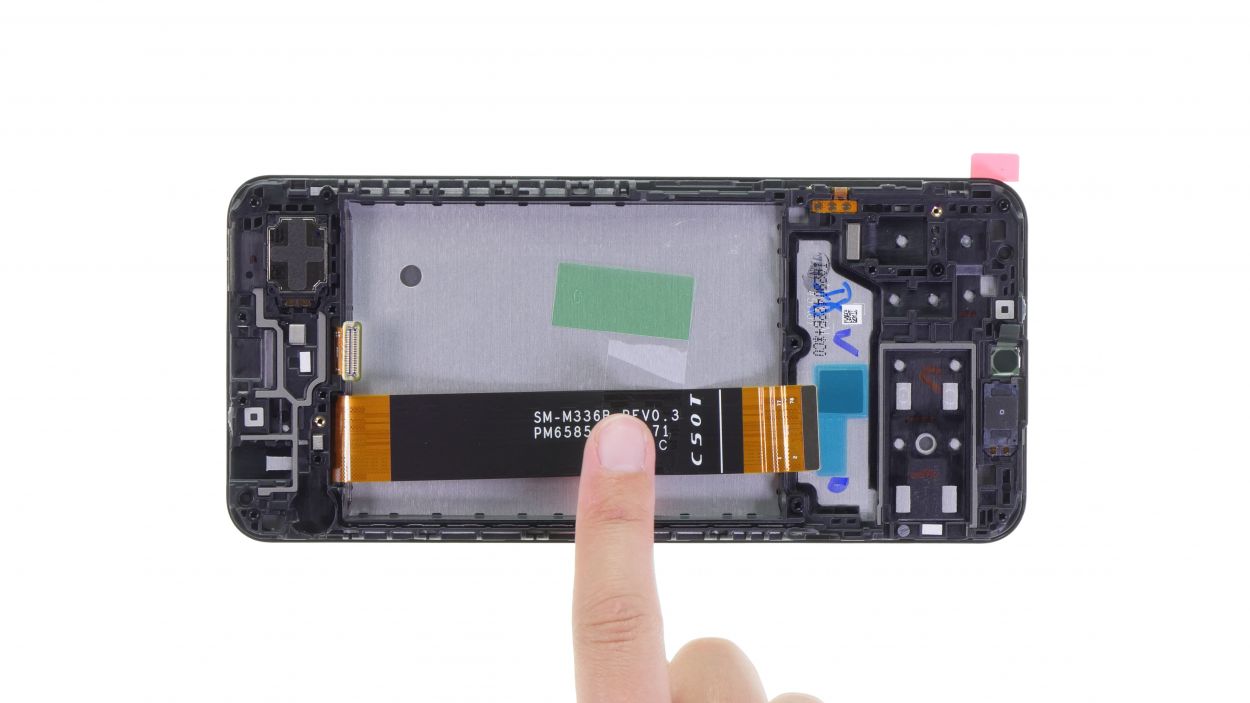
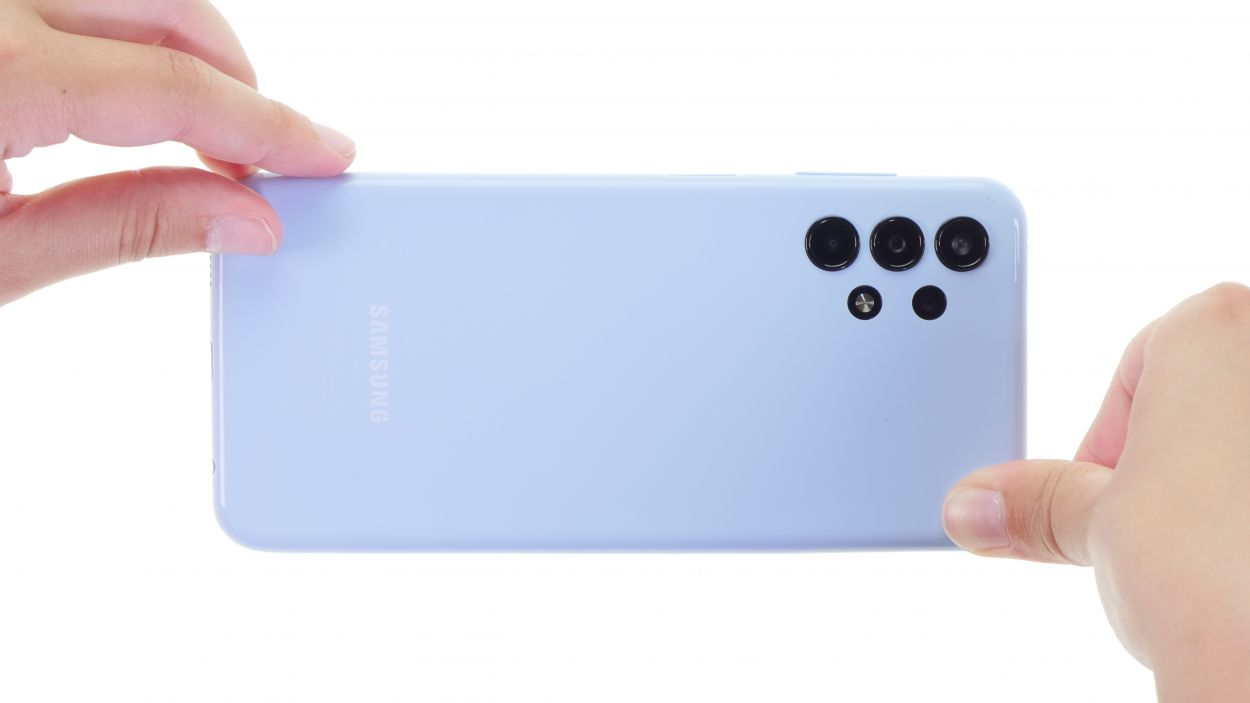
Step 1
Before you dive into the repair fun, give your device a quick once-over to make sure everything’s working as it should! Feel free to check out our handy checklist linked in the video description to help you out.
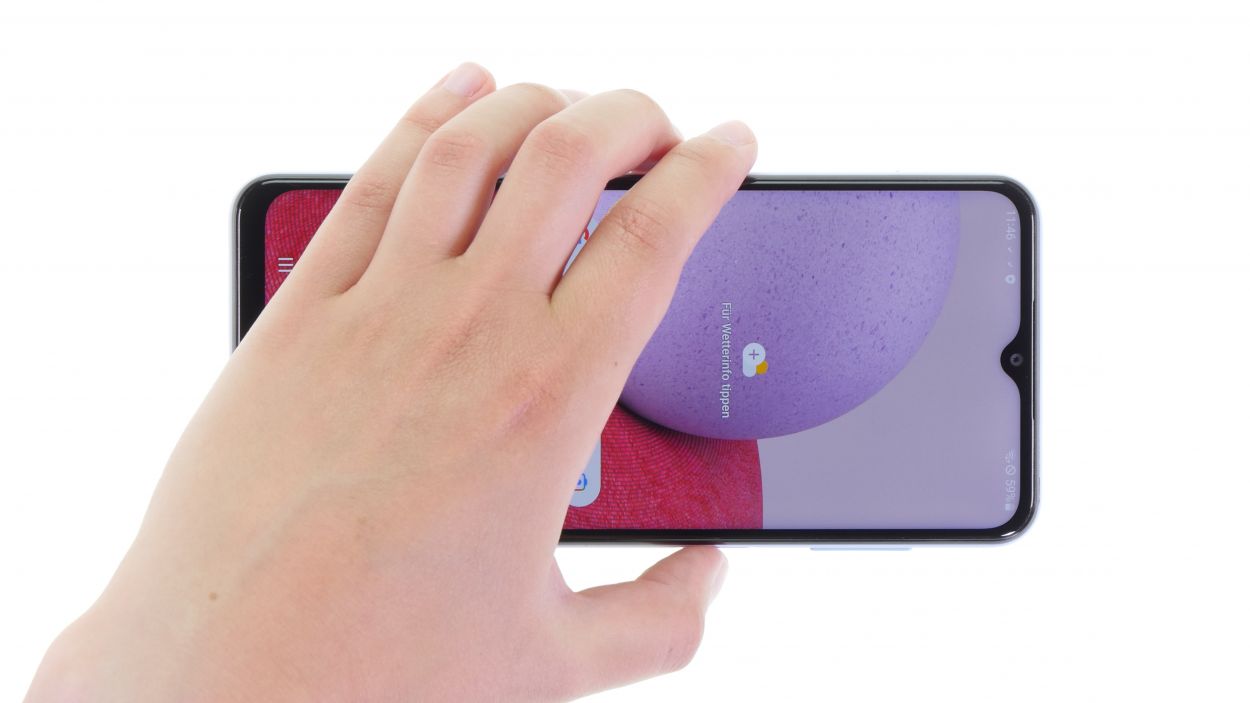
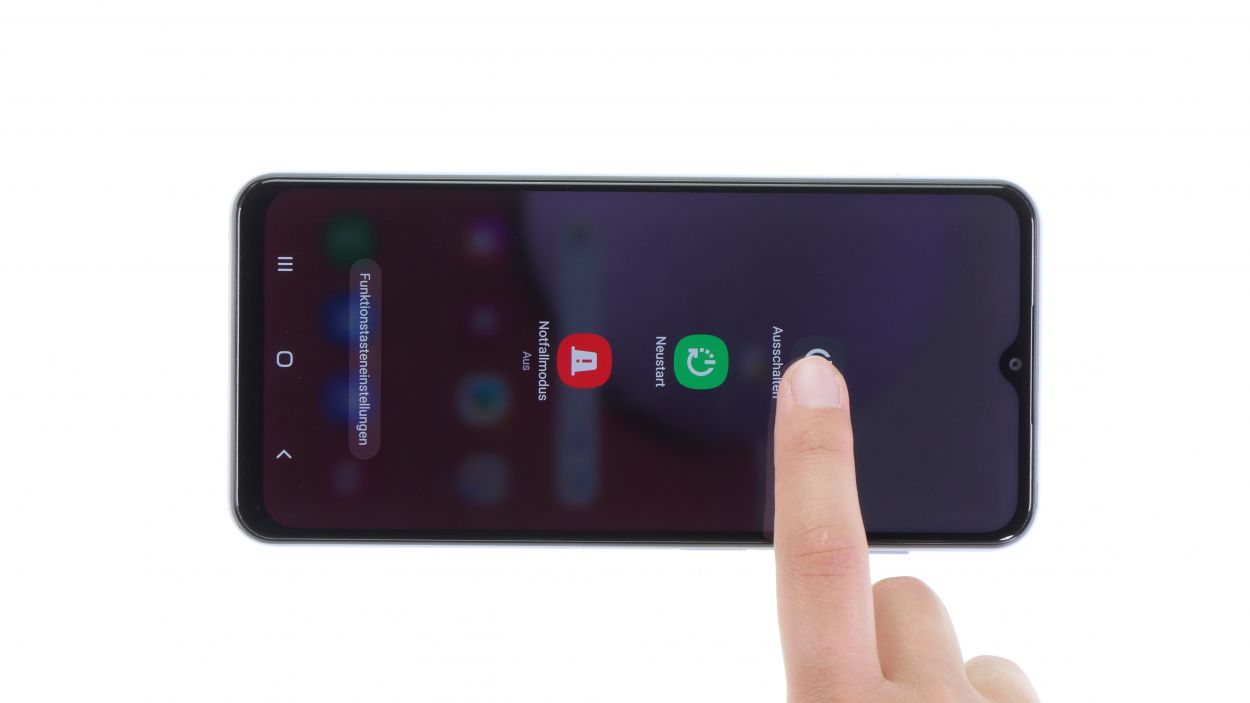
– Alright, before you jump into the repair action, let’s make sure your device is taking a little nap. Just press and hold that standby button on the side until you see the power-off option pop up on your screen. Easy peasy!
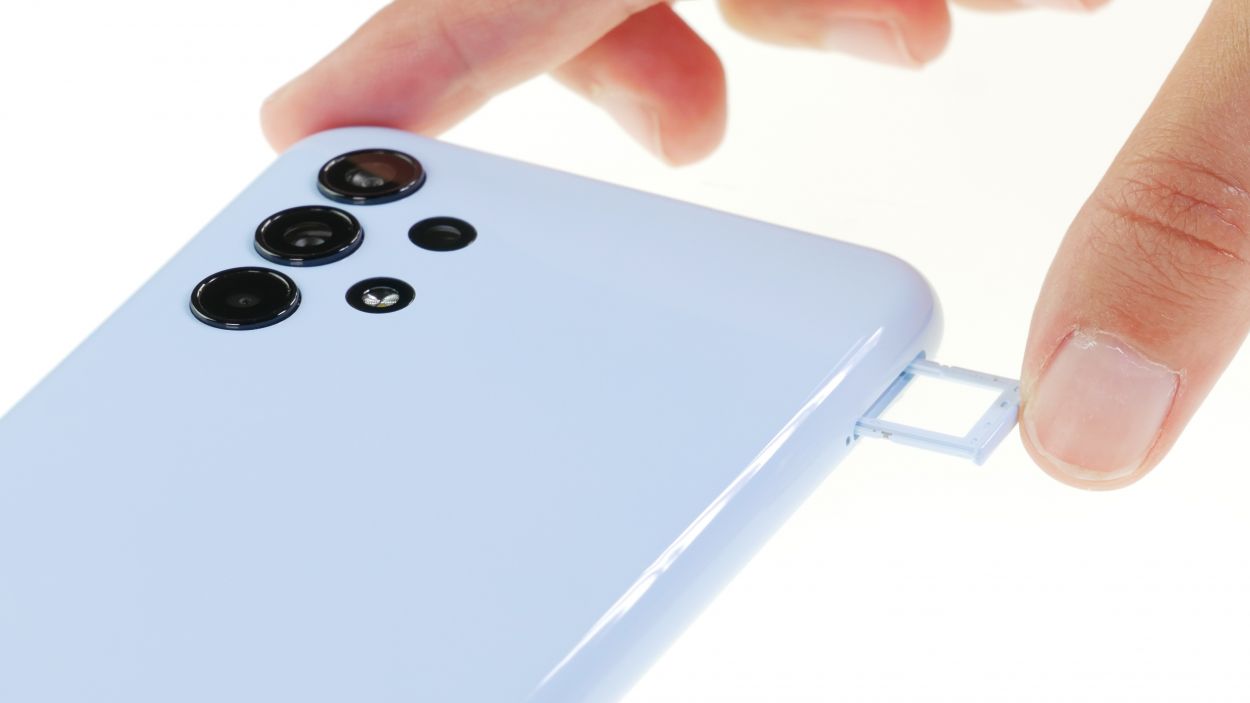
Step 2
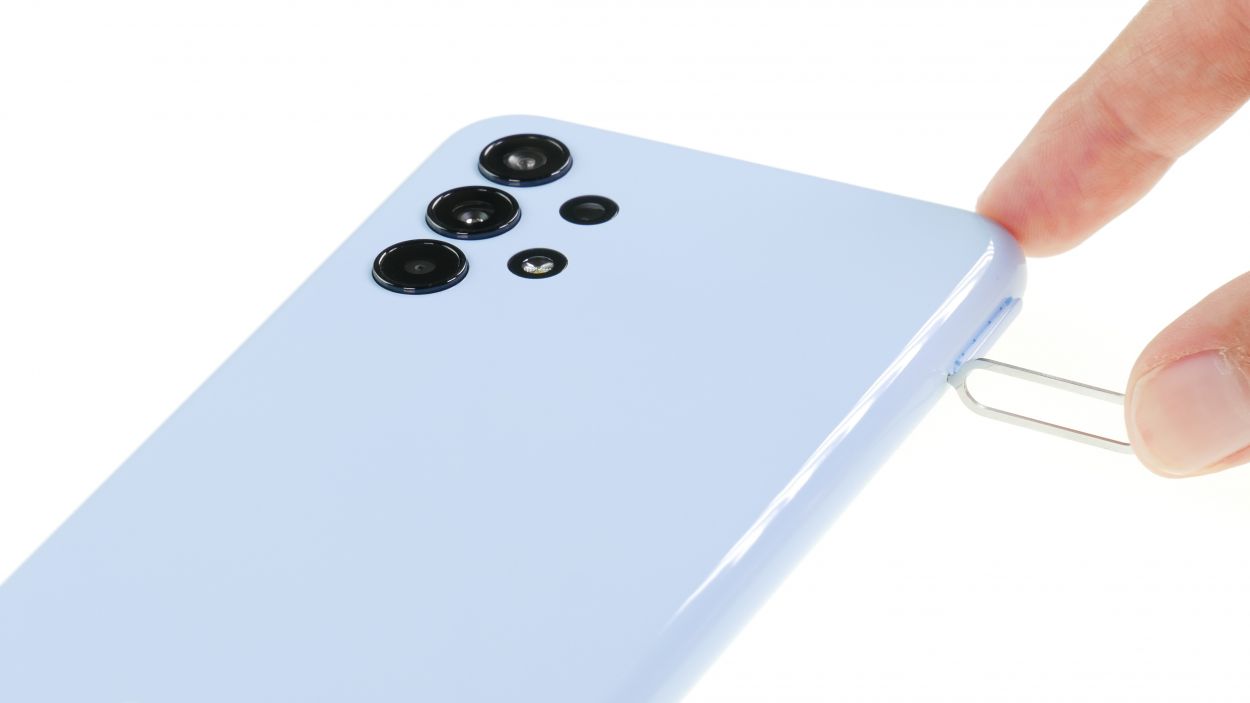
– Alright, it’s time to get that SIM card holder out! Grab the handy tool that came with your device and gently pop it out. You’ve got this!
Step 3
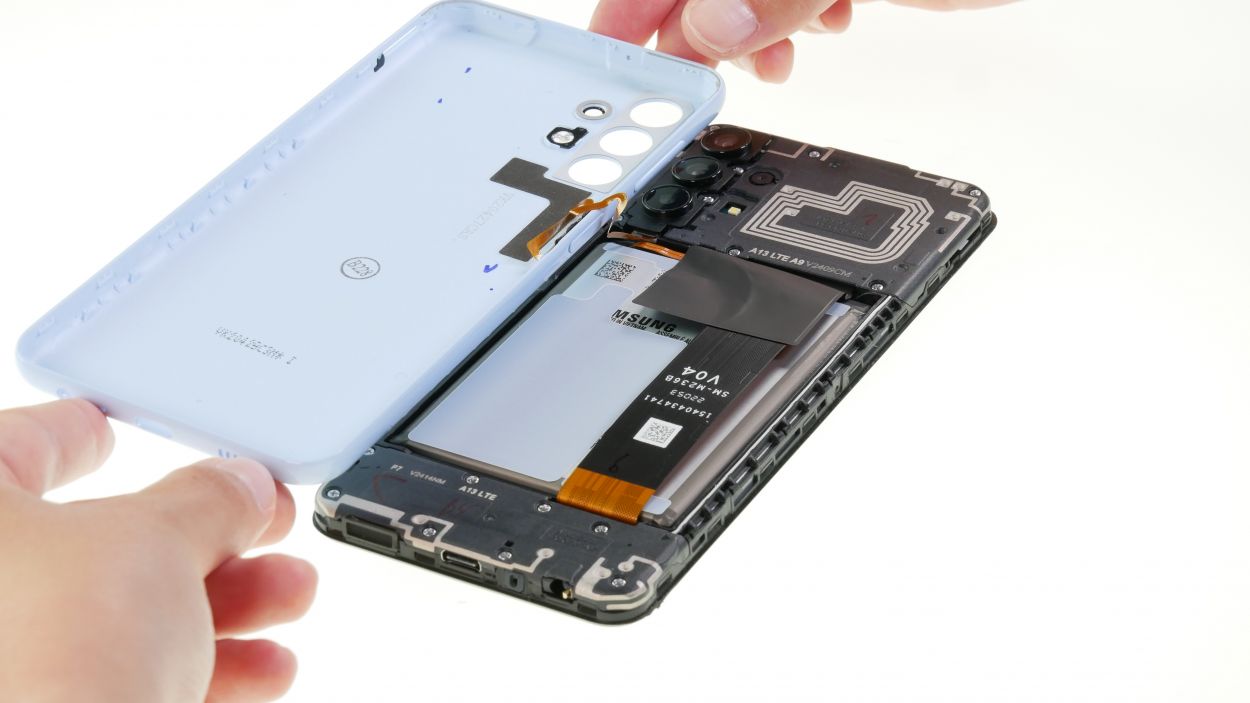
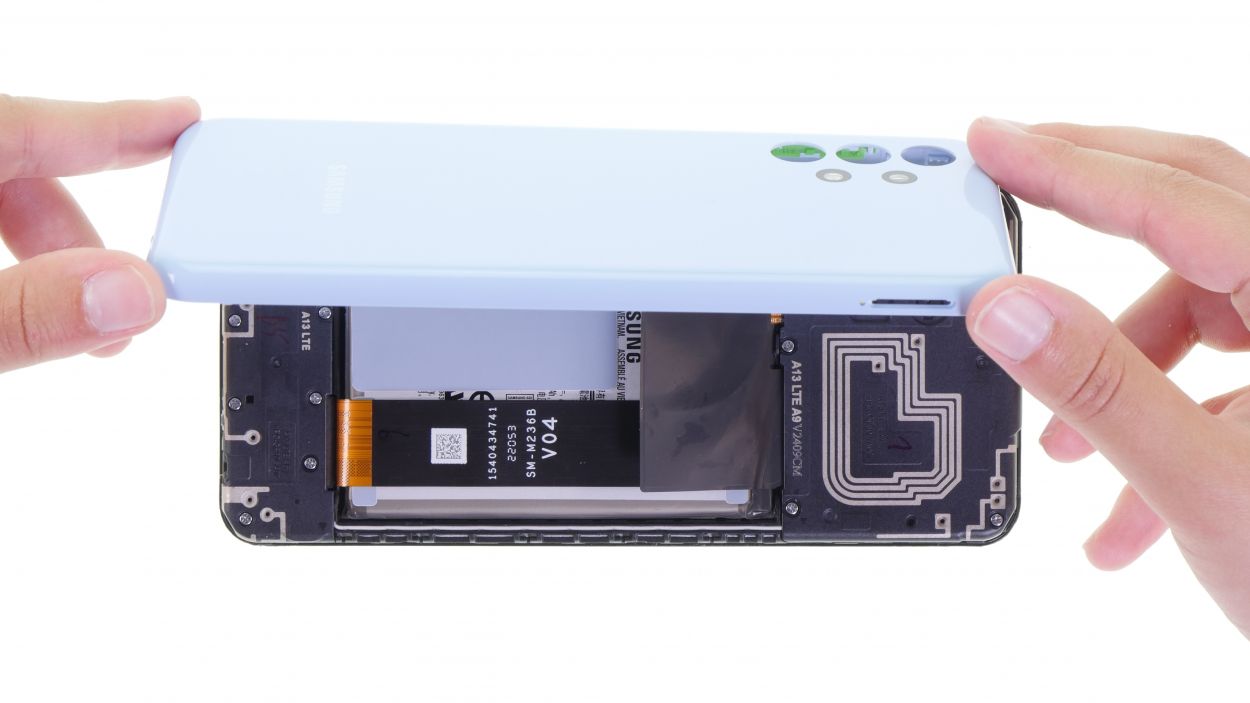
Keep an eye out for that sneaky fingerprint sensor cable while you’re lifting off the back cover!
The back cover has a little bit of glue hanging out at the corners. No biggie! Just take your time and it will come off smoothly.
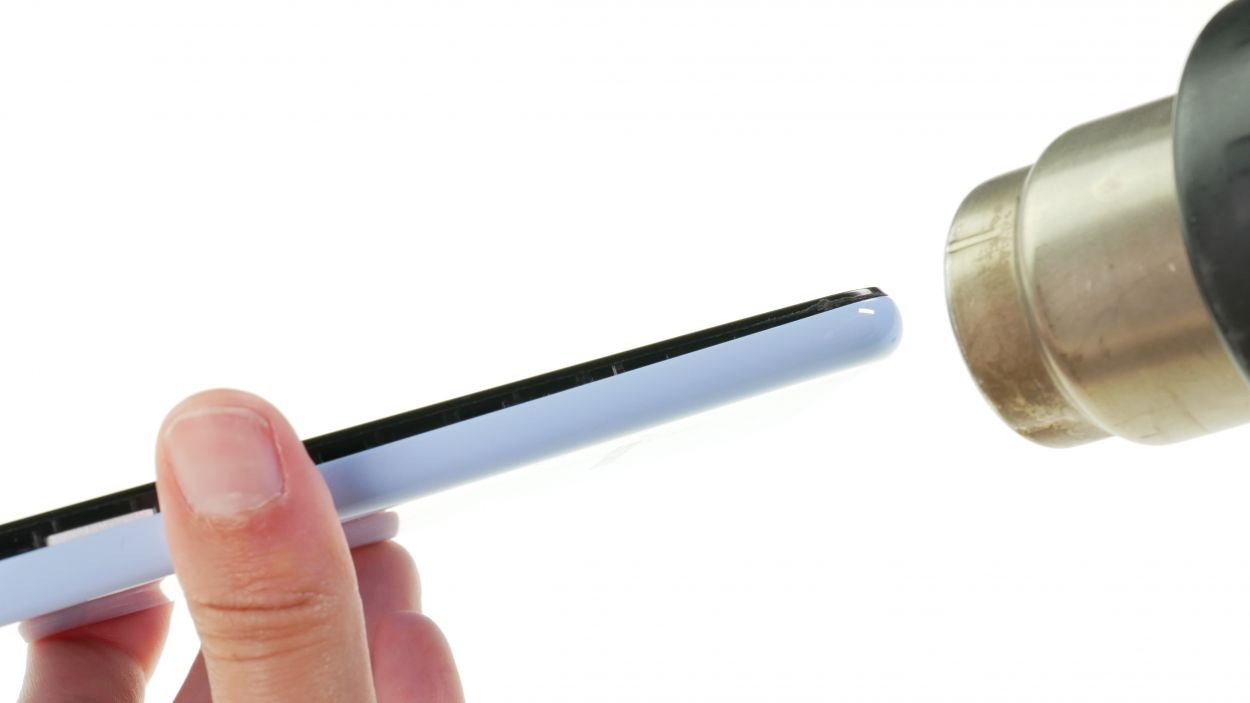
– To kick things off, warm up those corners with a hot air gun or a trusty hair dryer. It’s like giving your phone a cozy blanket!
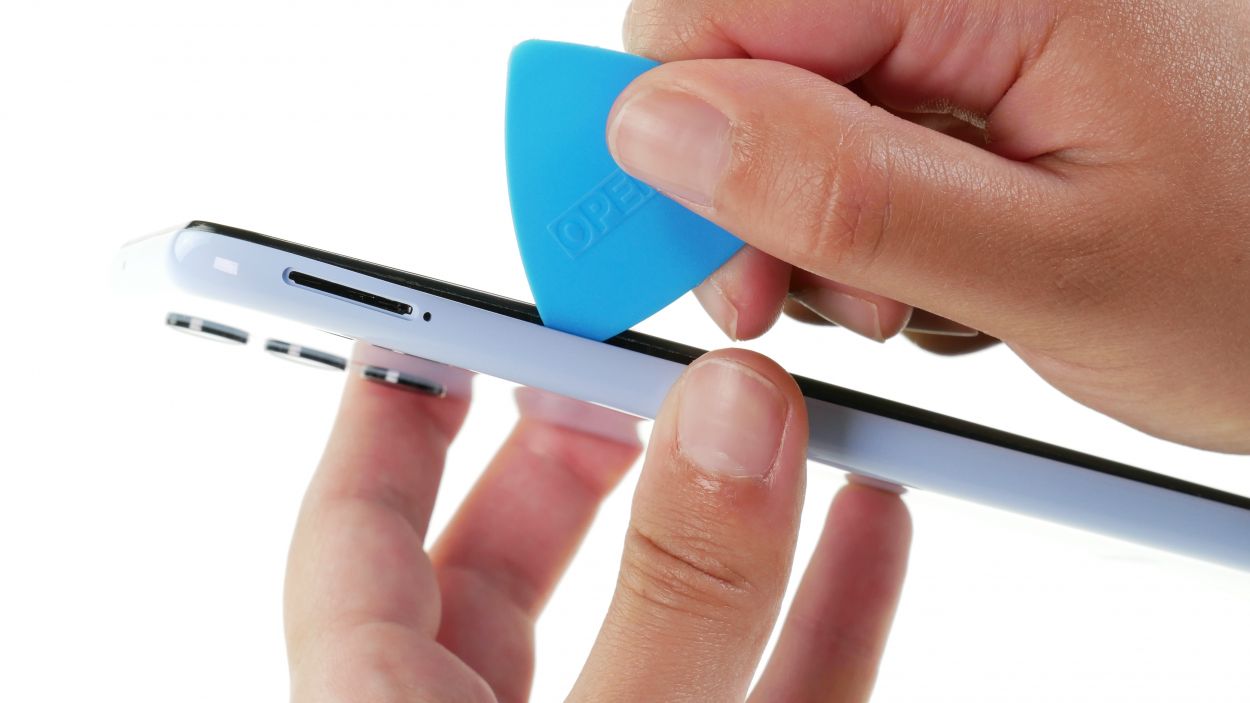
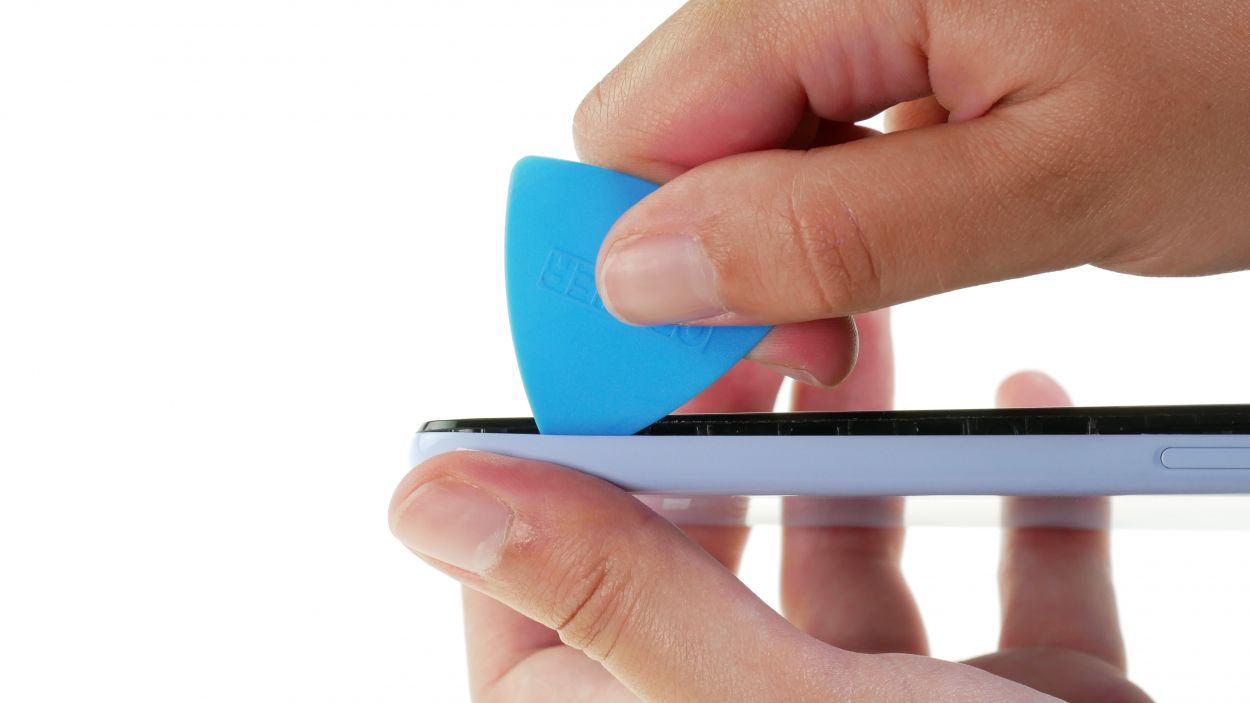
– Next, grab a plectrum and gently slide it between the display frame and the back cover. Take your time and loosen those brackets one by one, just like peeling a banana!
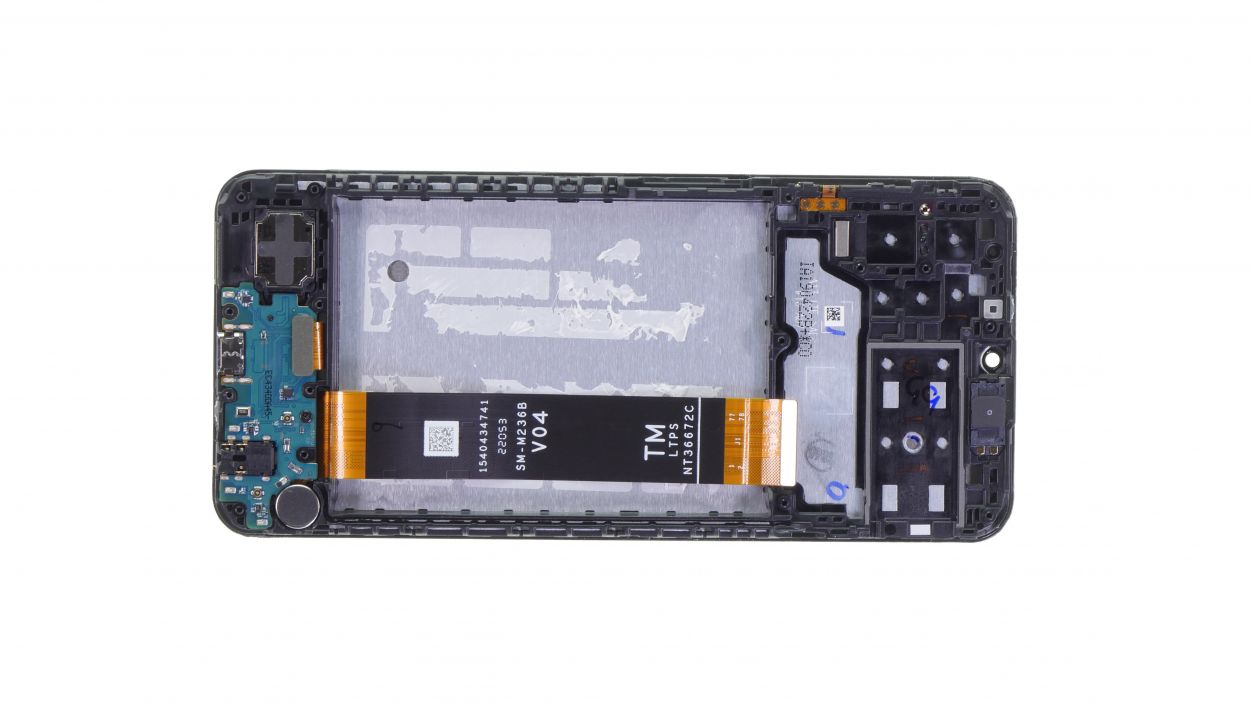
Step 4
8 × 4,0 mm Phillips
– Unscrew the highlighted Phillips screws and lift off the cover.
Tools Used

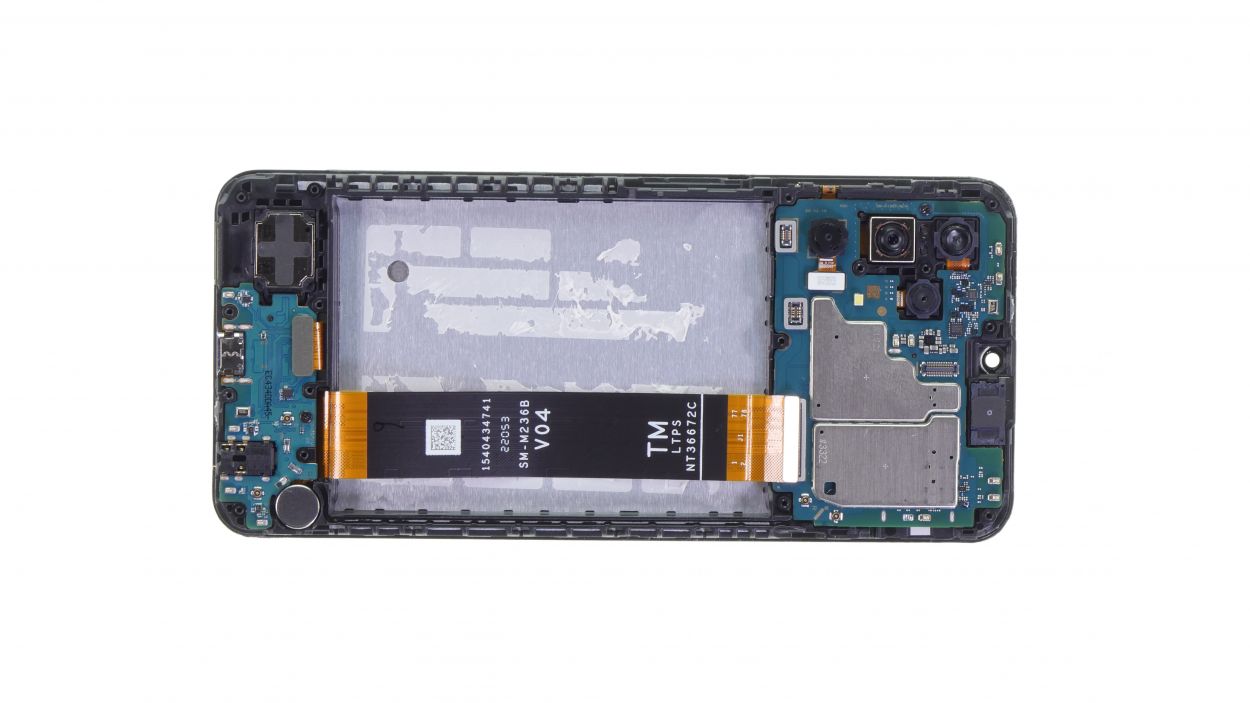
Step 6
Fingerprint Sensor Connector
– Now it’s time to gently unplug that fingerprint sensor connector using your trusty spudger. You’re doing great!
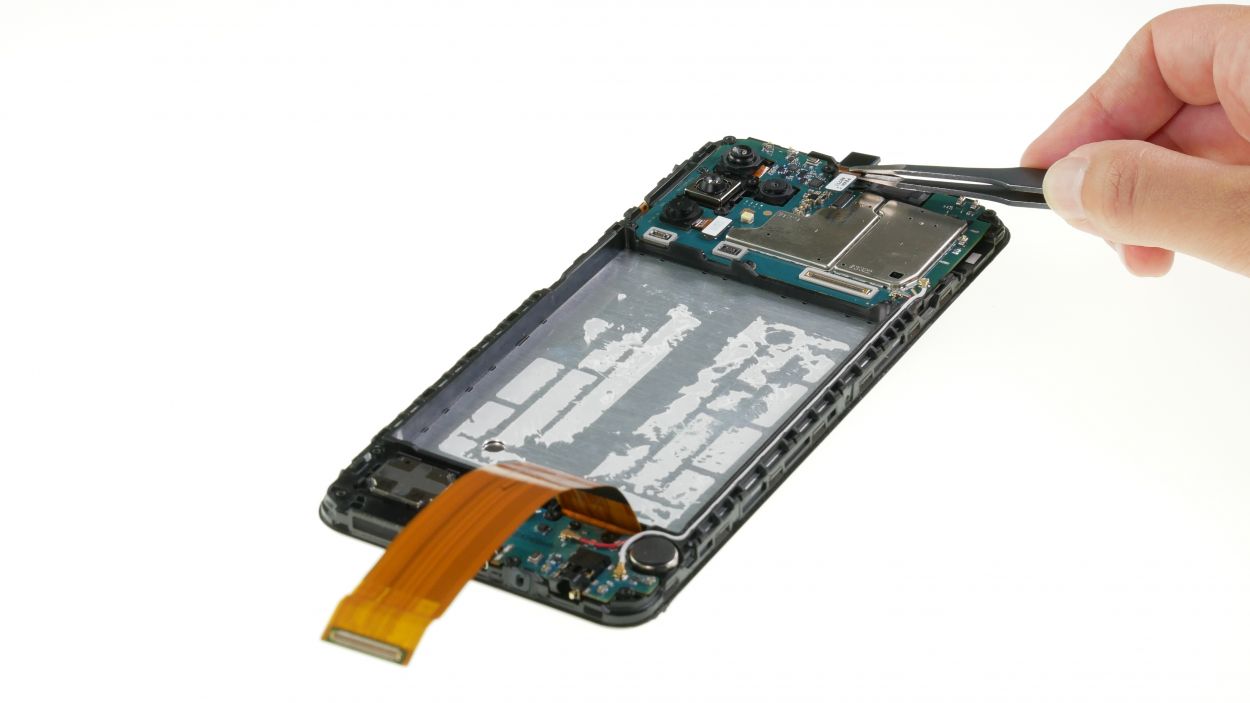
Step 7
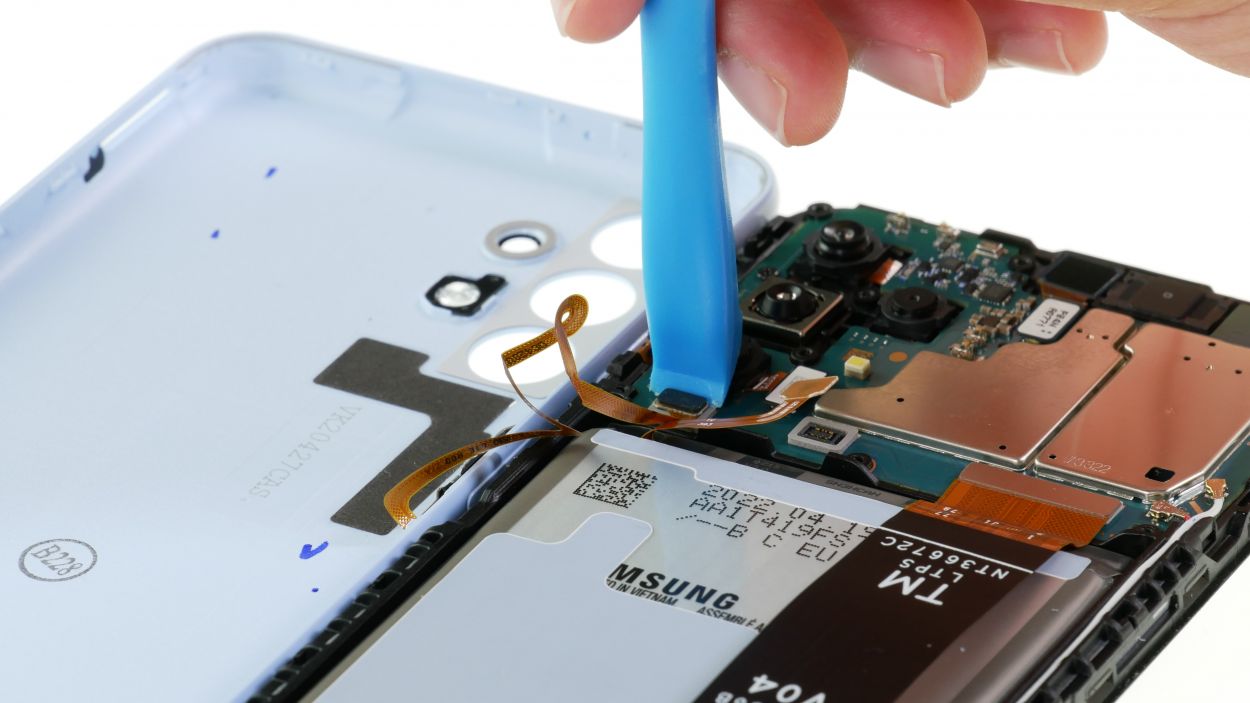
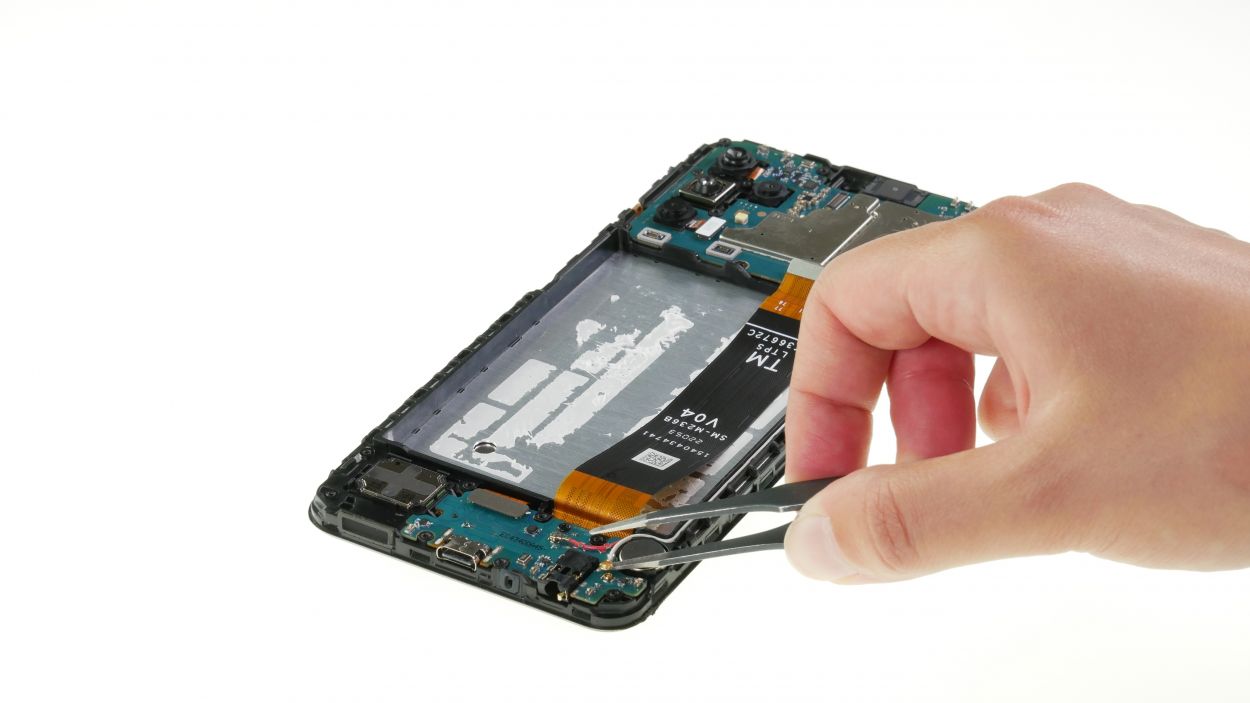
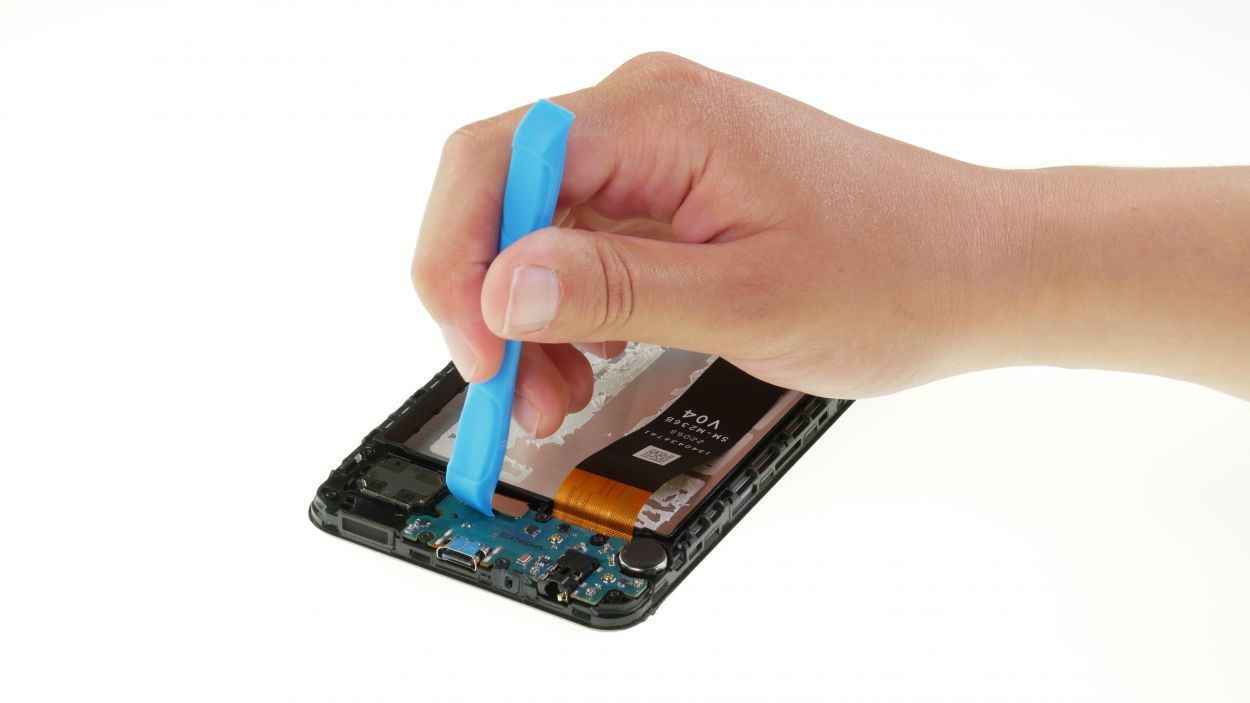
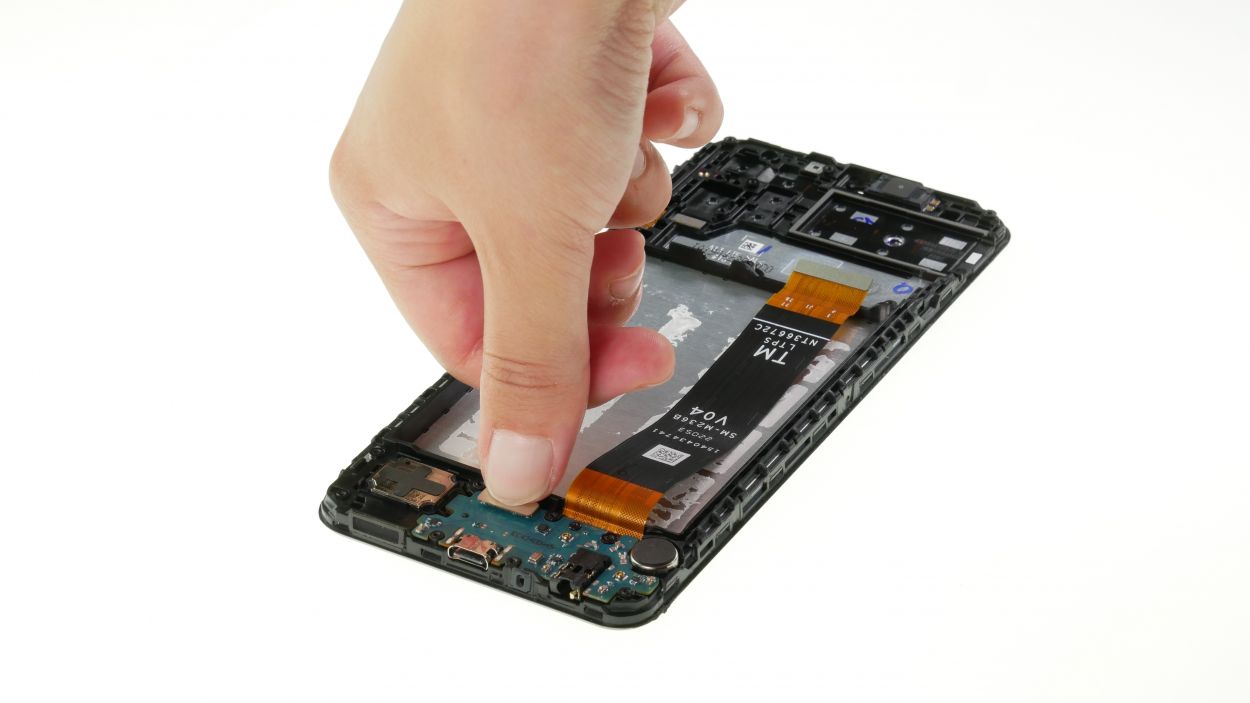
– Now it’s time to unplug that highlighted connector with a gentle touch. You’ve got this!
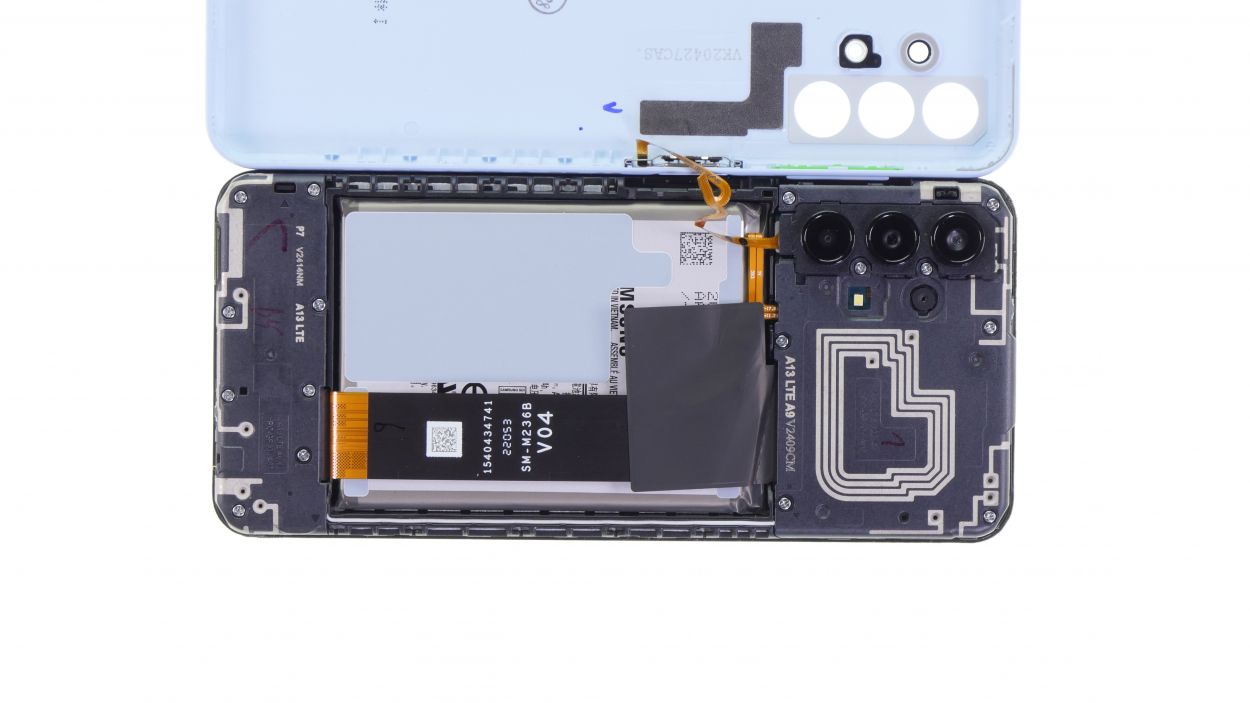
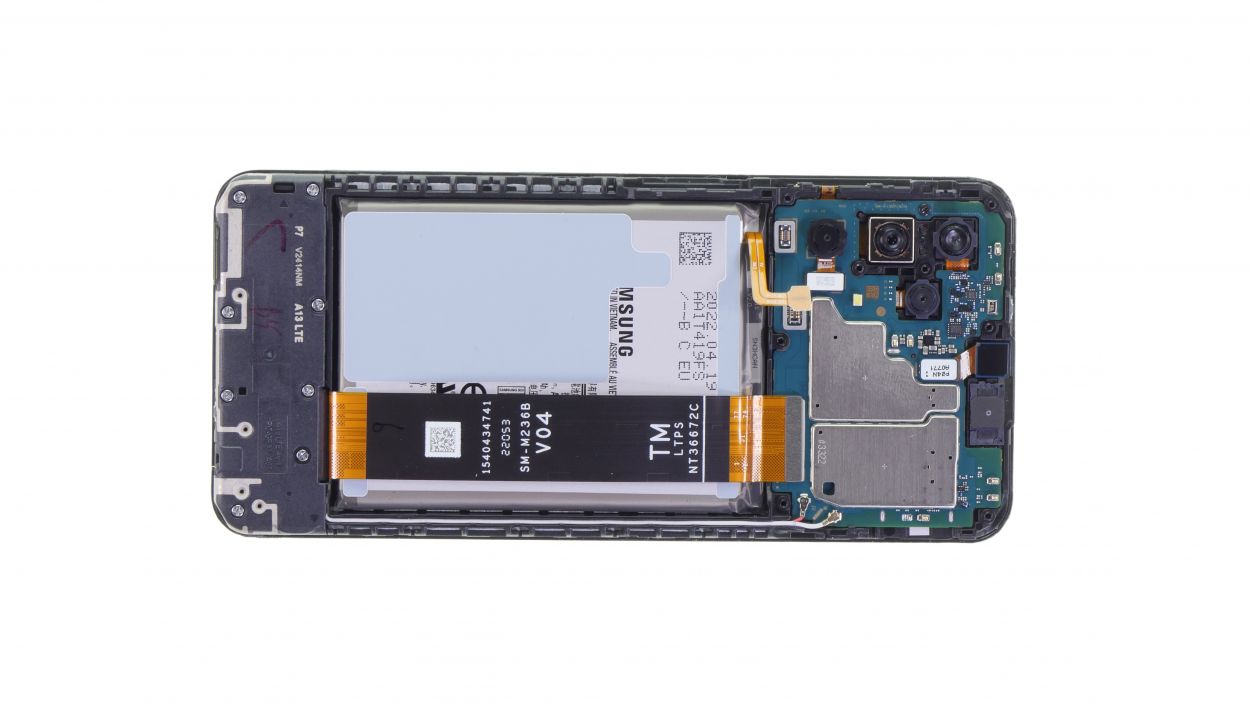
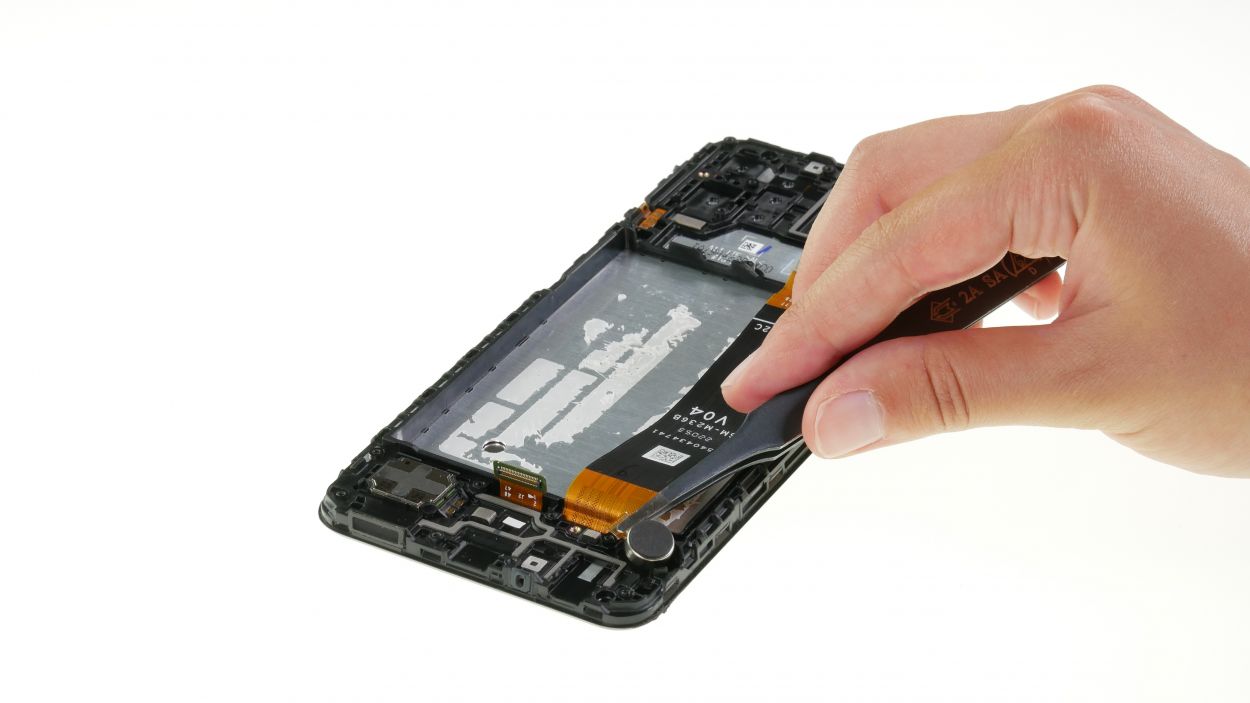
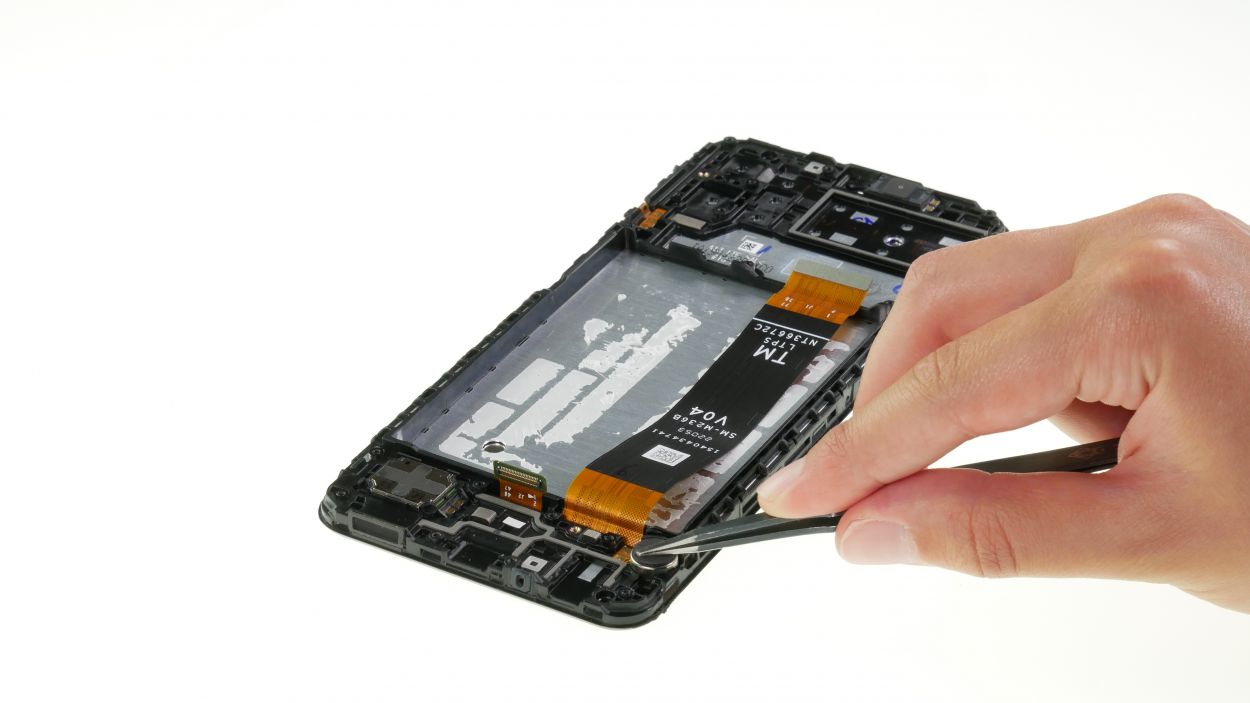
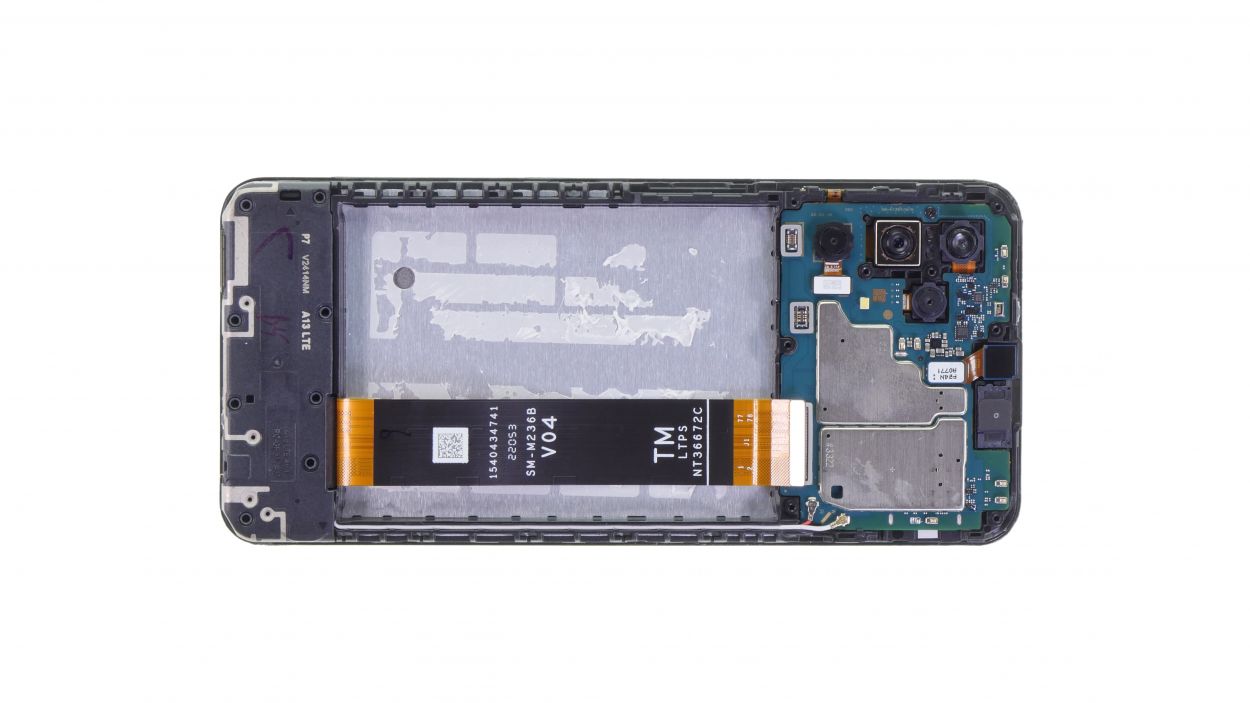
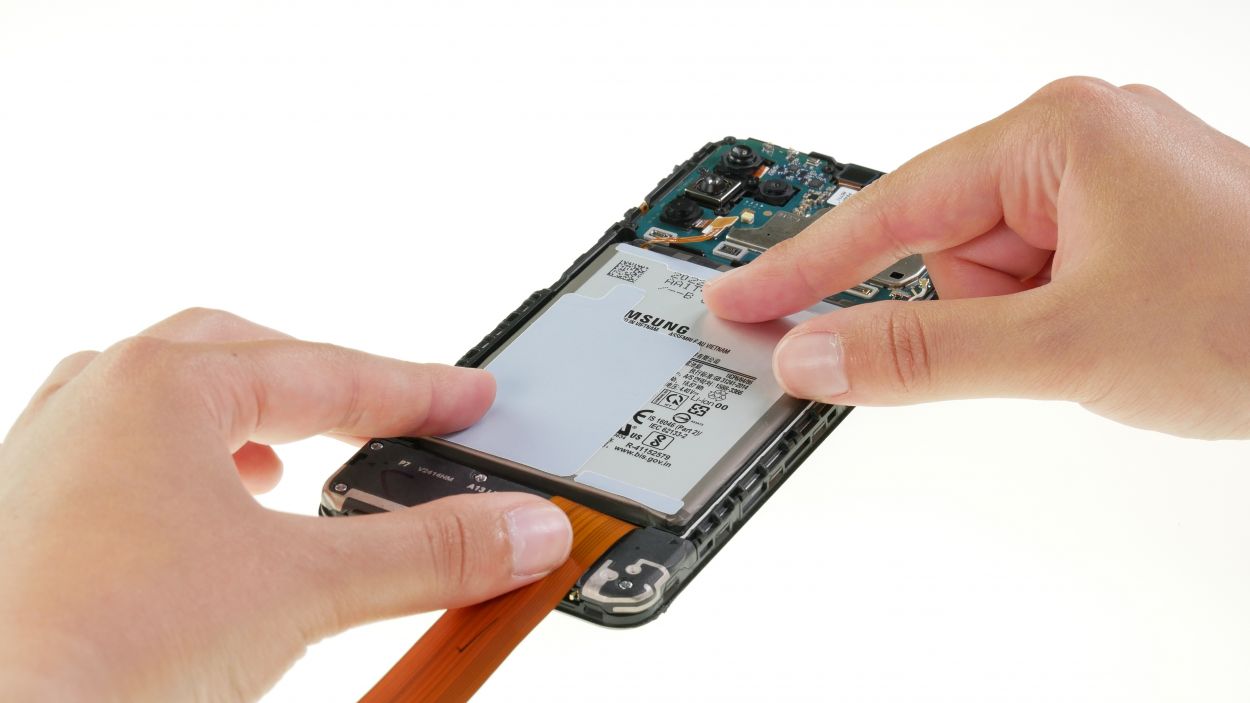
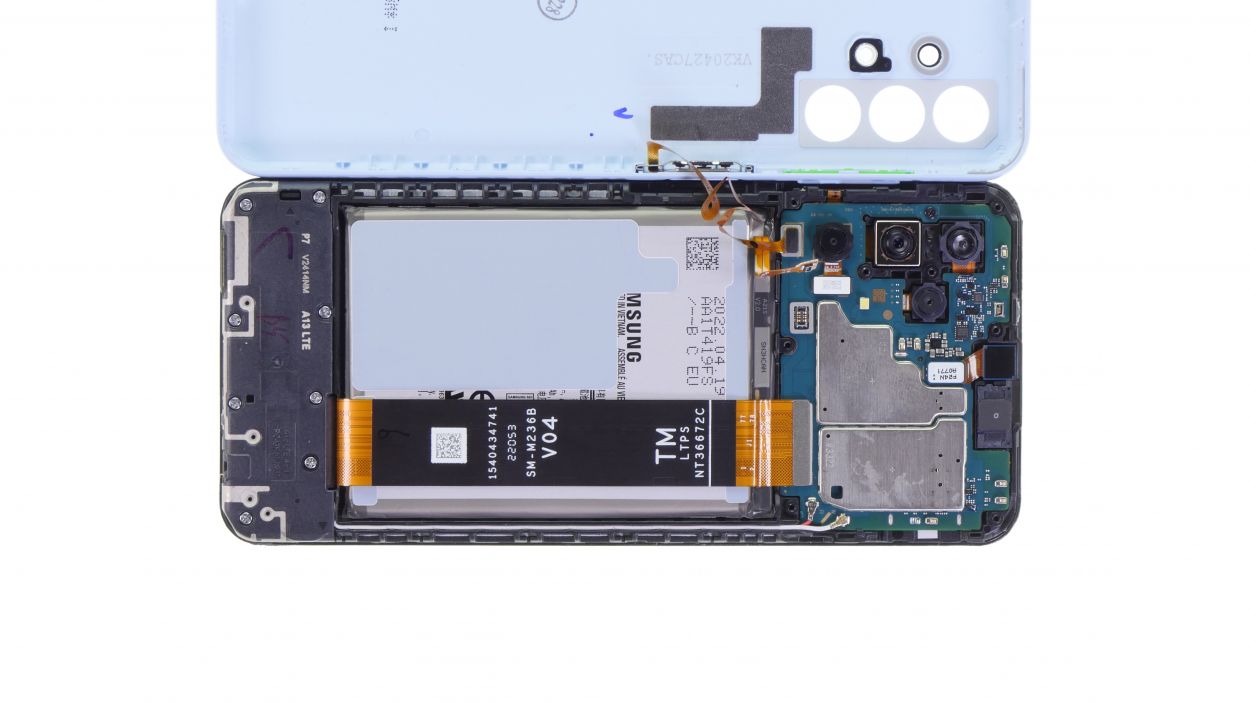
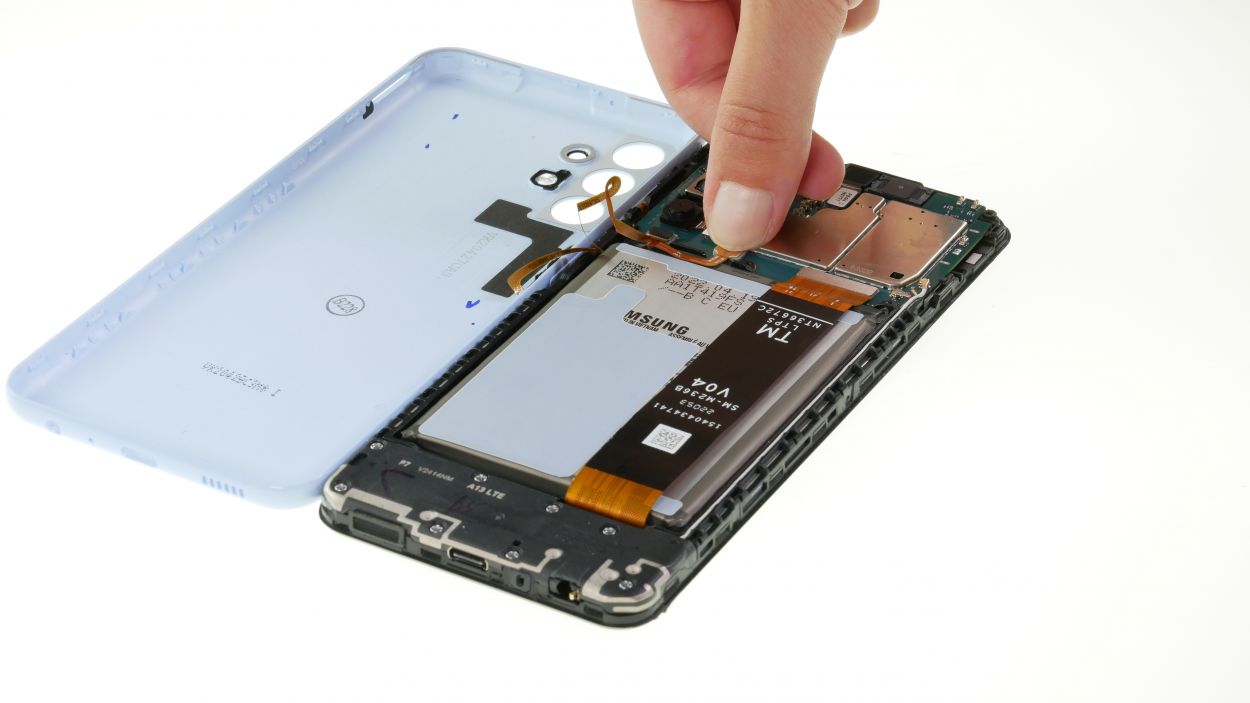
Step 8
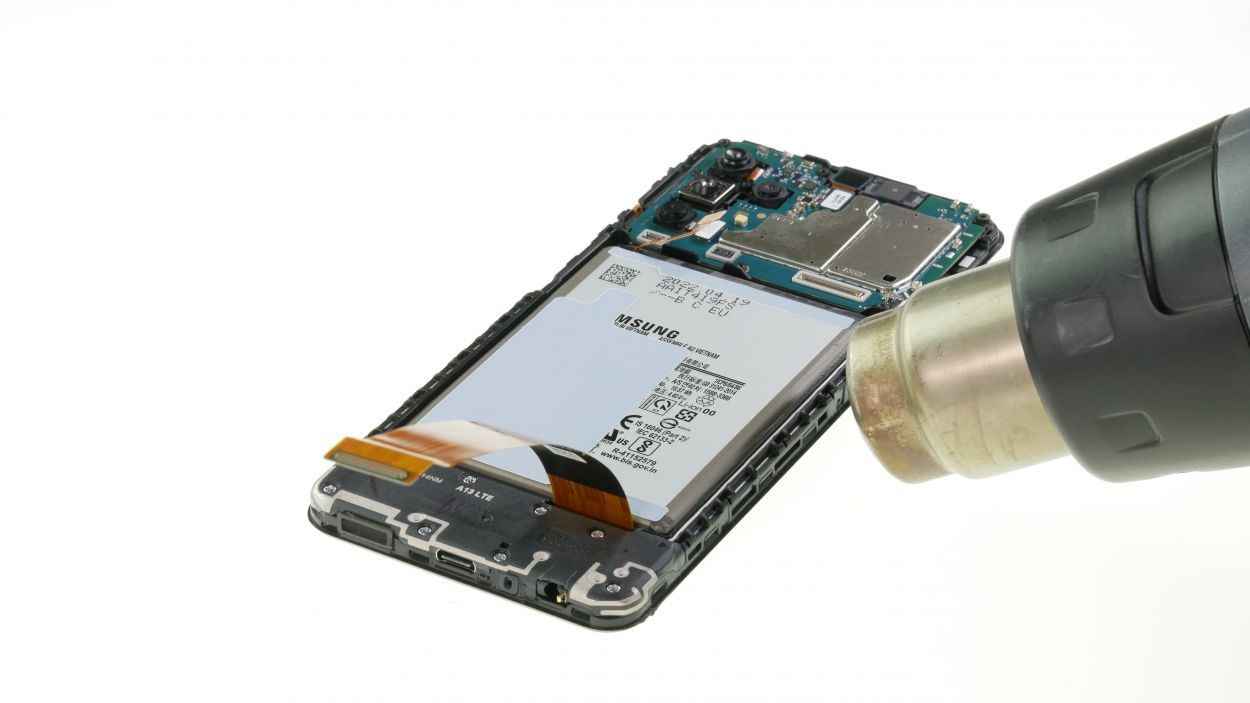
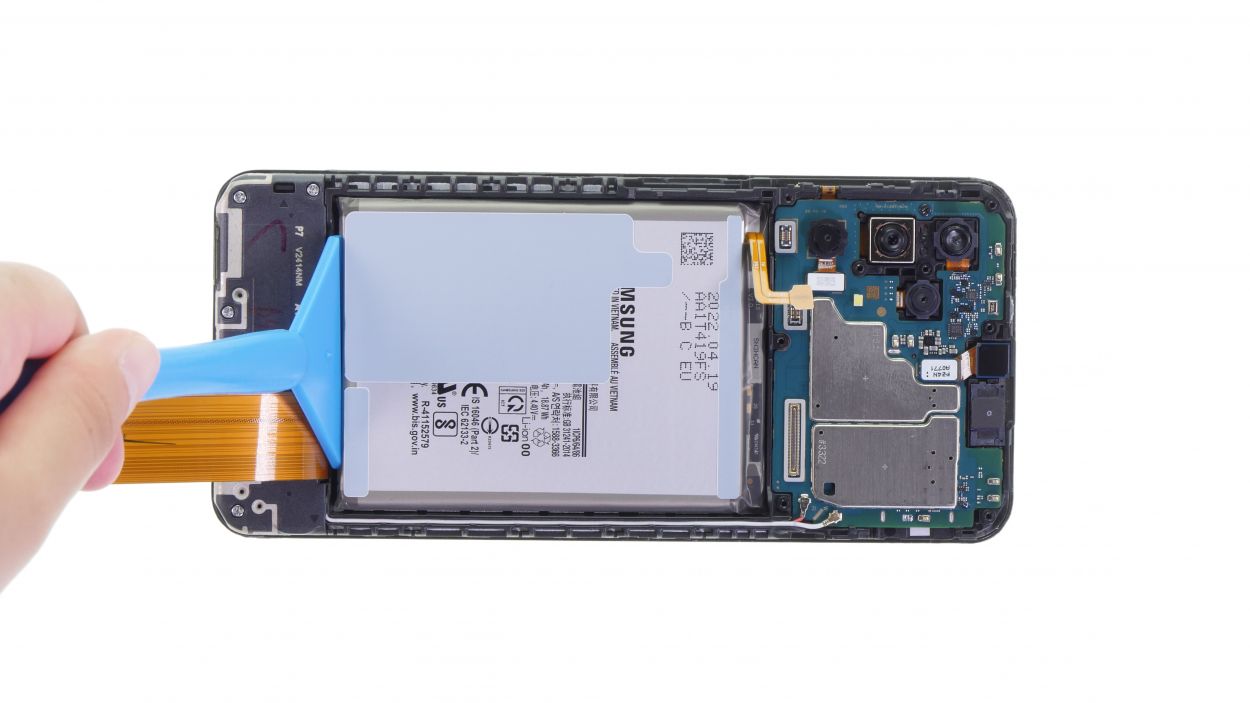
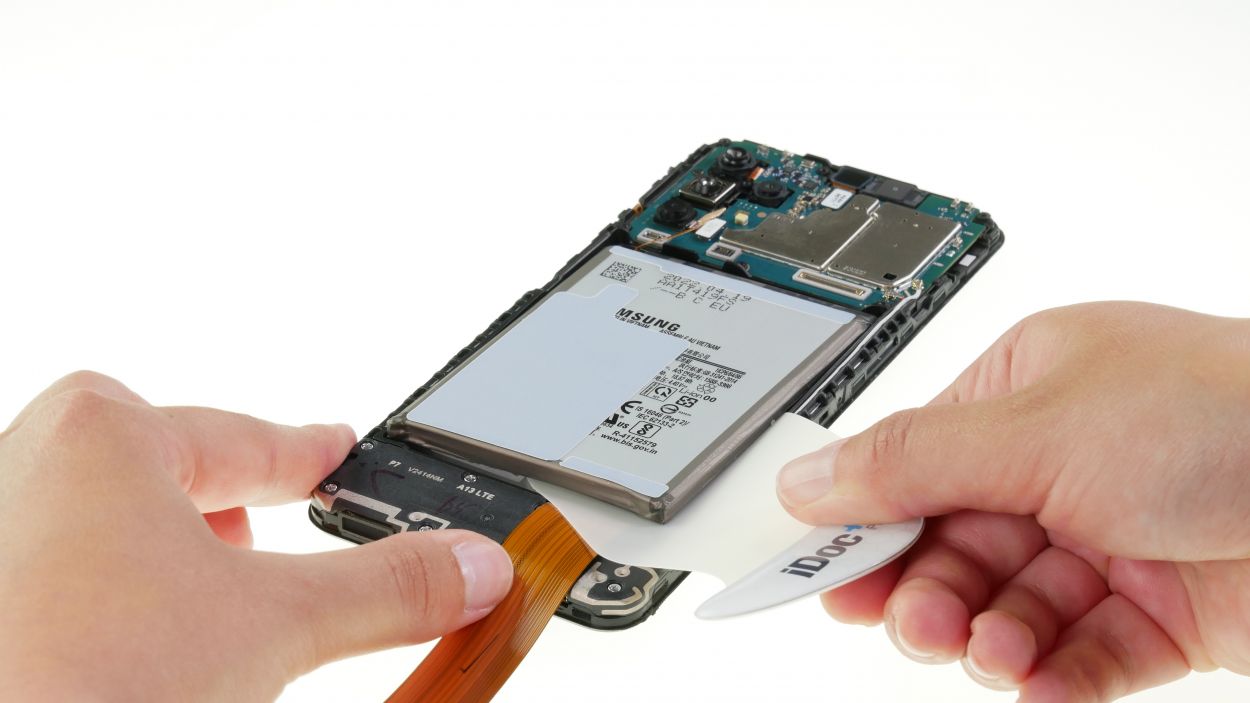
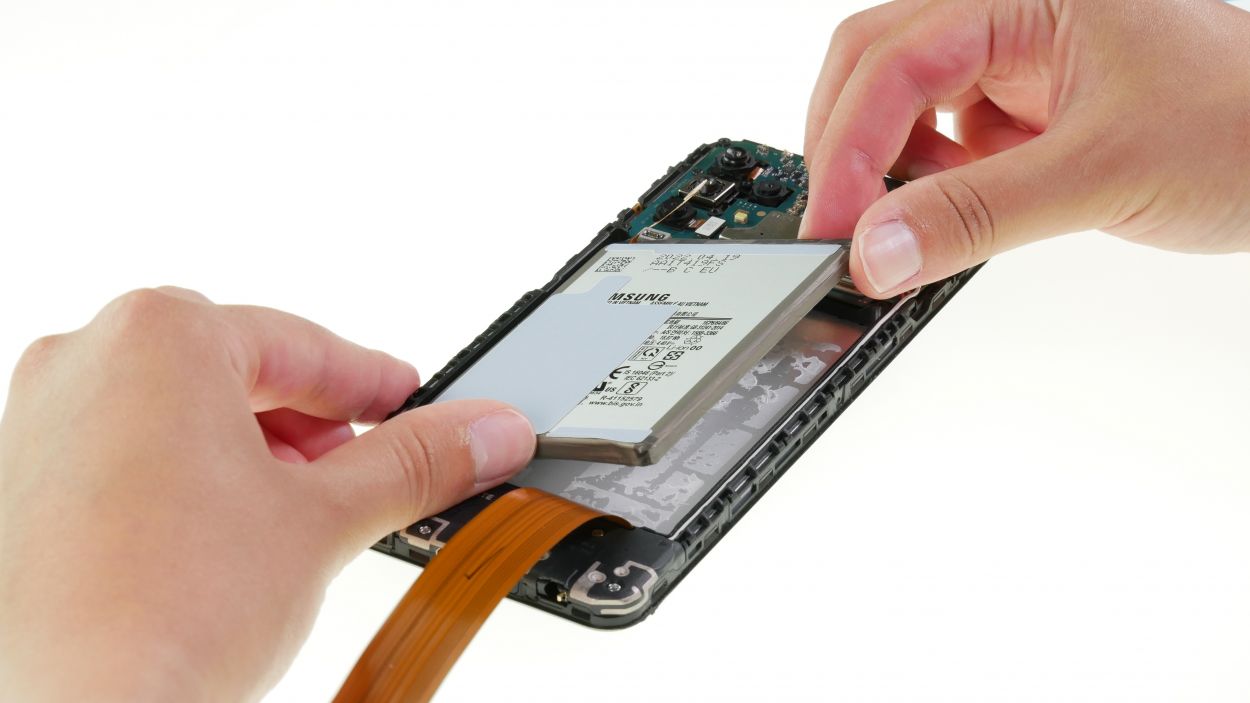
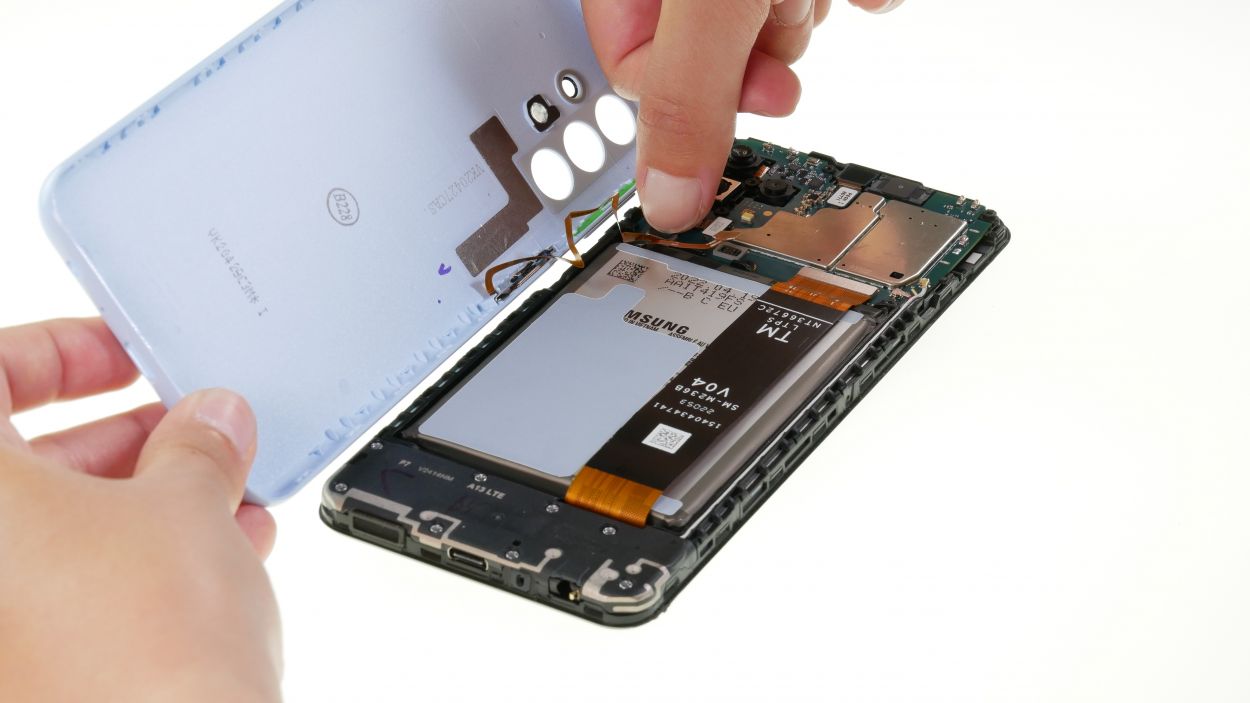
– First, give that battery a little warmth with a hot air gun or a hair dryer. Just be sure not to turn it into a mini sauna!
– Next, gently pry out the battery using a trusty tool like a battery spudger. Remember to be careful and avoid any accidental damage to nearby parts or cables while you’re at it!
Tools Used
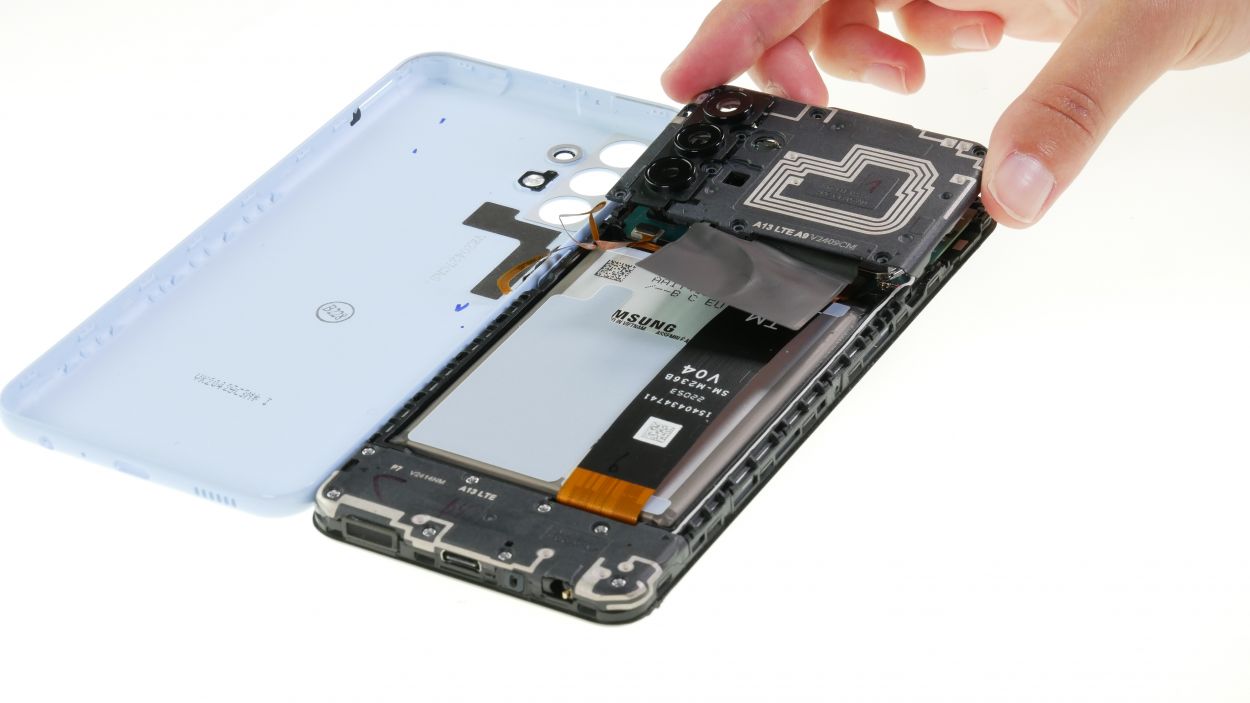
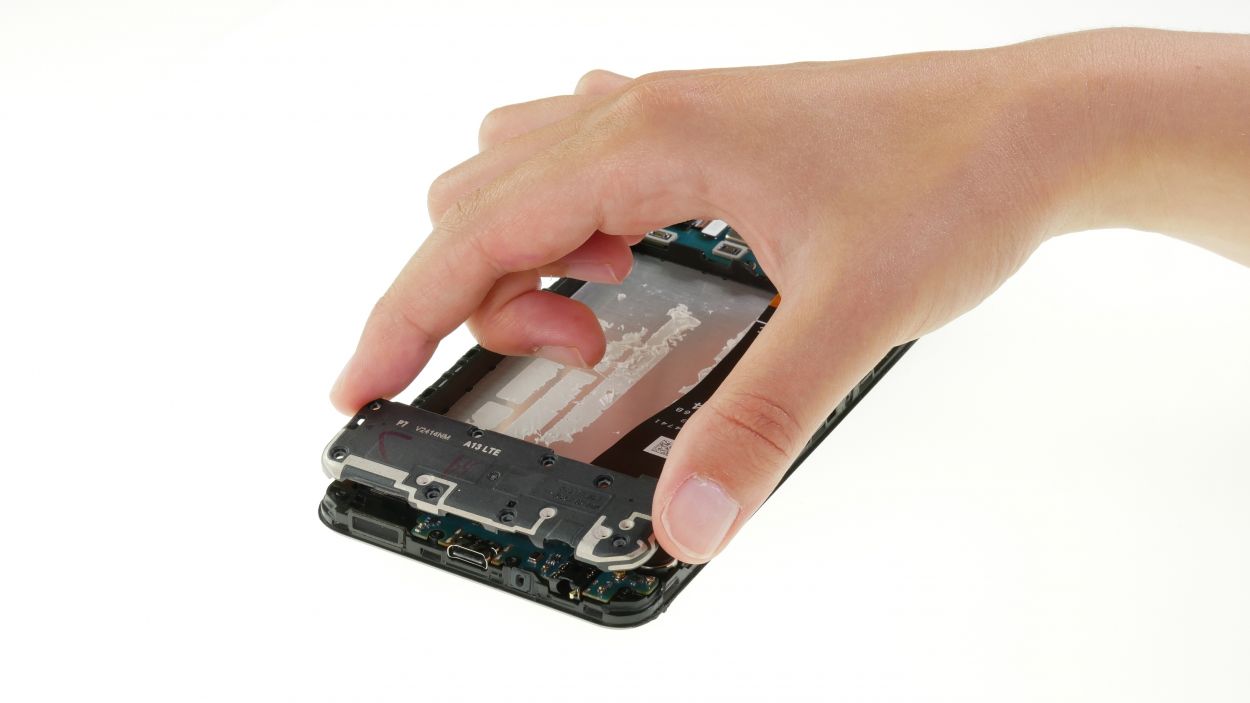
Step 9
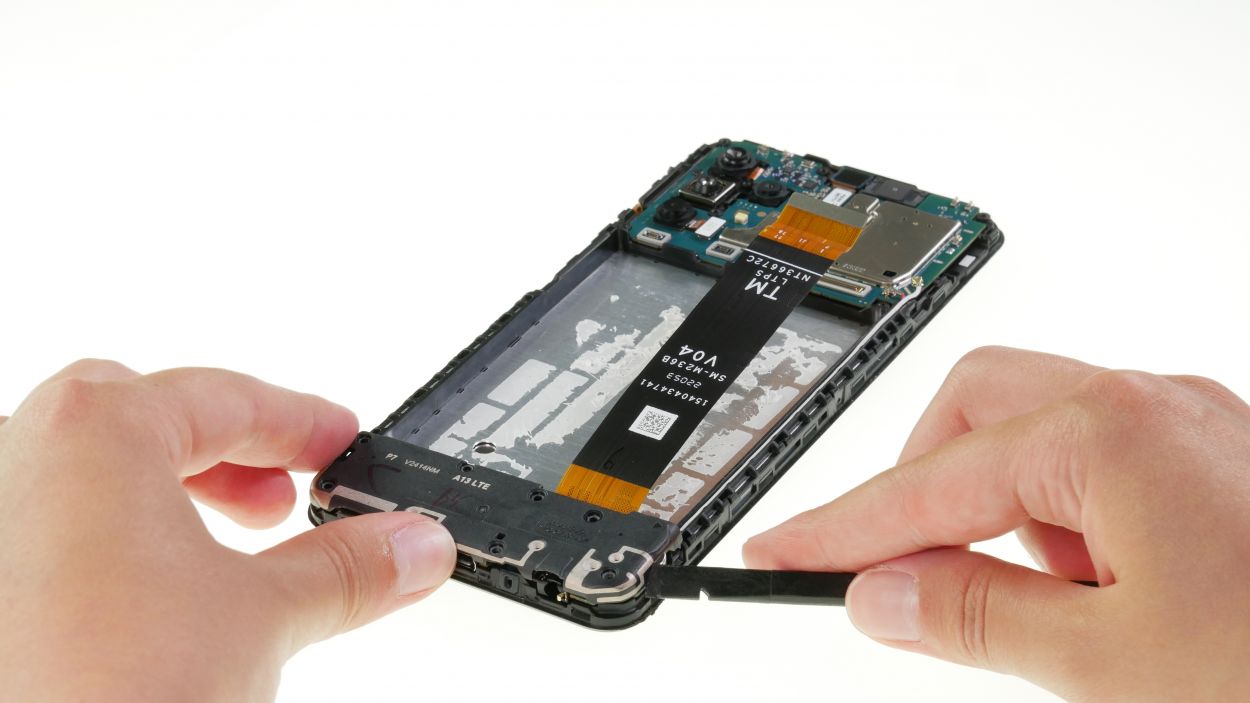
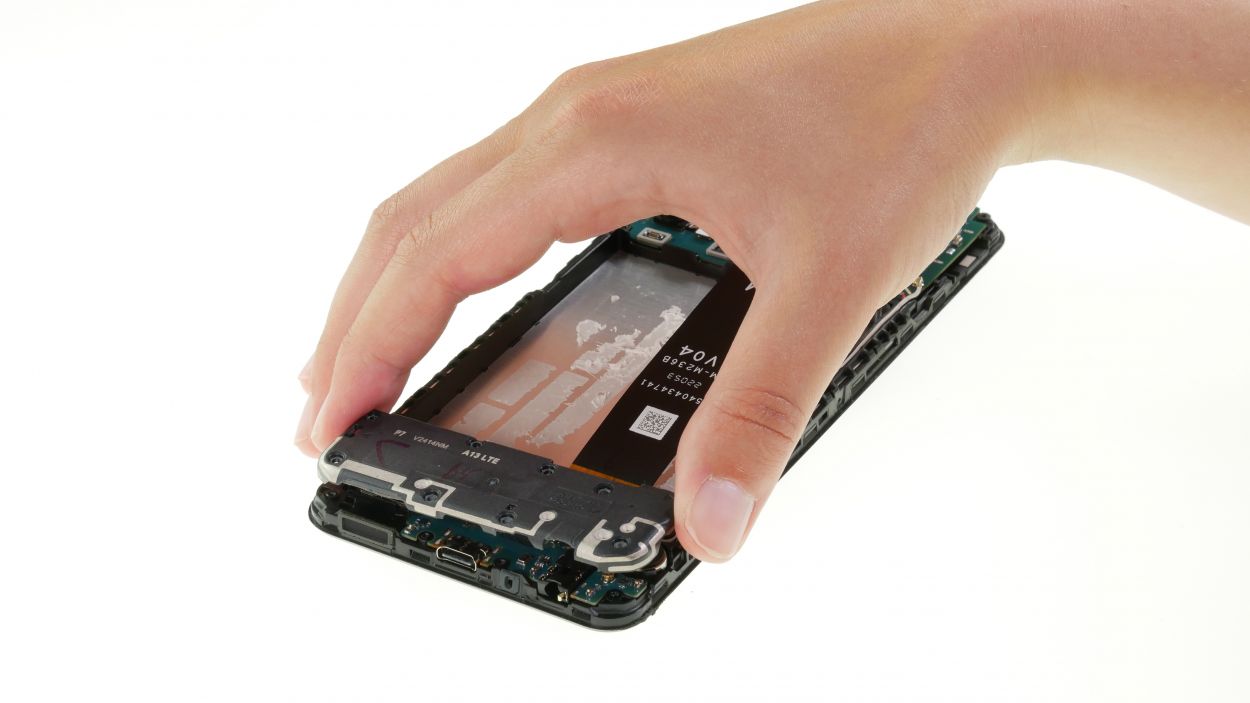
8 × 4,0 mm Phillips
– Unscrew those highlighted Phillips screws and lift off the cover like a pro!
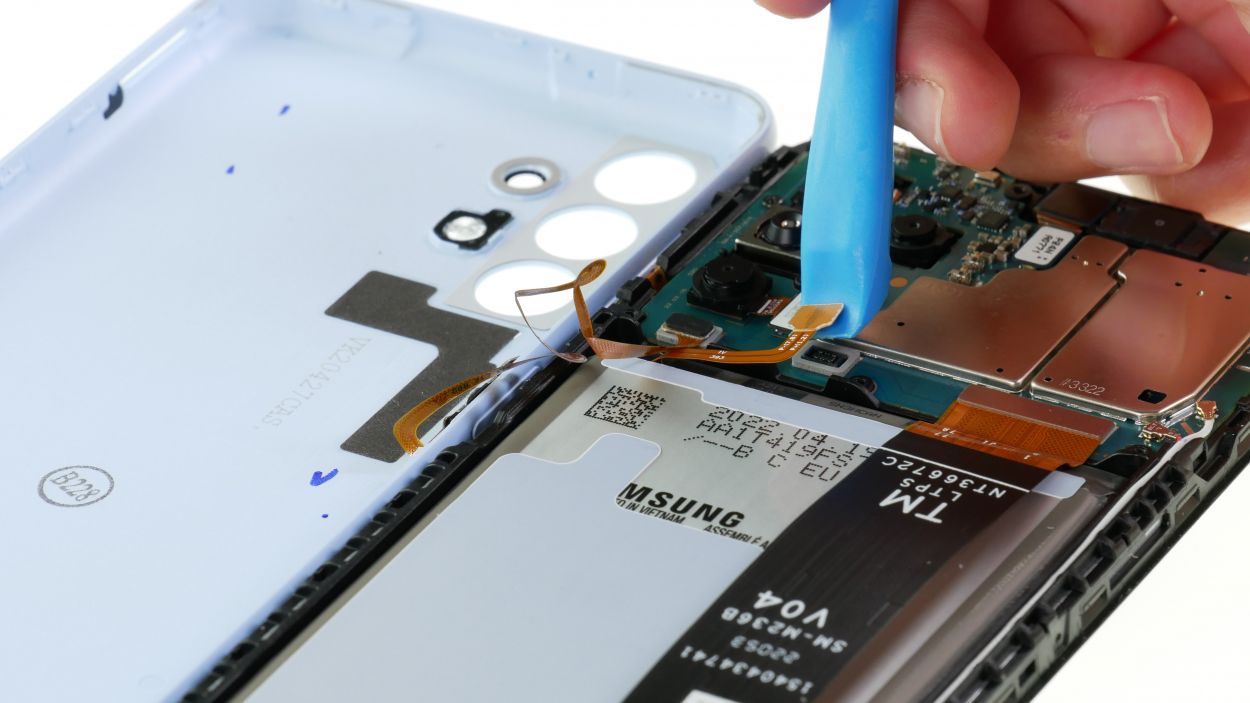
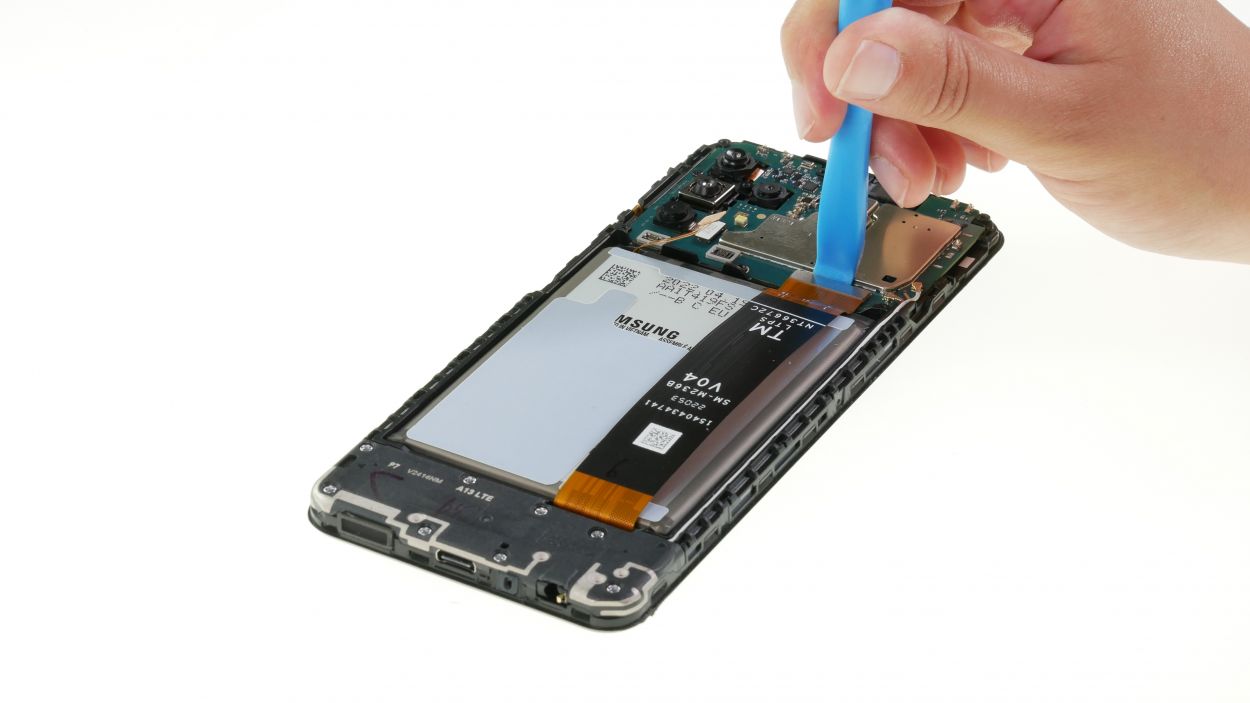
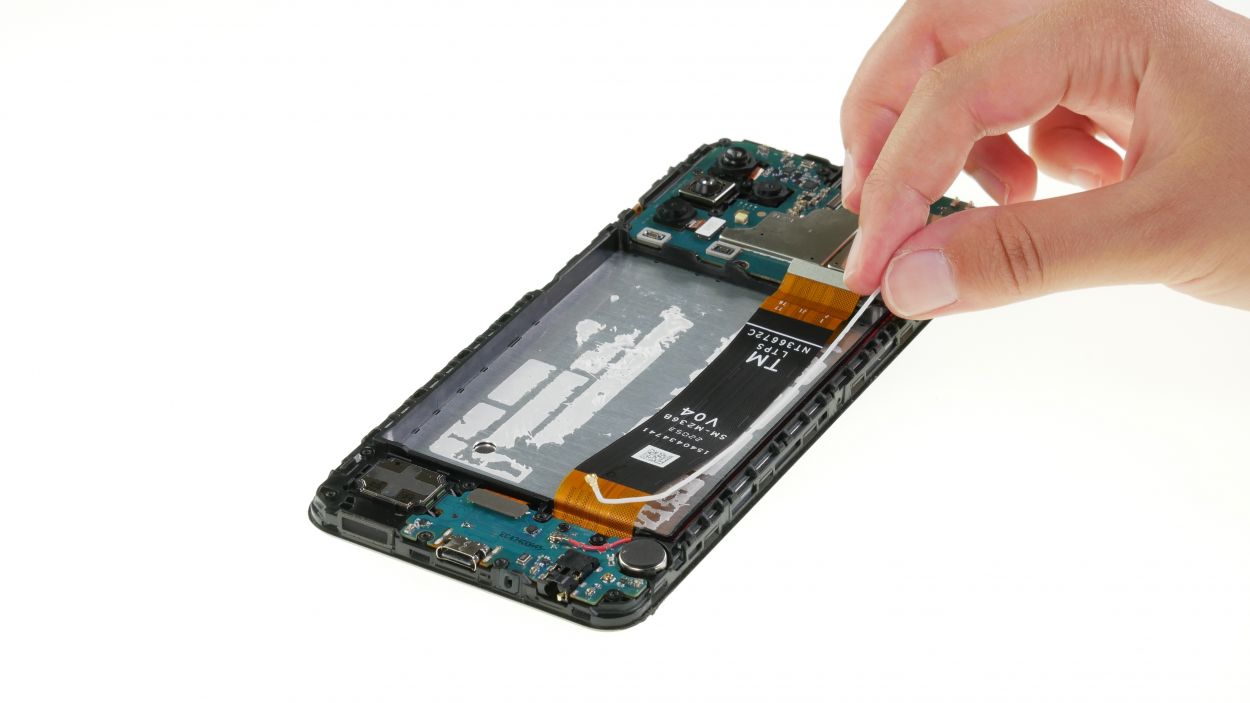
Step 10

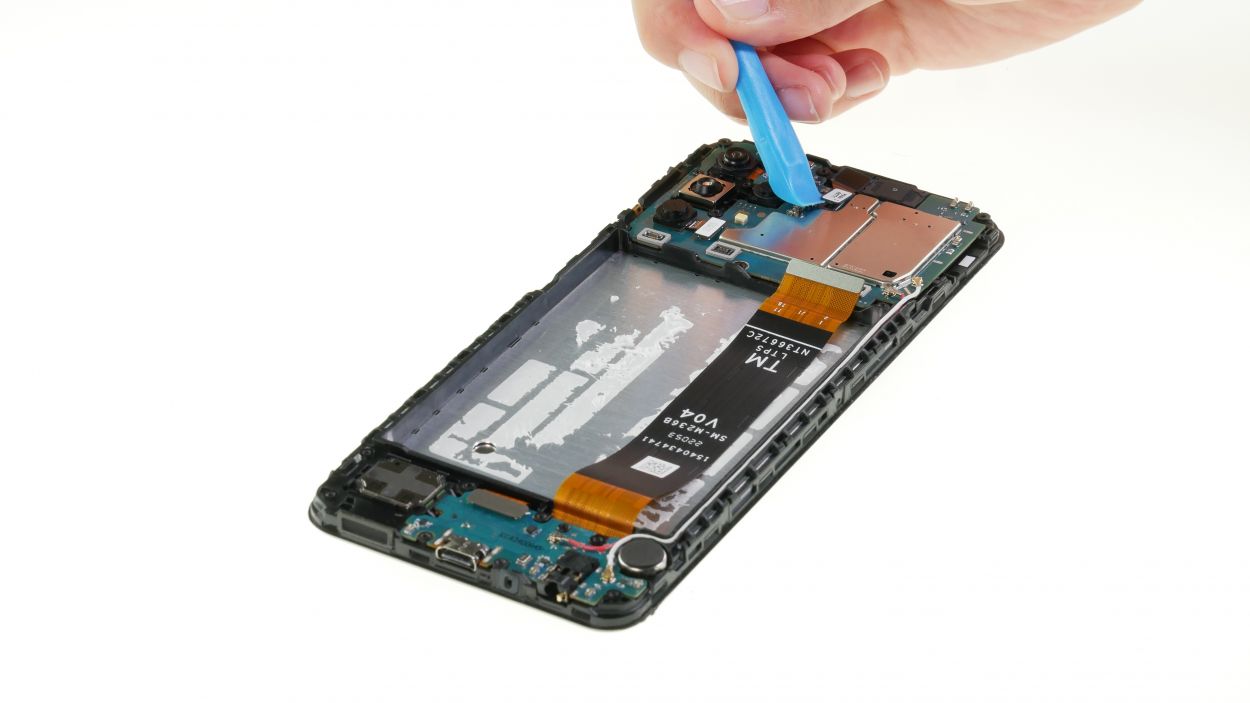

Front Camera Connector
– Gently unplug the highlighted connector using your trusty spudger, and then with care, lift out the front camera. You’re nailing this!
Step 11
4 × Antenna Connector
– Gently ease those antenna connectors loose using your favorite tool. ESD tweezers work like a charm for this!
– Once you’re done with that, feel free to pull out the cables. You’re on a roll!
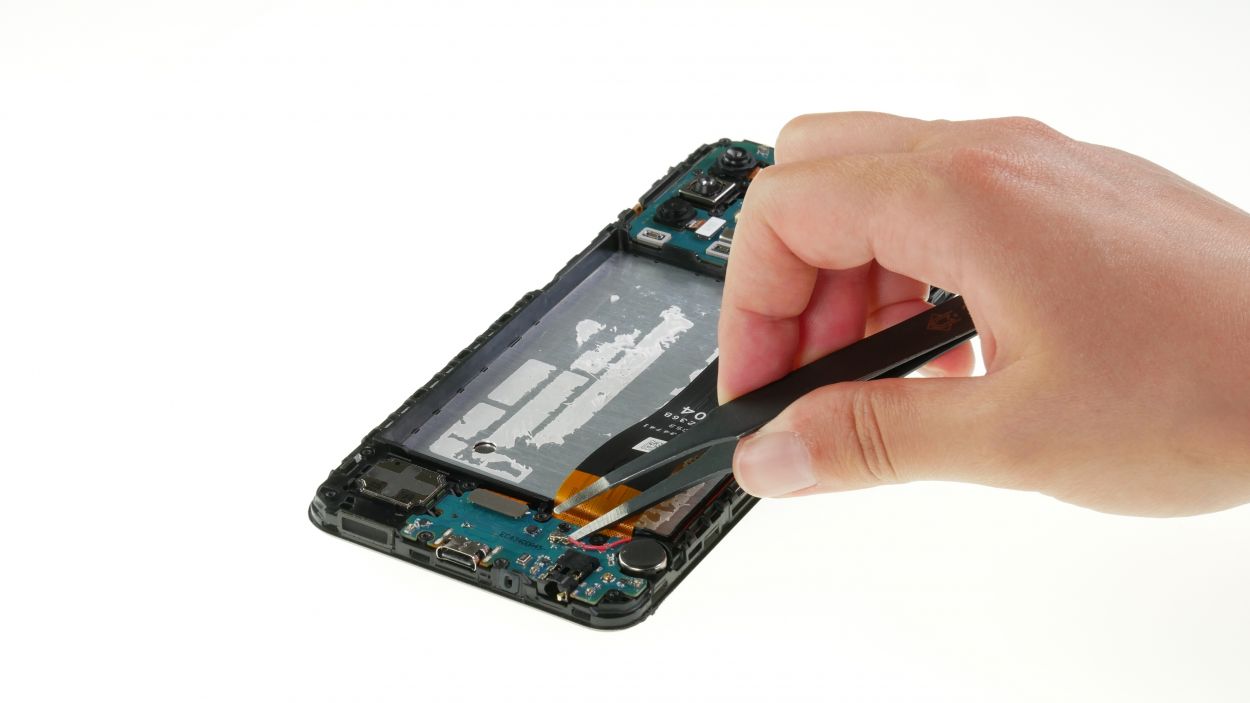
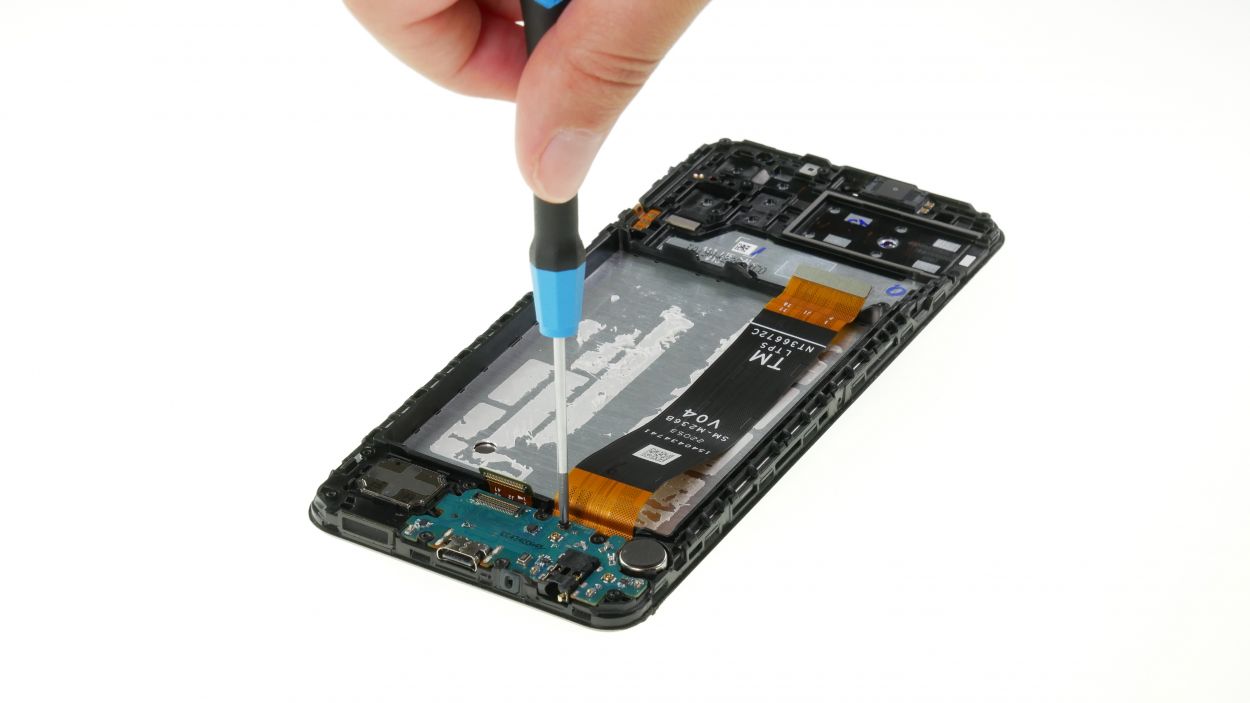
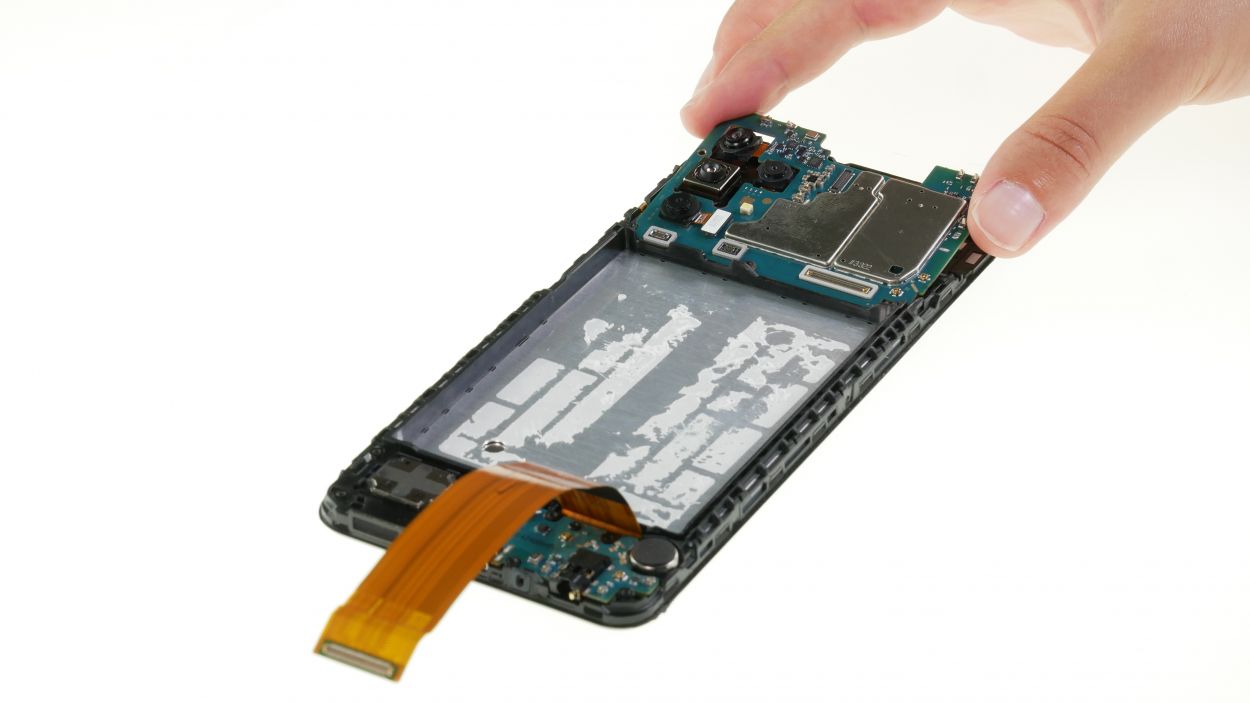
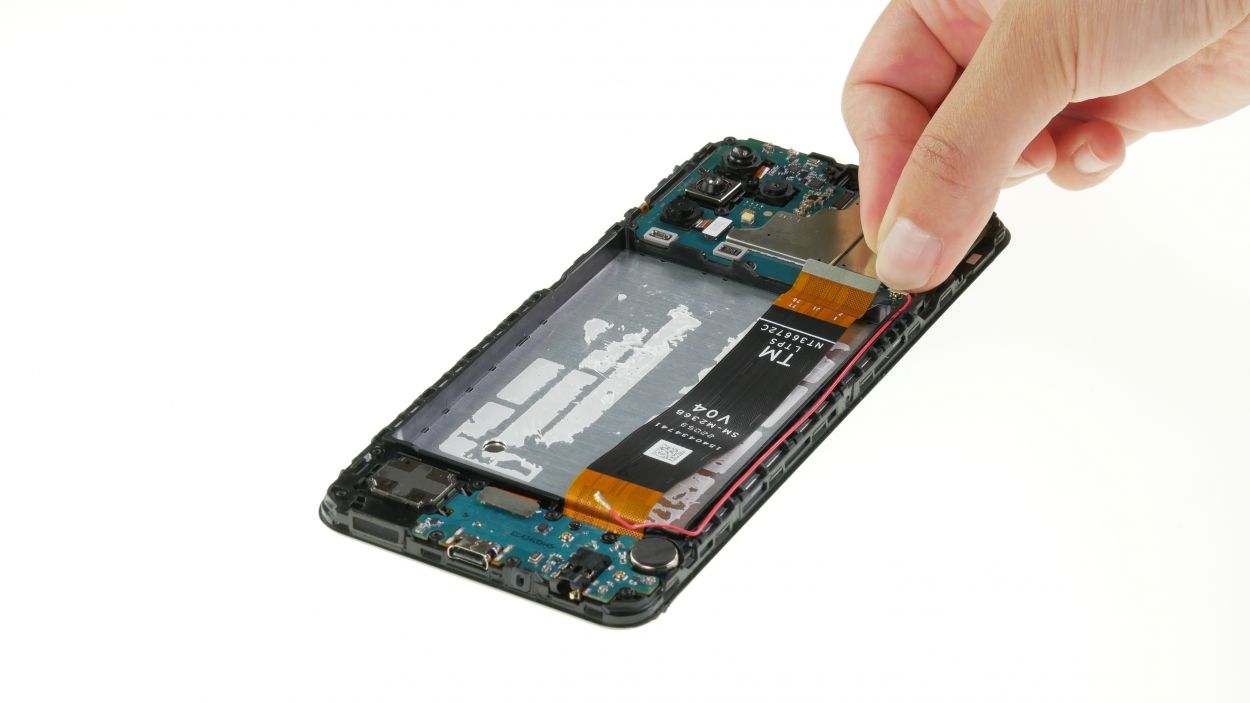
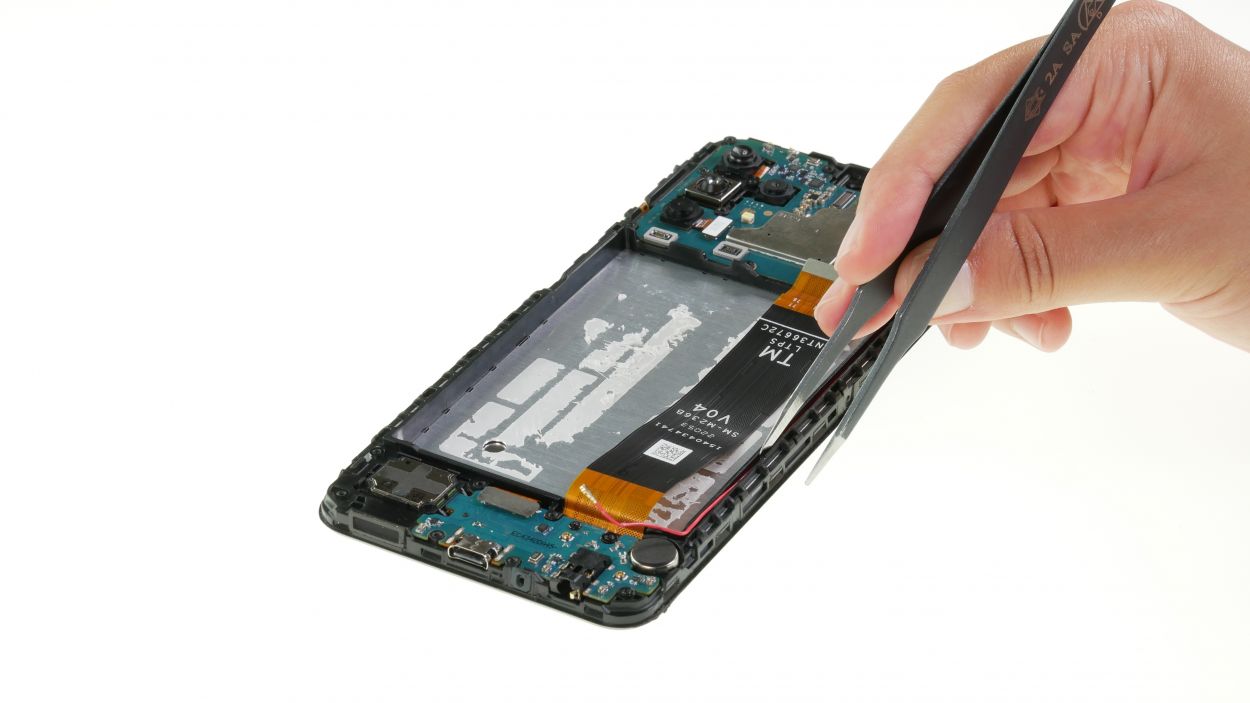
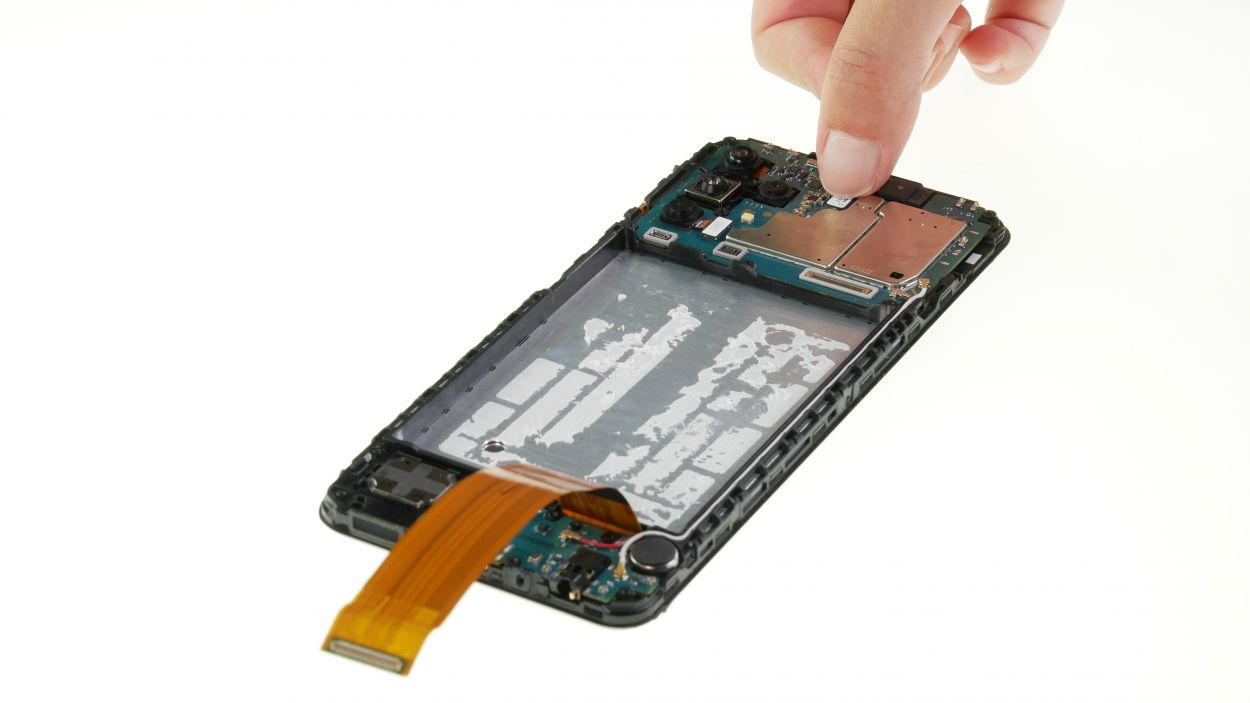
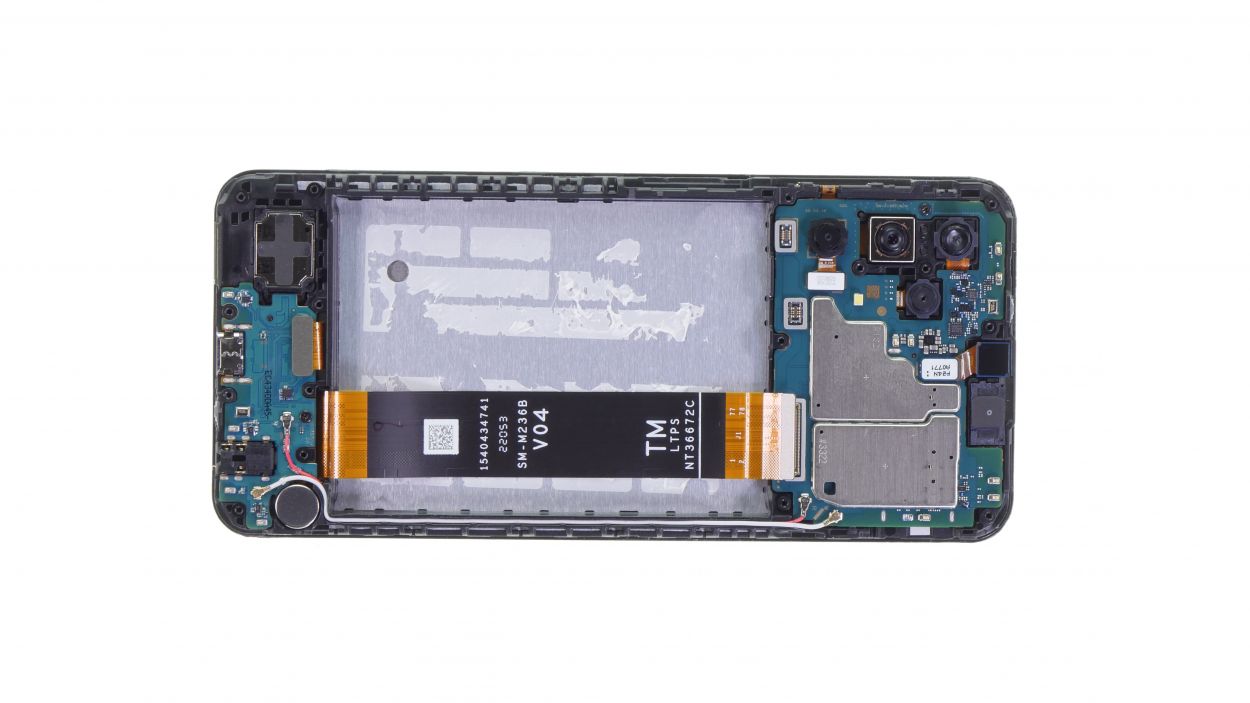
Step 12

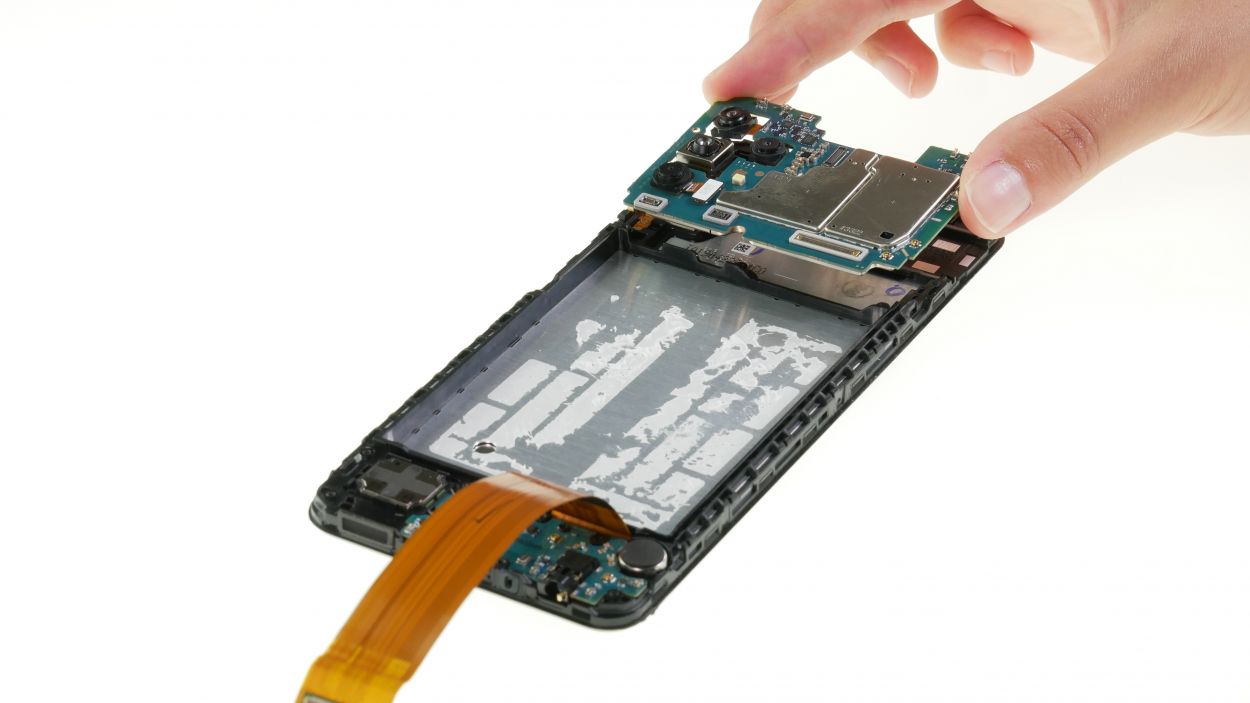
1 × 2,5 mm Phillips
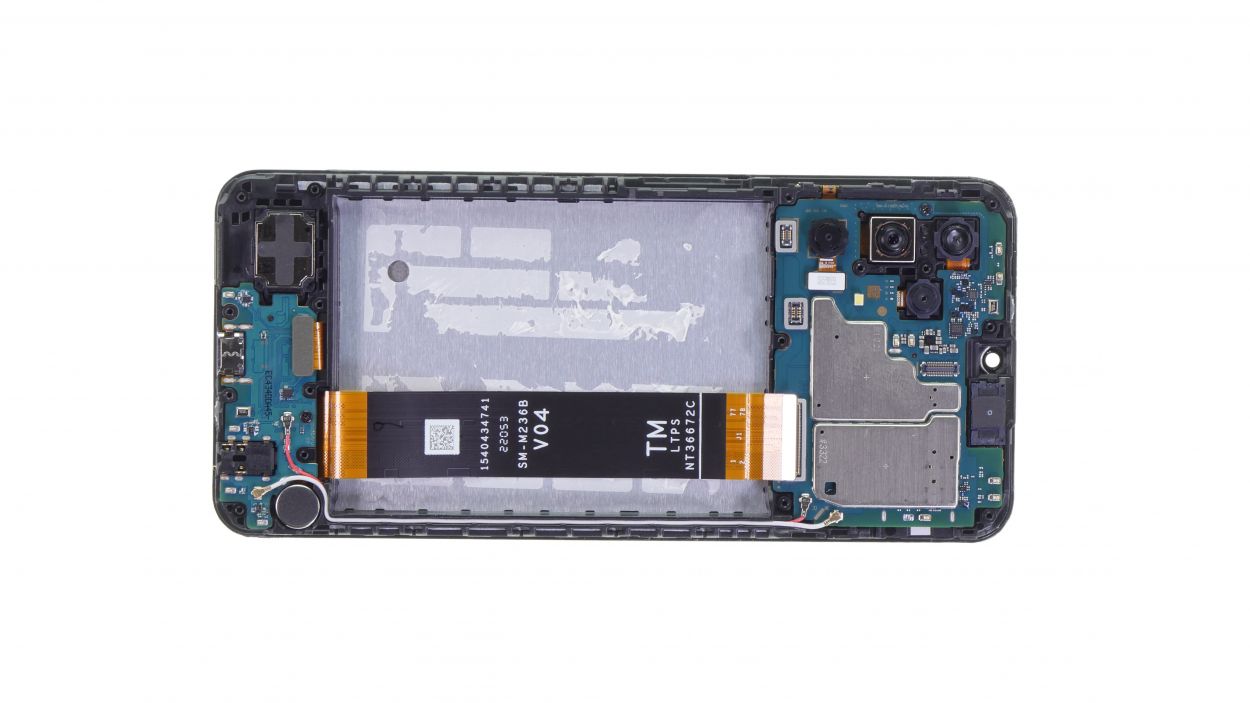
– Unscrew the highlighted Phillips screw and gently lift out the motherboard.
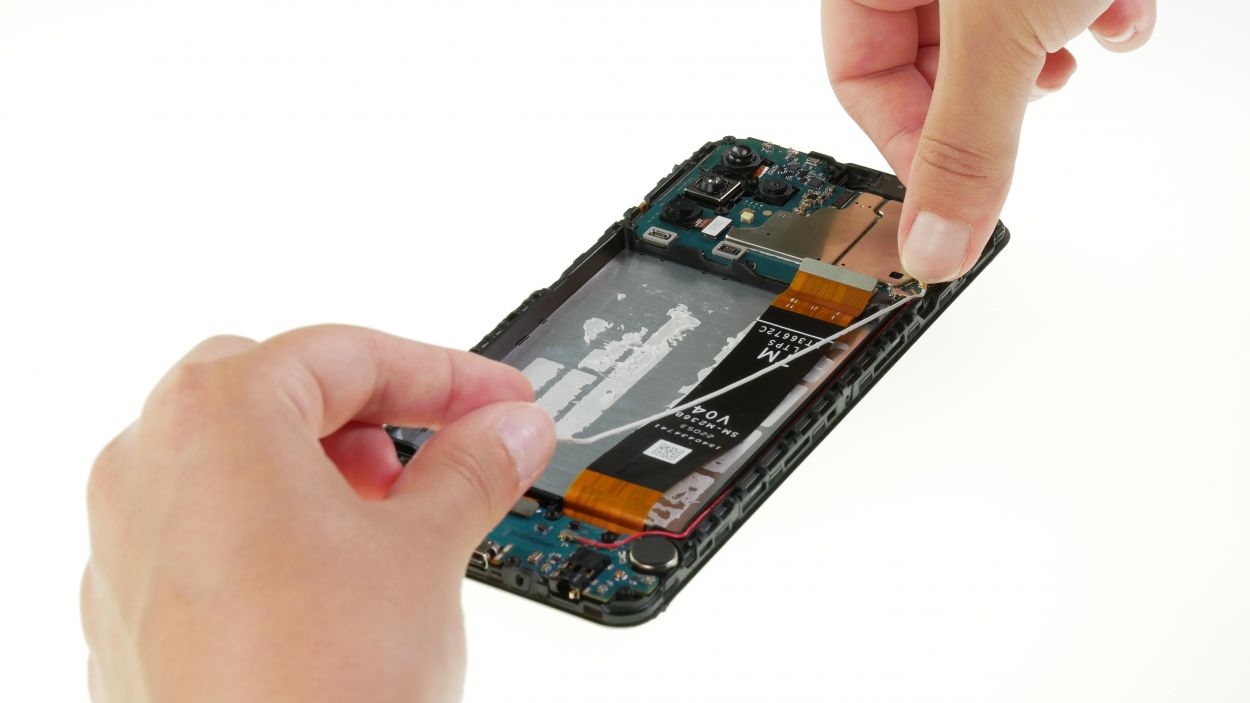
Step 13

1 × 2,5 mm Phillips
USB Board Connector
– Loosen the highlighted connector and the marked screw, then gently lift out the USB board. You’ve got this!
Tools Used
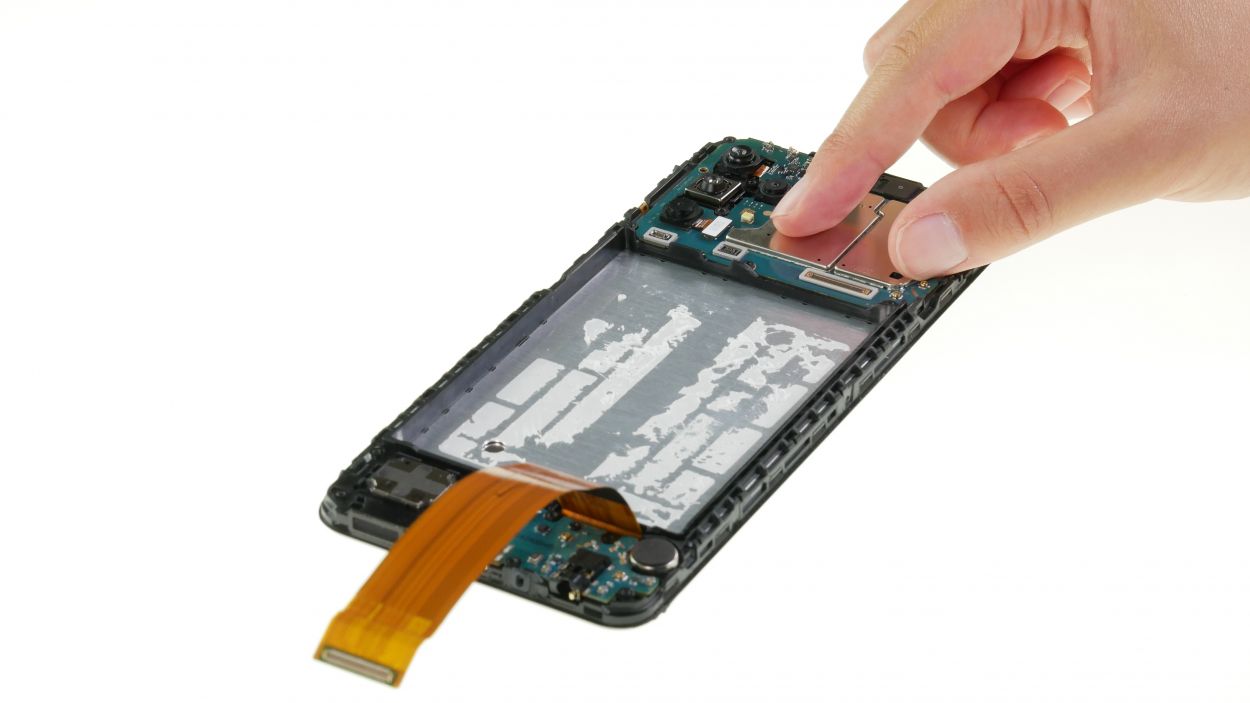
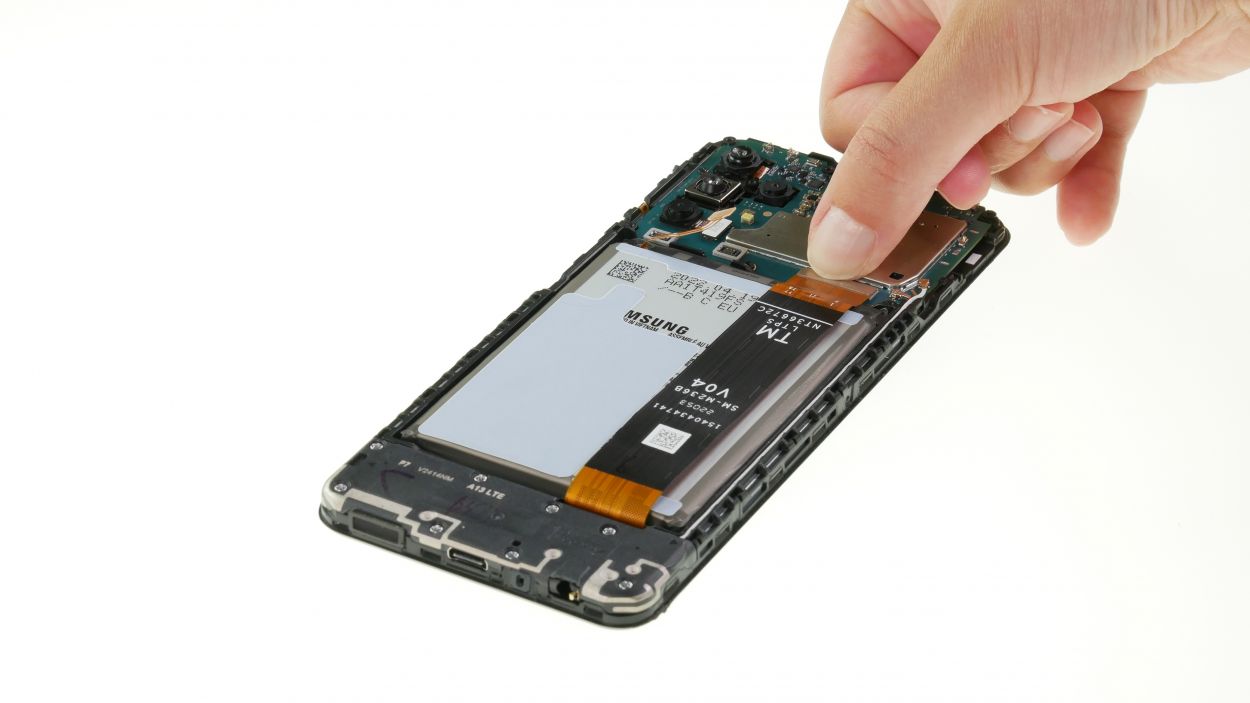
Step 14
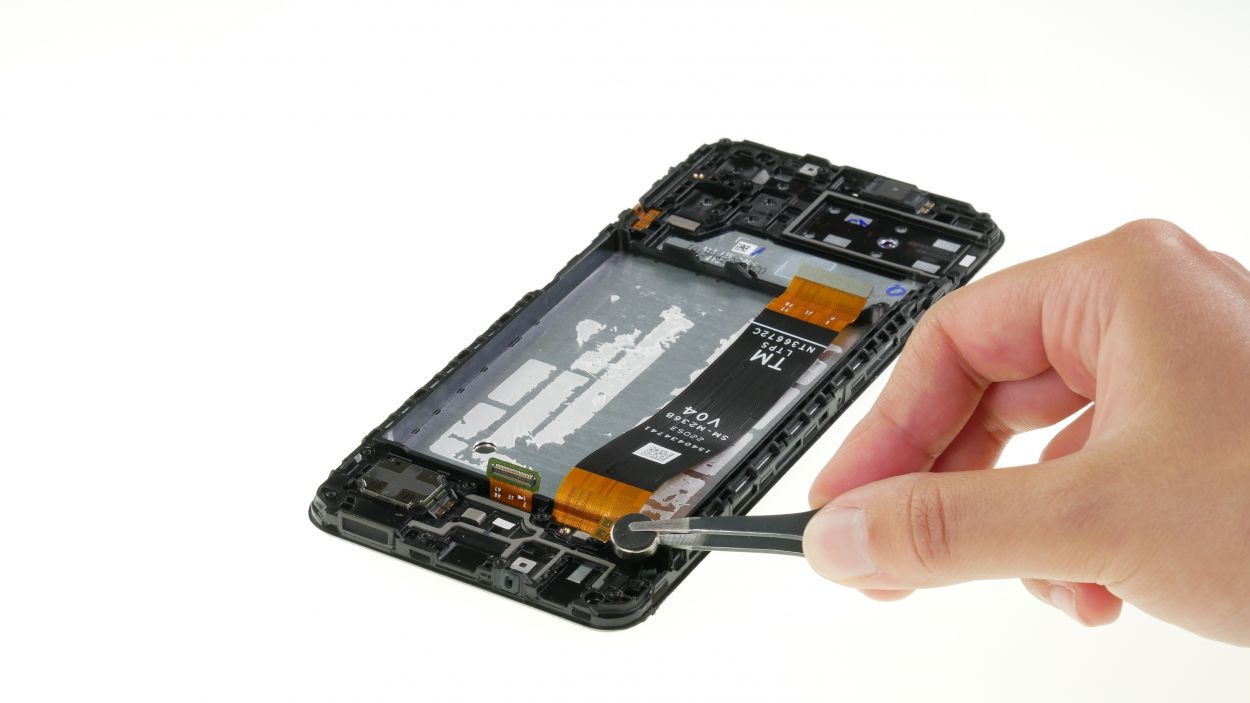
– Carefully extract the vibration motor using your tweezers. It might be a bit stubborn, so if you’re feeling unsure, a little heat can help loosen it up!
Tools Used
Step 16
– Pop that vibration motor into the new display and give it a gentle little press. You’re doing awesome!
Step 17

USB Board Connector
1 × 2,5 mm Phillips
– Now let’s pop that USB board back in and secure it with a snug 2.5mm Phillips screw. You’re almost there!
– Next up, reconnect that highlighted connector. Give it a gentle press until you hear a satisfying little click. You’ve got this!
Step 18
1 × 2,5 mm Phillips
– Gently slide the motherboard back into its cozy spot and secure it with the provided screw. You’re almost there!
Step 19

4 × Antenna Connector
Take it easy and remember, no need to go all Hulk on those connectors. They should click into place with a gentle nudge!
– Now let’s get that antenna cable reconnected! Just pop those four connectors back together and tuck the cable into its cozy little guide. You’re doing great!
Step 20
Front Camera Connector
– Swap in that new front camera and make sure to connect the little connector snugly. You’ve got this!
Step 21
8 × 4,0 mm Phillips
– Alright, it’s time to pop that board cover back onto the USB board! Just screw in those marked screws and you’re on your way to a successful repair!

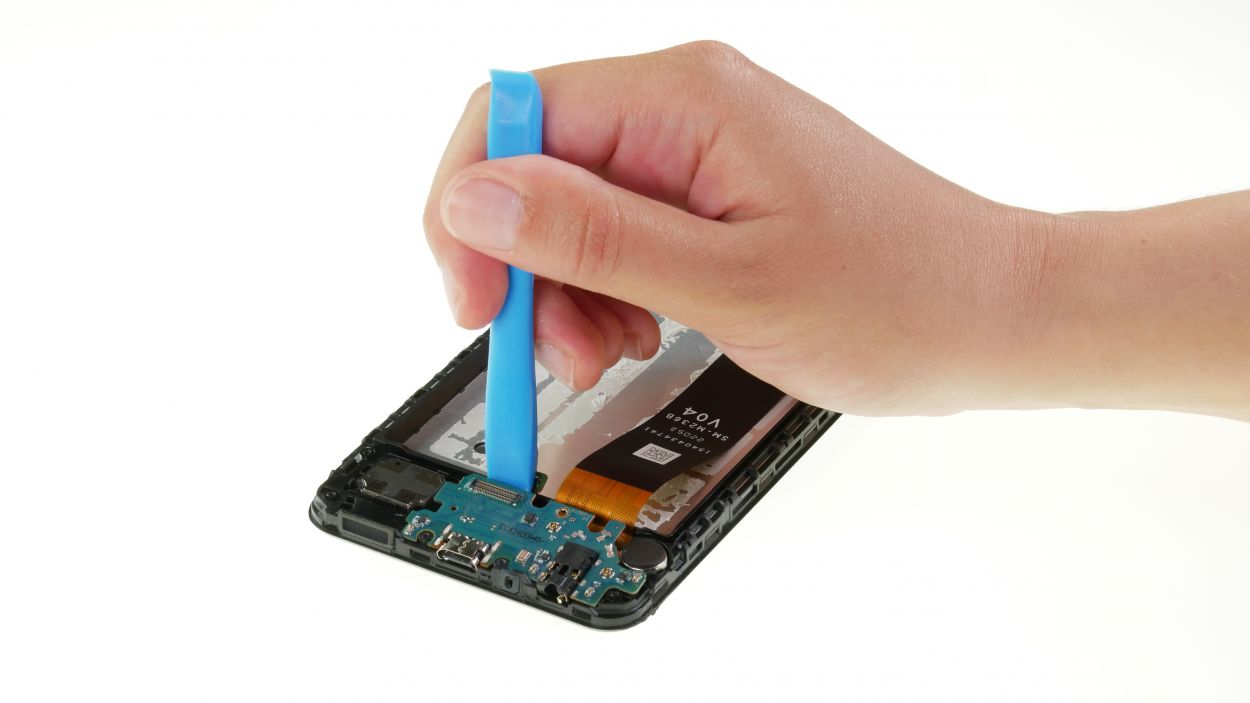
Step 23
Highlighted Connector
– Reconnect those connectors you just unplugged, and let’s get this party started!
Step 24
Finger Sensor Connector
– Reconnect that fingerprint sensor connector cable to its designated slot. You’re on the right track!
Step 25

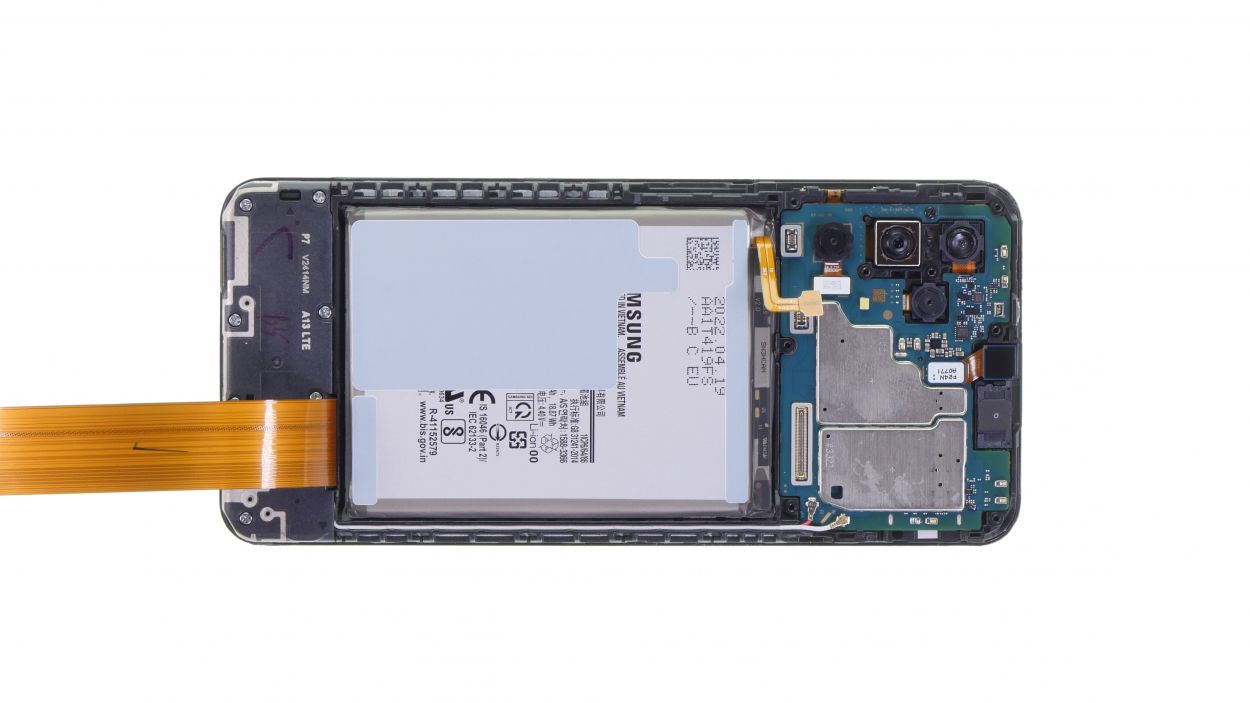
Battery Connector
– Reconnect the battery by gently plugging the connector back into its designated port. You’ve got this!
Step 26


8 × 4,0 mm Phillips
– Now it’s time to pop that upper board cover back on and secure it with the right screws. You’re almost at the finish line!
Step 27

Before you seal the deal with that back cover, why not give your display or the whole phone a quick test run? It’s like a dress rehearsal for your device! Make sure everything’s in tip-top shape before you button it all up!
– Get that phone powered up and dial into the secret test menu!
– Fire up the phone app and punch in asterisk – hash – zero – asterisk – hash. It’s like a magic code!
– Need a little extra help? Check out our handy checklist linked for you!
Step 28
Give those clips a good press to make sure they lock in tight! You’ve got this!
– Place that back cover back on and give it a gentle press all around to make sure everything clicks into place. You’re almost at the finish line!
Step 29
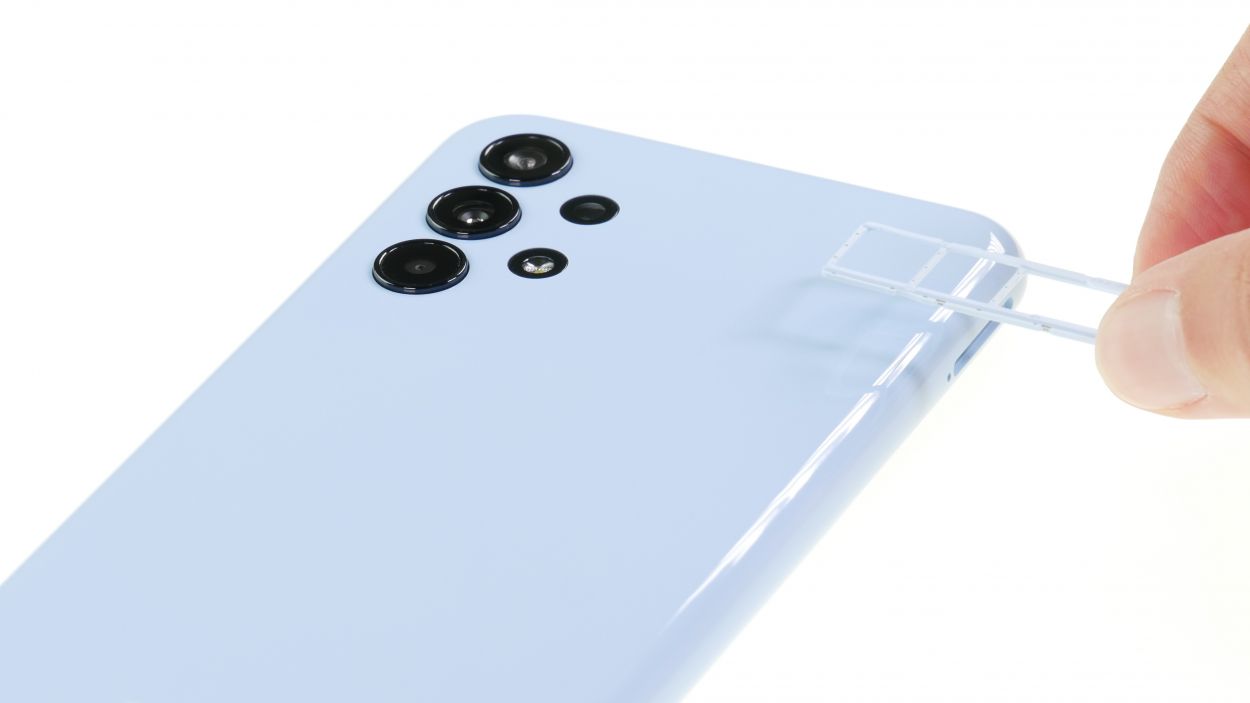
– To wrap things up, just slide that SIM card holder back into its cozy spot. You’re almost done!