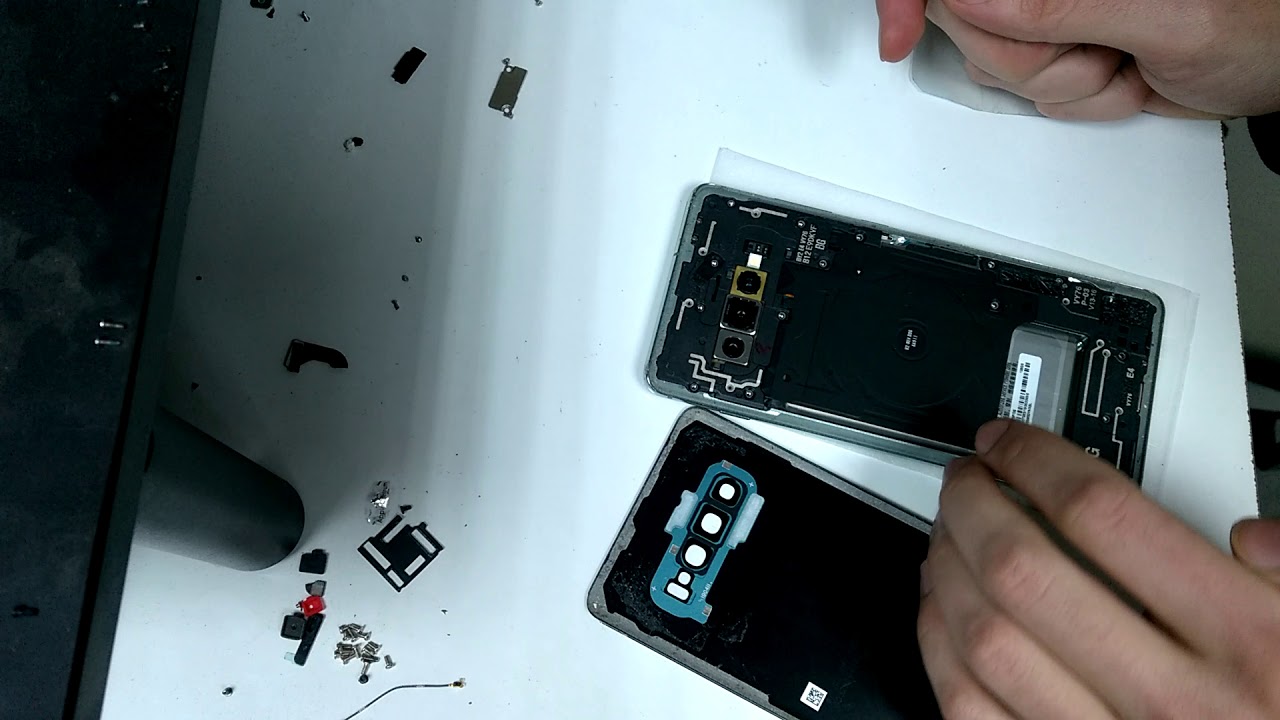
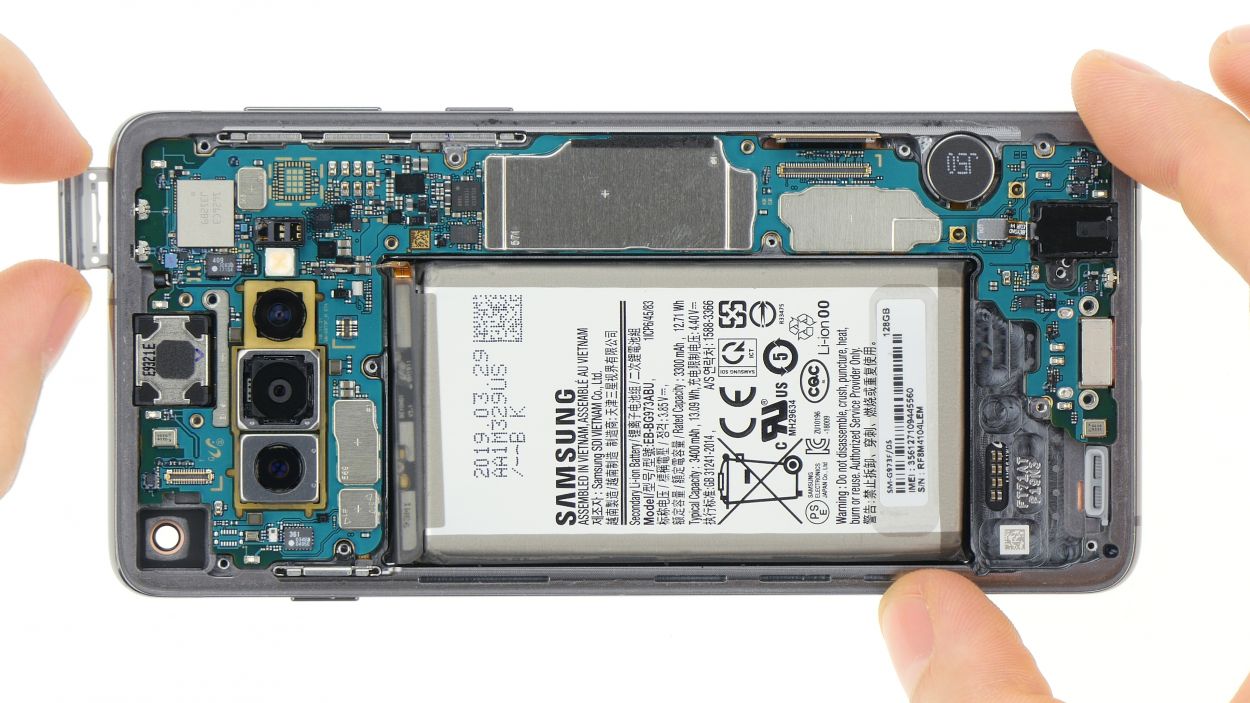
Galaxy S10 – Removing the mainboard
Duration: around 60 minutes
Steps: 16 Steps
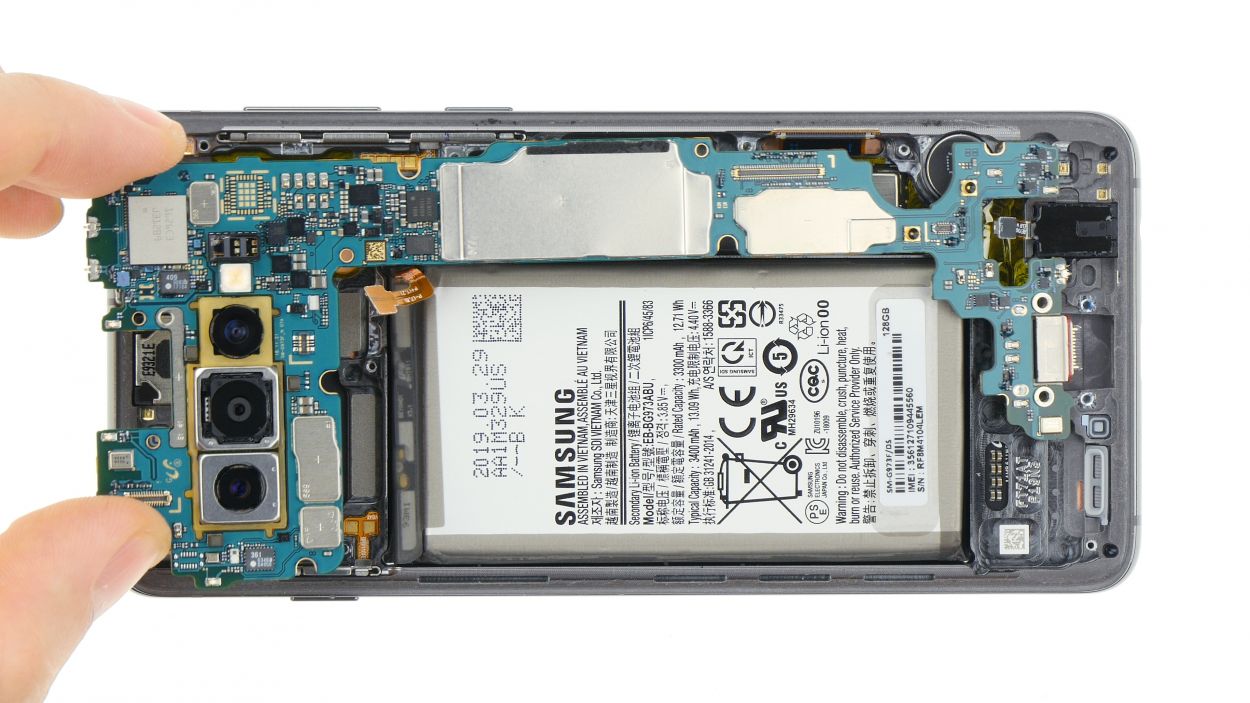
In this guide, we’re here to help you tackle the task of removing the mainboard from your Samsung S10 so it can dry out. First things first, you’ll need to carefully take off the fragile and stubborn glass back cover – that’s what makes this repair a bit tricky! But don’t worry, you’ve got this! Wishing you all the best with your mainboard removal adventure! If our guide was helpful, we’d love to see a positive rating. And remember, if you need assistance, you can always schedule a repair.
Step 1


– Press and hold the Power button until you see the “Switch off” option pop up on your screen.
– Give that “Switch off” a tap and hang tight until your screen goes completely dark.
Step 2
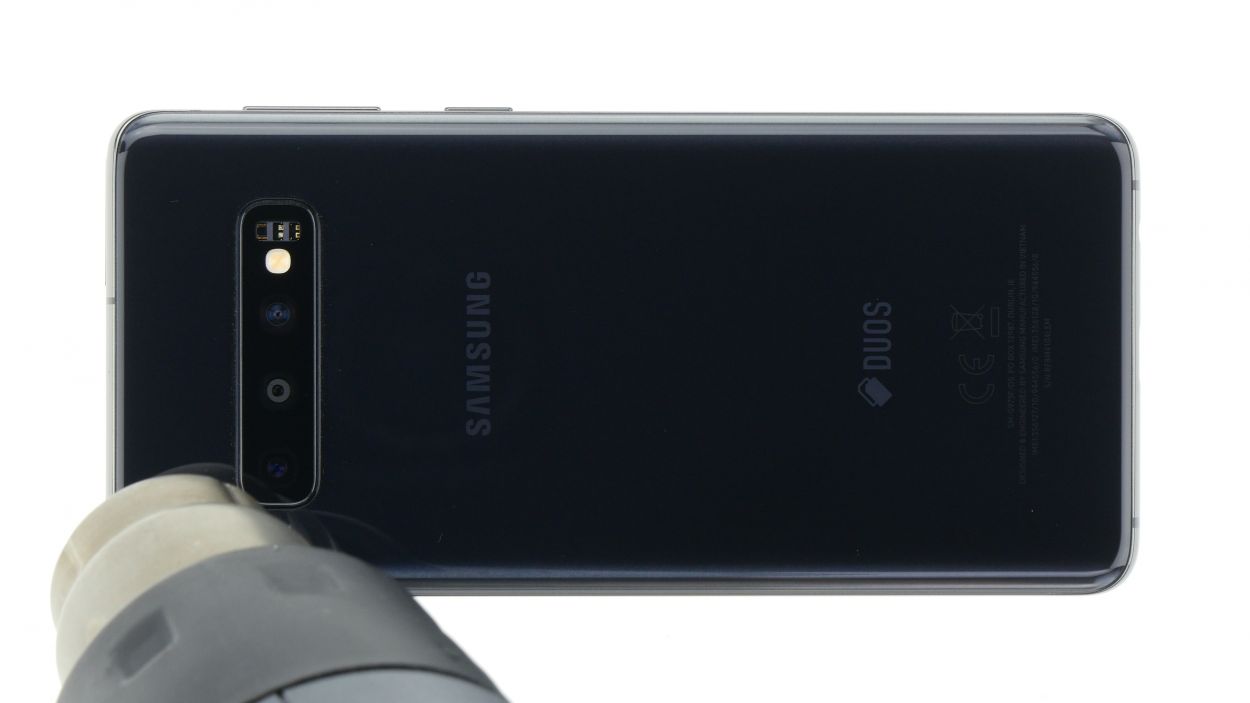
To keep your display screen looking sharp and scratch-free, make sure to lay your device on a clean, soft surface. Treat it right, and it’ll thank you!
– To kick things off, flip your Galaxy S10 over so the screen is facing down.
Tools Used
Step 3
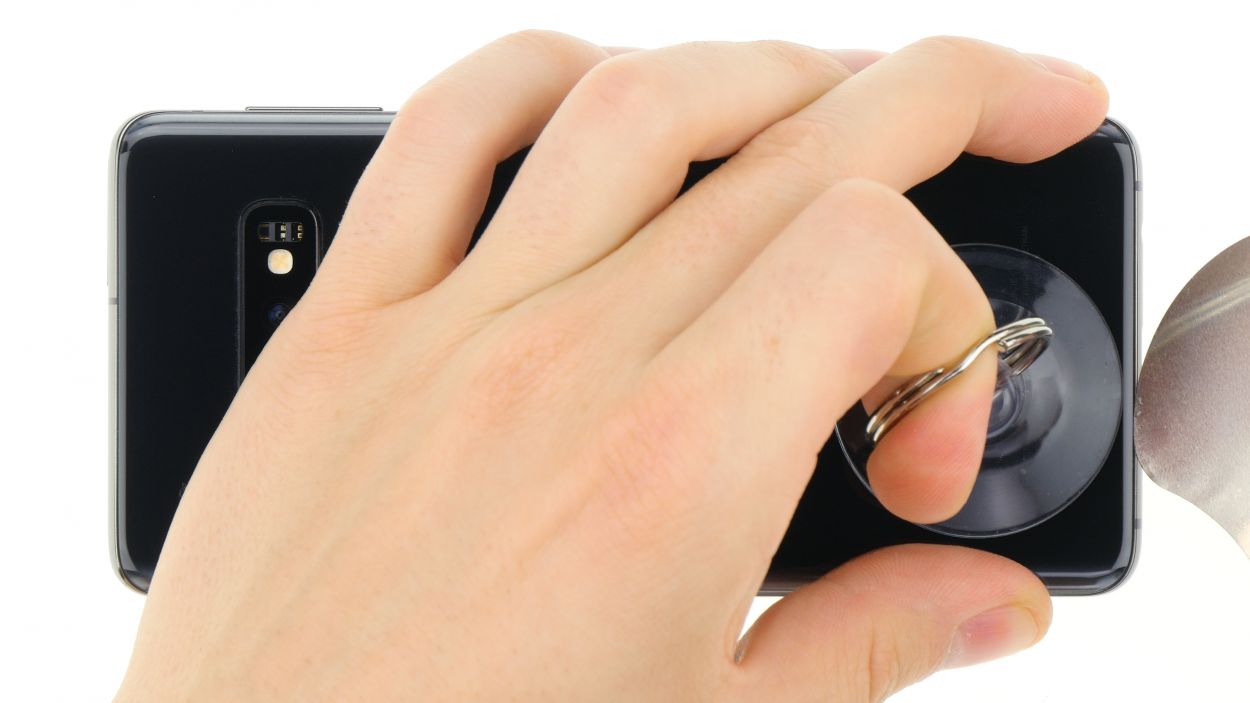
Heads up! Once you crack open your Galaxy S10, it’s waving goodbye to its waterproof charm, and the warranty for dust and splash protection takes a hike. So, handle with care!
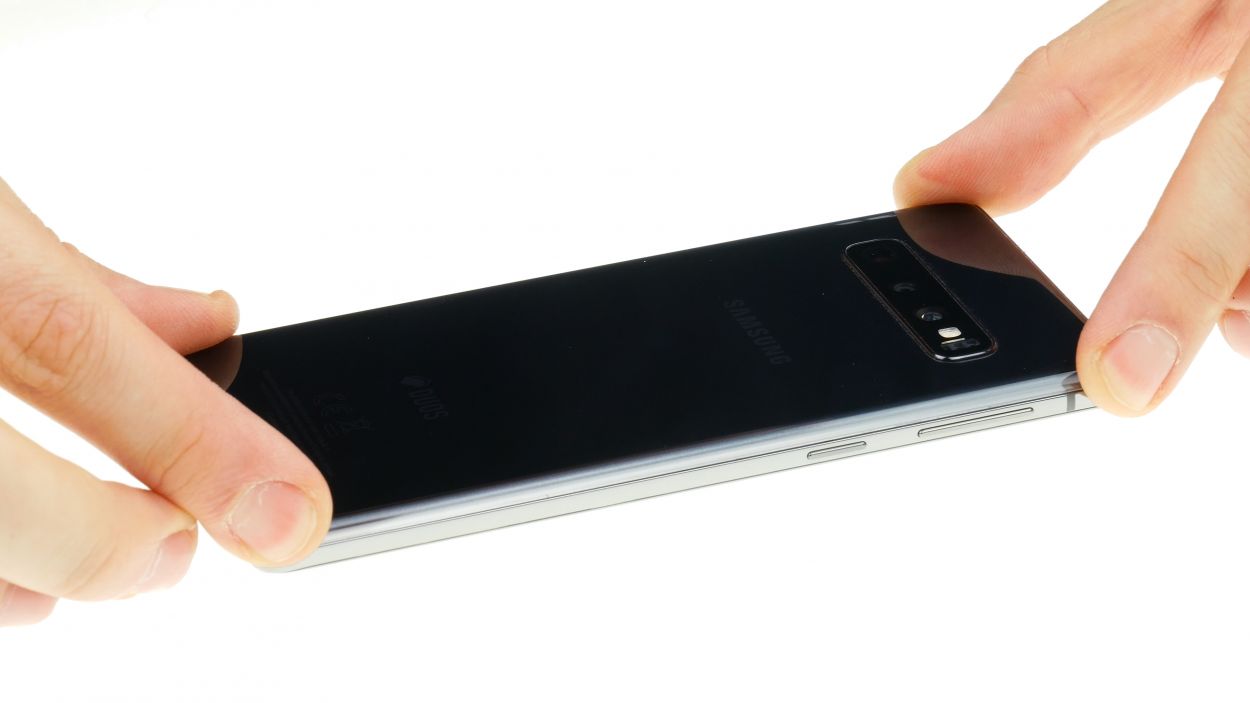
– Grab a suction cup and place it at the bottom of the back cover. Give it a gentle pull upwards to create a little gap between the back cover and the housing frame. You’ve got this!
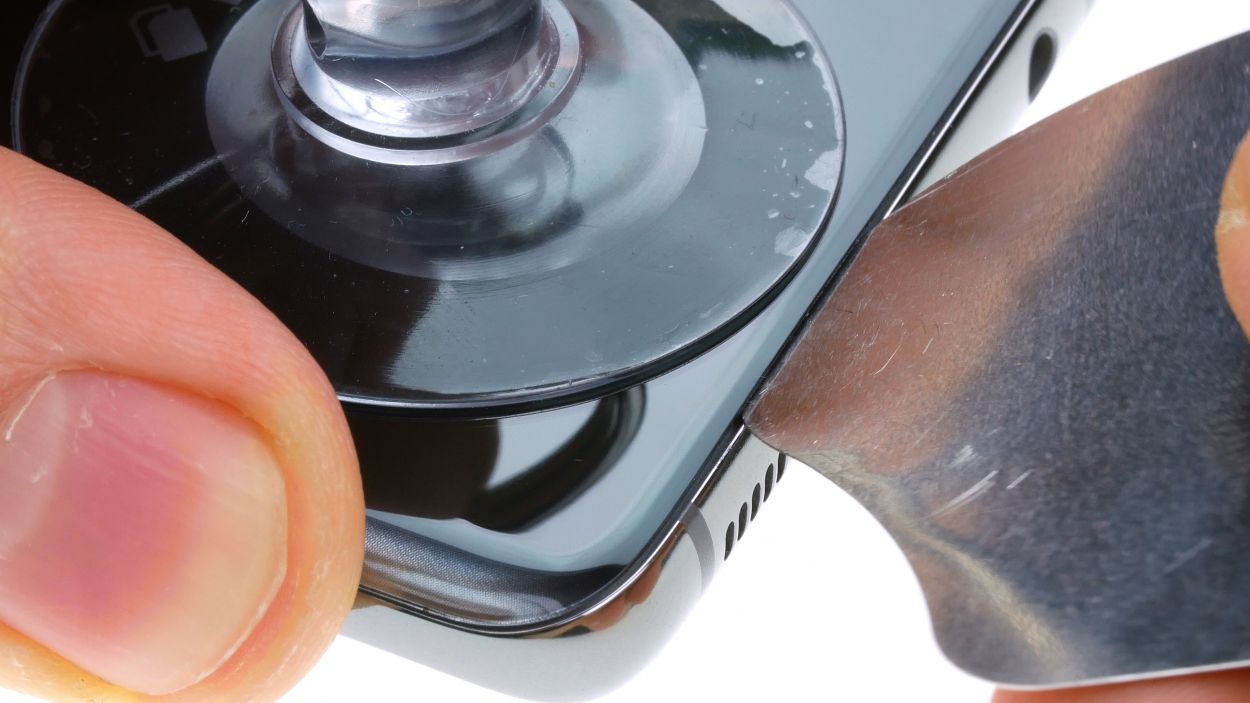
– Now, take a flat, sturdy tool and slide it into that gap you just made. Give it a little nudge to widen the gap by pushing the back cover upwards. The iFlex is a great choice for this task!
Tools Used
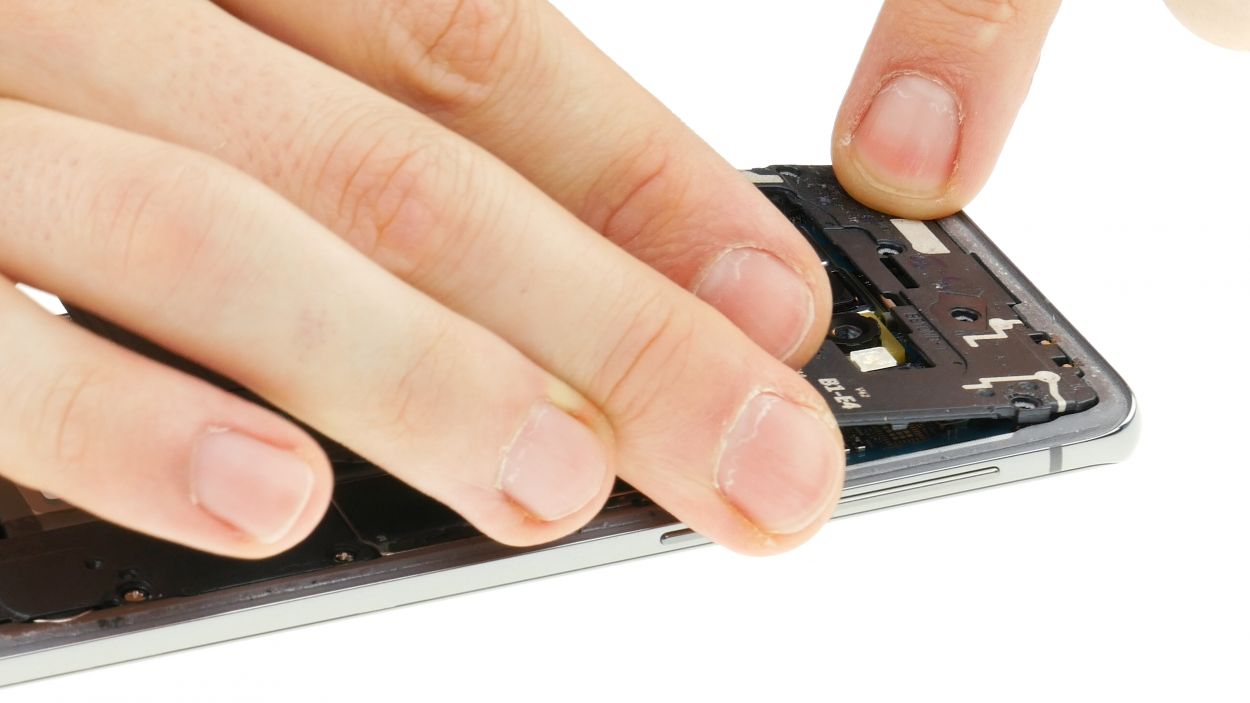
Step 4
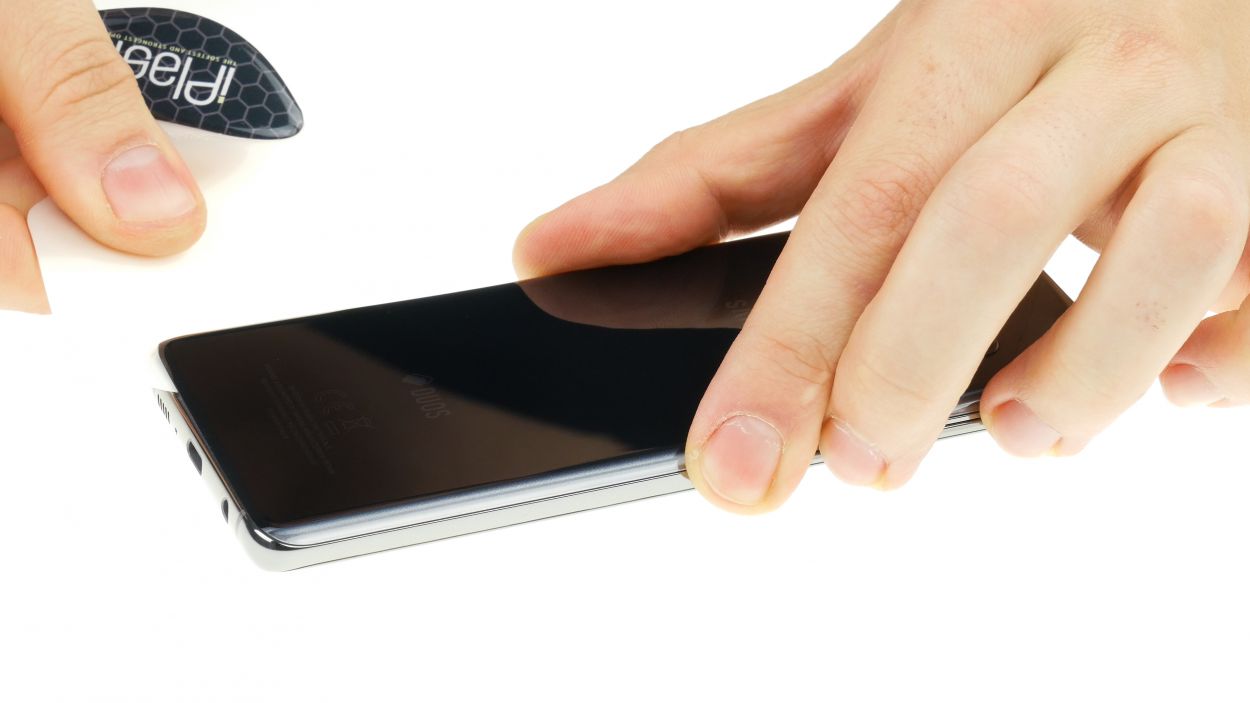

– Grab a flat plastic tool and gently work your way around the edge of the housing, piece by piece. The iPlastix is a great choice for this task!
Be gentle with your tool and keep it from diving too deep, or you might end up causing a ruckus under the back cover!
The iFlex is crafted from thin, tough metal, which allows you to easily slip into the space between the back cover and the case frame. Just a heads up, though—the sharp edges of the iFlex can be a bit scratchy on the frame. So, we suggest using the iFlex for those initial moves and then switching to the iPlastix, which is made of flexible plastic, as soon as you can. It’s all about keeping your device looking sharp while you work your magic!
Tools Used
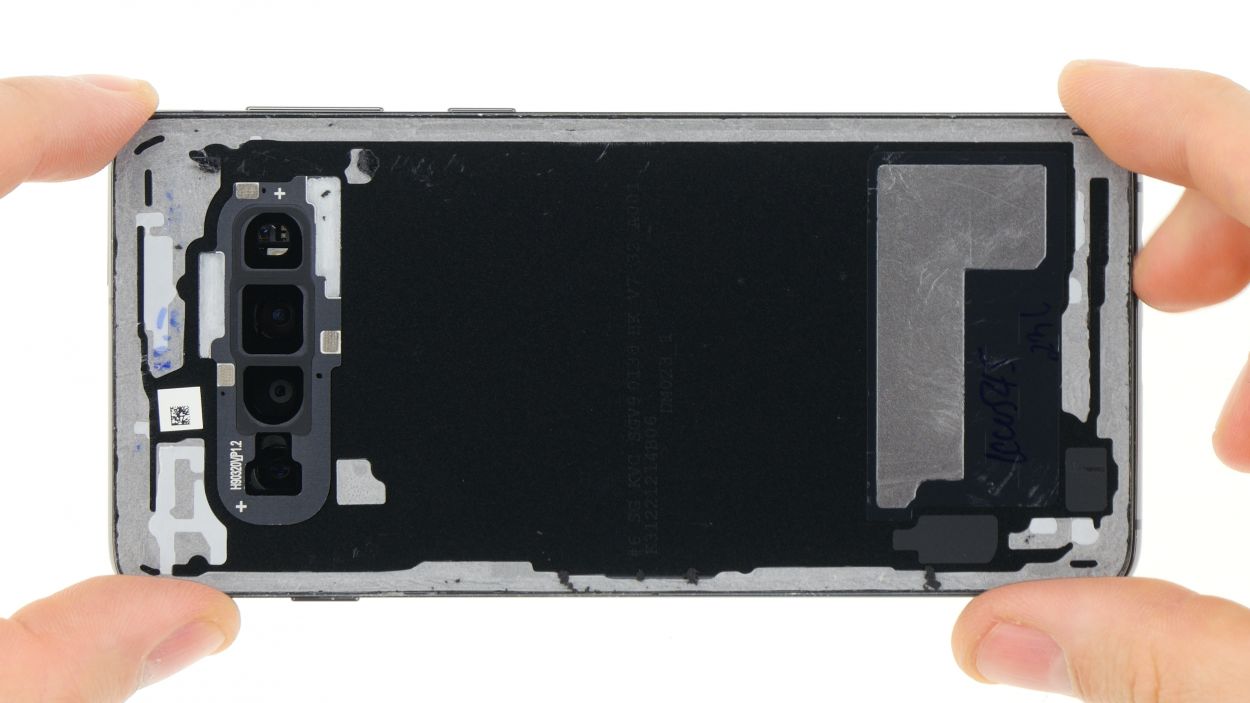
Step 5


8 × 3,9 mm Phillips
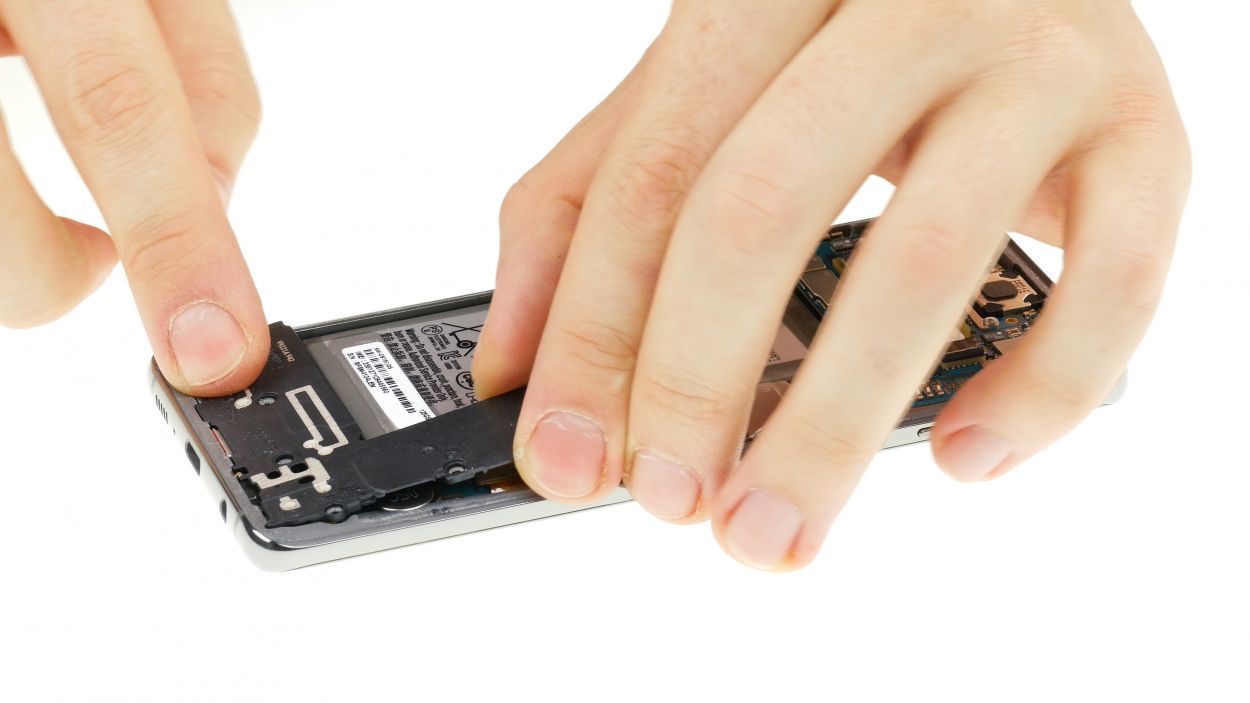
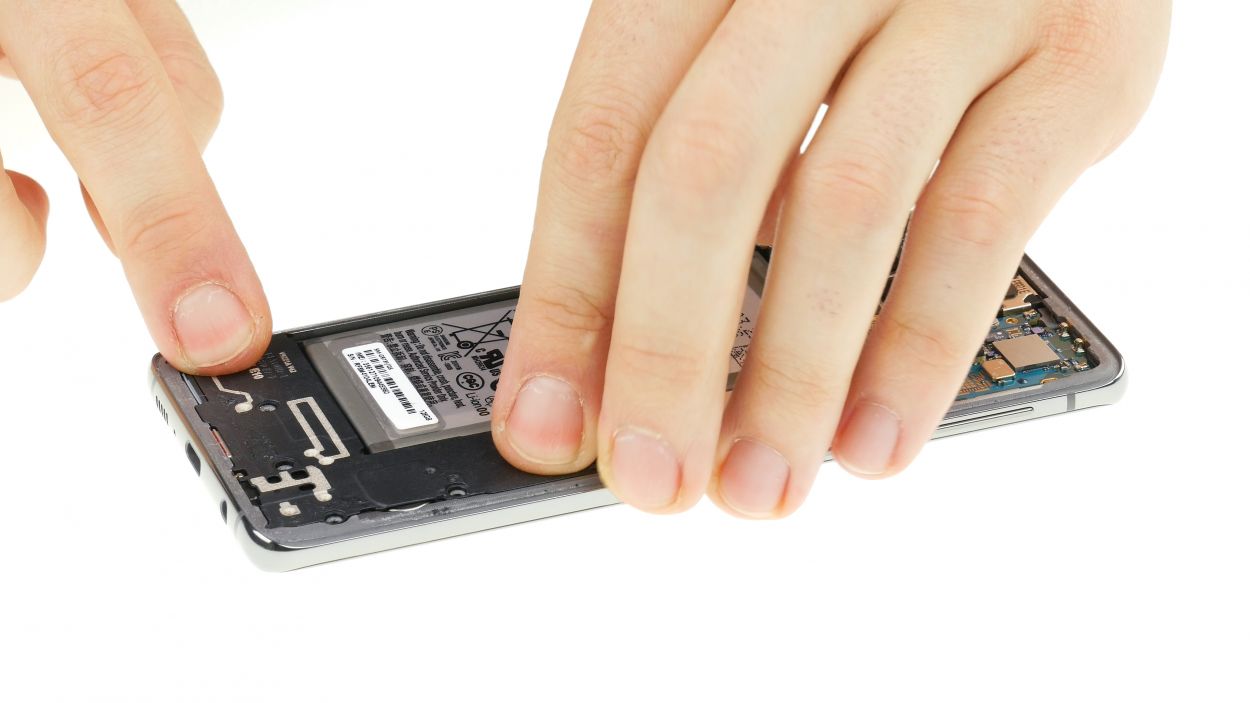
– First, let’s tackle those Phillips screws holding the plastic cover snugly in place. Unscrew them with a smile!
– Next up, slide a flat tool underneath the glued coil to gently loosen it. A steel spatula works wonders here.
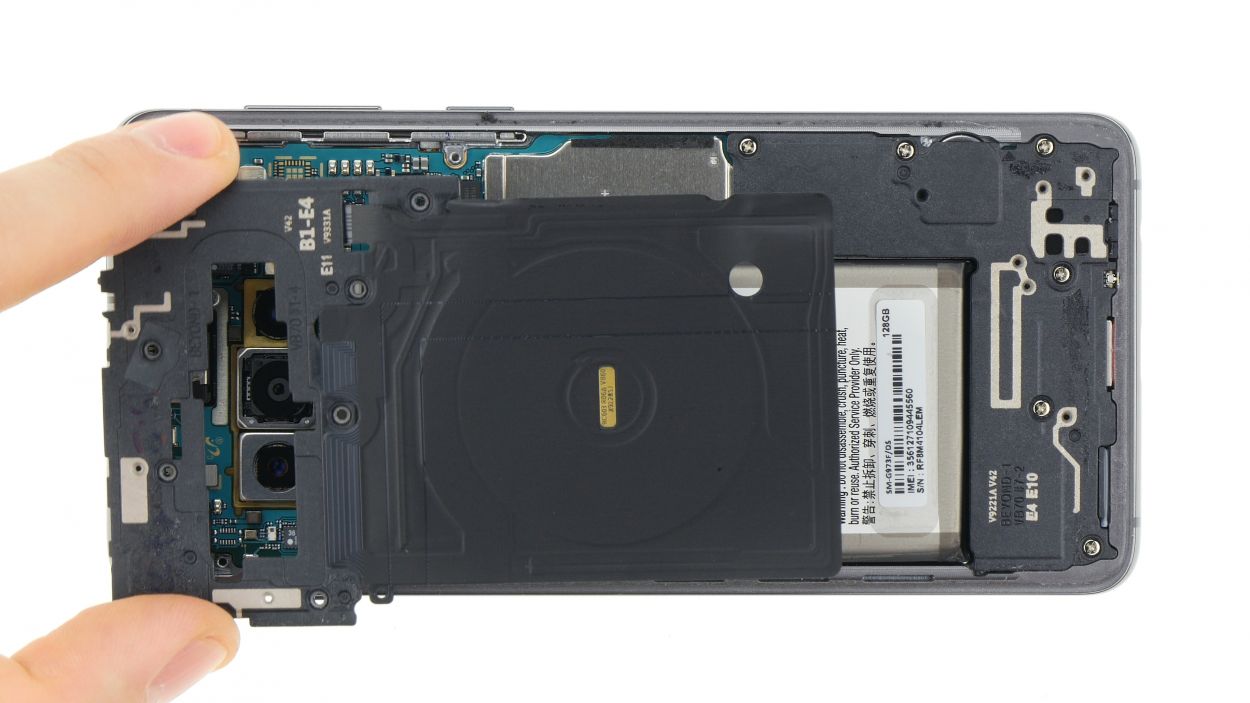
– Now, grab your trusty plastic spudger and carefully pry the plastic cover away from the upper edge of the display unit. You’ve got this!
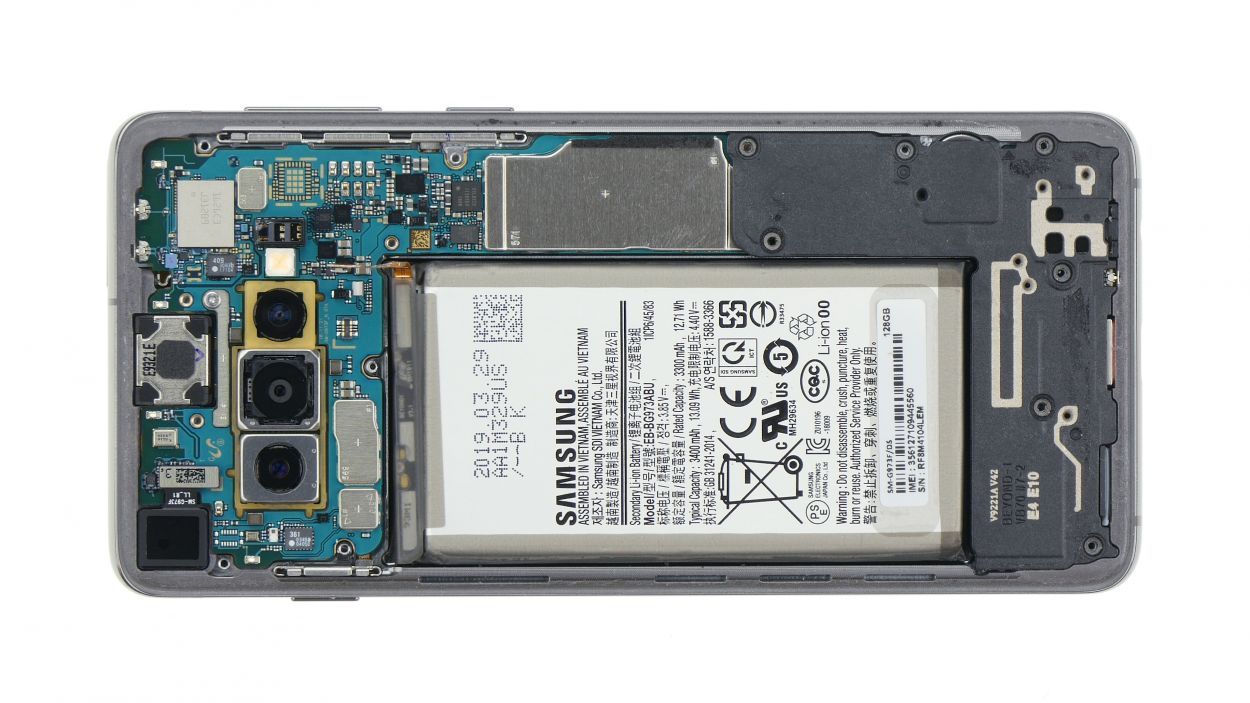
– Finally, you can lift off the cover along with the coil and the NFC antenna. Easy peasy!
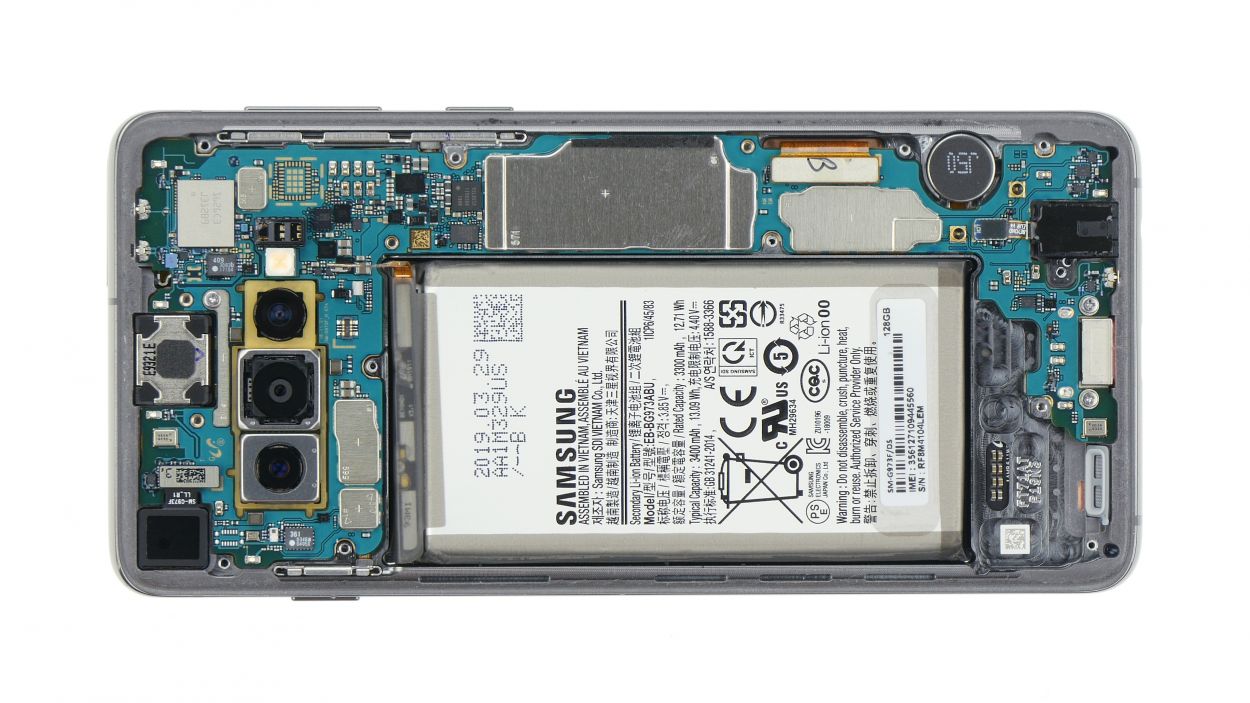
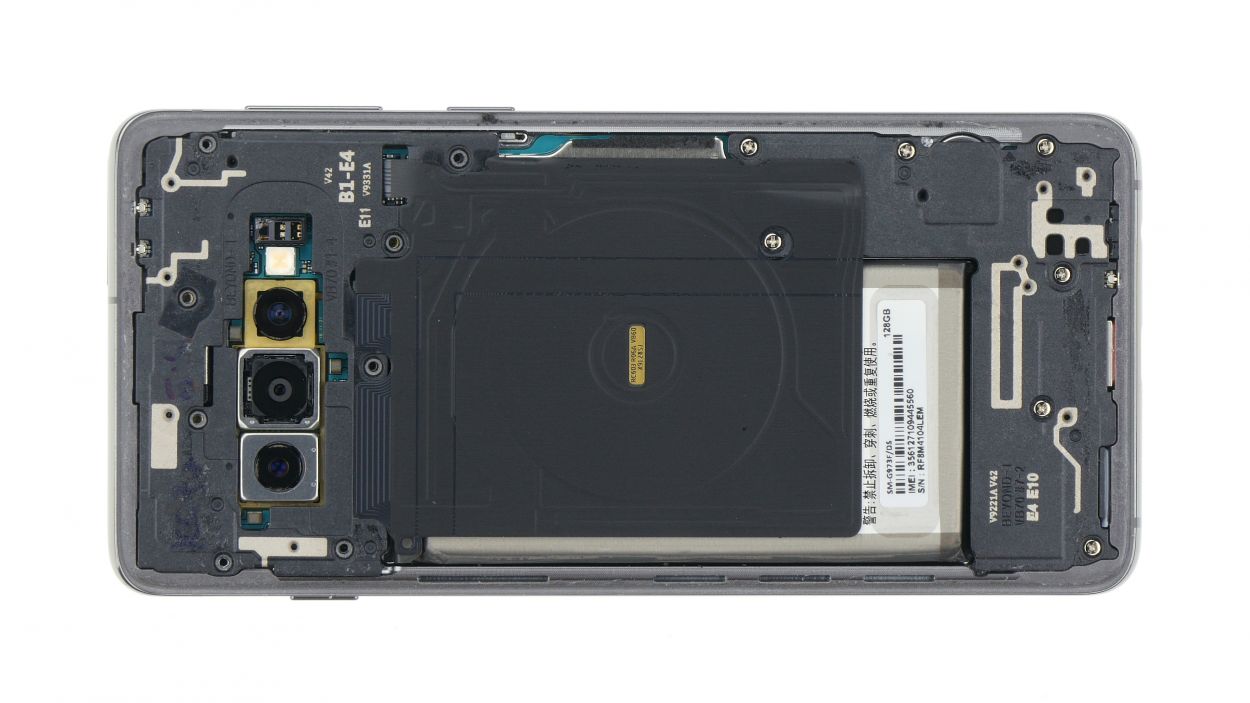
Step 6


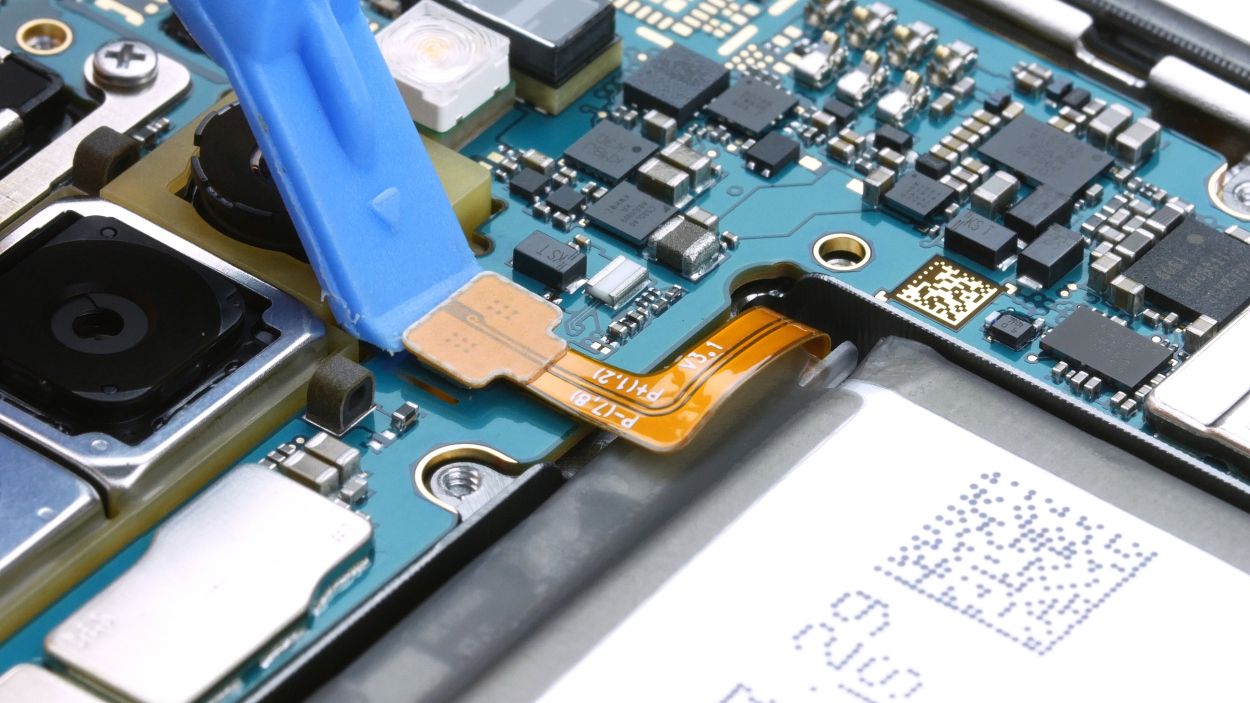
Battery connector
When you’re prying things open, make sure to work from the side without those tiny components on the mainboard. This little tip helps you steer clear of any mishaps with capacitors or ICs. You’ve got this!
– Gently pry the battery connector away from the mainboard using your trusty spudger. You’ve got this!
Tools Used
Step 7
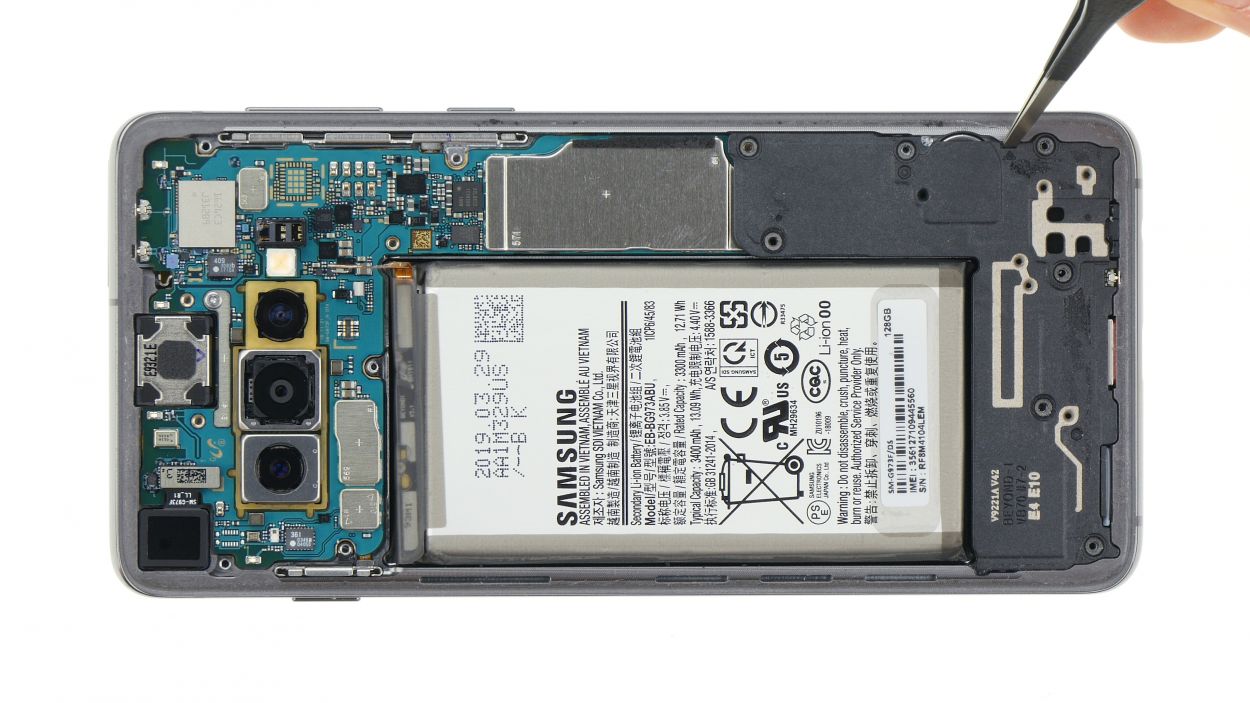

7 × 3,9 mm Phillips
Look for the little triangle marking the spot where you can slide in your tool. It’s like a secret handshake for your device!
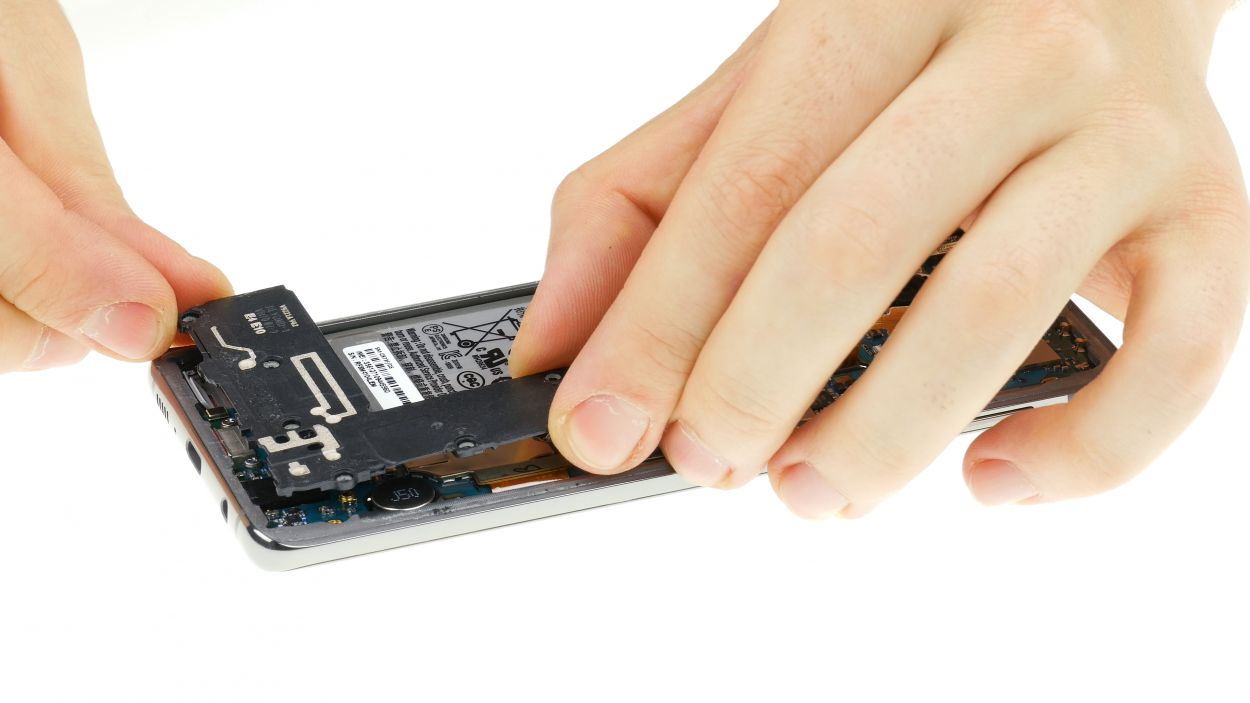
– First, let’s get those 7 Phillips screws loosened up so we can free the speaker from its cozy little home.
– Next, gently use a spudger or tweezers to pry the speaker out of the display unit. You’re doing great!
Step 8
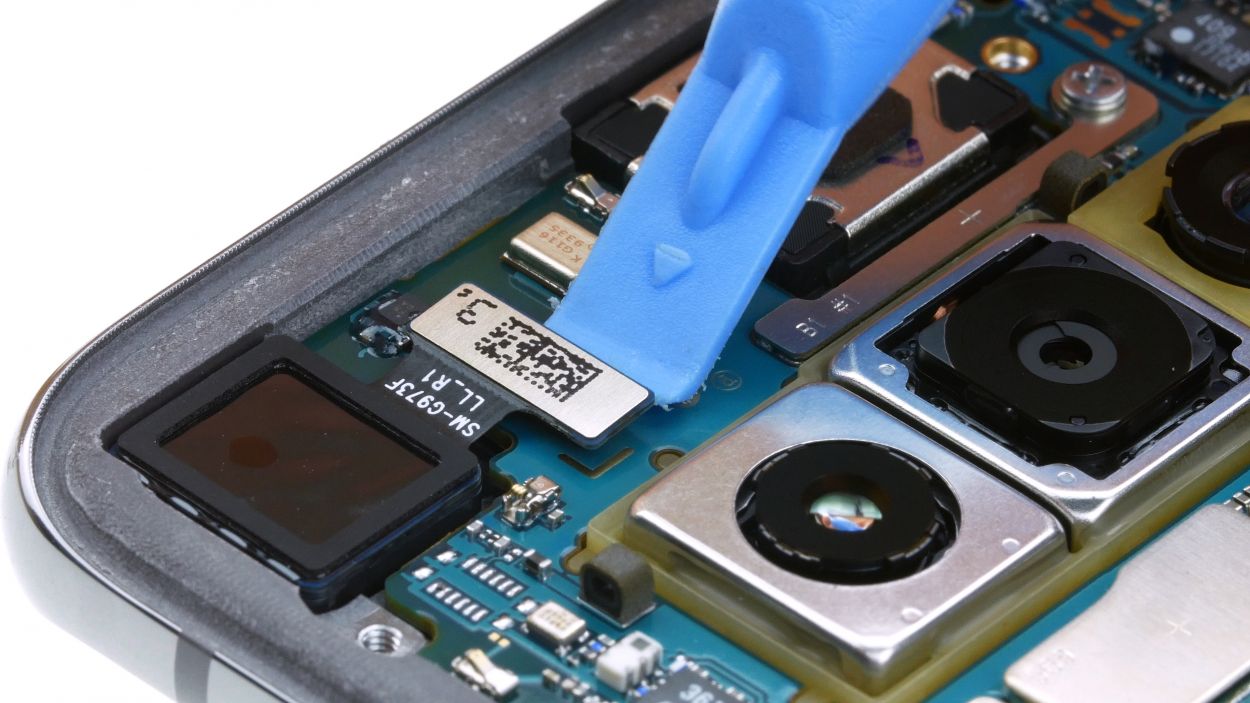
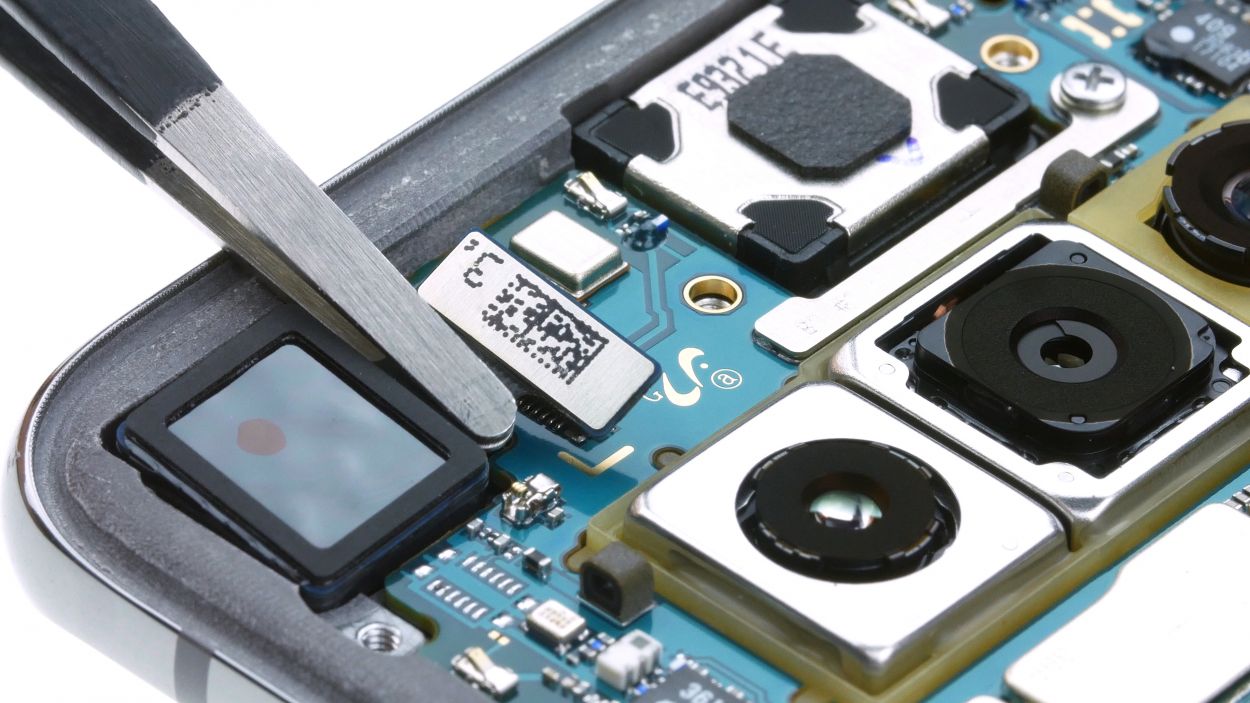
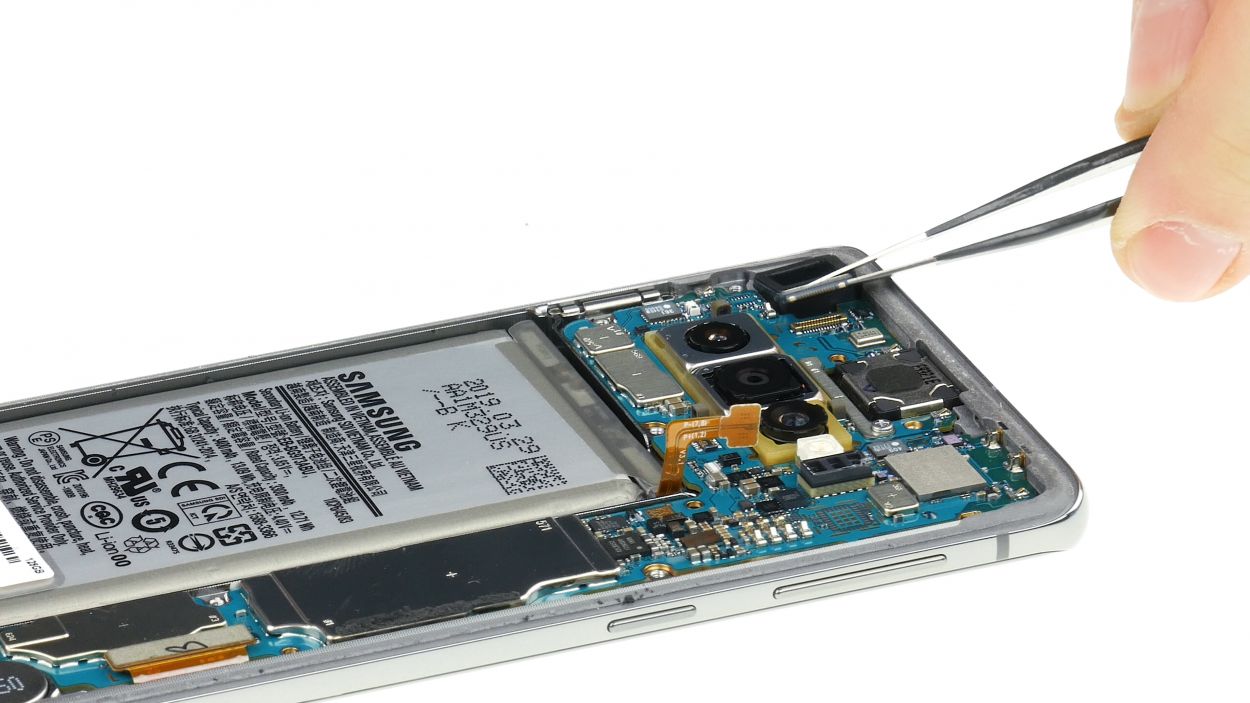
Camera connector
To keep those delicate PCB components safe and sound, always pry from the side that’s free and clear. Your gadgets will thank you!
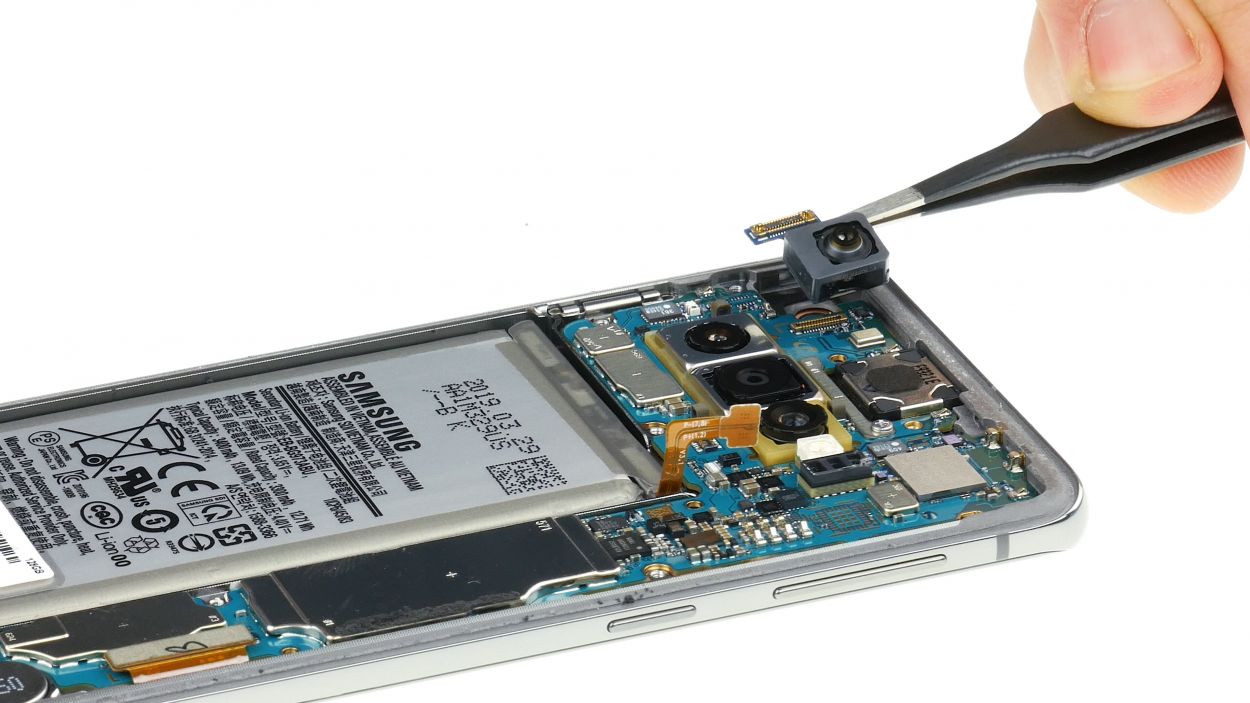
– Gently pry apart the front camera connector from the mainboard using a spudger, taking care not to damage anything.
– Once it’s free, use tweezers to carefully lift the camera out of its housing. You’ve got this!
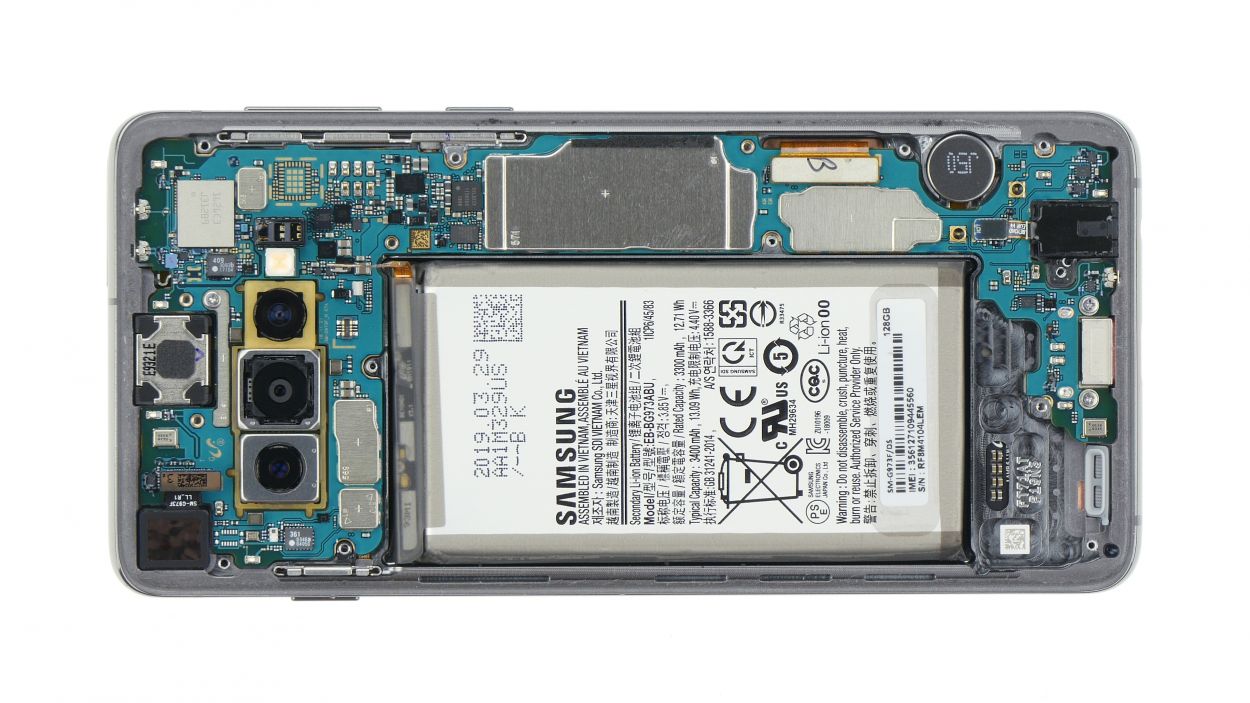
Step 9
3 × 3,7 mm Phillips
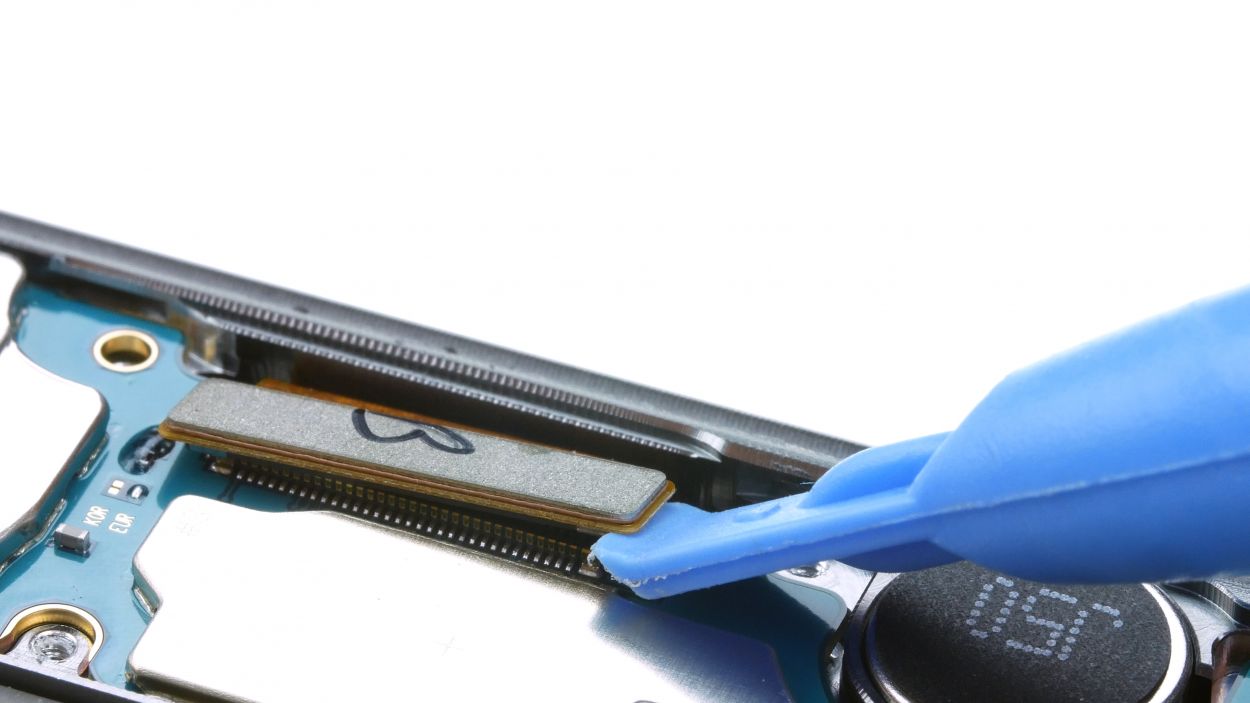
Headphone connector
Display connector
Hey there! Just a heads up: there’s a tiny plastic pin hanging out in the SIM tray opening. Make sure it stays put while you’re gently pulling out the SIM tray. We wouldn’t want it to take an unexpected dive!
– To kick things off, gently detach both the display connector and the headphone jack from the mainboard using a trusty spudger.
– Next up, go ahead and unscrew those three Phillips screws that are keeping the board snugly attached to the display unit.
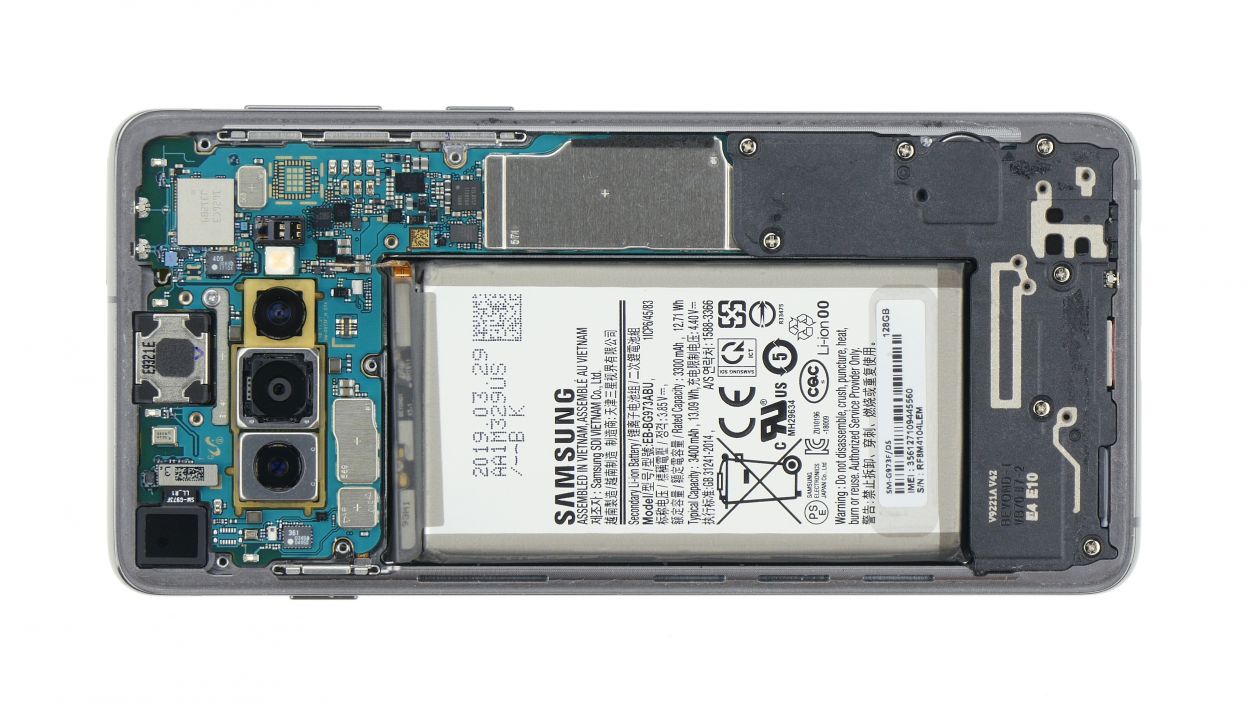
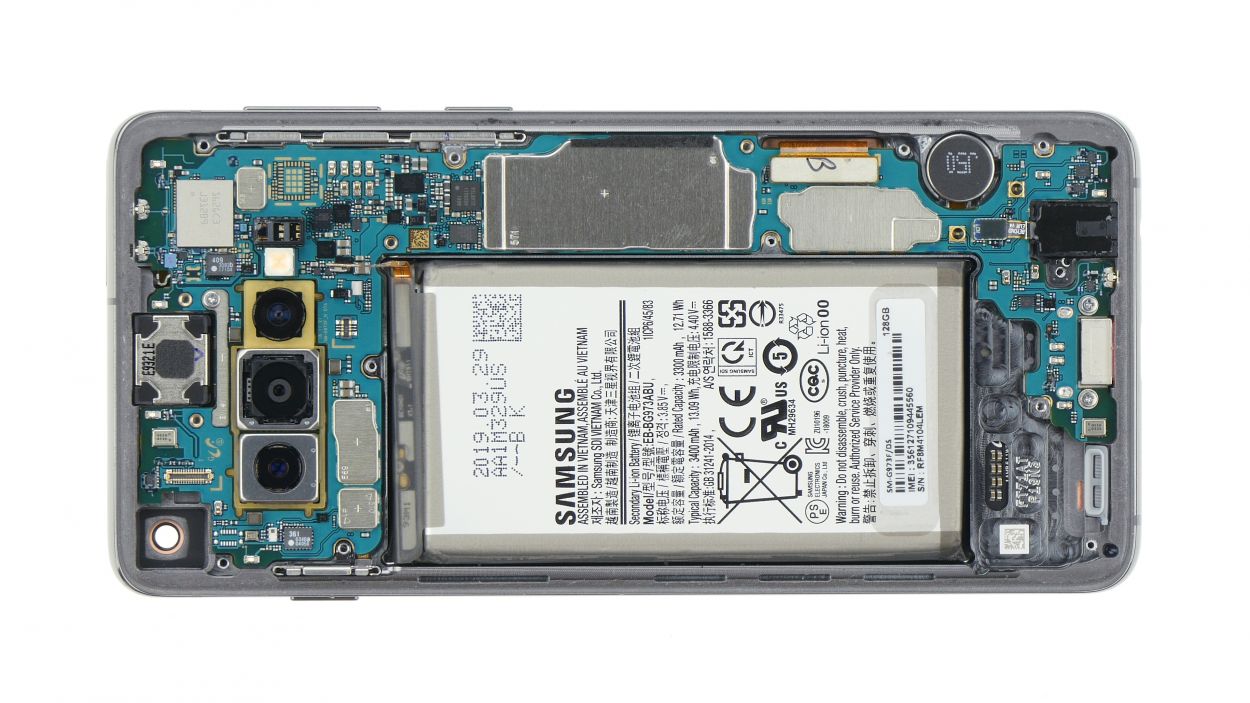
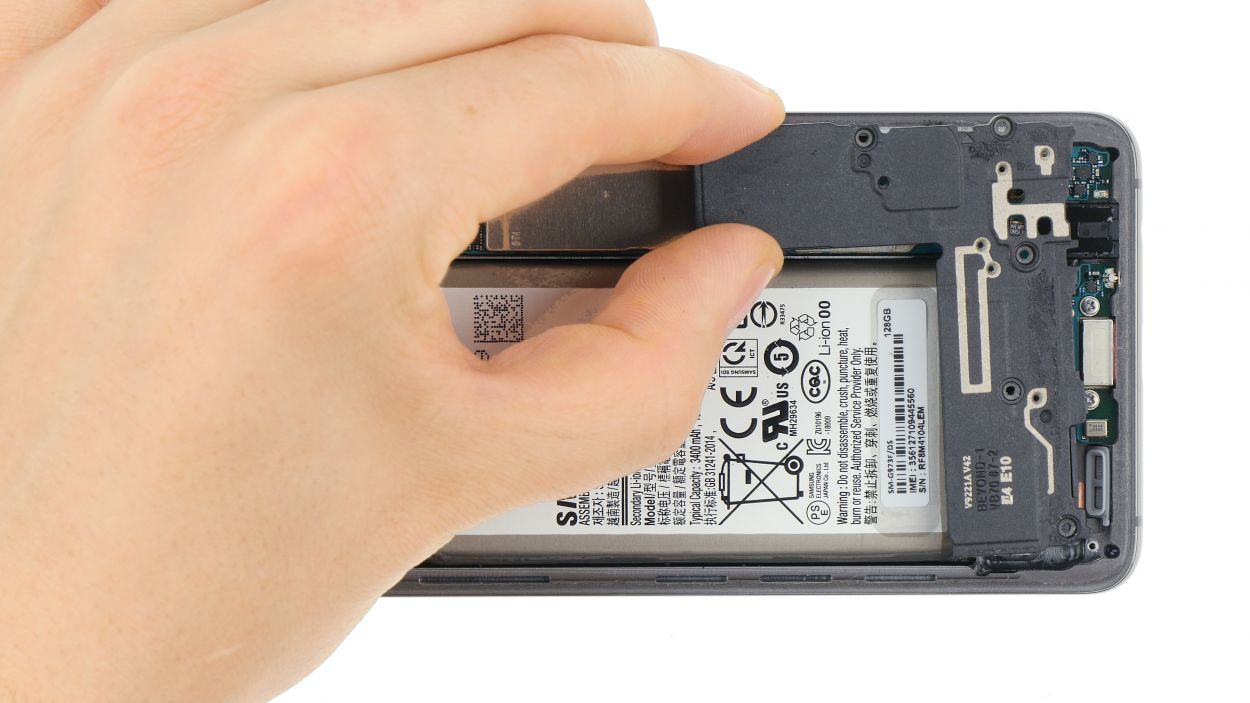
Step 10
Display connector
Headphone connector
3 × 3,7 mm Phillips
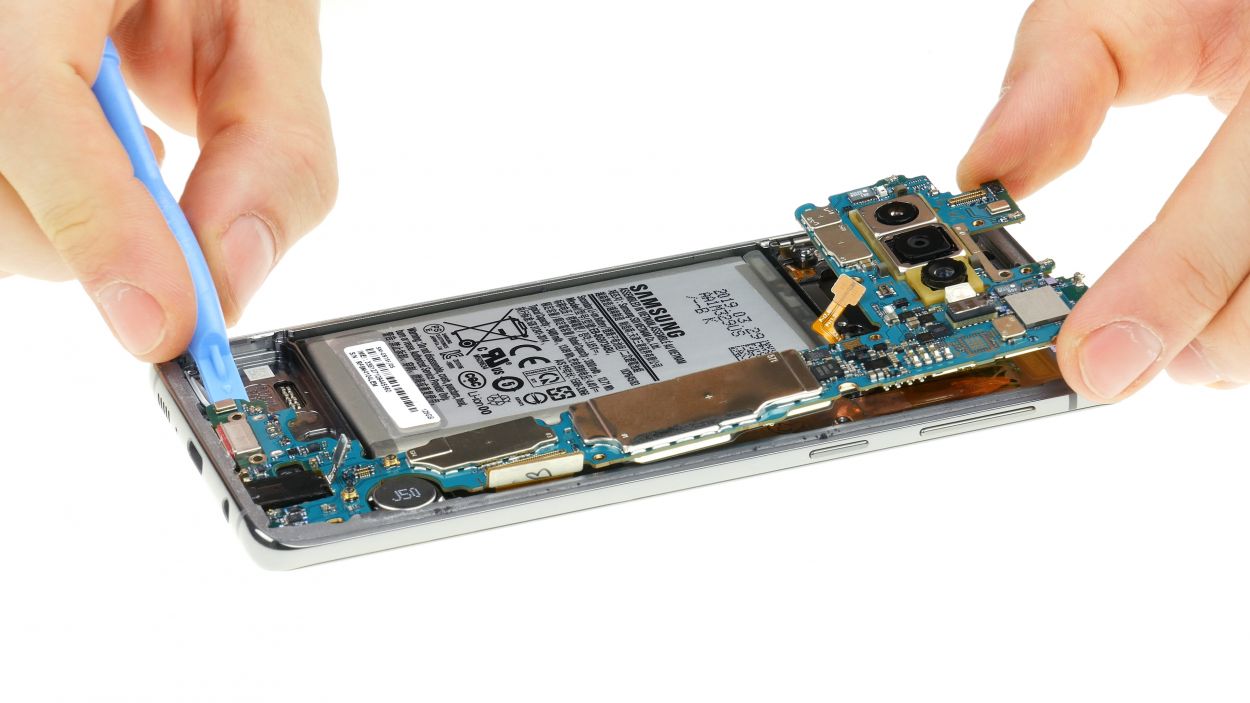
Before you pop that mainboard back in, give those connectors a little nudge to the side so we don’t end up squishing any flex cables. Let’s keep it breezy!
If it’s not sliding in smoothly, take a moment to double-check the mainboard’s position. It’s all about that perfect fit!
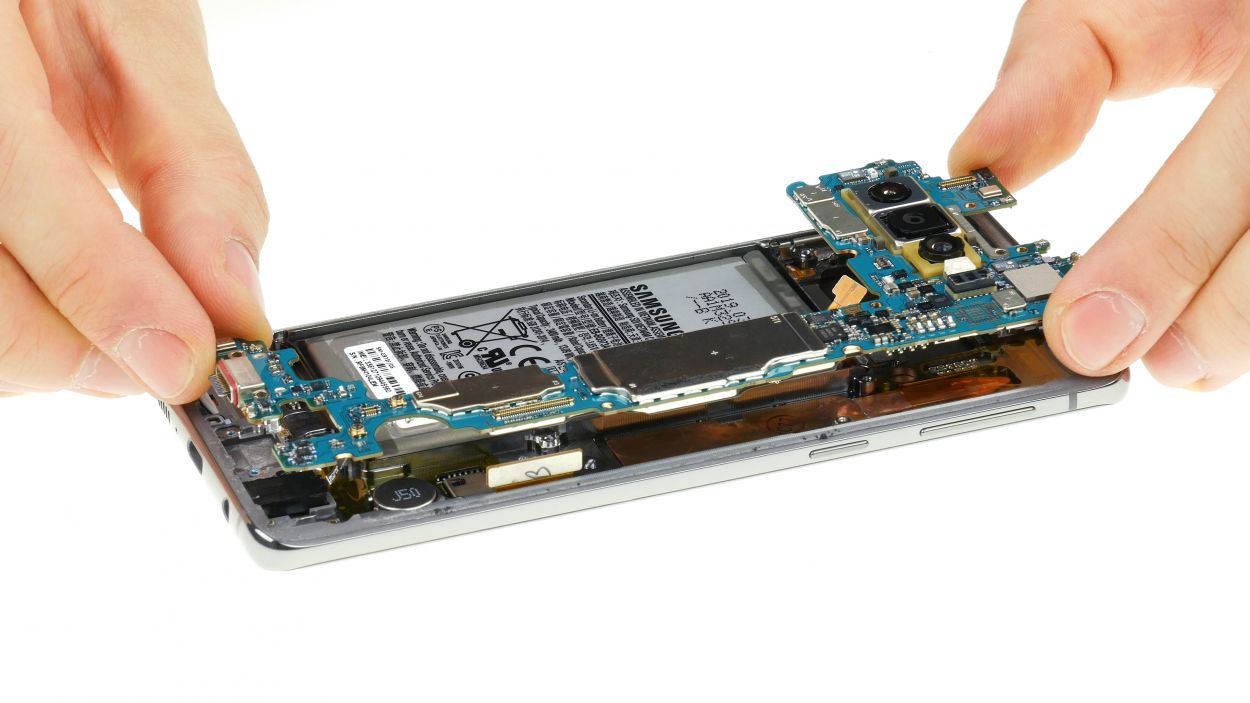
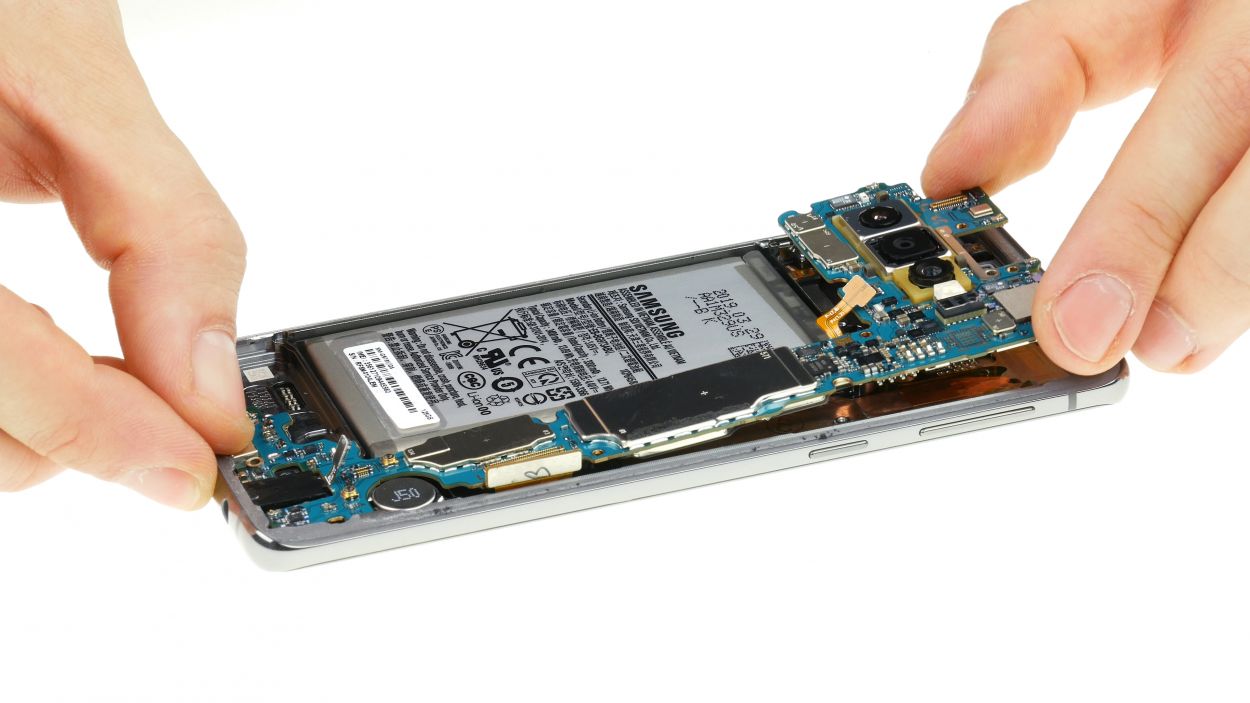
– Grab that mainboard and gently place it back into the display unit of your Galaxy S10. You’re doing great!
– Position the mainboard at the lower edge of the display unit and give that charger socket a little push to fit it snugly into its home.
– Now, press down on the mainboard to ensure it’s seated securely. You’ve got this!
– Next up, slide the headphone jack into its designated spot on the lower part of the board and give it a gentle nudge until it clicks into place.
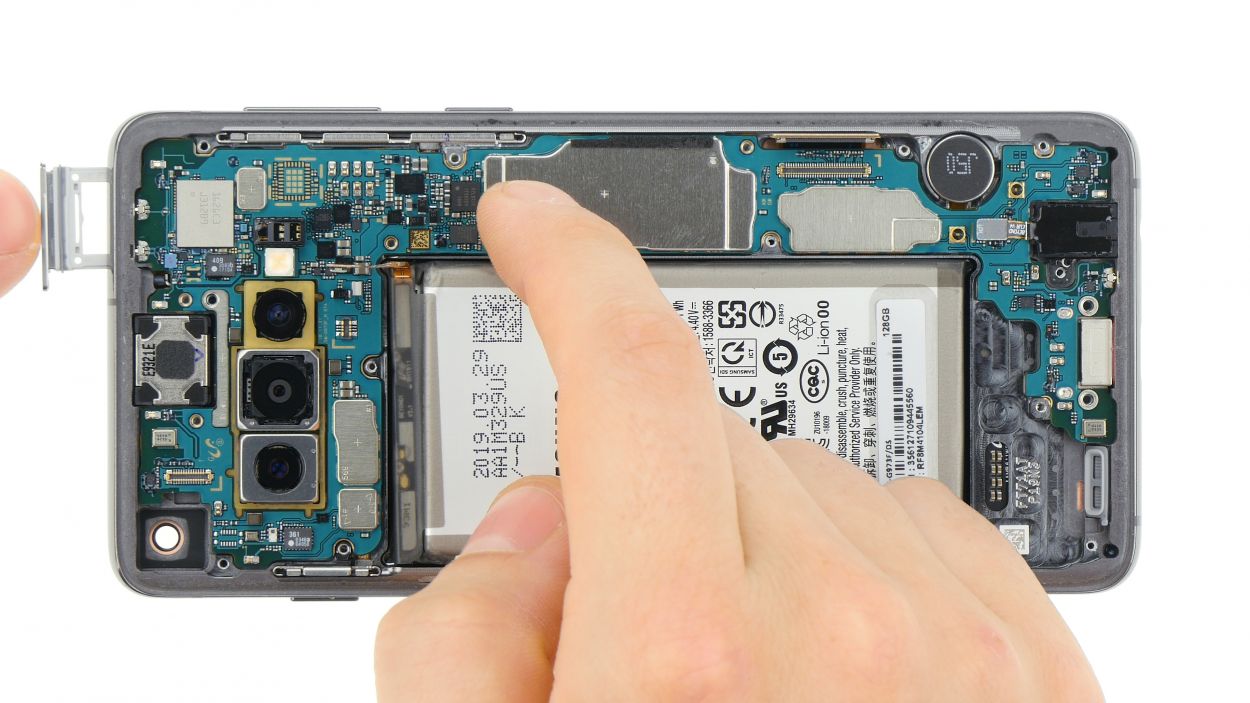
– Finally, slide the SIM tray back into the frame of the display unit, and voilà!
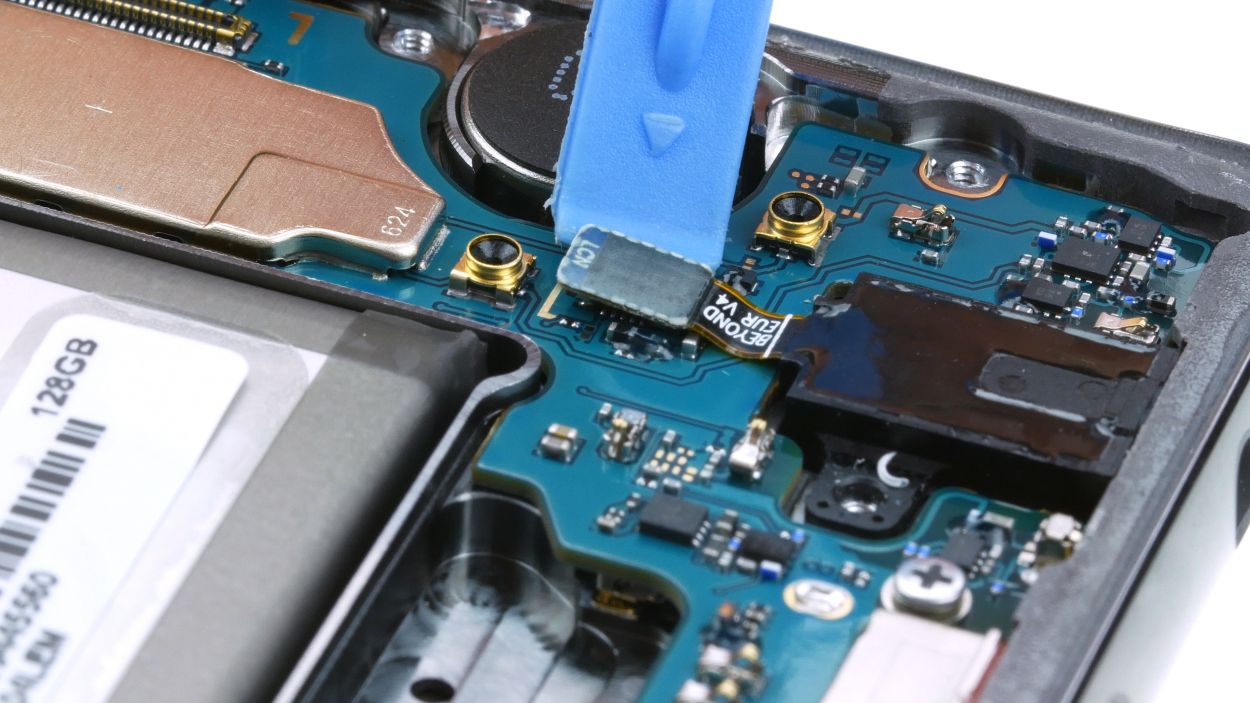
Step 11
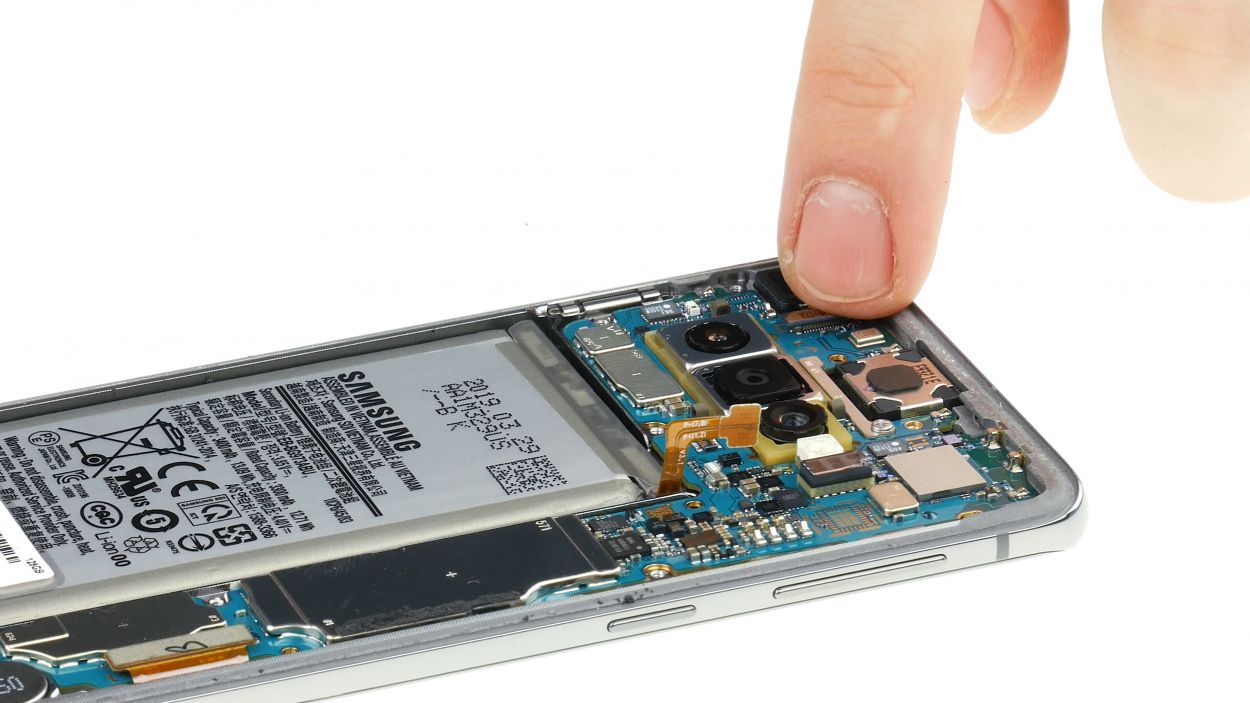
Camera connector
Keep that camera lens squeaky clean and make sure to peel off any protective films from the display unit. We want everything to shine bright!
– Gently slide the front camera back into its cozy spot at the top of the display unit.
– Give the camera a little press down, then connect its connector like a pro.
Tools Used
Step 12
7 × 3,9 mm Phillips
Ensure it’s securely attached to the bottom edge of the display unit. You’ve got this!
– Get that speaker back in action by placing it right above the charging port and give it a gentle press down. You’ve got this!
Tools Used
Step 13


Battery connector
– Go ahead and connect that battery connector to the mainboard! Just give it a gentle press until you hear that satisfying click. You’ve got this!
Step 14
8 × 3,9 mm Phillips
– Start by gently hooking the plastic cover back onto the top of your Galaxy S10 display. It’s like giving it a cozy little home!
– Next, give that cover a firm press with your fingers until you hear it click into place. You’ll know it’s snug and happy!
– Finally, secure the plastic cover with the 8 Phillips screws. Just like putting the finishing touches on a masterpiece!
Tools Used
Step 15

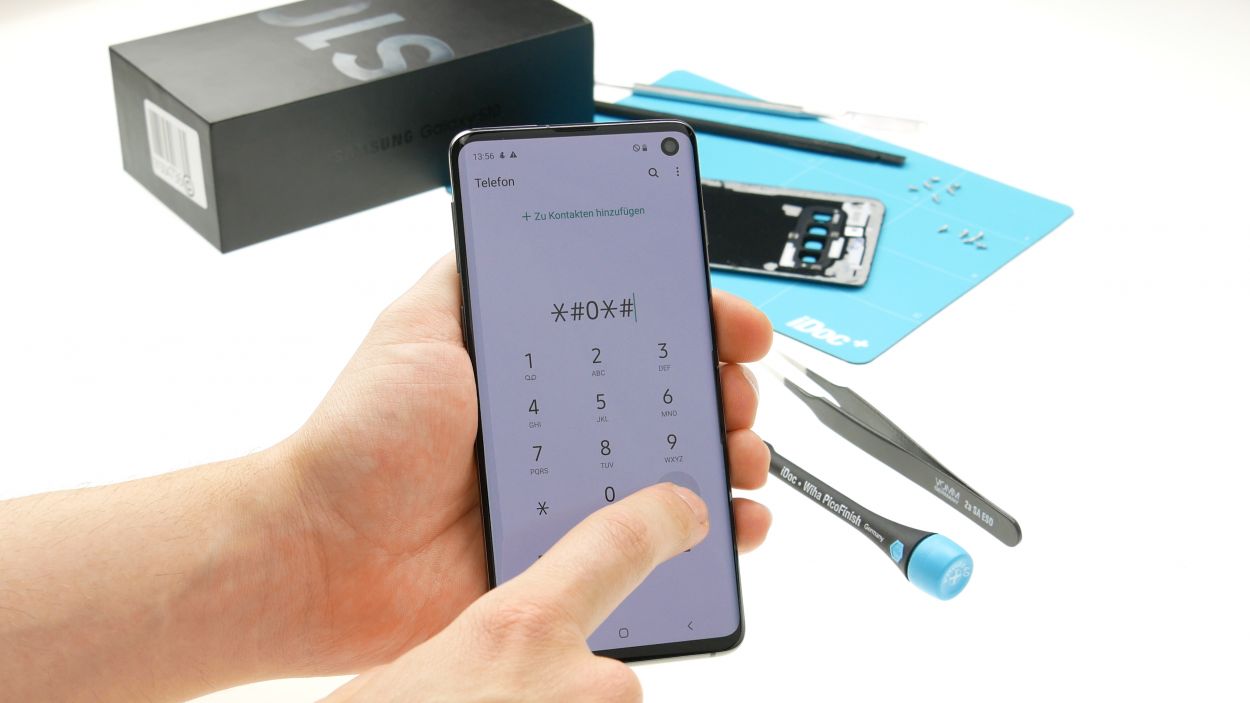
Before you snap that back cover into place, give your device a quick test drive! Make sure to check out the functionality of the component you just replaced. It’s like a little victory lap for your repair skills!
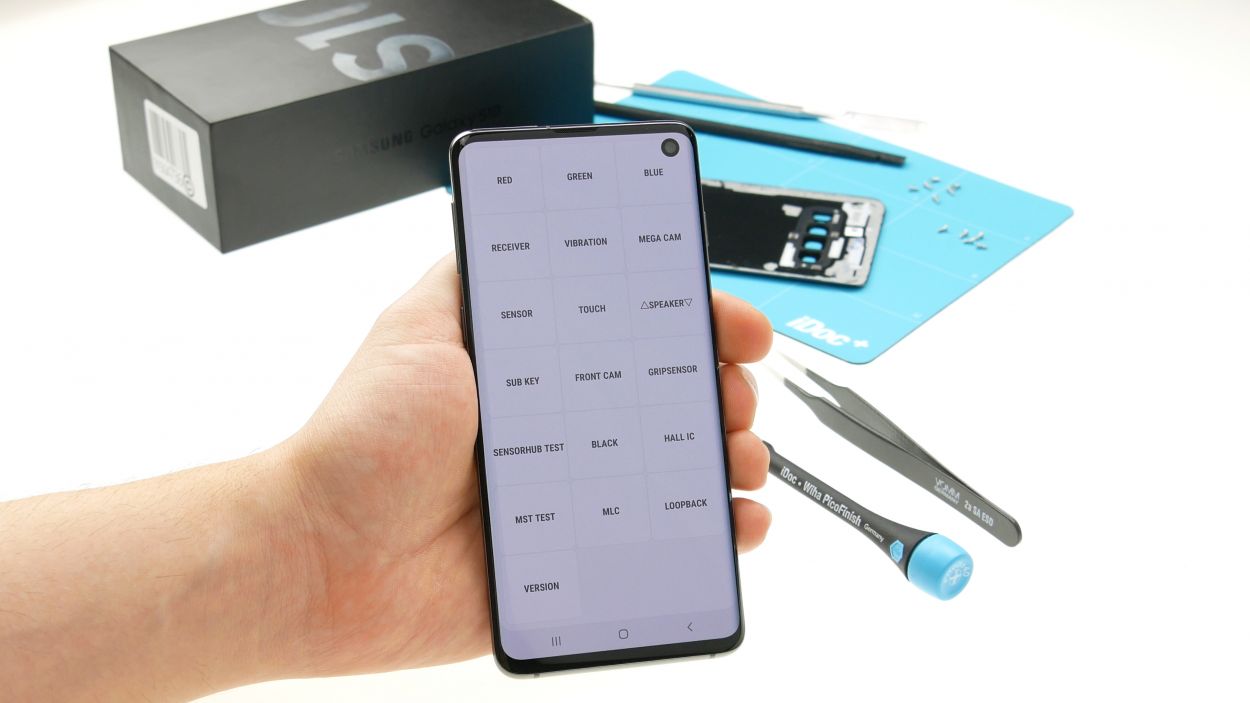
– Fire up your device and give Samsung’s built-in test mode a whirl!
– Just punch in this cool combo: *#0*#
– Take a stroll through the test menu and check out the display, cameras, and sensors. You’ve got this!
Step 16

– Gently place the back cover back where it belongs, like a puzzle piece finding its home.
– Now, give it a nice press all over to help that adhesive do its magic and stick like it means it!
If the adhesive frame around your back cover has seen better days, it’s time to roll up your sleeves! Gently clean off any sticky residue and stick on a fresh adhesive frame. But if your back cover’s adhesive frame is holding strong, you can simply pop it back on without any fuss. Remember, if you need help, you can always schedule a repair.
Tools Used


