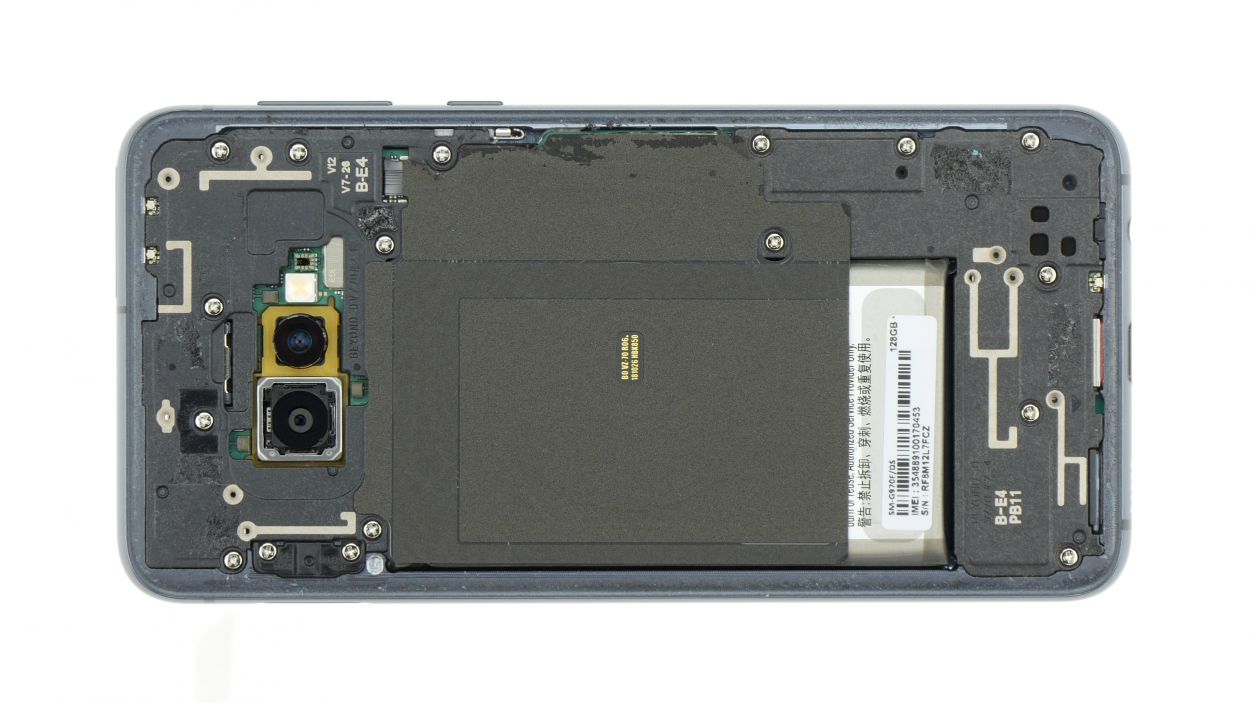
Galaxy S10e – Removing the mainboard
Duration: 90 min.
Steps: 16 Steps
Alright, it’s time to dive into the heart of your device and remove the motherboard! This is the secret sauce for giving it a thorough clean and tackling any pesky corrosion. Let’s rescue your Galaxy S10e together with this handy guide!
Step 1

Tap the tiny Play button in the upper right corner of an image to kick off a video for each step. Let’s get this repair party started!
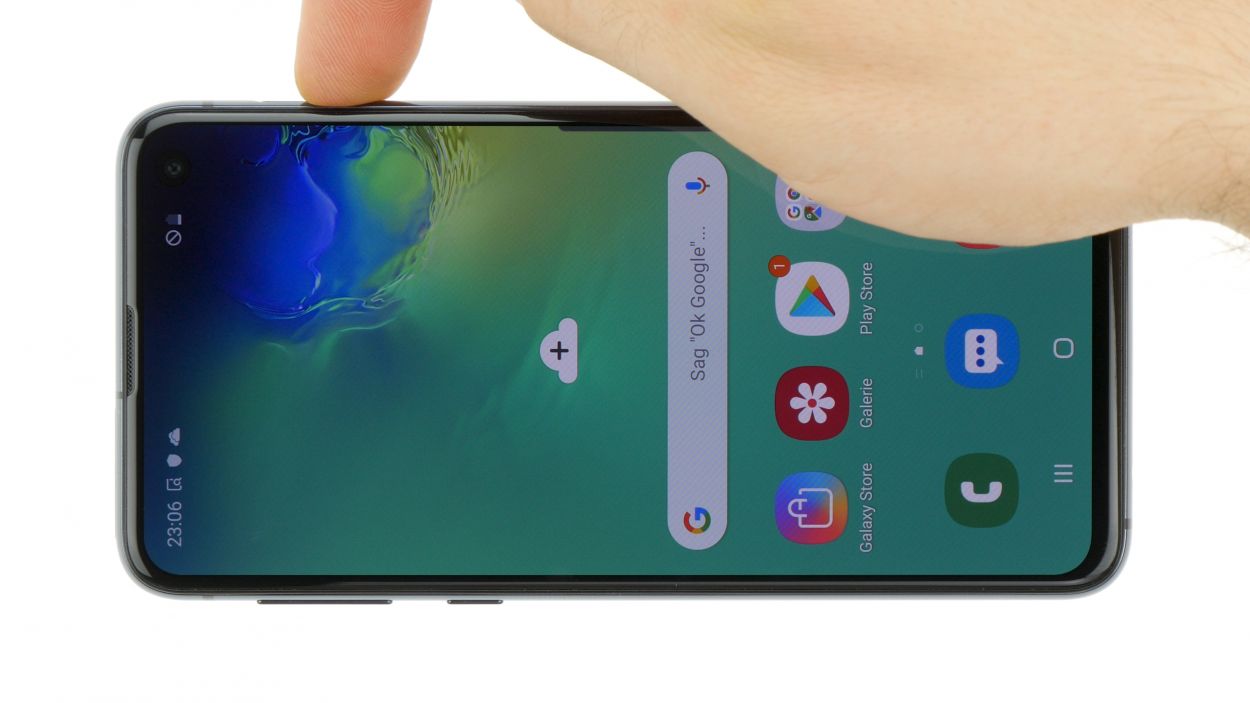
– First things first, let’s power down your device! Just press and hold that power button until you see the ‘Power off’ option pop up on your screen.
– Now, give it a gentle tap with your finger to confirm that you really want to shut it down. Sit tight and watch as your screen fades to black!
Step 2

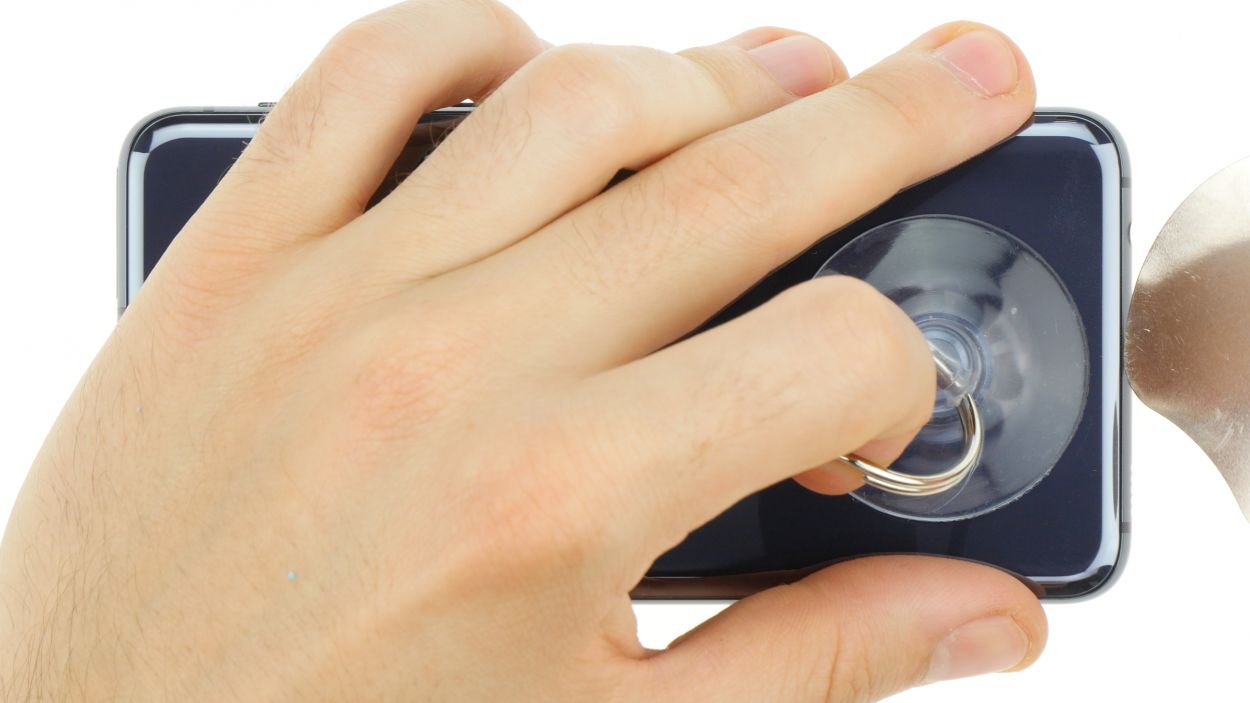


– Alright, let’s tackle that back cover! It’s stuck on there pretty well, but no worries! Start by warming up your device evenly with some hot air to loosen that glue. Aim for a cozy temperature of 60 – 80°C—just warm enough to handle without feeling like you’re holding a hot potato.
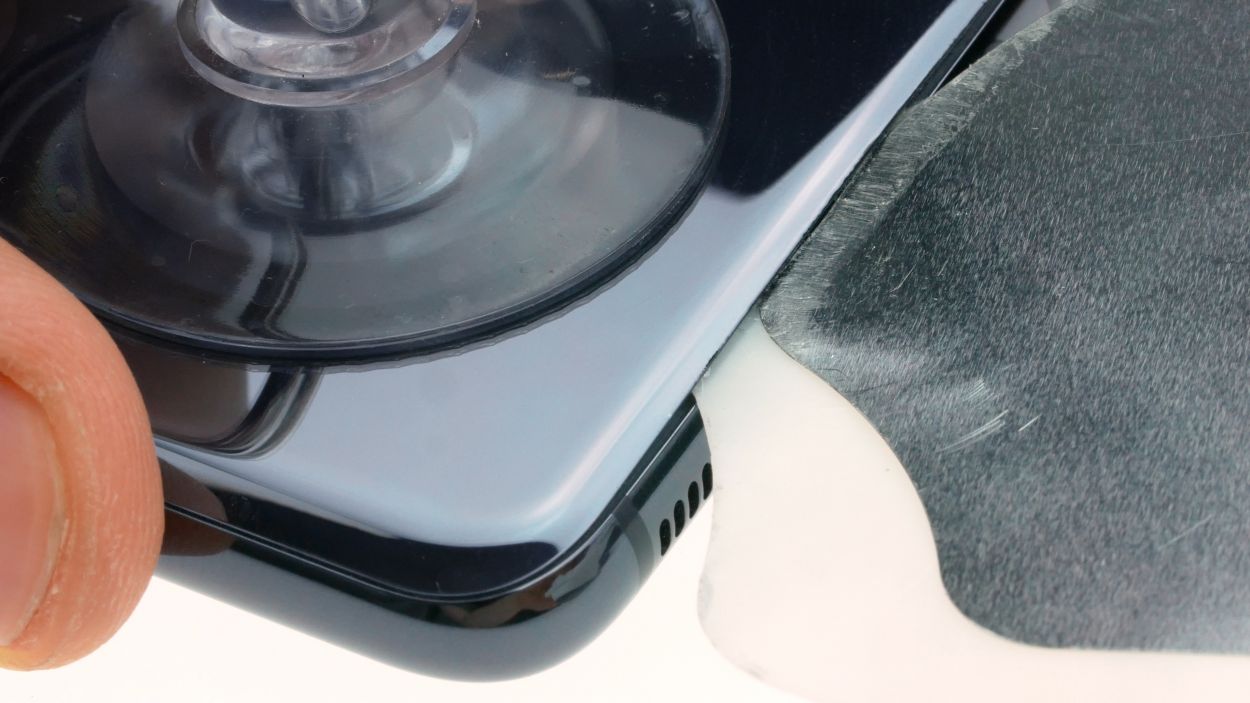
– Now, for the fun part! Grab a flat and flexible tool like the iPlastix or iFlex. These little helpers are perfect for getting under that back cover. You’ll want a few picks handy to help unstick it all the way around.
– Begin by heating the area where you plan to start, then slide that flat tool between the back cover and the frame. You’re on your way to a successful repair!
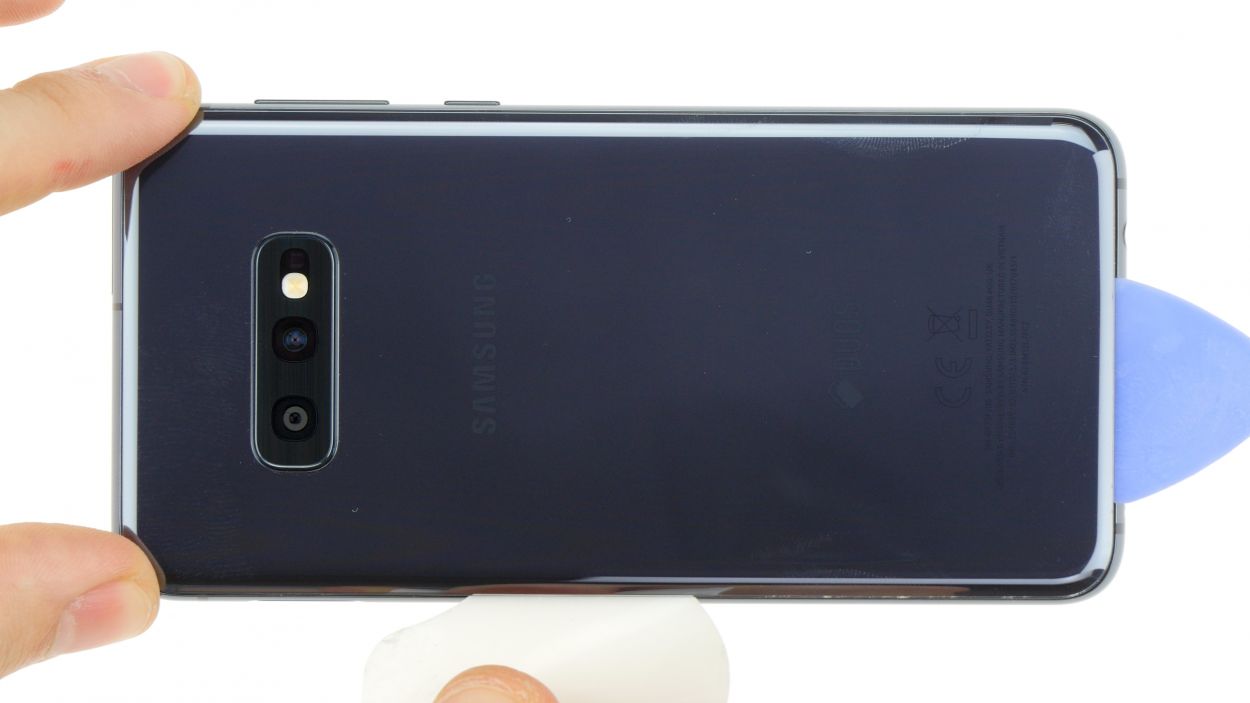
Hey there! Just a friendly reminder to take it easy when tackling that back cover – it’s a bit of a delicate flower and can crack if you’re not careful. Feel free to warm it up a few times and give it another go. Removing the back cover might take a little patience, around half an hour or so. So, take your time and work with care to keep everything in one piece. If you need help, you can always schedule a repair.
The iPlastix is crafted from plastic, so it’s gentle on your device and won’t leave any scratches. However, it can be a bit soft and tricky to maneuver. Enter the iFlex! This handy tool is super slim and made from stable metal, making it a breeze to slide into the gap between the glass and the frame. Just a heads up though, it can be a little scratchy on the frame of your S10e. Start off with the iFlex to get into that gap, and then switch to the iPlastix as soon as you can for a smooth finish!
Step 3


8 × 3,9 mm Phillips
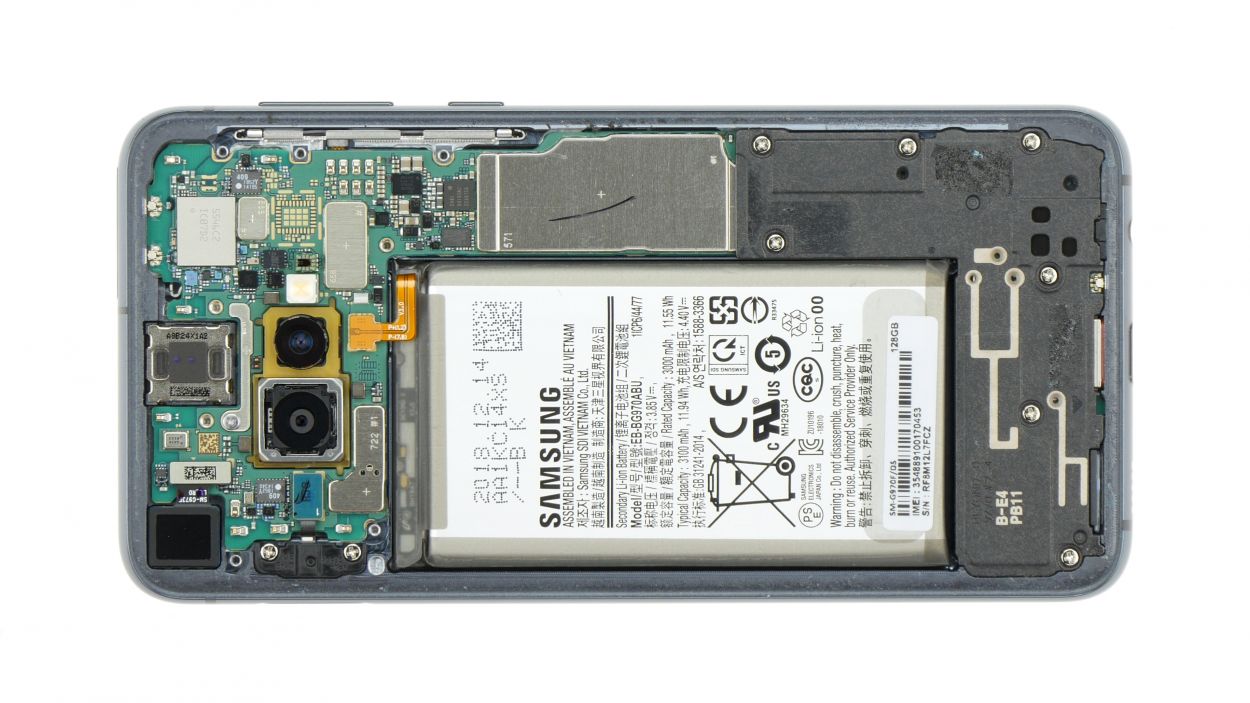
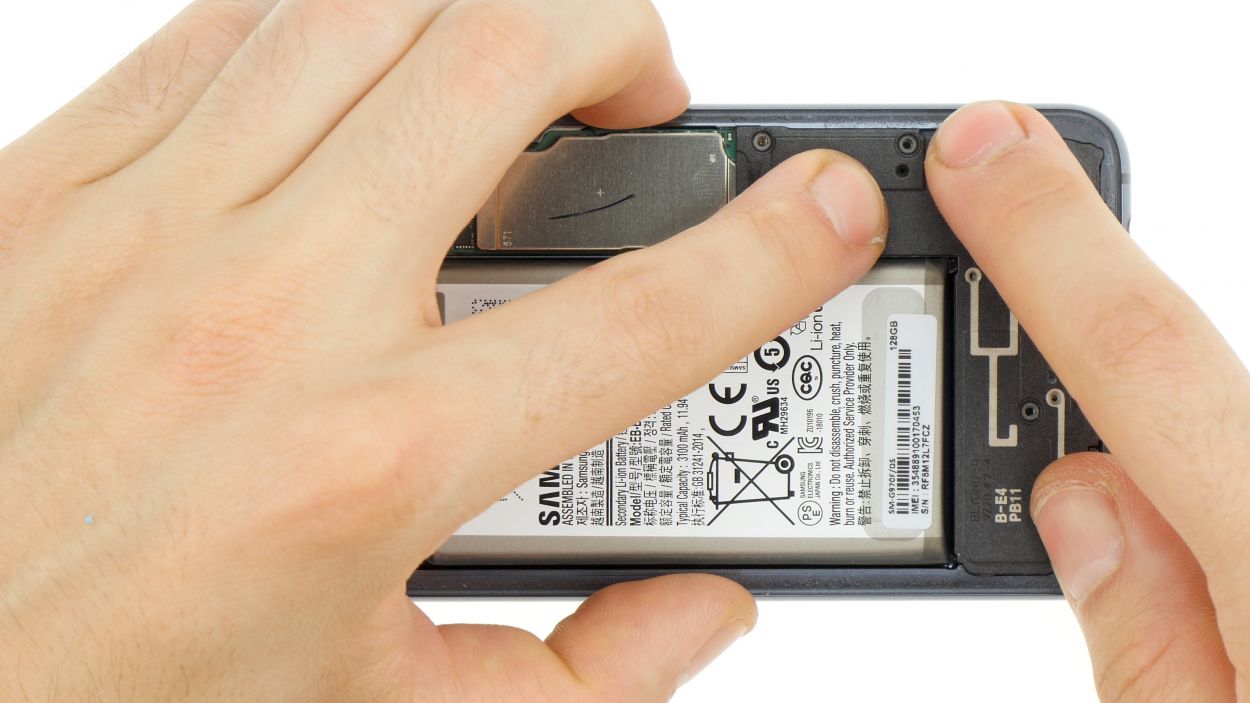
– Start by loosening those Phillips screws that are keeping the cover snug. You’ll find the contactless charging coil and NFC antenna are cozying up to the plastic cover.
– Next up, the cover is snugly hooked at the top and has a gentle adhesive holding it down at the bottom. Take a flat tool and gently slide it under the attached areas to loosen things up.
– Now, with a little finesse, you can lift off the cover along with the coil. Easy peasy!
Step 4
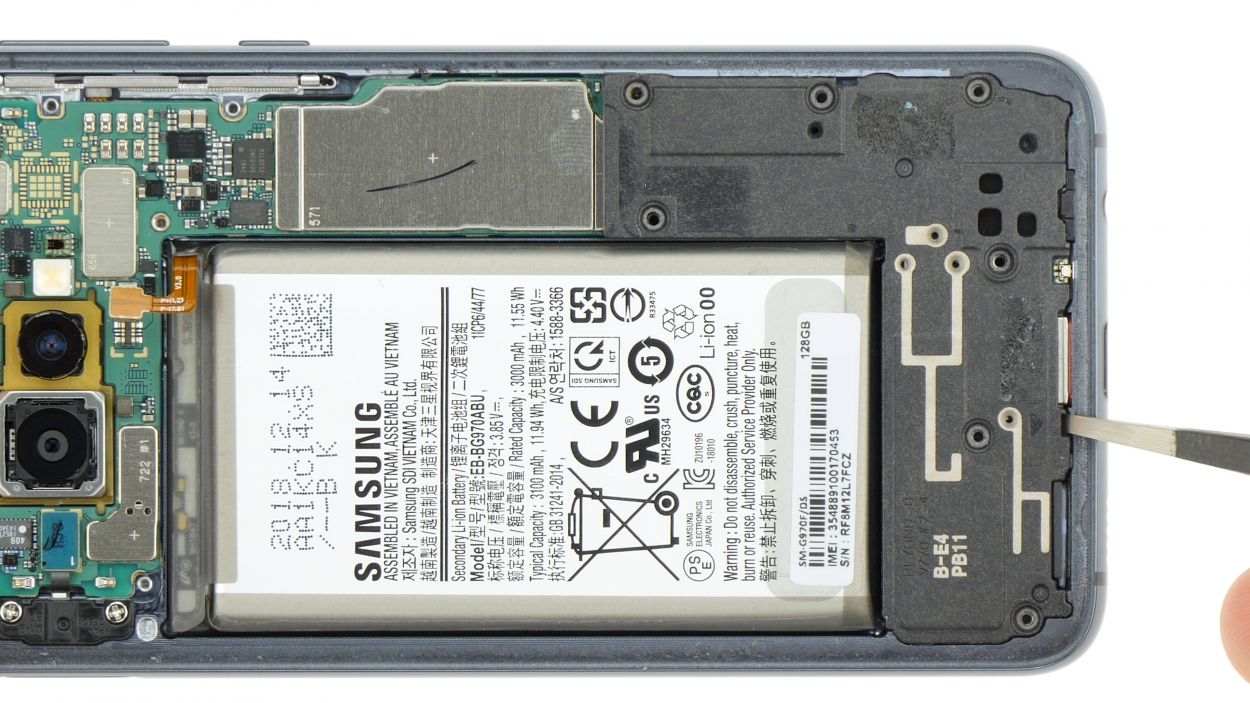
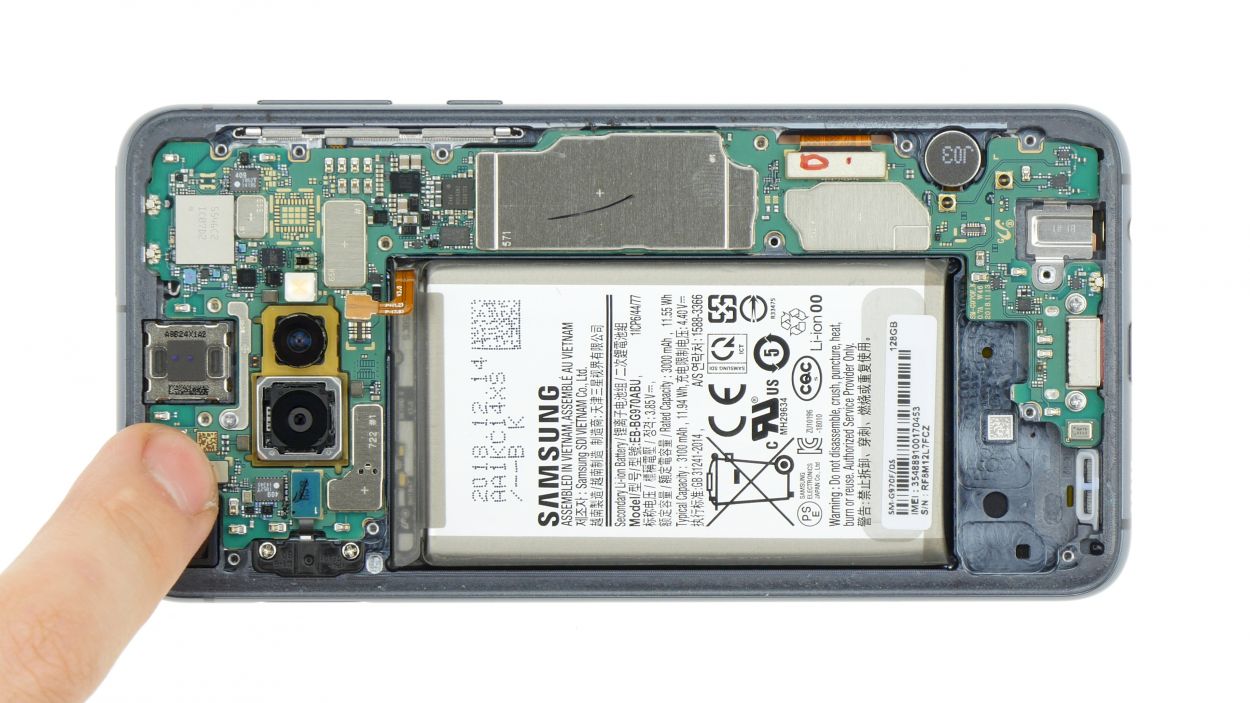
Battery Connector
Always pry from a side that’s free of tiny components on the motherboard. This way, you’ll steer clear of accidentally damaging those delicate capacitors or ICs. Remember, a little caution goes a long way in keeping your device safe!
– Grab your trusty spudger and gently pop that battery connection off the motherboard. You’ve got this!
Tools Used
Step 5

7 × 3,9 mm Phillips
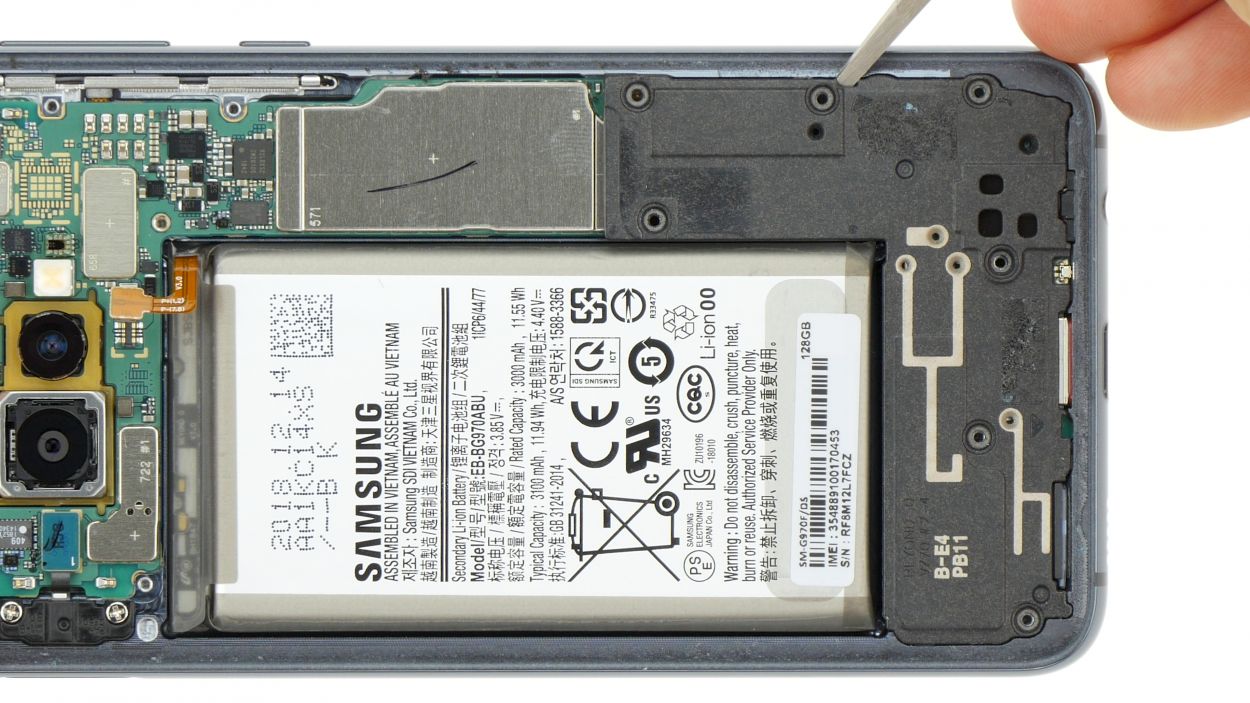
– Start by loosening those Phillips screws that are holding the speaker in place, and then gently take it out.
– To make it easier to lift the speaker, give it a little nudge up at the openings on the sides. Look for those small triangular arrows to guide you!
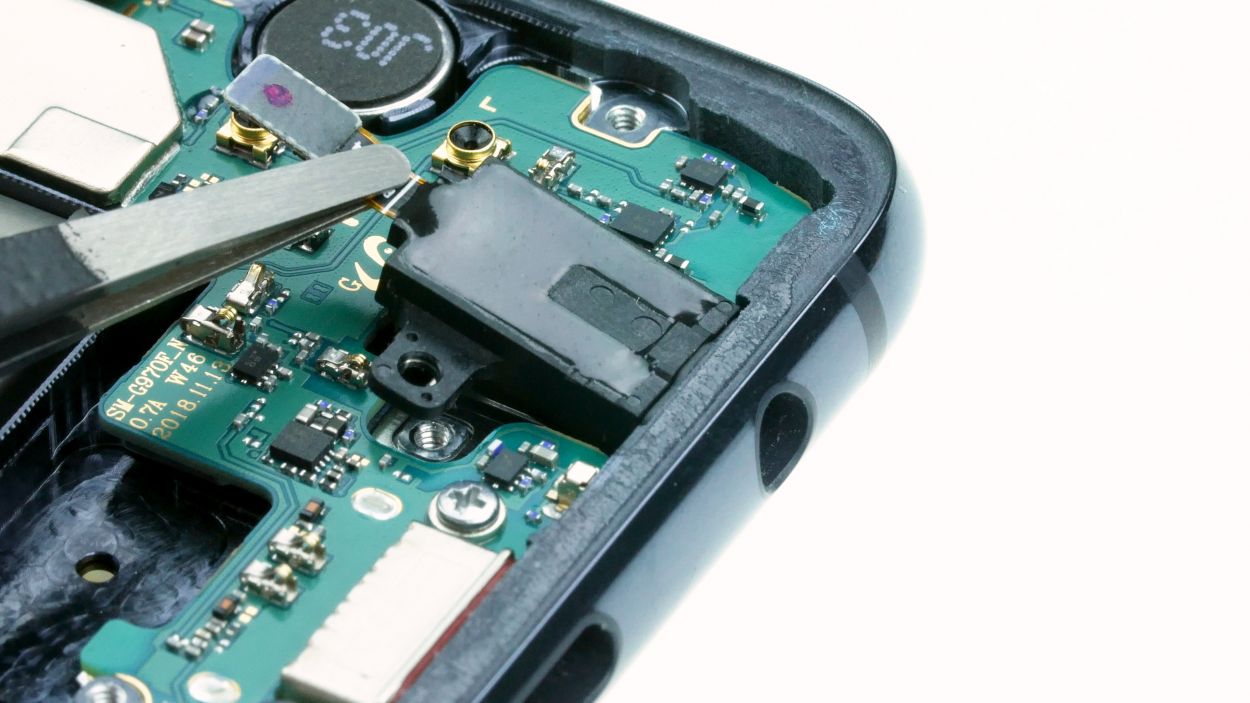
Step 6


– Unplug the headphone jack connector from the motherboard. Grab your trusty spudger and gently pry it away.
– Give the side of the jack a little nudge to pop it free, and then lift it out of the case with ease.
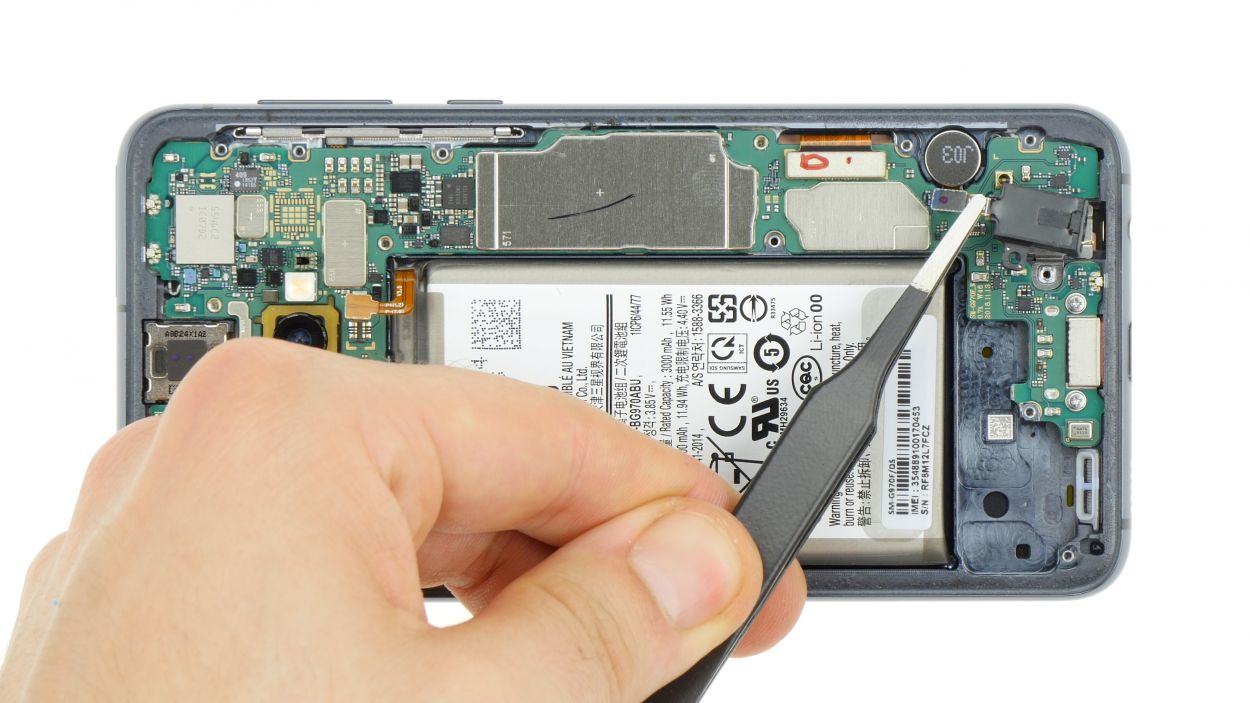
Step 7

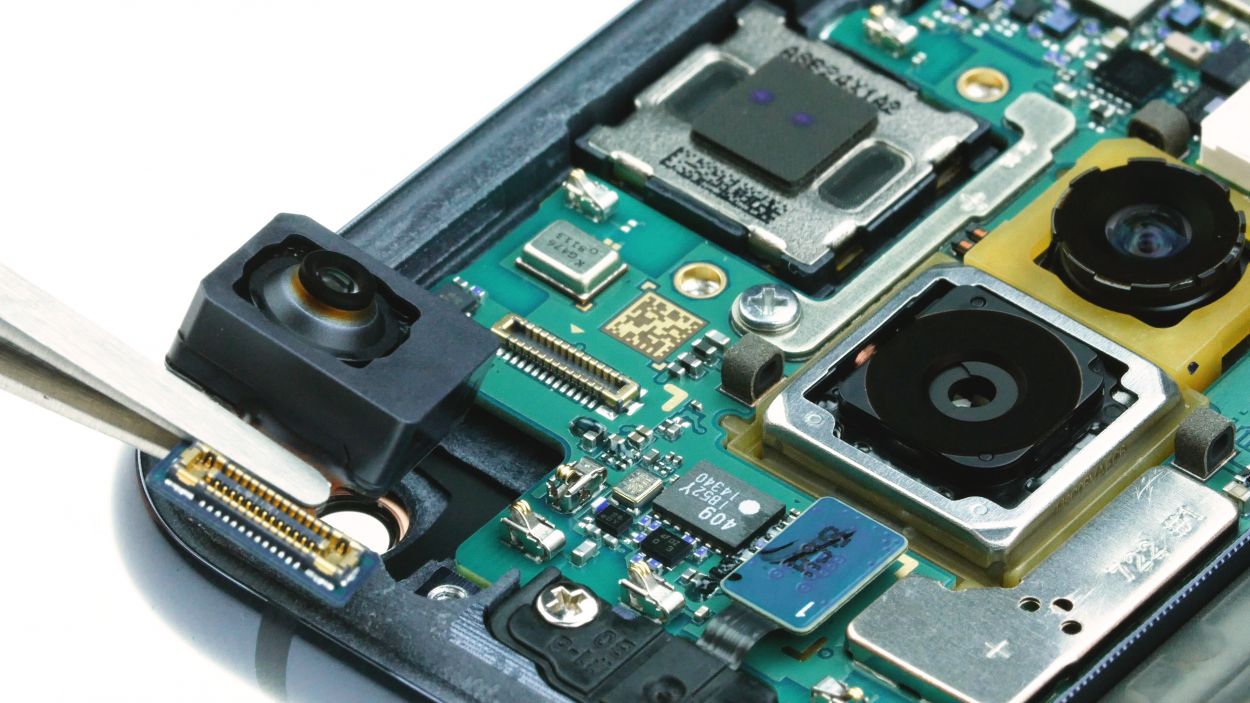
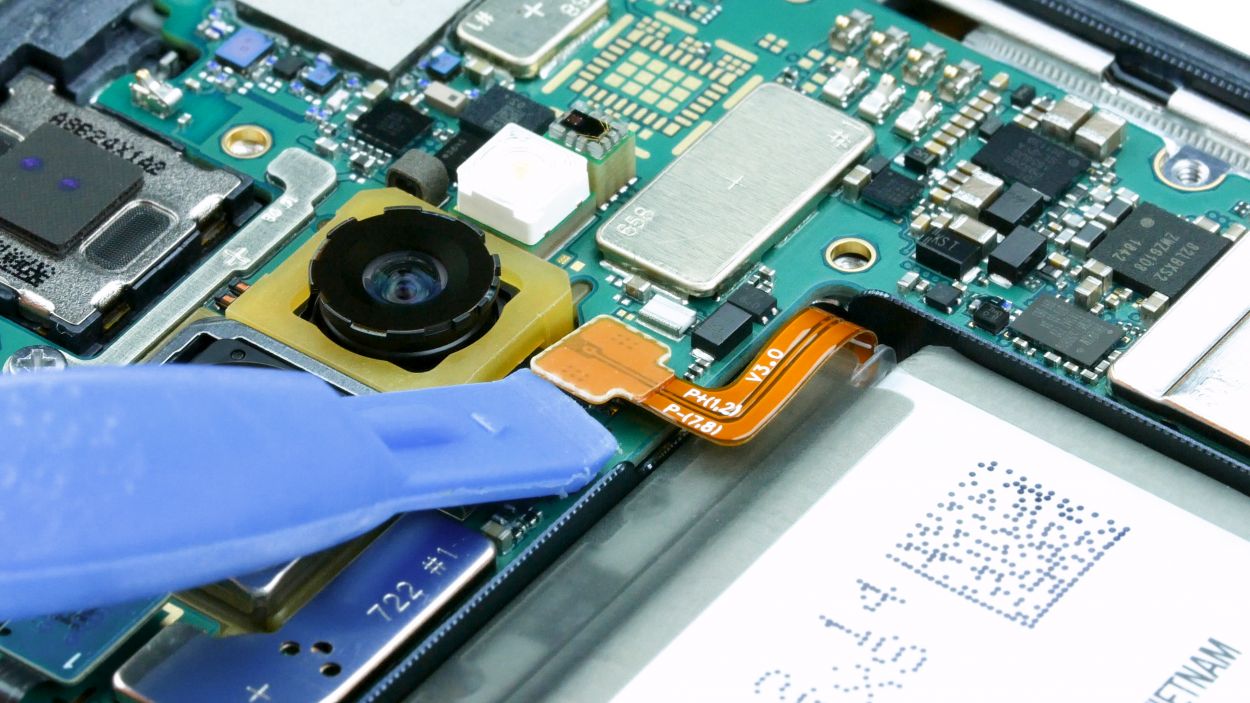
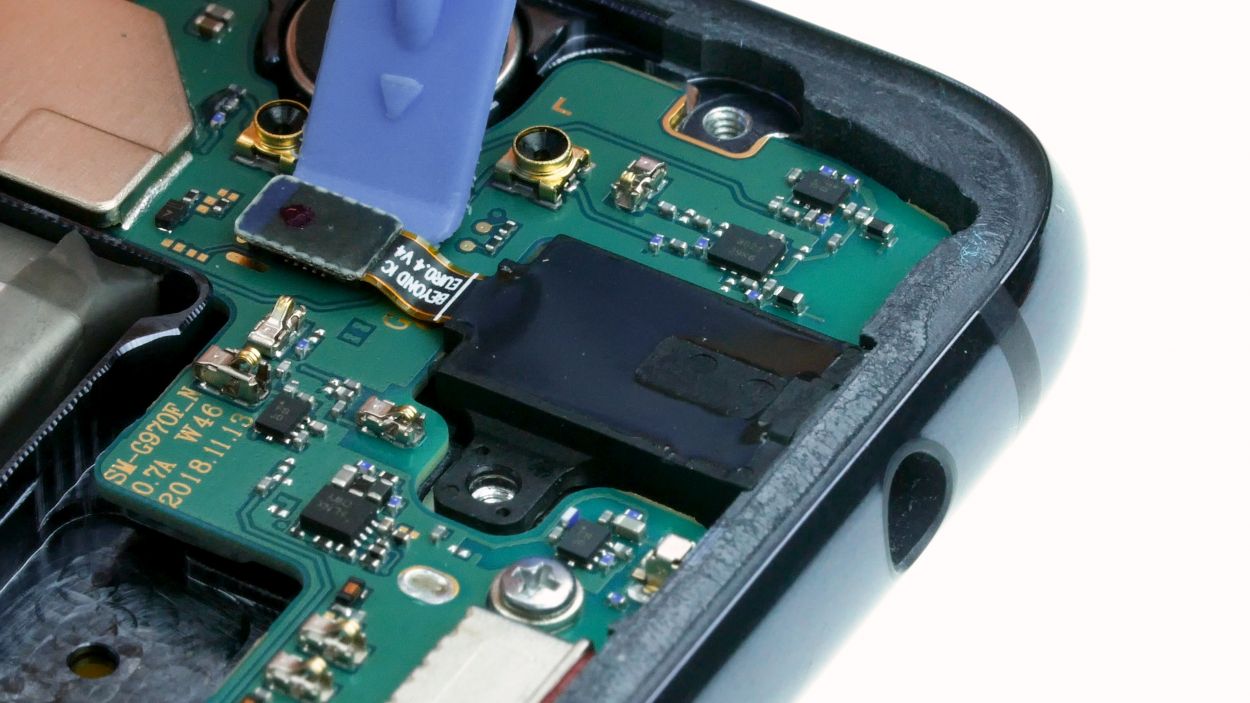
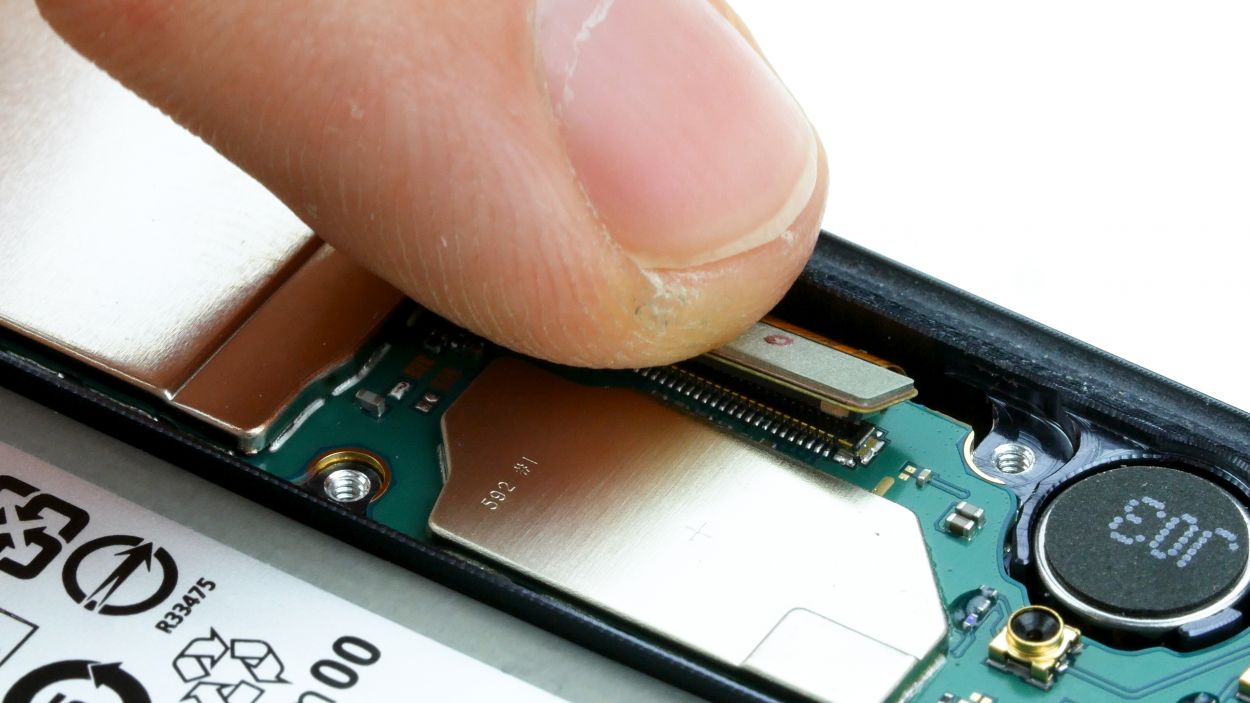
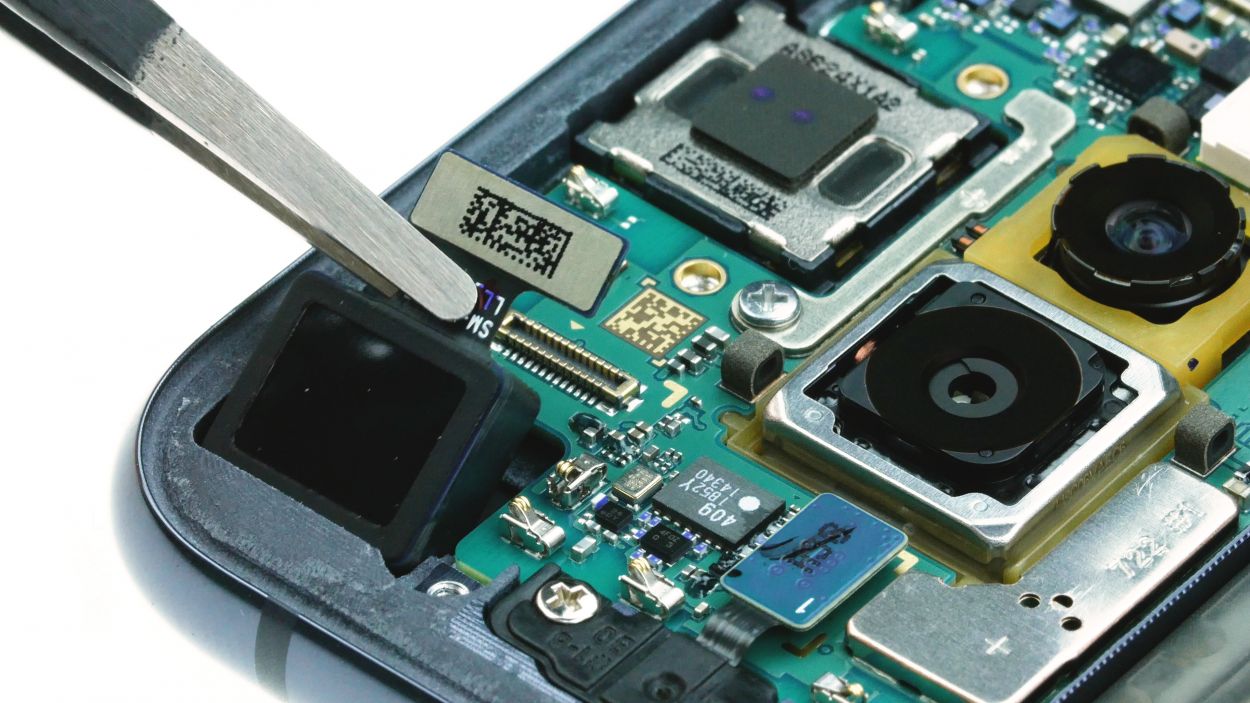
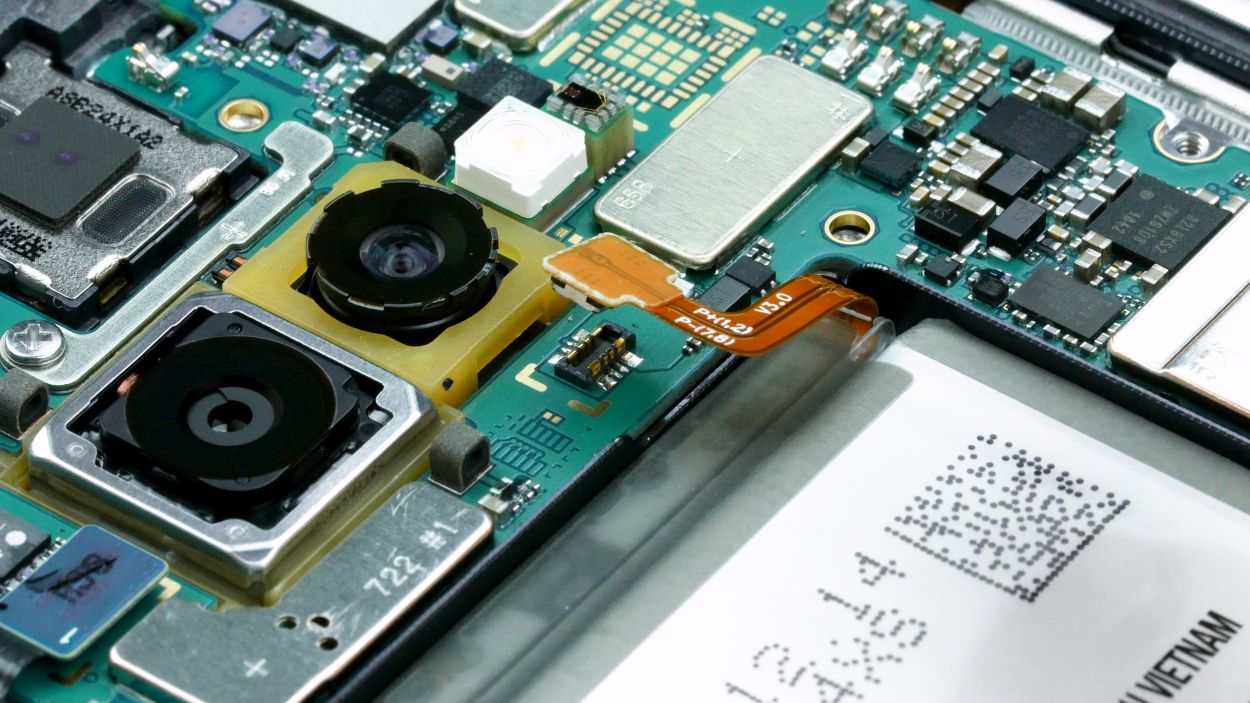
Camera Connector
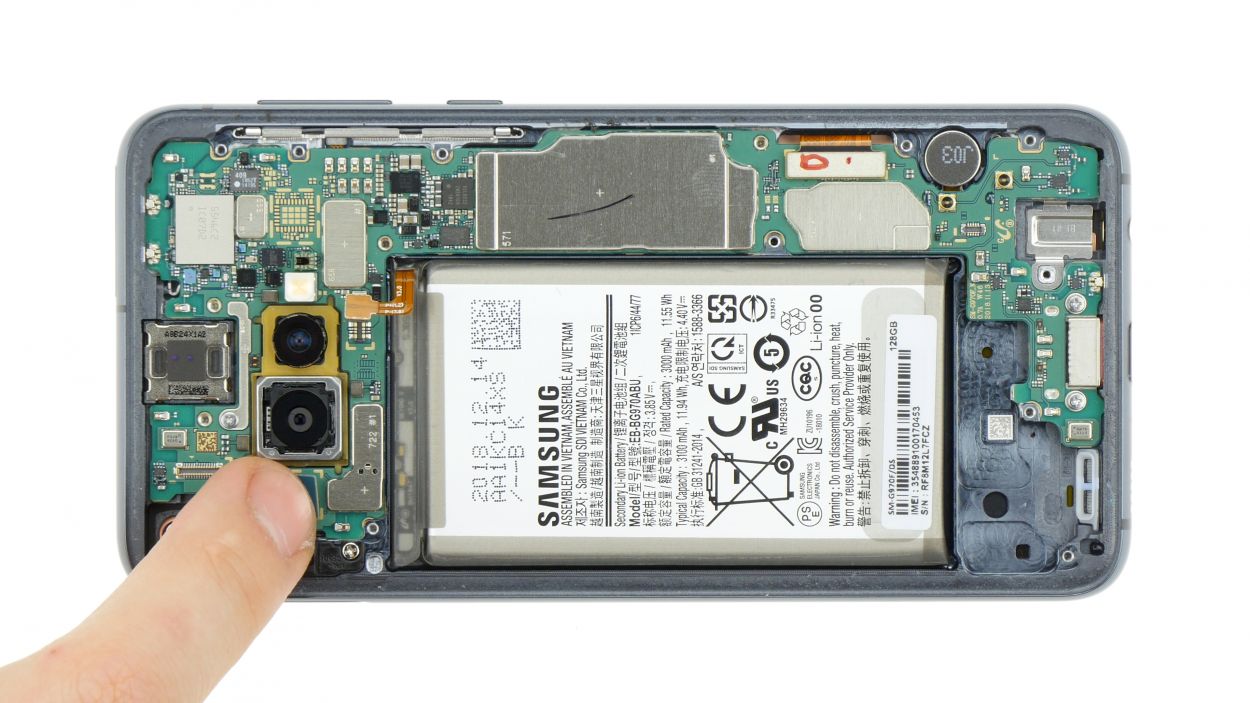
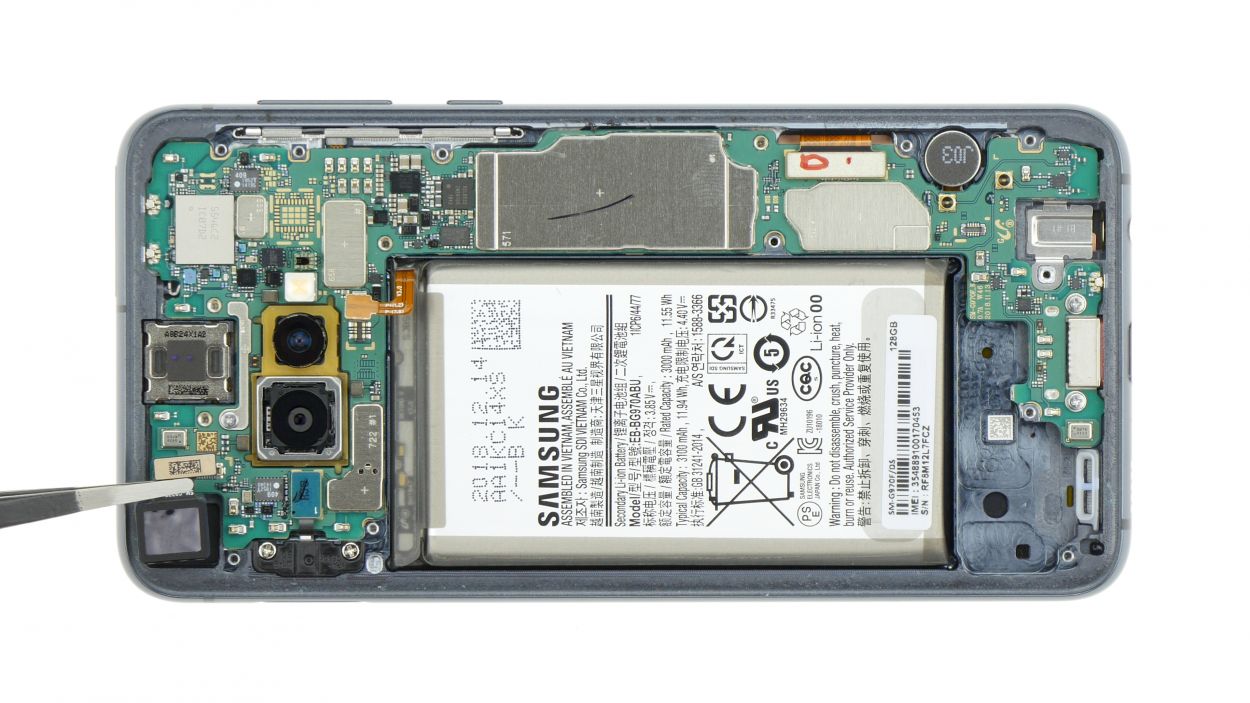
– First up, let’s unplug that front camera connector with a trusty spudger. You’ve got this!
– Gently pry it up from the side that’s free of any pesky PCB components. Easy peasy!
– Now, carefully lift the camera out of its cozy little holder. You’re making great progress!
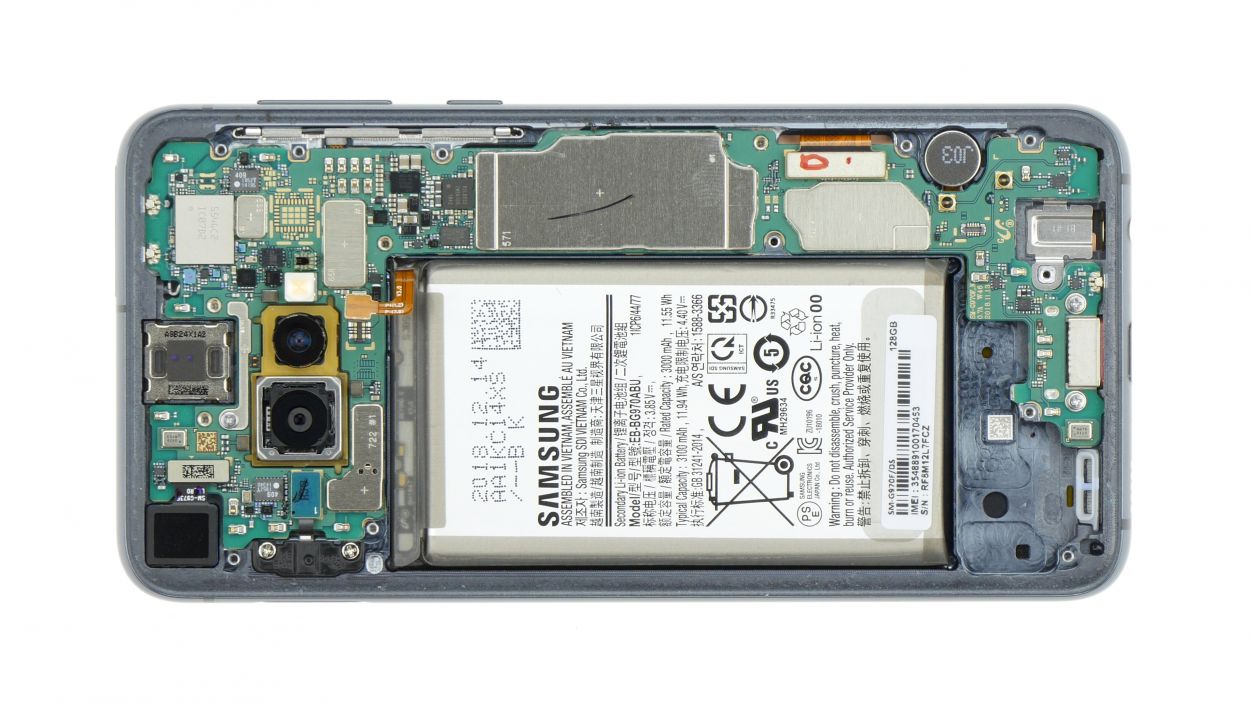
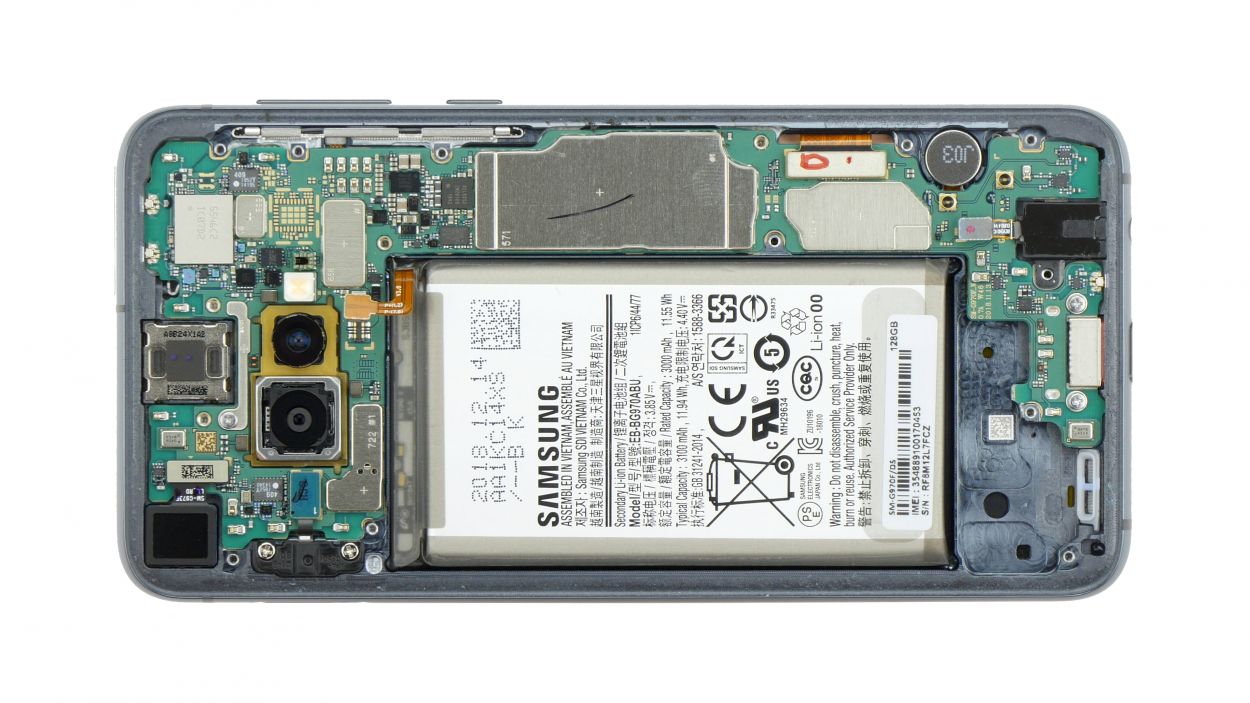
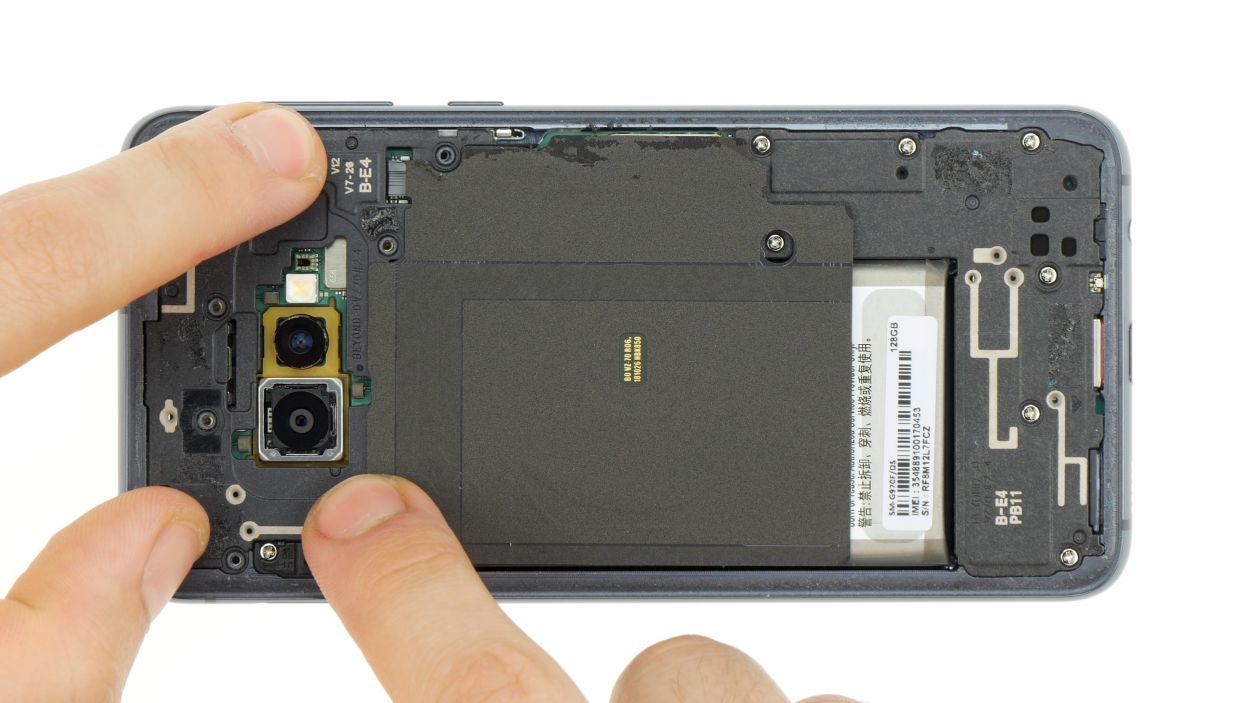
Step 8


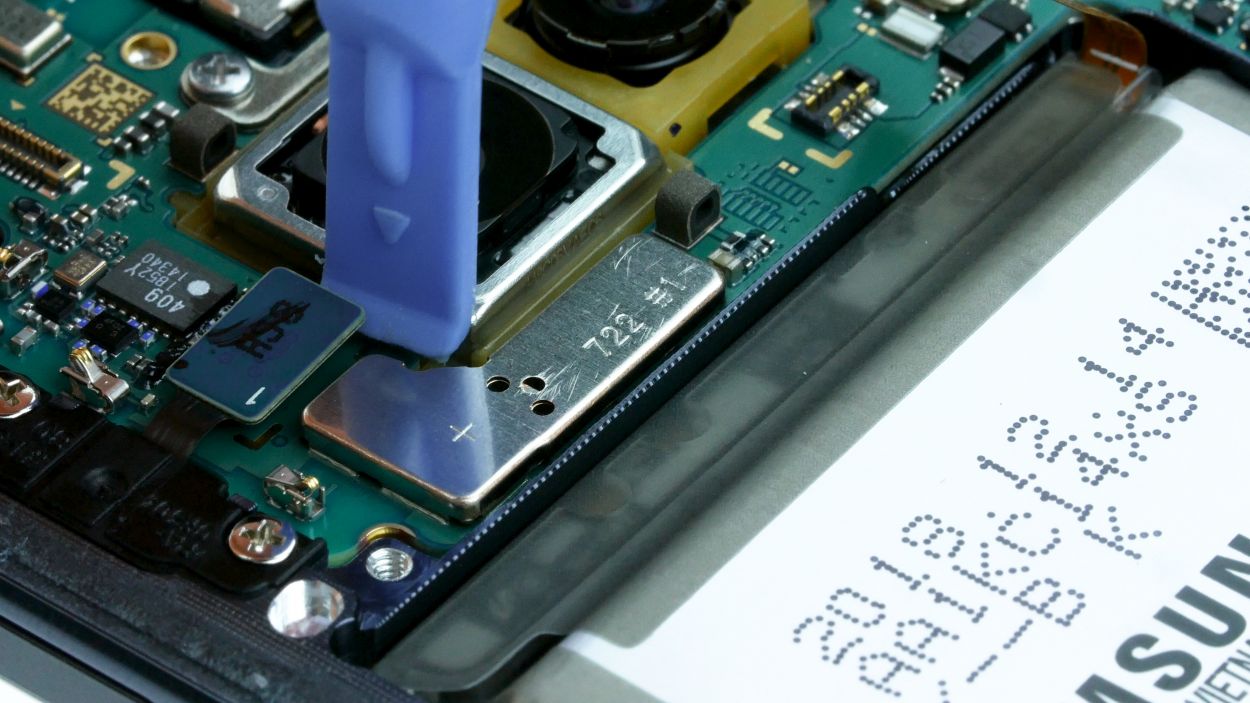

3 × 3,7 mm Phillips
Display connector
Fingerprint connector
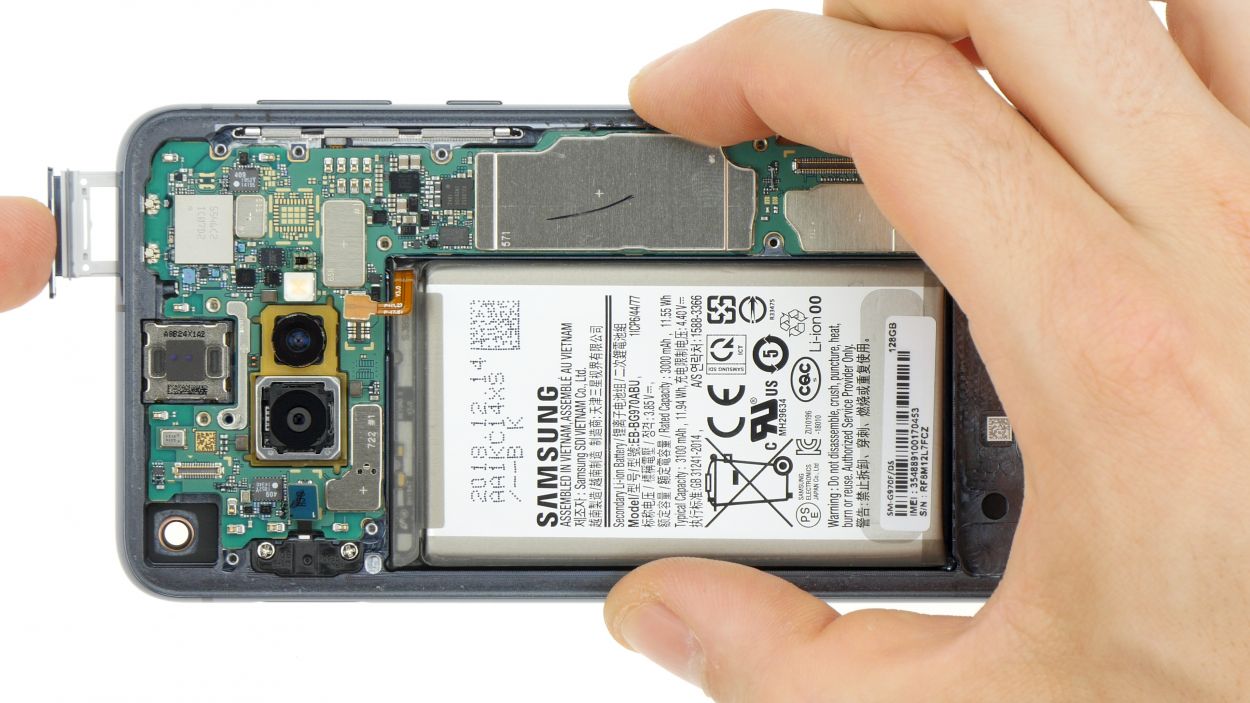
Hey there! Just a heads-up: there’s a little plastic pin hanging out in the SIM tray opening. Keep an eye on it so it doesn’t take a tumble!
– Grab your trusty spudger and gently detach the highlighted contacts from the motherboard. You’ve got this!
– Next up, let’s tackle those Phillips screws. Remove them with care!
– Pop out the SIM card holder. Easy peasy!
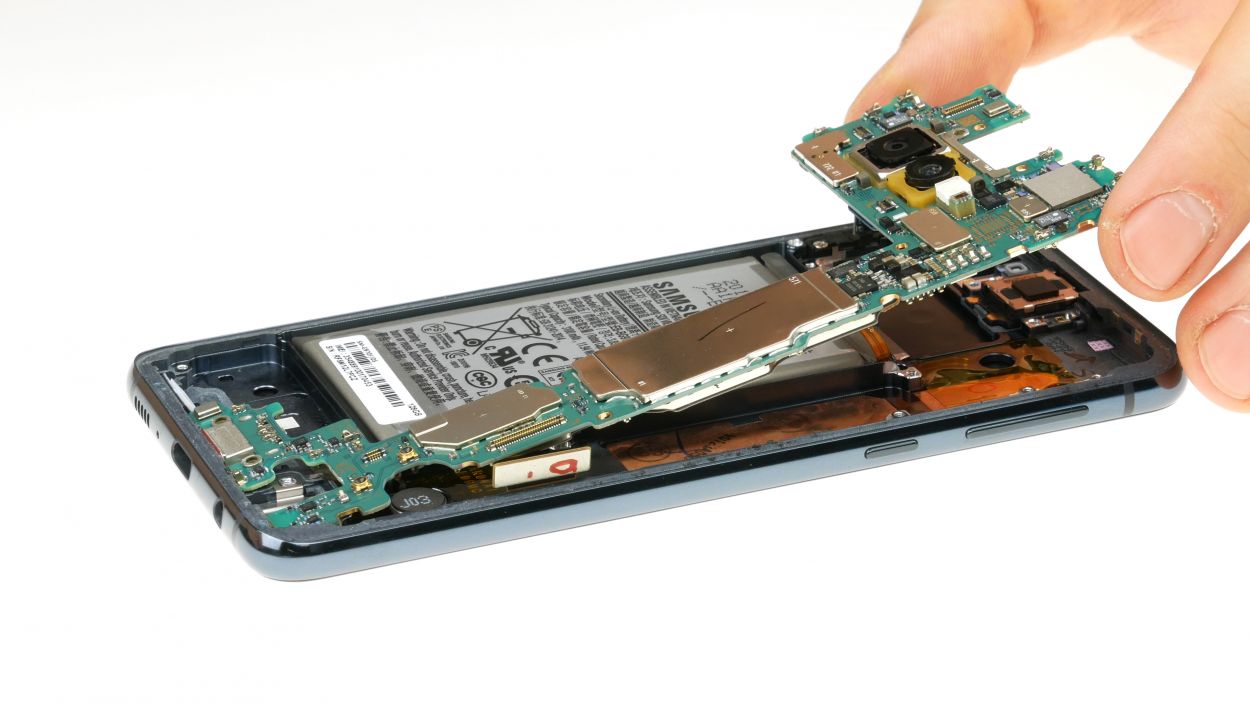
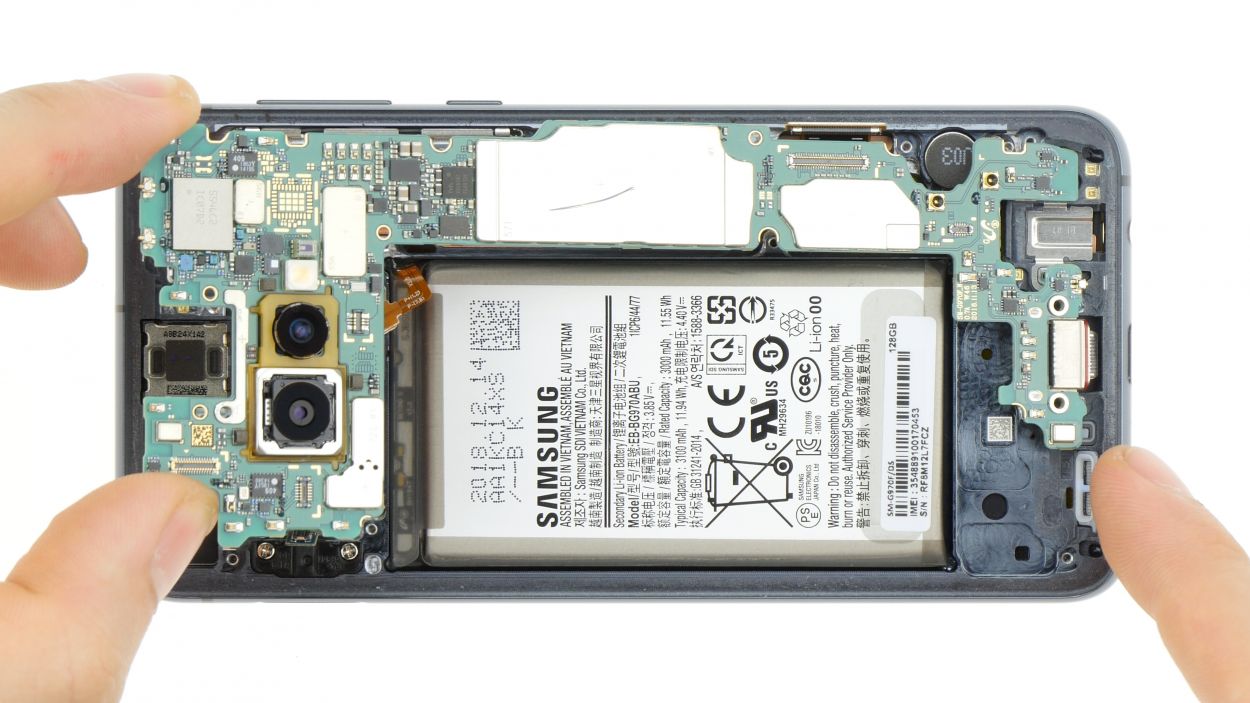
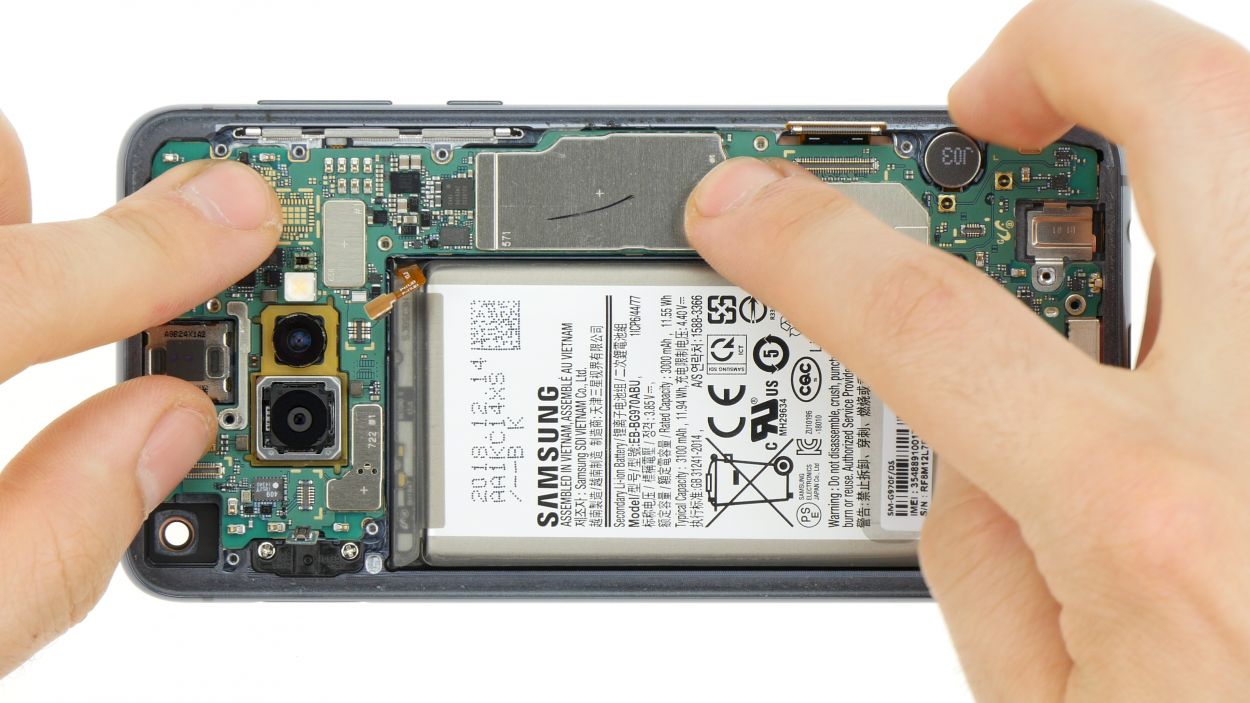
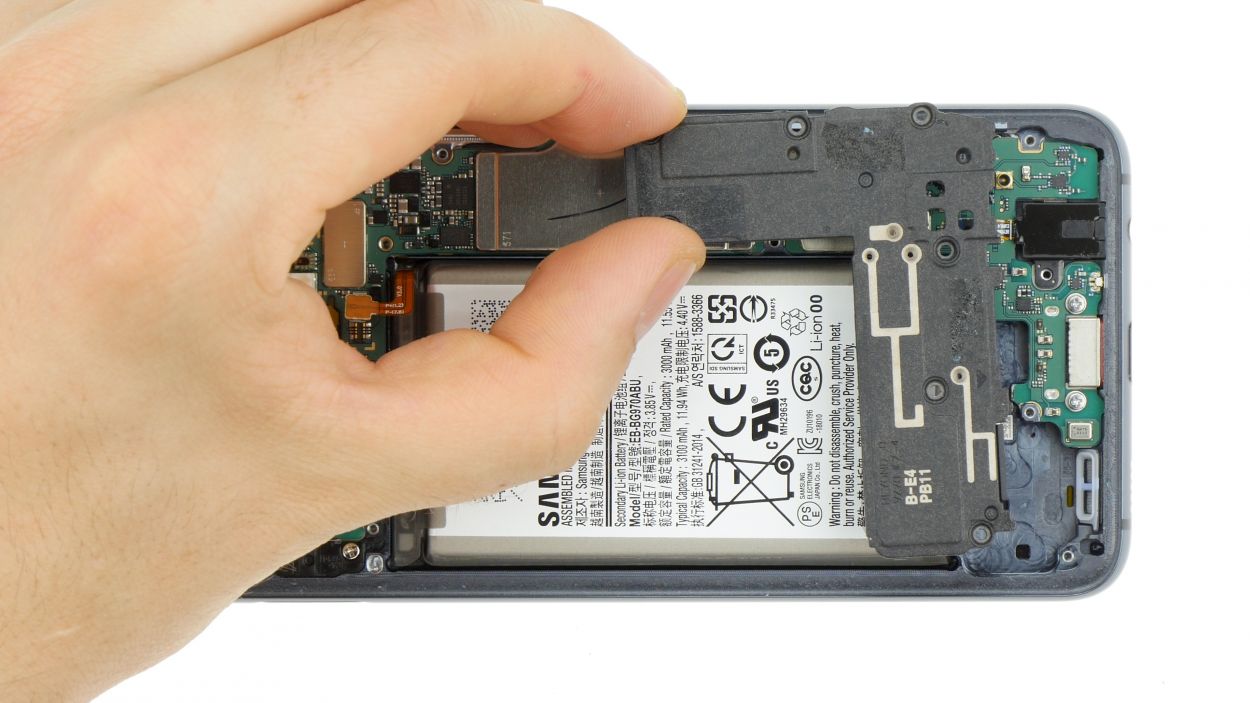
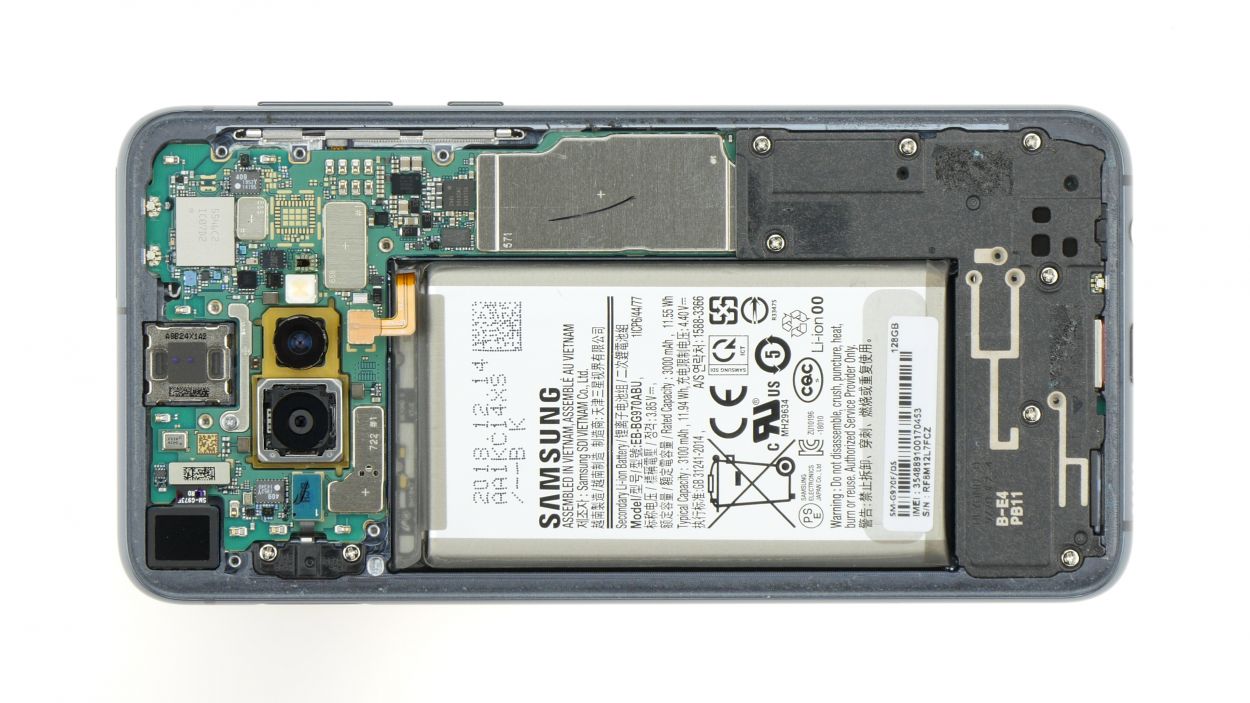
– Now, it’s time to carefully lift the motherboard out. Just watch out for those connectors you’ve already freed!
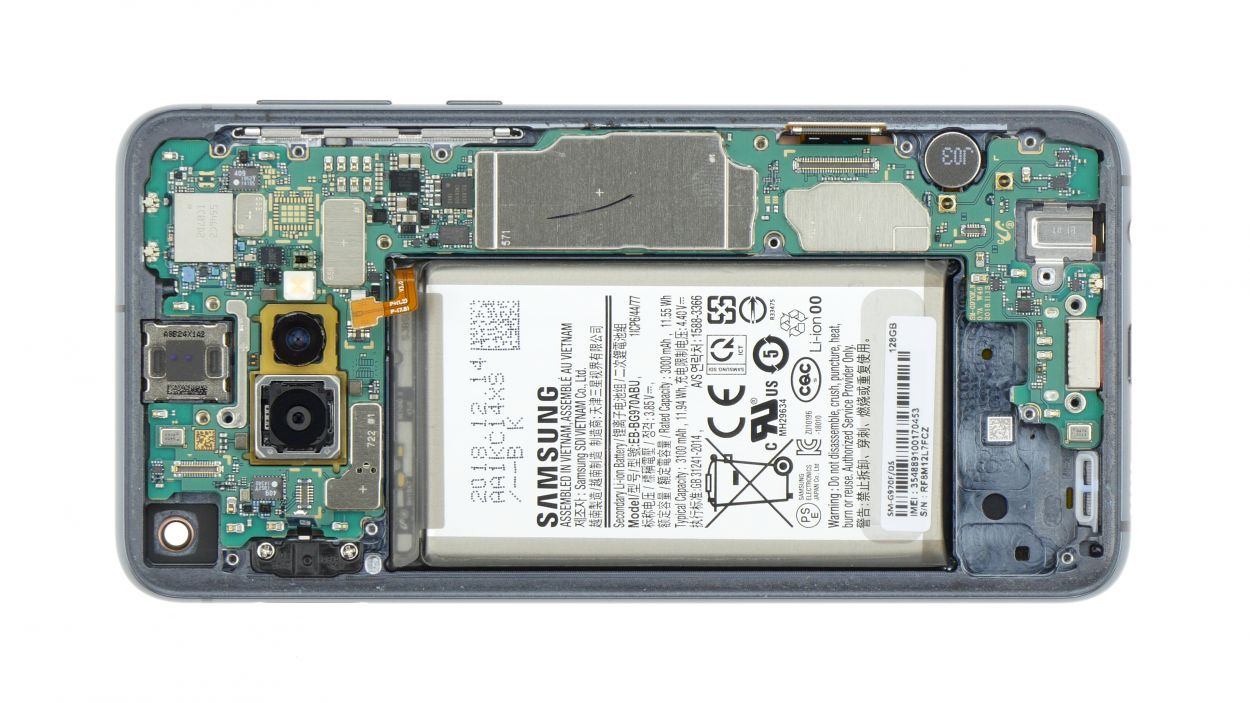
– Once it’s out, place the board in a safe spot. You’re doing great!
Step 9
3 × 3,7 mm Phillips
Display connector
Fingerprint connector
– Grab that motherboard and gently slide it into place! Just a heads up—watch out for those cables, we don’t want any pinching! Give those connectors a little bend to the side.
– Start by laying the board at the bottom and snugly press the charging socket into its designated spot. Then, gently press down the board until it’s perfectly seated all around.
– Time to pop in the SIM card holder! If it seems a bit stubborn, don’t force it. Check to make sure the mainboard is sitting just right.
– Now, let’s secure the motherboard by tightening those screws.
– Lastly, reconnect all those connectors and you’re all set!
Step 10

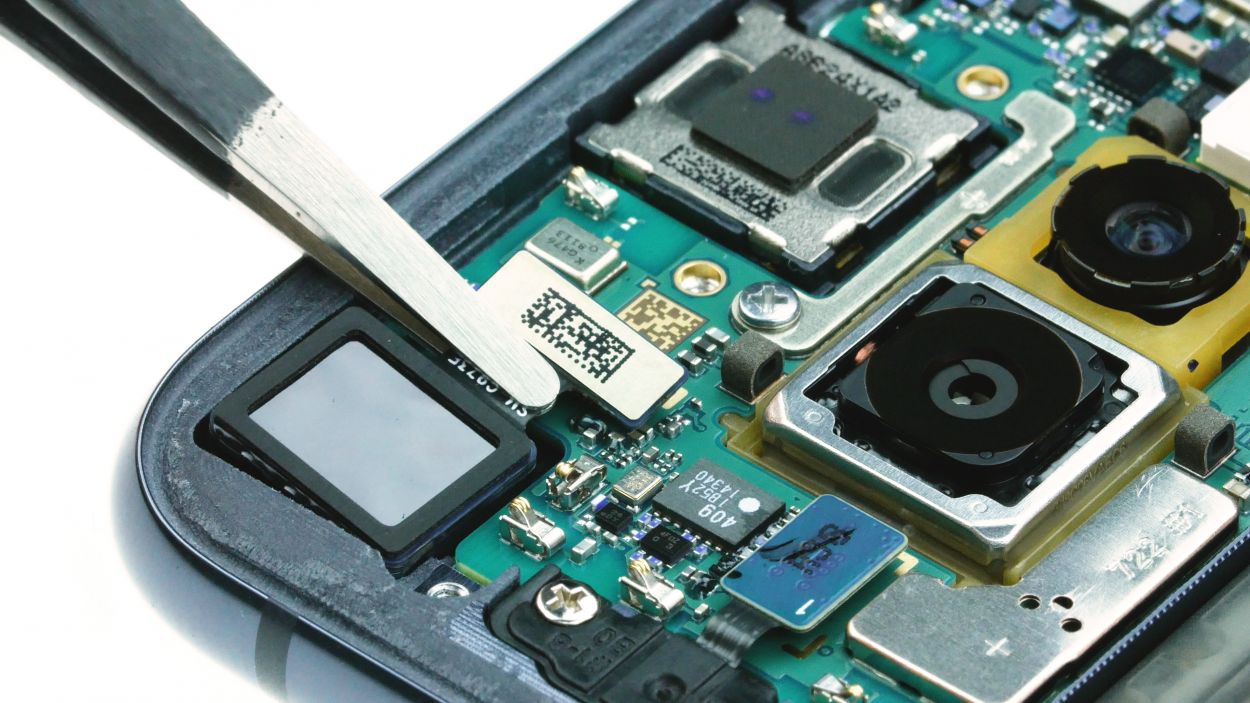
Camera Connector
Don’t forget to peel off all those protective films and give the camera lens a little love with a dust-free wipe. A clear lens makes for clearer memories!
– Pop that front camera into place and give its connector a nice snug fit!
– Camera Connector
Step 11

– Gently slide the audio jack in and give it a little press until you hear that satisfying click!
– Now, let’s reconnect that connector and get back on track.
Step 12

7 × 3,9 mm Phillips
– Now, gently place the speaker back over the USB port, press it down snugly, and secure it with screws. You’ve got this!
– Double-check that it’s locked in place at the bottom. You’re almost there!
Step 13
Battery Connector
– Plug the battery into the motherboard and give it a gentle press until you hear that satisfying click. It’s like a little handshake between friends!
Step 14


8 × 3,9 mm Phillips
– Gently slide the cover back into the enclosure after securing it to the top. You’re almost there!
– Now, give that cover a little press with your fingers until you hear a satisfying click—it’s like a little victory!
– Lastly, grab your trusty Phillips screwdriver and tighten those screws to keep everything snug and secure.
Step 15

Be sure to give all the functions of the part you swapped out a good test run. Let’s make sure everything is working like a charm!
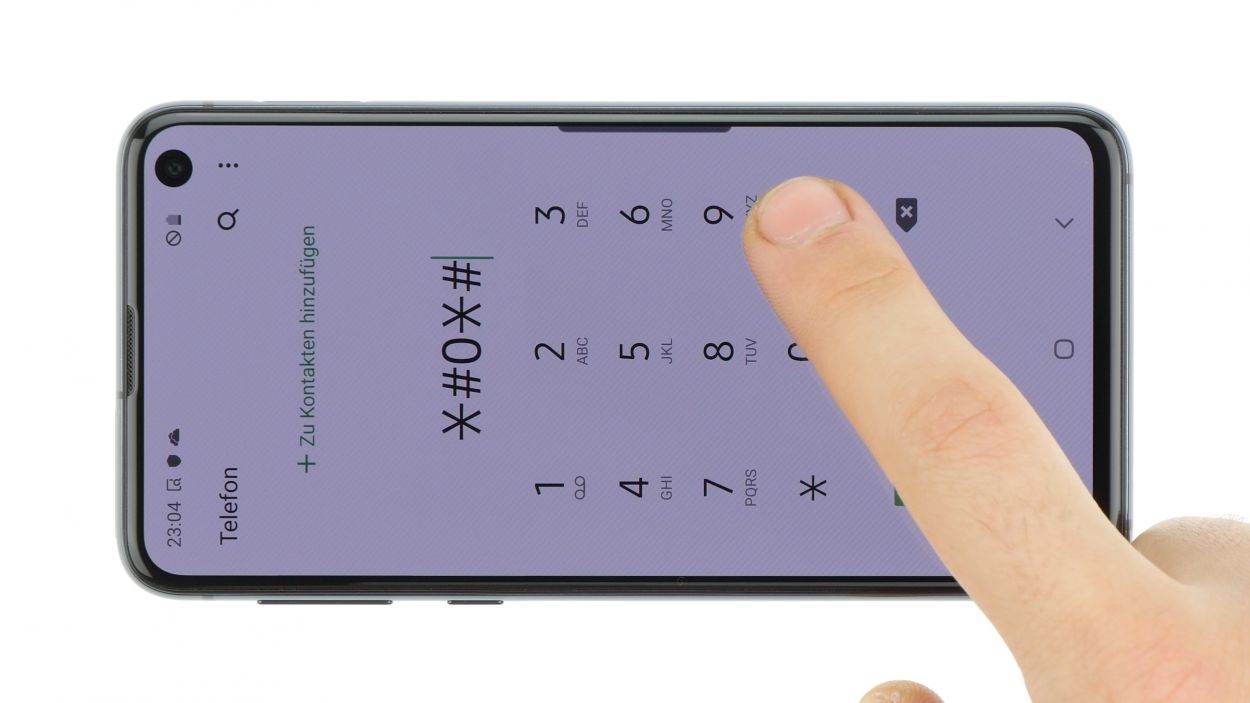
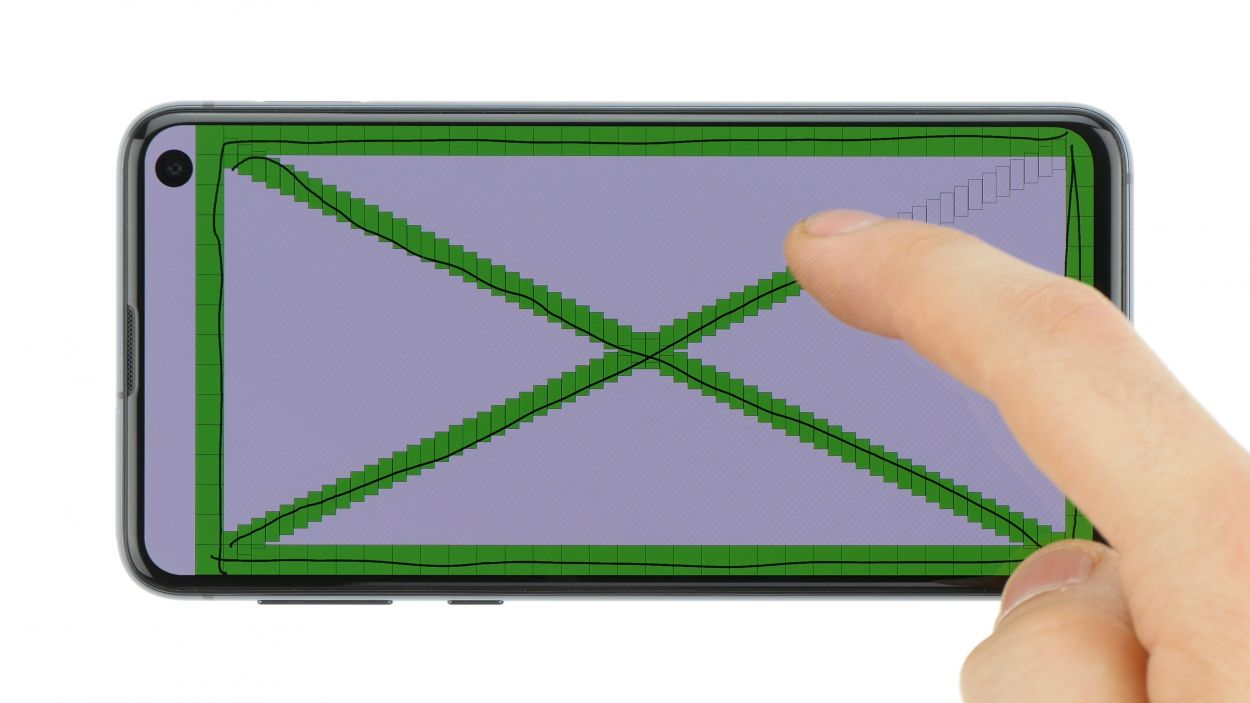
– Fire up your device and give it a whirl with the built-in test mode!
– Dive into the test mode by dialing *#0*# on your device.
– Just follow the prompts to check out the screen, cameras, and sensors. You’ve got this!
Step 16


If the adhesive on your back cover is still holding strong, you’re in luck! You can seal up your device without needing to grab a new adhesive frame. Keep it simple and let that sticky stuff do its job!
– Carefully place the back cover back where it belongs.
– Give that back cover a gentle press all around so the glue can do its magic!

