Galaxy S10e – Replacing the back cover
Duration: 30 min.
Steps: 3 Steps
Did your Samsung Galaxy S10e take a tumble and now the back cover is looking a bit worse for wear? No worries! With our easy-to-follow, step-by-step photo guide, you can swap out that back cover like a pro. Just a heads up: the S10e’s back cover is made of glass and is glued on pretty tightly. So, make sure you carve out some time for this little adventure. And remember, working on a clean surface is key to keeping your display and new back cover scratch-free during the process. If you need help, you can always schedule a repair.
Step 1

Tap that little Play button in the top right corner of the image to kick off a video for each step. It’s like having a buddy right there with you!
– Let’s kick things off by powering down your device! Just press and hold that power button until the ‘Power off’ option pops up on your screen.
– Once you see it, give it a tap with your finger to confirm you’re ready to shut things down. Now just hang tight and watch the screen go blank!
Step 2


– The back cover is really stuck to the chassis like it’s playing hard to get. So, let’s give it a little warmth! Use some hot air to evenly heat the device and soften that glue. A cozy temperature of 60 – 80°C should do the trick. Just make sure it’s still cool enough for you to touch comfortably.
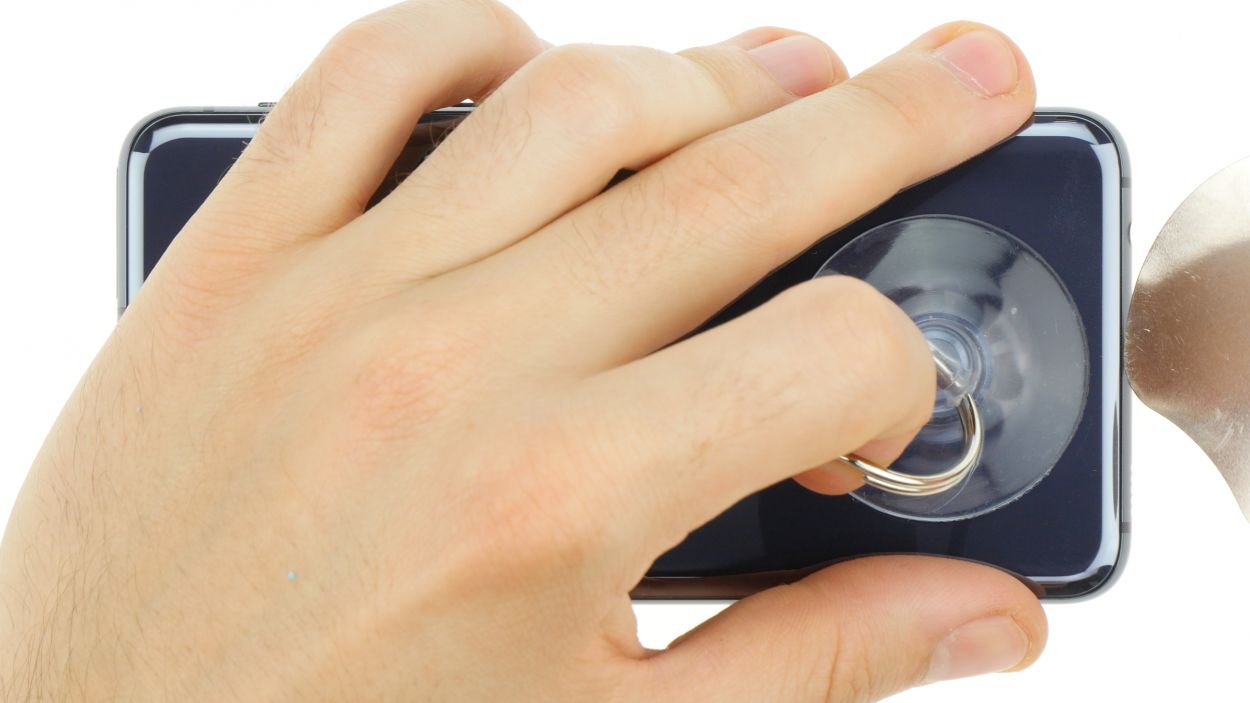
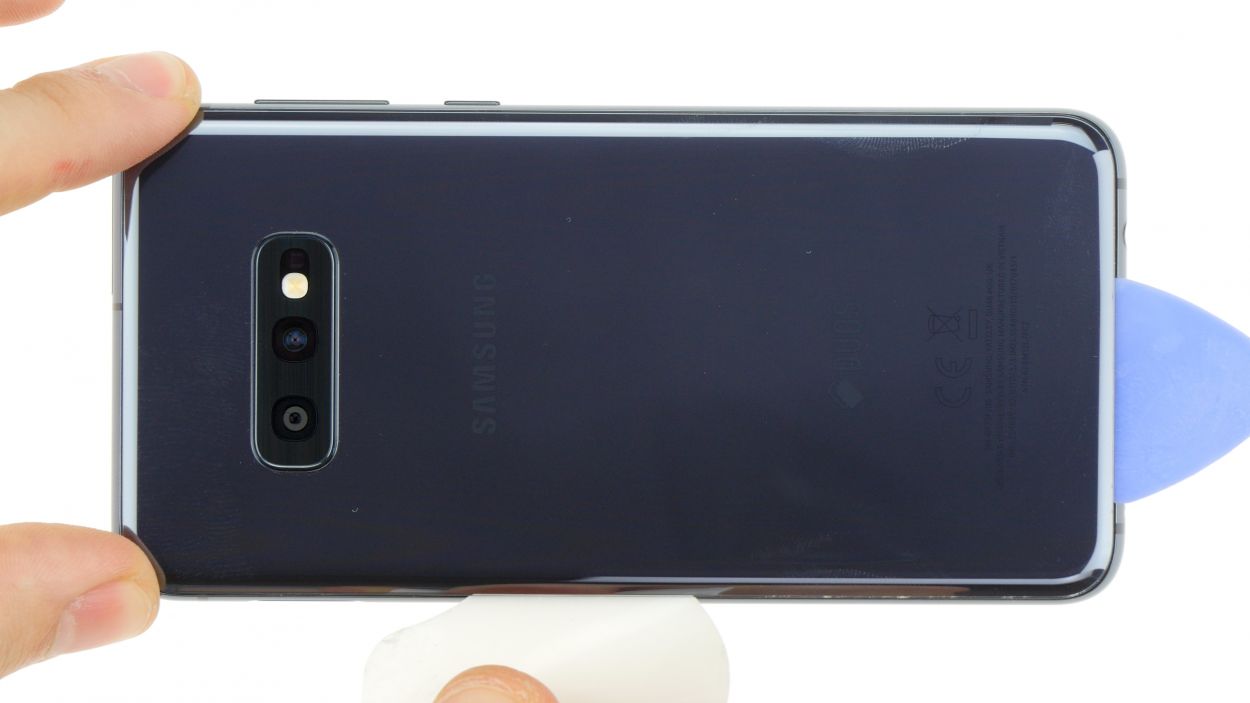
– To gently pry off the back cover, grab a flat and flexible tool, like the iPlastix or iFlex. You’ll also want a few picks handy to help unstick the cover all the way around.
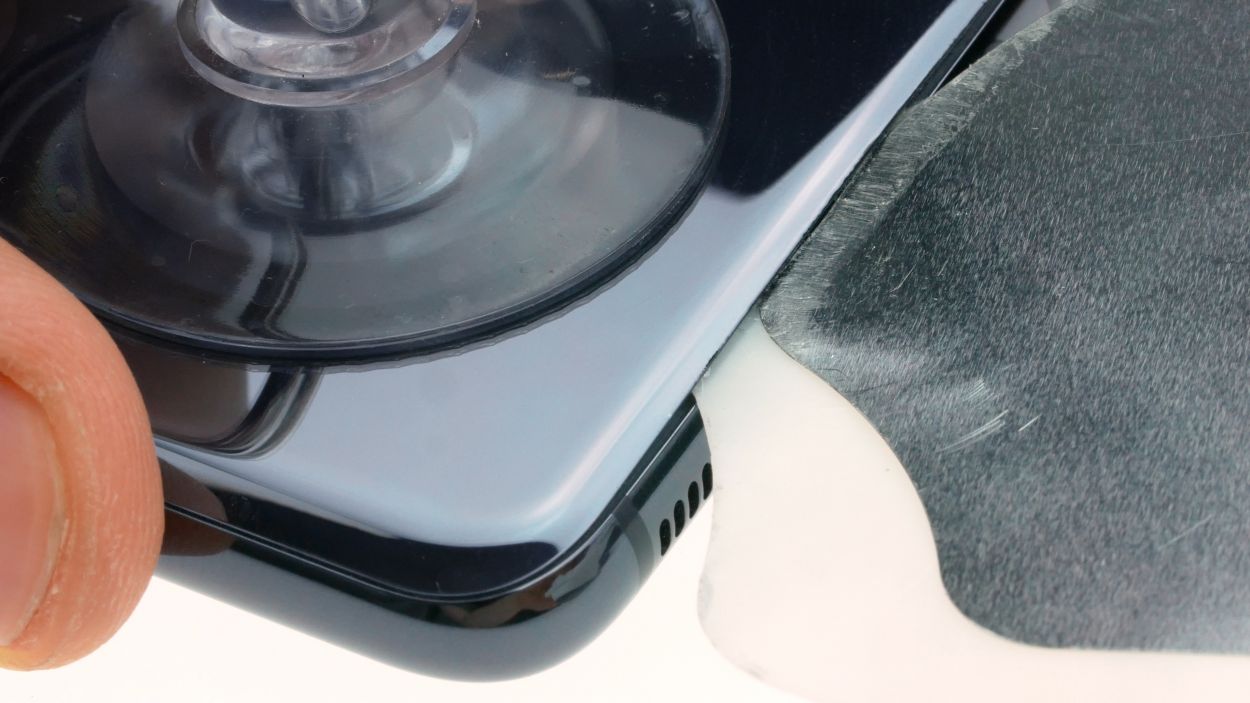
– Start heating up the area where you want to begin, then slide a flat tool between the back cover and the frame to get the party started.
Hey there, take it easy! The back cover is a bit of a delicate flower and can crack if you’re not careful. If things aren’t going your way, feel free to warm it up a few times and give it another shot. Just a heads up, popping off that back cover might take a bit of time—like half an hour or so. So, take a breather, work with a gentle touch, and let’s keep everything in one piece!
The iPlastix is crafted from plastic, so it’s gentle on your device and won’t leave any scratches. However, it can be a bit soft and tricky to maneuver. The iFlex, on the other hand, is your best buddy for slipping into that tight space between the glass and the frame, thanks to its ultra-thin, sturdy metal design. Just keep in mind, it might scratch the frame of your S10e if you’re not careful. Start your journey with the iFlex to get into that gap, and then switch to the iPlastix as soon as you can for a smoother ride!
Step 3


Feeling crafty? Give your device a little warmth with some hot air, then give it a gentle squeeze with a couple of books. This will help the glue bond like best buddies!
– Peel off all those pesky protective foils from the sticky spots.
– Gently place the back cover back where it belongs.
– Give the back cover a nice press all around to make sure the glue gets a good grip.