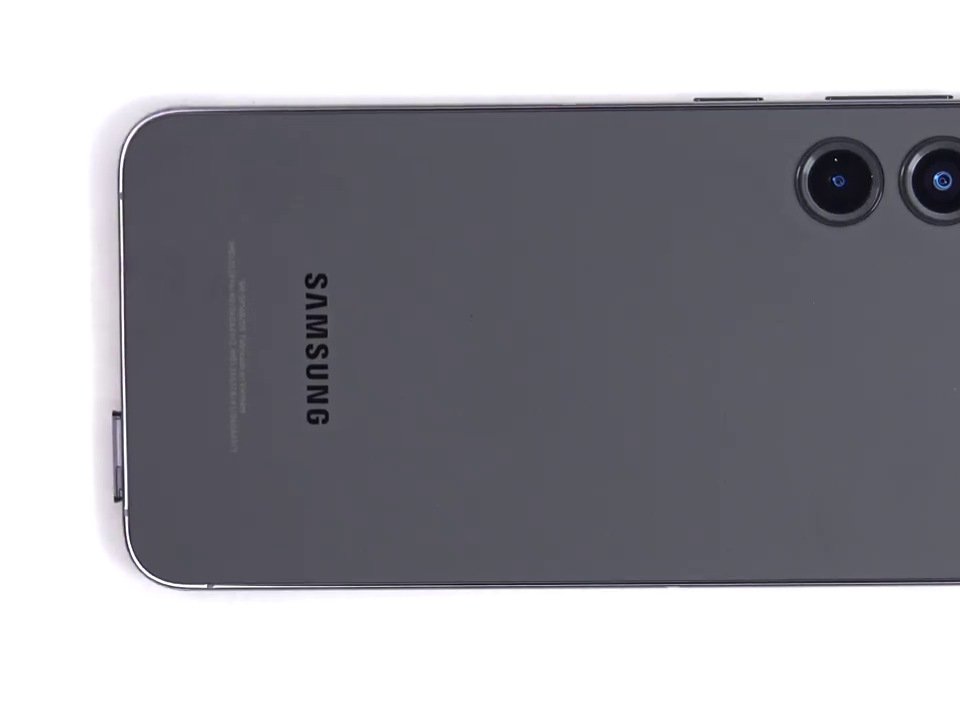
Galaxy S23+ Teardown
Duration: 45 minutes
Steps: 9 Steps
Step 1


– Grab your trusty SIM card eject tool and gently pop out the SIM holder along with the SIM card, if it’s hanging out in there.
Step 2


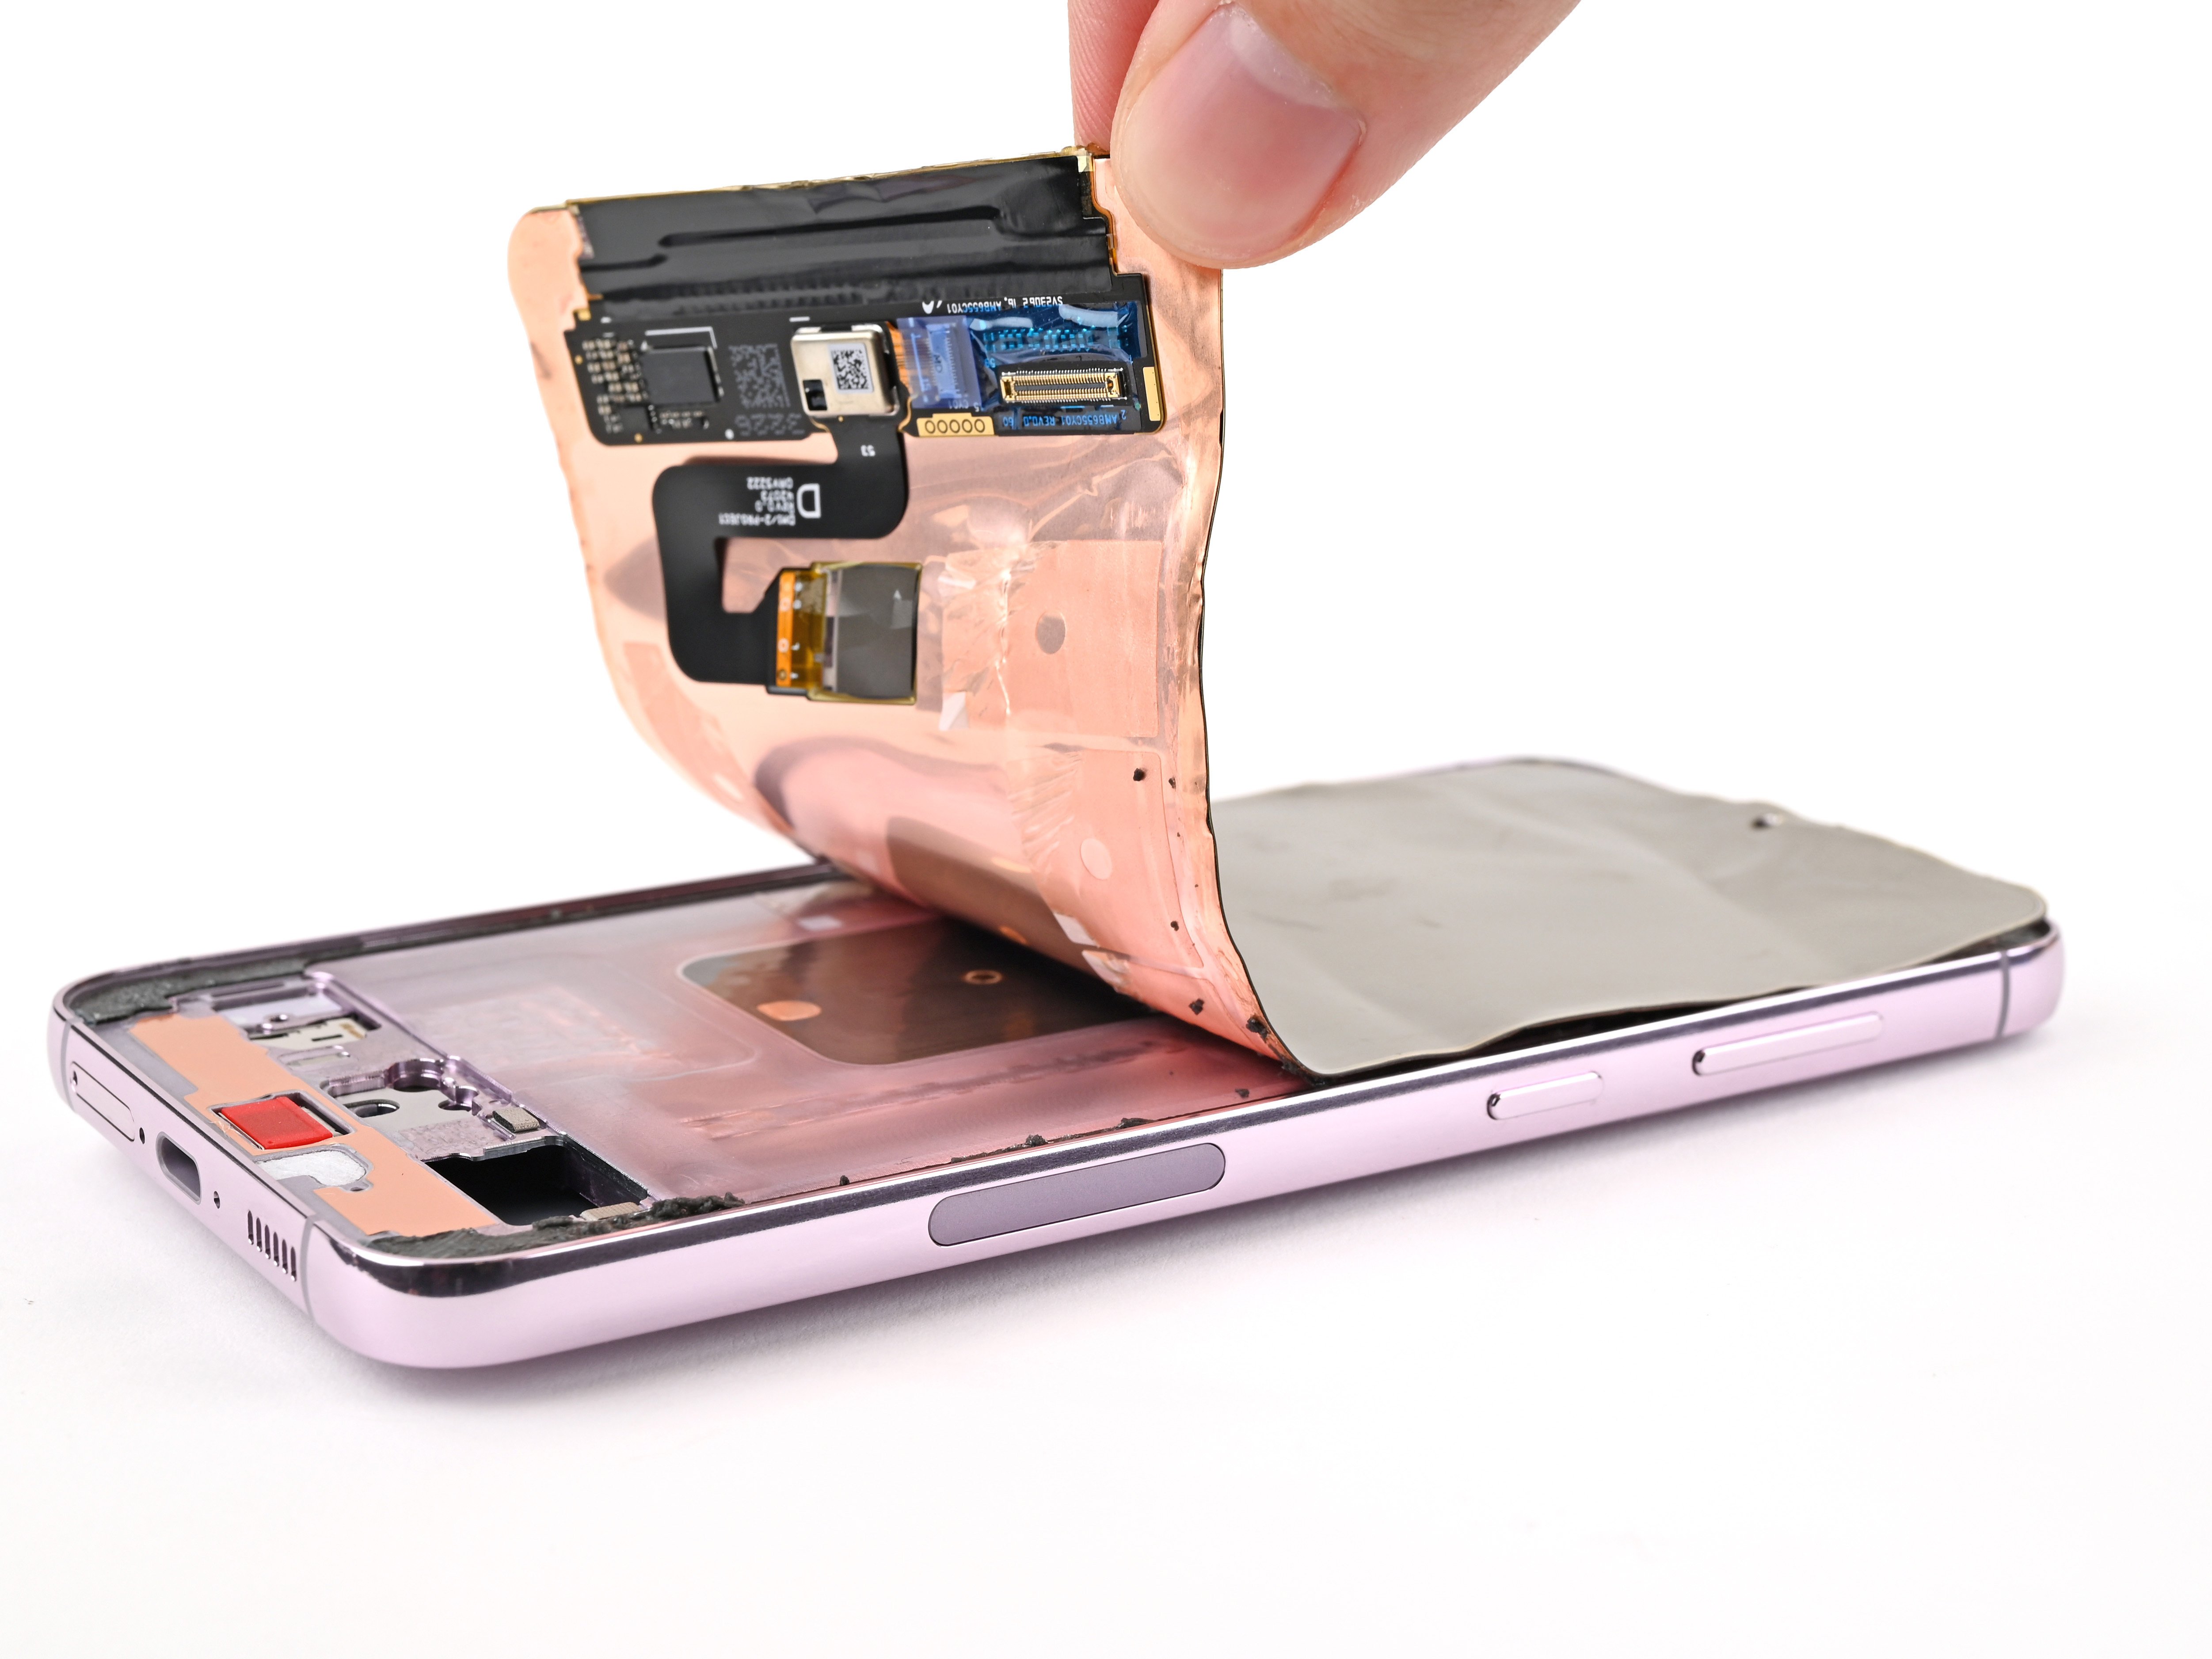
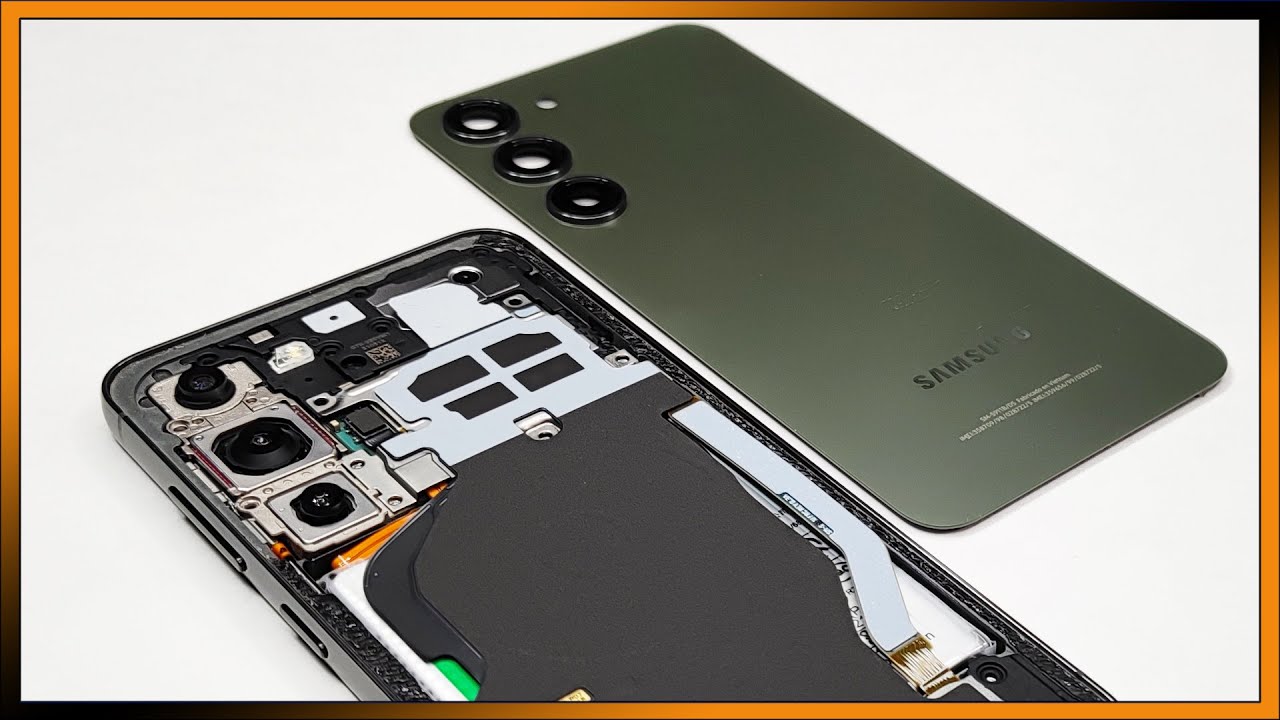
– Grab your opening pick and suction handle, then gently slice through the adhesive holding the rear glass. Off it comes—nice and easy!
Step 3

– Time to tackle those 20 Phillips #00 screws—grab your screwdriver and get spinning!
Step 4

– Disconnect the two connectors linking the wireless charging pad to the motherboard and gently remove it. If you need help, you can always schedule a repair.
Step 5

– Unplug those 5 connectors—gently does it!
– Lift out the speaker and set it aside.
Step 6

Careful! Remove the front camera only if it’s really glued to the screen—sometimes it’s a stubborn little thing. Take your time and be gentle. If you need help, you can always schedule a repair.
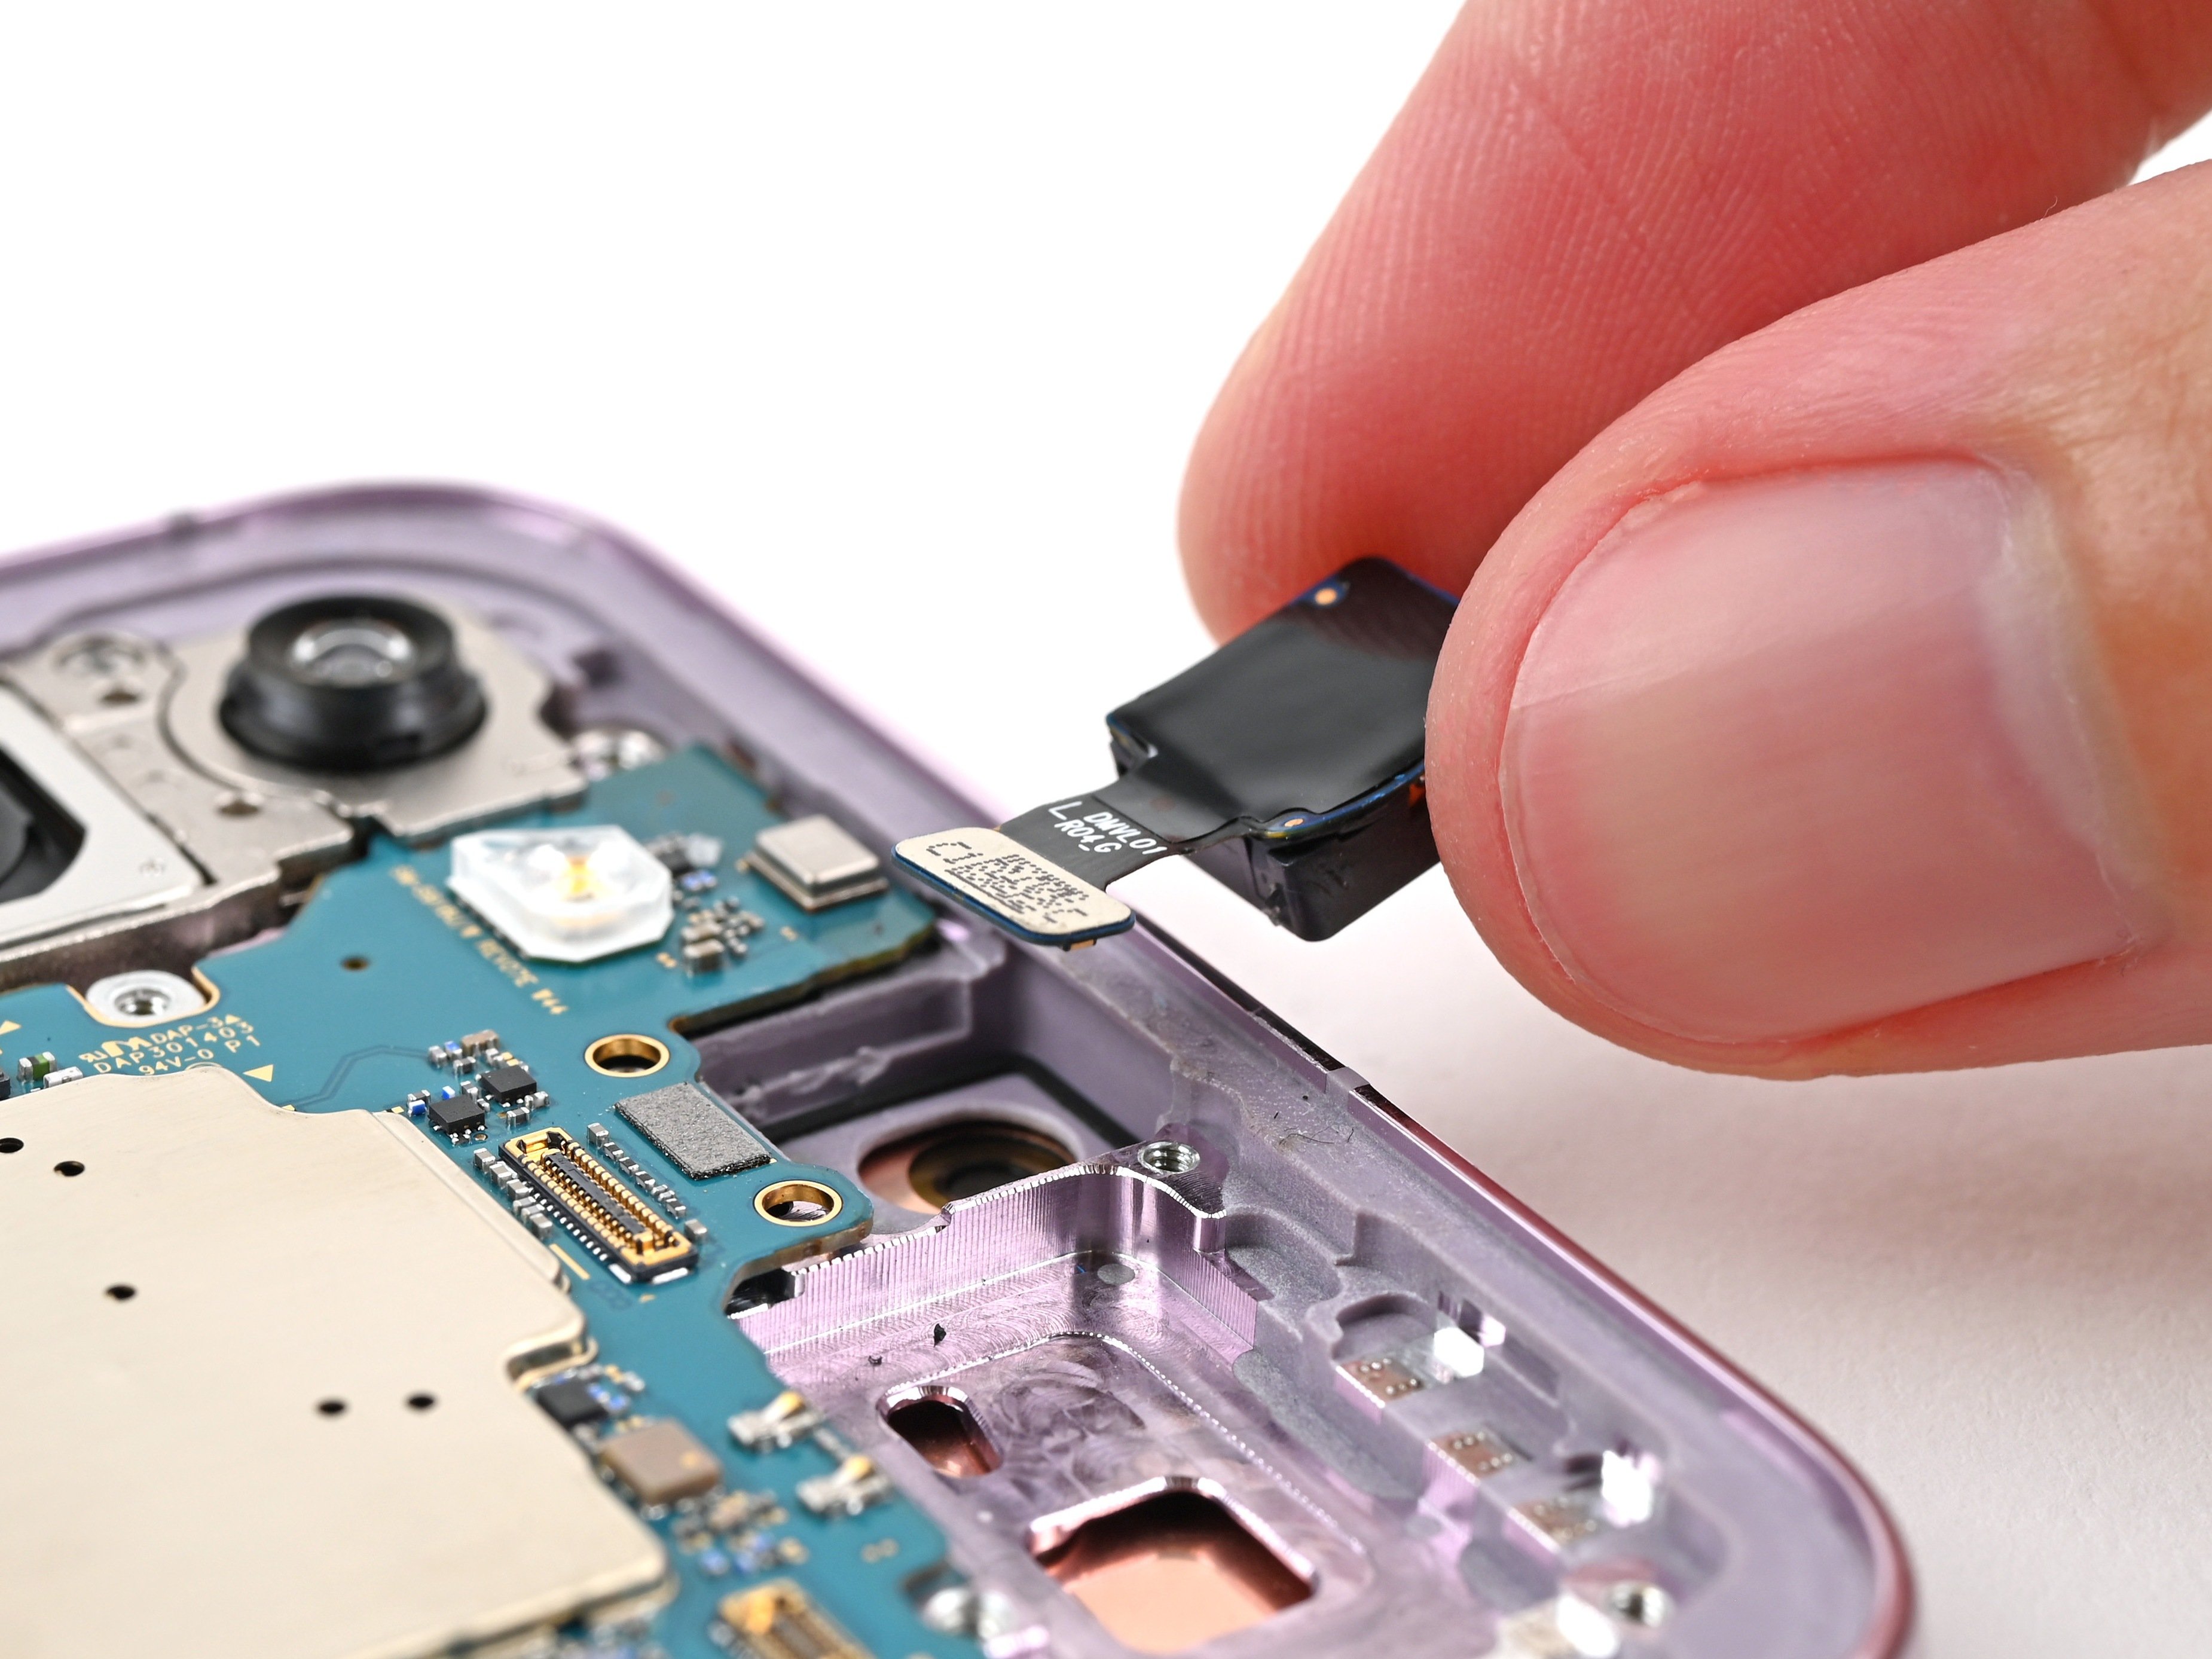
– Gently unplug the front camera connector. You’ve got this – it’s just a quick disconnect to keep things moving!
Step 7
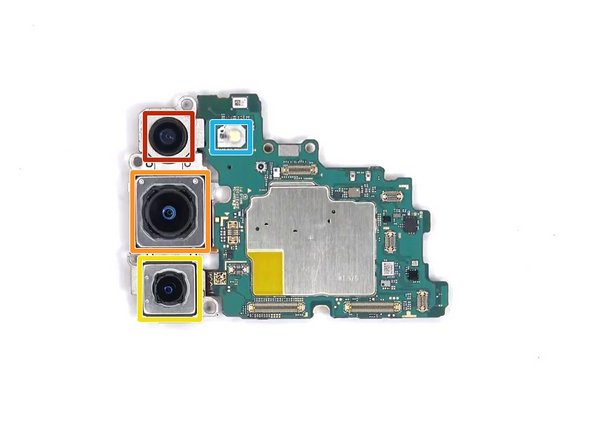

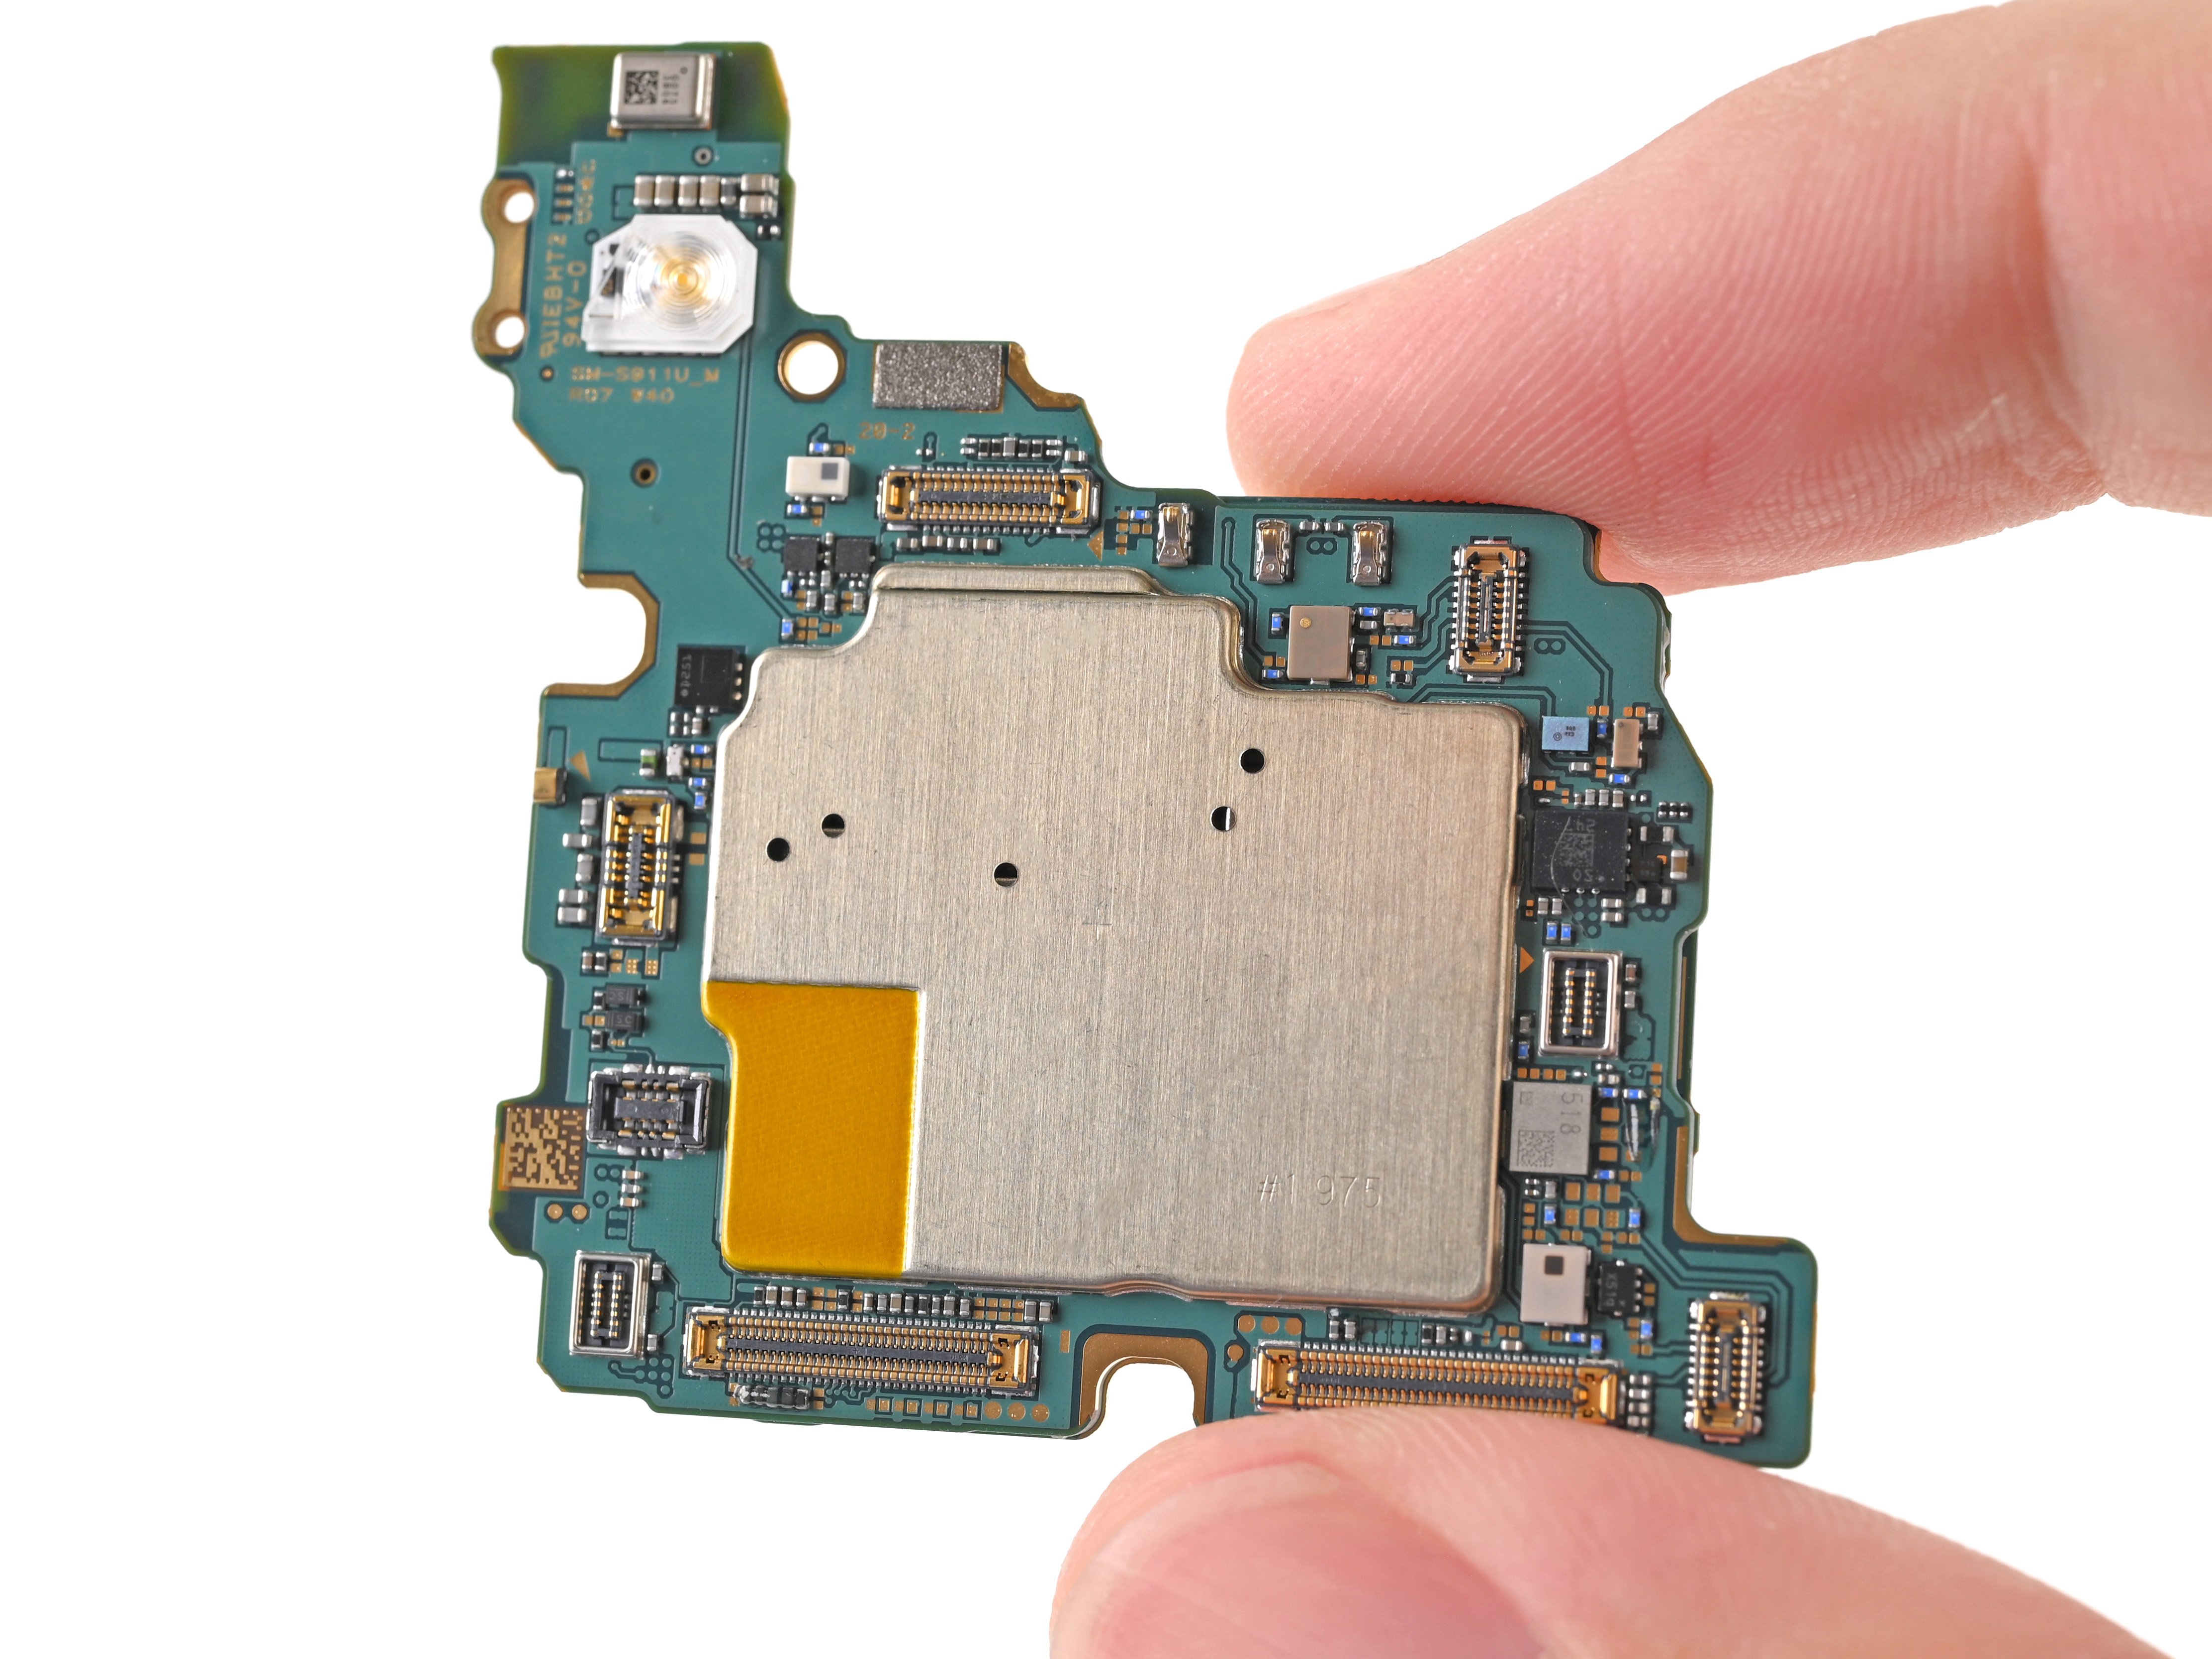
– Gently lift the motherboard using an opening pick—nice and easy does it!
– Spot the 12 MP ultrawide camera flexing its wide vision.
– Check out the 50 MP wide camera, complete with optical image stabilization for those crisp shots.
– Say hello to the 10 MP telephoto lens, also rocking OIS for super steady zooms.
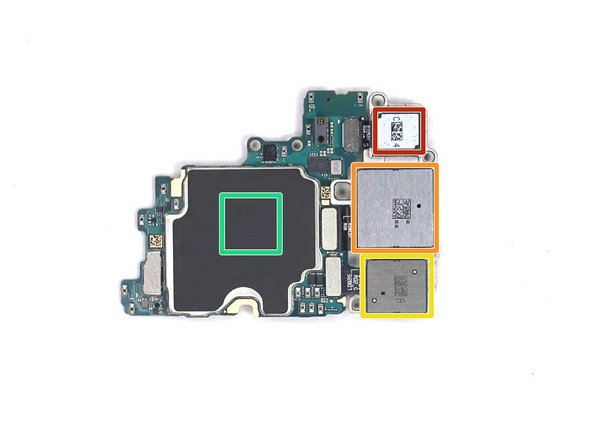
– Right underneath, you’ll find the RAM cozied up with the CPU.
– There’s a bonus: a secondary microphone and the flashlight hanging out nearby.
Step 8


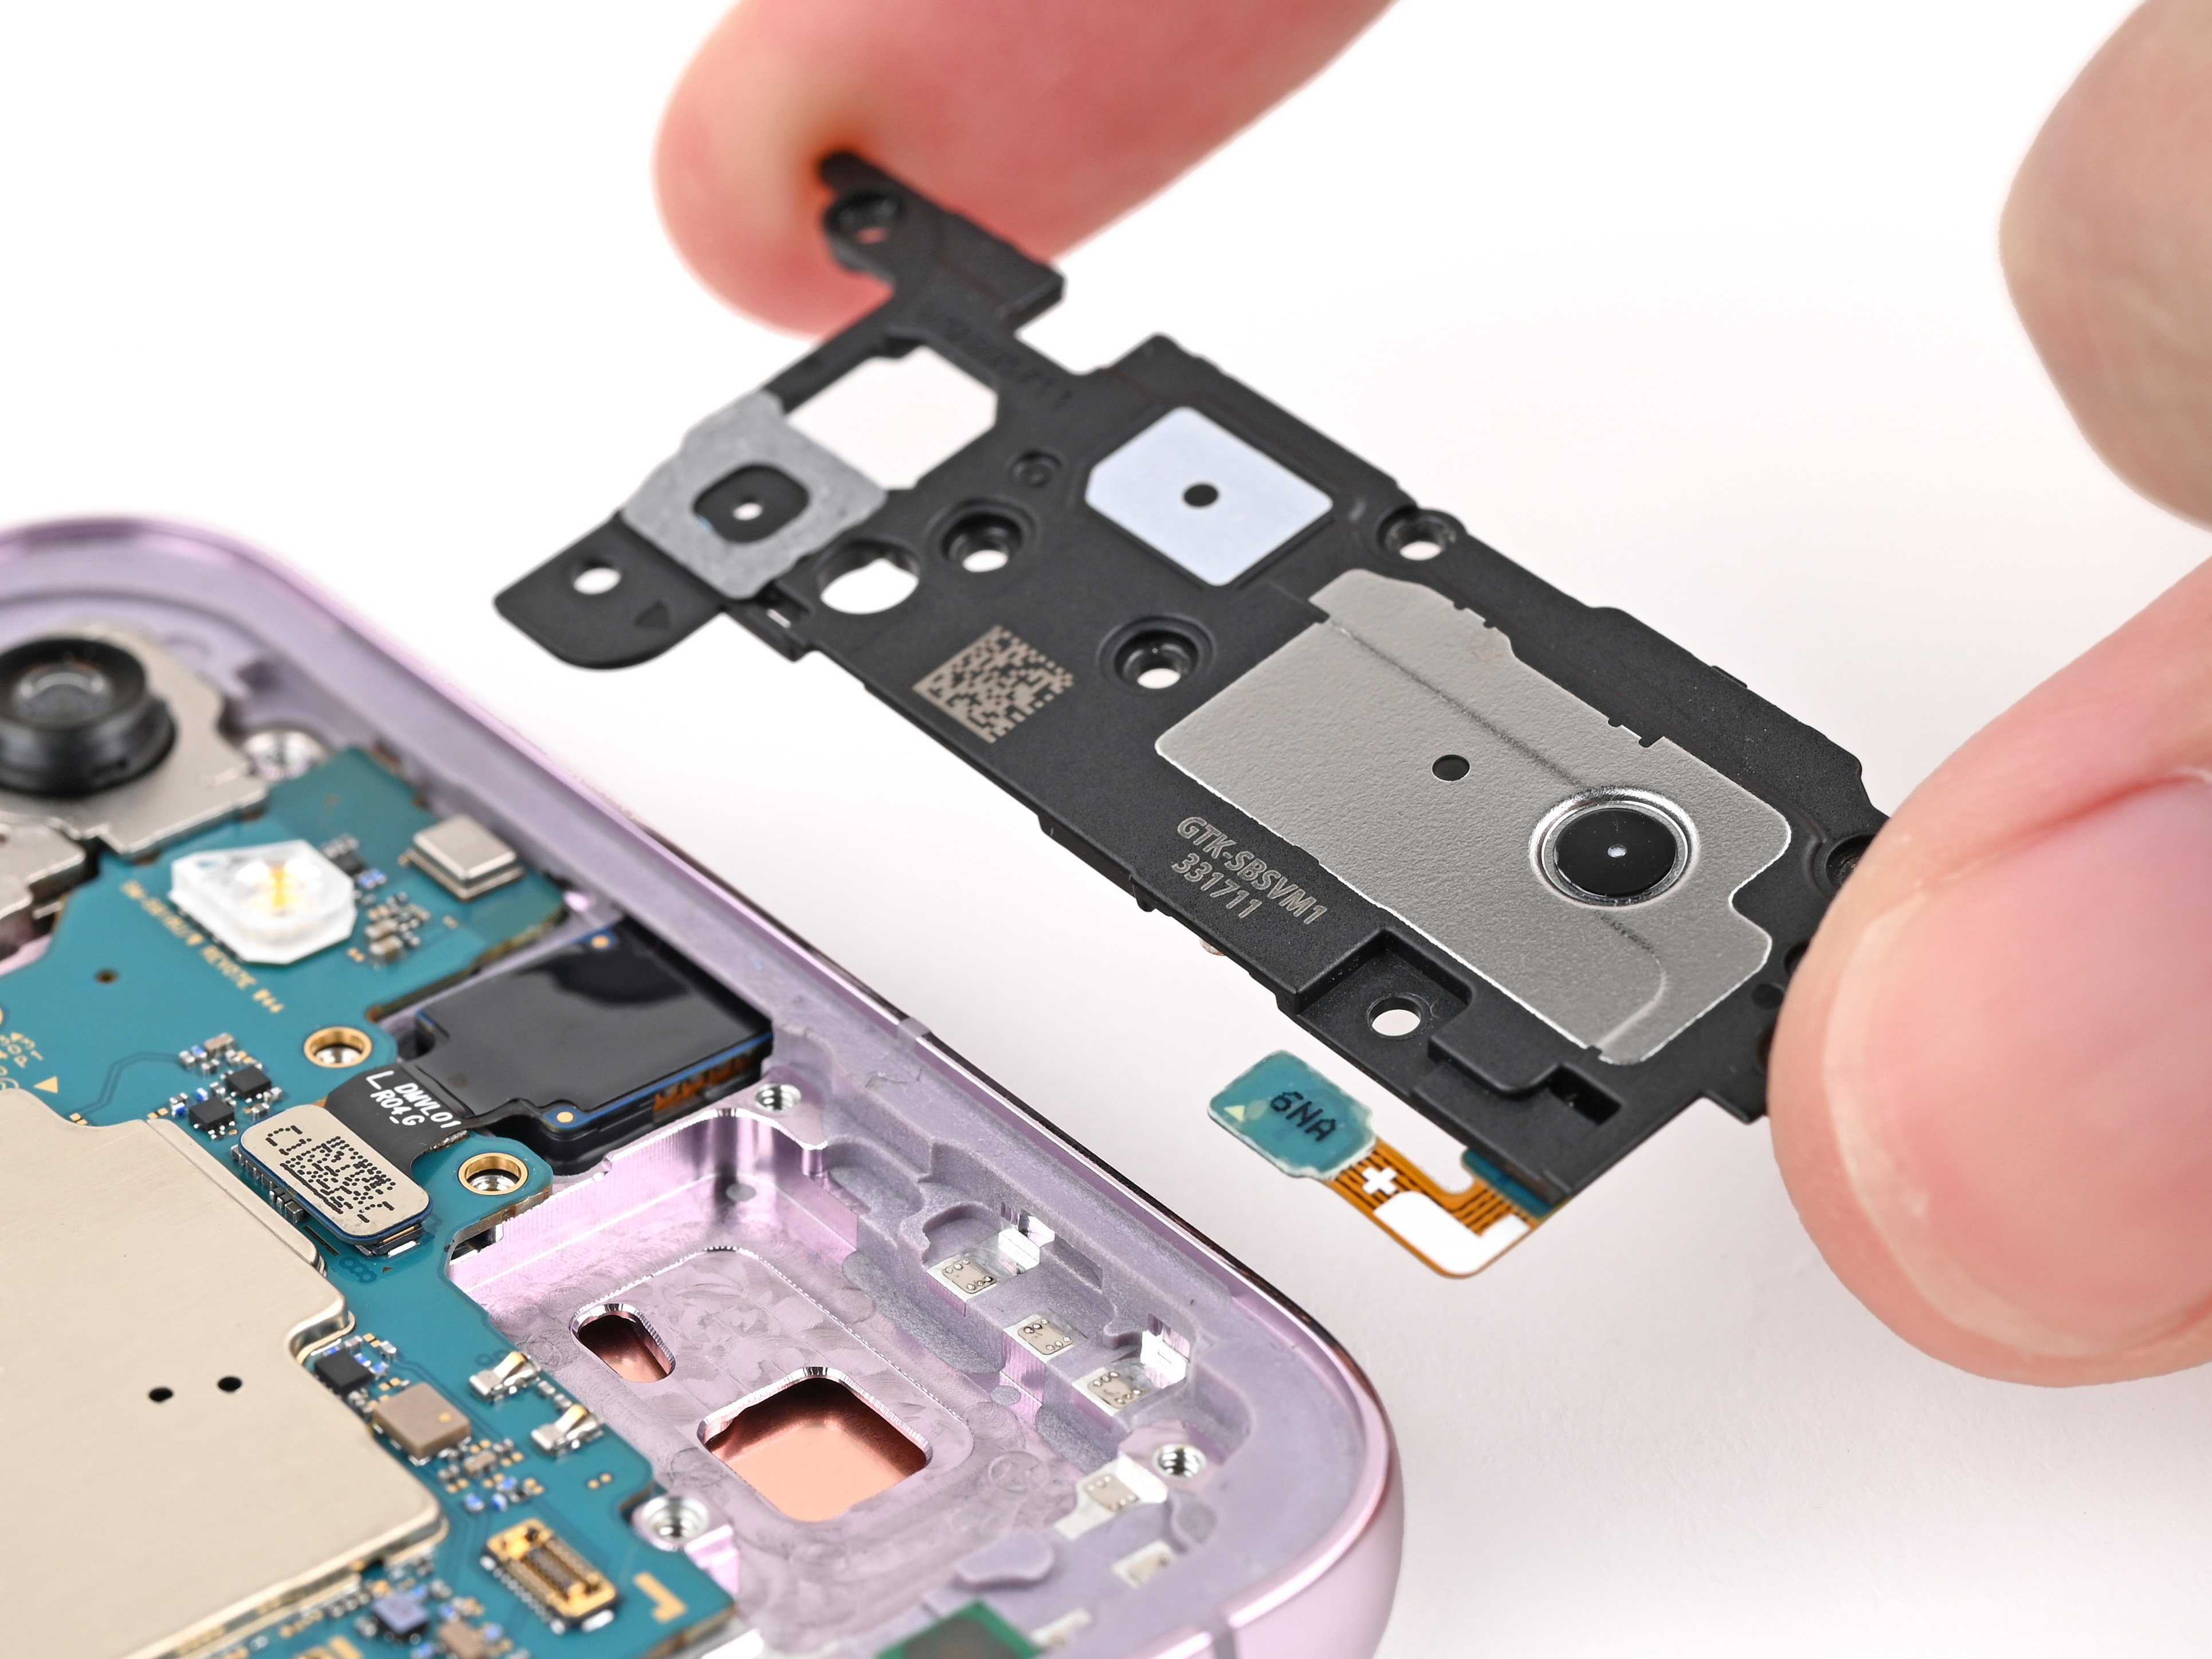
– Grab an opening pick and gently pry out the speaker assembly—no need to force it, just a smooth move.
– Next, unplug the three connectors connecting the components—careful not to tug too hard.
– Then, unscrew the three Phillips #00 screws holding the charging board in place and lift it out. If you need help, you can always schedule a repair.
Step 9

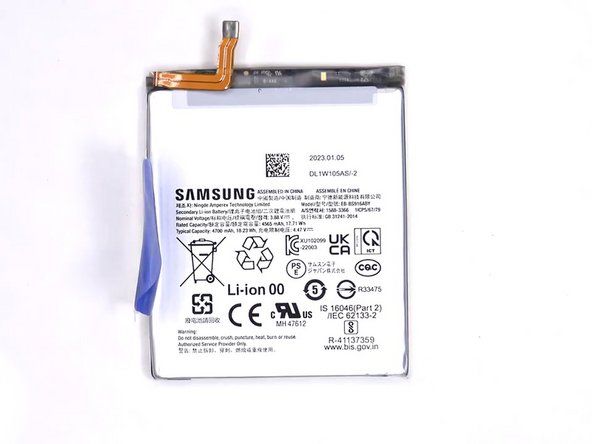
– Grab the handy tab and gently lift the battery out.
Success!