Game Boy Advance Teardown
Duration: 45 minutes
Steps: 12 Steps
Ready to give your Game Boy Advance a little TLC? This guide walks you through taking apart any part of your device, whether you’re swapping a screen or just curious about the inside. Grab your tools and let’s get started!
Step 1


– Pop off the back battery cover by pressing down on the tab and giving it a gentle pull.
Step 2

– Grab your Y1 screwdriver and carefully unscrew those six back panel screws. You’re doing great—keep going!
Step 3

– Grab your Phillips #1 screwdriver and gently twist out that bottom back panel screw. You’ve got this!
Step 4

Heads up: as you lift off the back panel, keep an eye on the right and left triggers, side panels, and the power switch—they like to make a break for it!
– Gently pry off the back panel by pulling it away with one hand while keeping the front steady in the other. If you get stuck, remember you can always schedule a repair for extra help.
Step 5


– Gently lift and pull off the left and right triggers from the system—they’ll come right out.
– Repeat the same for the side panels. Easy peasy!
If your trigger is acting up or stuck, it might just need a little realignment. Carefully adjust and reassemble everything. Often, jammed triggers are caused by buttons that got out of place or are jammed inside their enclosure. Take your time to make sure everything is sitting correctly, and your trigger should be back in action in no time. If you need help, you can always schedule a repair.
Step 6


– Gently lift the gray On/Off switch by pulling it upward and away from the device. If needed, swap it out with a new switch. Remember, if things get tricky, you can always schedule a repair with Salvation Repair.
Step 7

Heads up: Some Game Boy Advance models skip the last screw on the right. If yours is missing, don’t sweat it—you’re right on track!
– Using a Phillips #1 screwdriver, carefully remove the three screws holding the circuit board in place. Keep them safe—you’ll need them later. If you run into any trouble, remember you can always schedule a repair for extra help.
Step 8


Take it easy and be gentle when lifting the top ribbon. We don’t want any tears here!
– Gently lift the circuit board away from the front panel by prying it up from the bottom, making sure the top ribbon stays connected. Take your time and keep it steady—you’re almost there! If you need help, you can always schedule a repair.
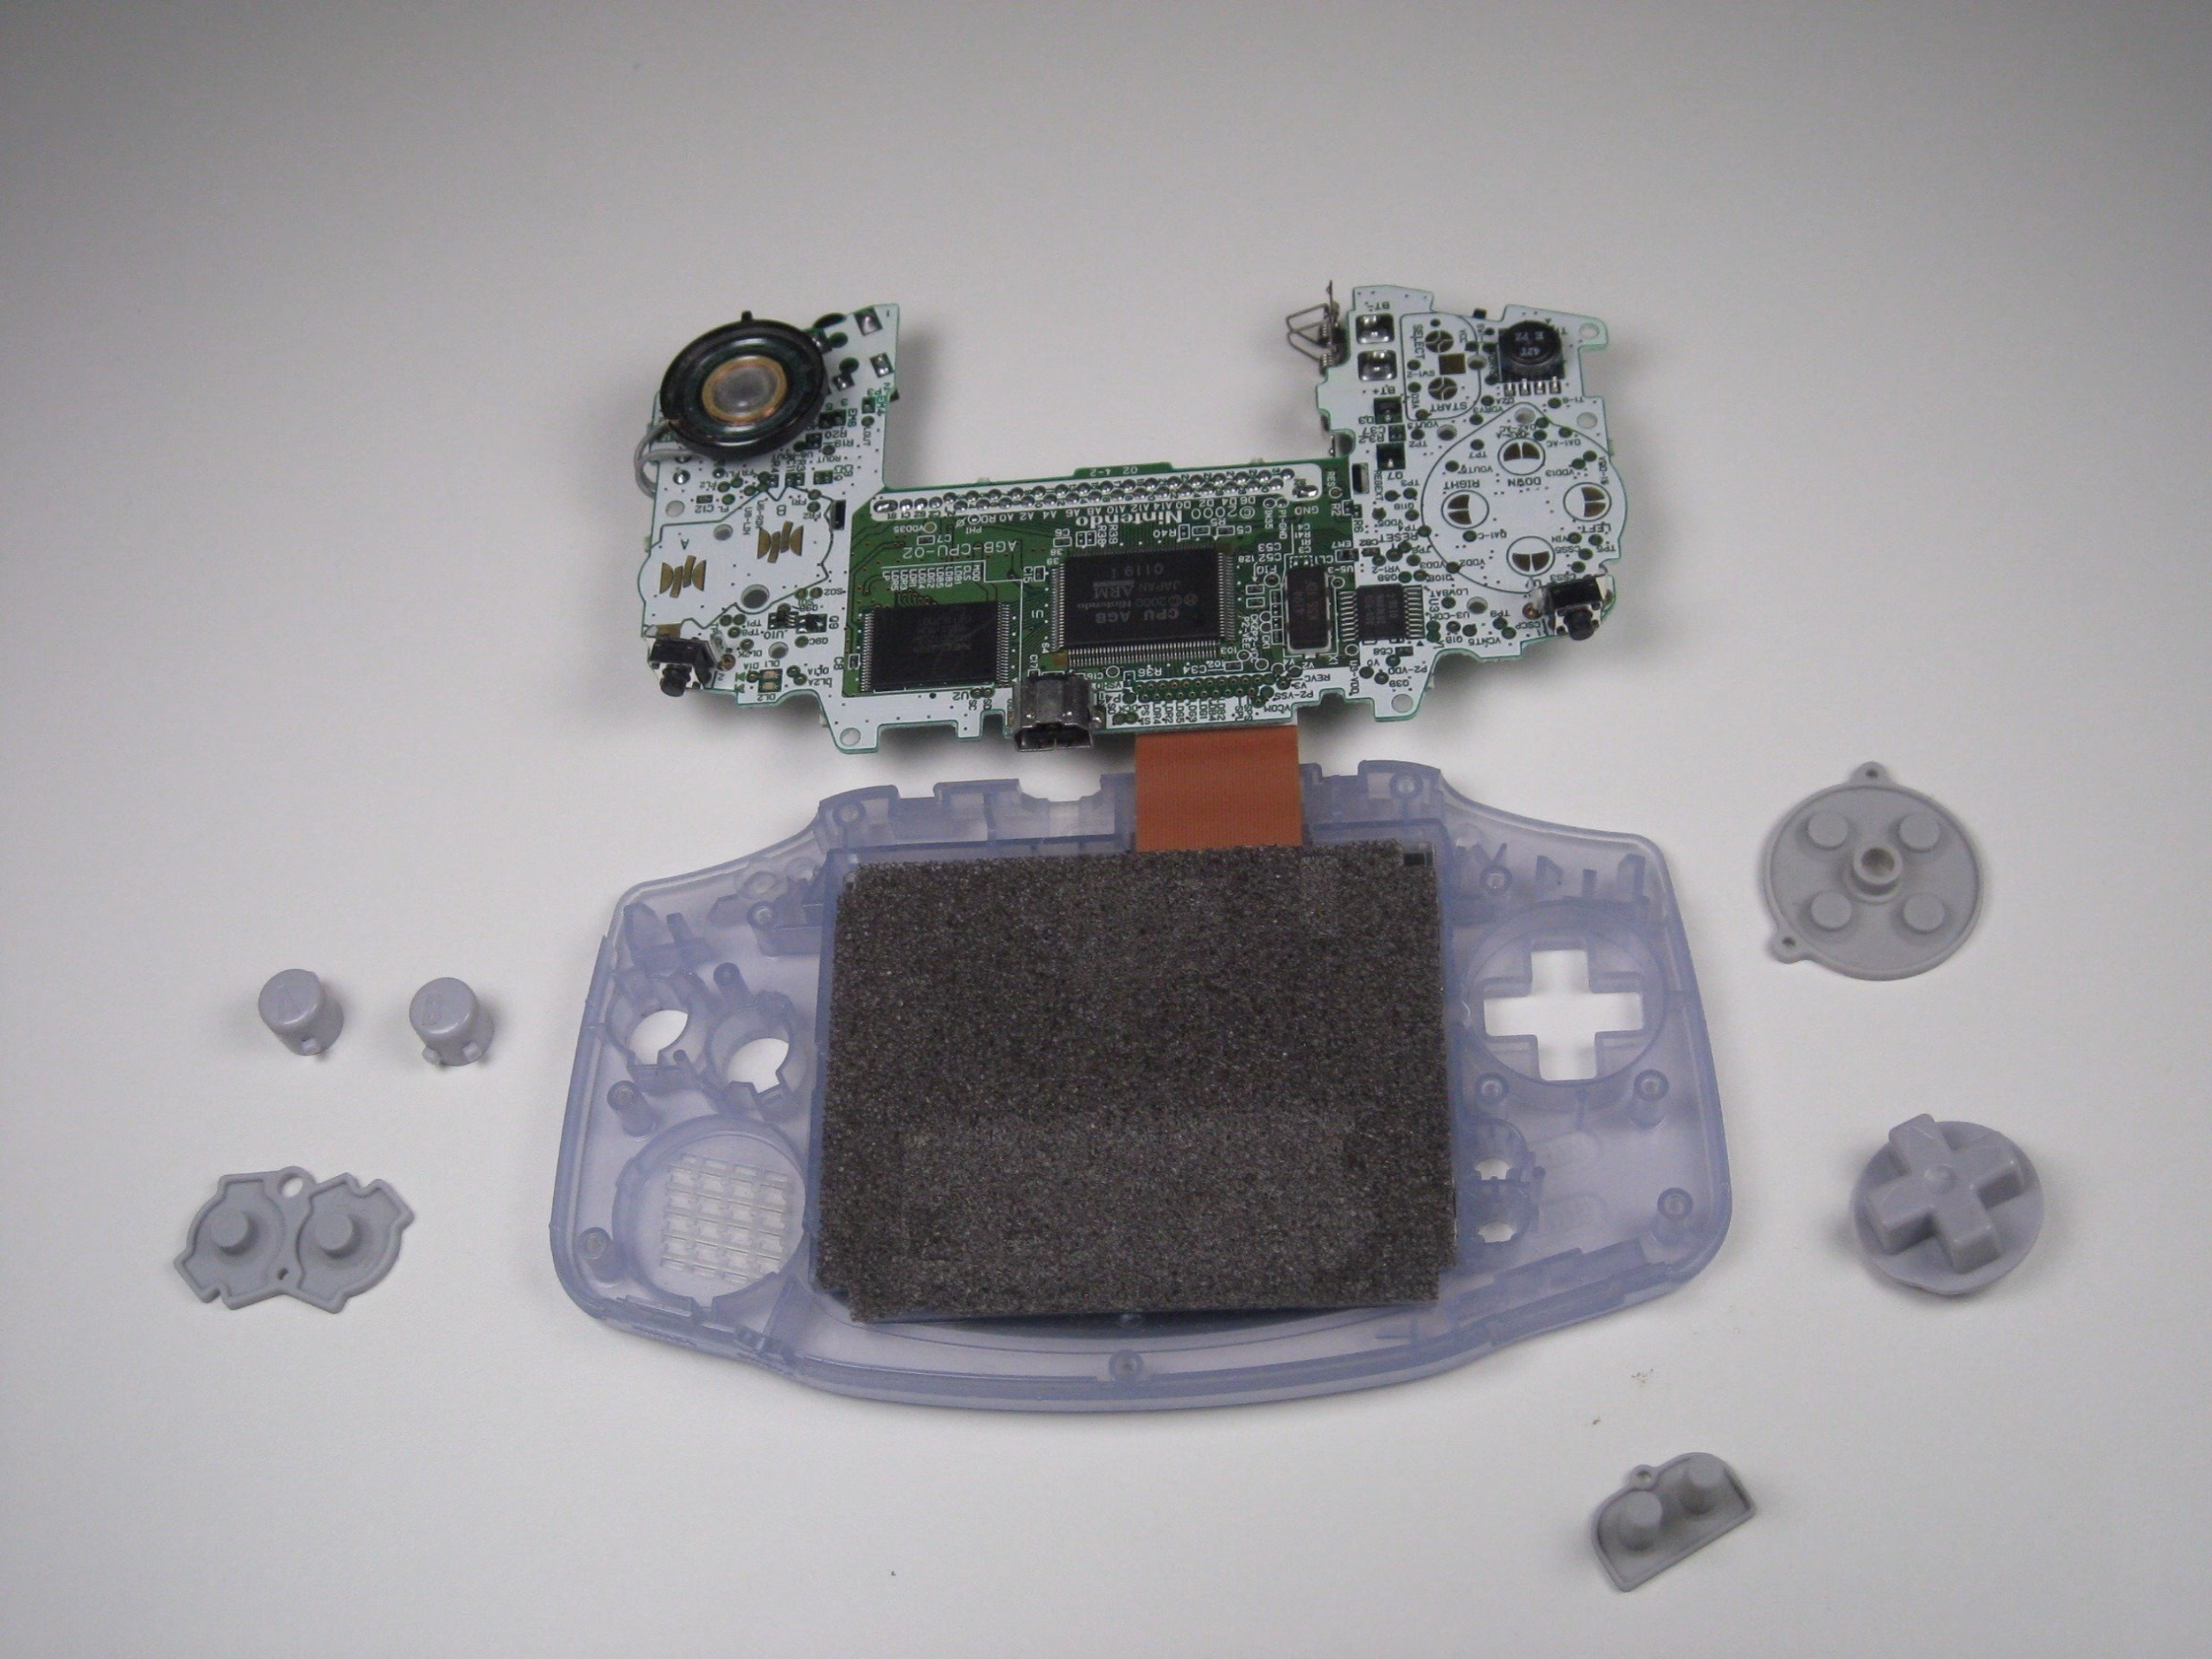
Step 9


– Gently pull the rubber button pads out of their little pockets. They should come right out with a little nudge.
– Next, use tweezers or your fingers to carefully lift the plastic buttons and the D-pad from under the rubber pads. No rush, just make sure everything comes out smoothly.
Step 10


– Grab a spudger, tweezers, or even your fingernail to gently lift the grey tabs on the sides of the LCD ribbon port. Pull them upwards towards the top edge of the PCB – it’s a smooth little move.
– Once those tabs are popped, the LCD ribbon should slide out effortlessly. You can just use your fingers or tweezers to pull it out with zero force needed. Easy does it!
Step 11


The black tape connecting the screen and front panel can be a bit delicate—think of it as a friendly obstacle that needs gentle handling to avoid ripping. Take your time and peel it away carefully, and you’ll be all set!
Warm up the other side of the front panel with an iOpener or a hair dryer to loosen up that stubborn black tape.
– Grab your spudger and gently work it under the screen, starting from the space just left of the D-pad. Take your time and lift the screen from the front panel.
Step 12

– Use the tweezers to remove the black tape if needed.
Success!