Garmin Nuvi 370 Microphone Replacement
Duration: 45 minutes
Steps: 6 Steps
In this repair guide, you’ll swap out the microphone by carefully taking apart the device to get to the motherboard. Before you start, check out our Prerequisite Guide: Disassembling Garmin Nuvi 370 Into Core Components. You’ll need some fine point tweezers and a spudger for this job. Expect it to take around 10 minutes. If you need help along the way, you can always schedule a repair.
Step 1

– By now, you should have successfully separated the screen from the motherboard, following the main dis-assembly guide. Nice job!
Step 2


– Grab your tweezers or spudger and flip up the tan latch on the ribbon cable (that’s the ZIF connector). Once the latch is up, gently slide the cable out from underneath. Easy does it!
Tools Used

Step 3

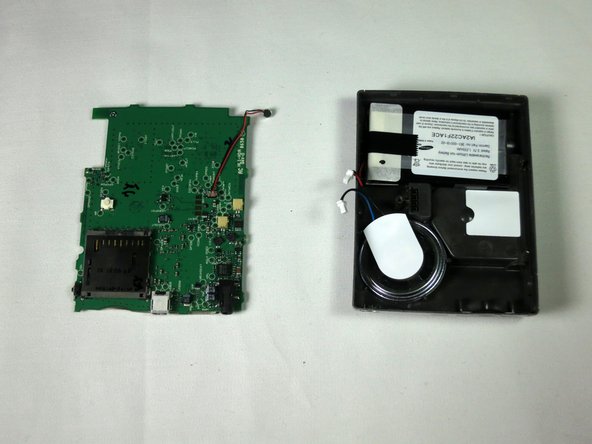
– The motherboard will now easily come off the back casing. Gently set it down flat next to the housing, like it’s taking a little rest.
Step 4


While this step isn’t mandatory, it’s a smart move to give yourself extra space to work comfortably. Taking a little extra time now can make the whole process smoother. If you need help at any point, you can always schedule a repair.
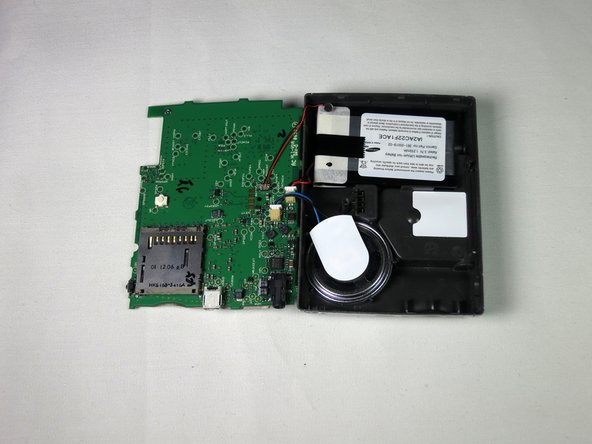
– Unplug the speaker and battery connectors from the motherboard. This will free the motherboard from the back panel.
– Tweezers or a spudger will make this job a breeze—give them a try for some extra precision.
Tools Used
Step 5

– Carefully wiggle the microphone wire out of the terminal. Tweezers are your best friend here for a precise pull.
Tools Used
Step 6

– You’ve successfully liberated the microphone from the motherboard—great job! Now, it’s time to connect the shiny new microphone component.
– Go ahead and plug in that fresh, functional microphone component. You’re on your way to sound success!
Success!