Geek Bar Pulse Teardown
Duration: 45 minutes
Steps: 6 Steps
Ready to give your Geek Bar disposable vape a little TLC? Let’s take it apart step by step! Start by carefully removing the outer casing, ensuring not to damage any components inside. We’ll work our way through each piece, so don’t worry – we’ve got this. If you get stuck, no sweat – you can always schedule a repair to get expert help. Let’s dive in!
Step 1

– Grab a ~1-inch wood chisel and gently work it along the seam to loosen the clear cover. It might snap into place, but don’t worry, it could just have a little light glue holding it down.
Step 2

– Gently pull out the internals. To get the insides to slide out, simply press the on/off switch at the bottom of the unit. It’s like giving your device a little nudge to help it open up.
Step 3

– Detach the tank. Be sure to note where the wires go if you’re planning on putting it all back together later.
Step 4

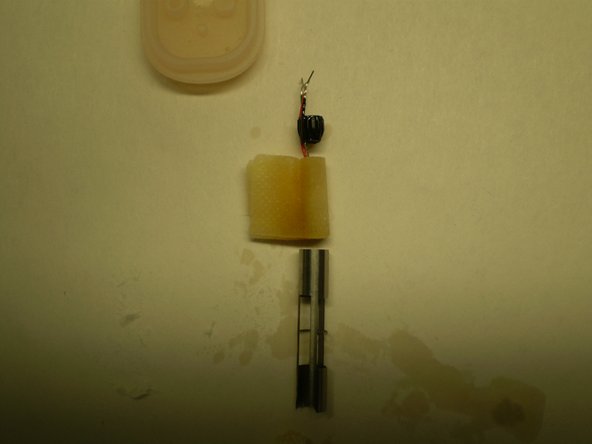
– Lift off the top of the tank.
– Carefully remove the heater unit from the steel sleeve.
– Take out the flat wick from the heater.
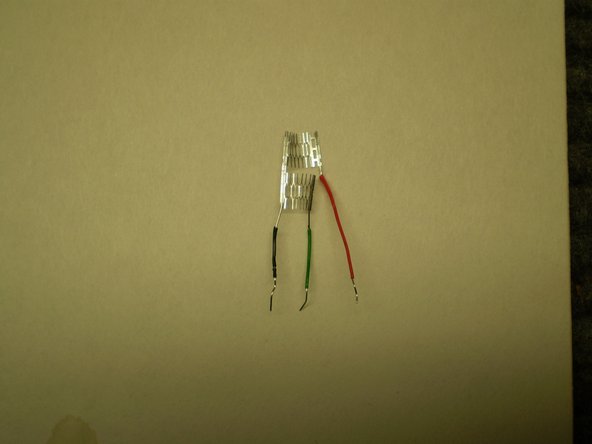
– Check out the basket-style heater unit. Resistance readings: blk-grn: 1.1 ohms; blk-red: 1.1 ohms; red-grn: 2.2 ohms.
Step 5

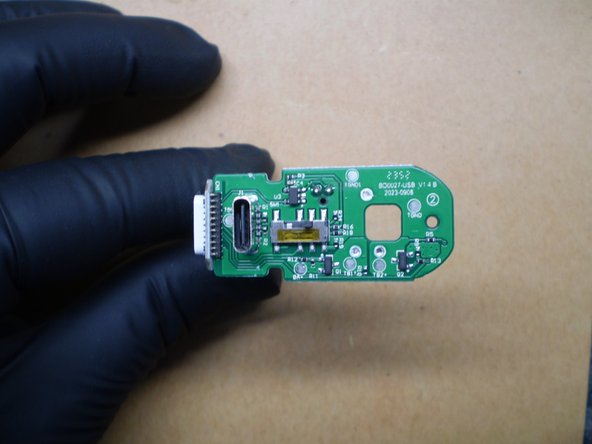
– Gently pop the circuit board out from its cozy L-shaped plastic holder.
– Take a good look at the board—admire your handiwork!
Step 6

– Pop the lip piece loose from the inside, slide it up and out from the top, and then take it apart as shown.
Success!