Google Chromebook Pixel 2 Back Panel Replacement
Duration: 45 minutes
Steps: 4 Steps
Ready to dive in? Let’s pop off that back panel and open up your device’s inner world. This is the starting point you’ll need to reach every other part inside.
Step 1

Before you start working on your device, make sure it’s turned off and unplugged—think of it as giving your device a little nap to keep things safe and shock-free. Safety first, always!
– Turn your device over so that the bottom panel is up and ready for action.
Step 2

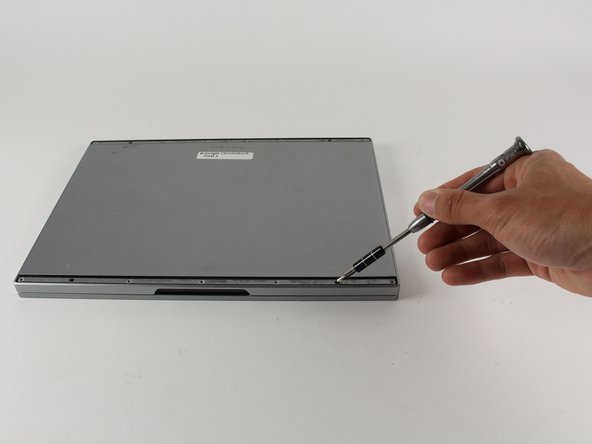
– Carefully remove the black rubber strips from both the top and bottom of the back panel. You’ve got this!
Step 3

– Start by removing the fifteen 3 mm Phillips #00 screws that are securing the back panel. Keep these screws safe, so you can reassemble with ease later on. If you need help, you can always schedule a repair.
Step 4

– Gently pop the back panel off your device and set it aside, like a pro!
Success!