Google Cr-48 Chromebook Bottom Casing Replacement
Duration: 45 minutes
Steps: 4 Steps
Ready to swap out that bottom case? Let’s walk through the steps together! First things first—unplug everything (that means AC adapter, USB devices, VGA cables, headphones, and the works). Don’t forget to take out any SD card that’s hanging out in the slot. Now you’re set for a smooth repair session.
Step 1


– Flip the laptop over and slide the switch at the bottom—like you mean it!
– The battery will pop out, ready for you to grab and set aside.
Step 2


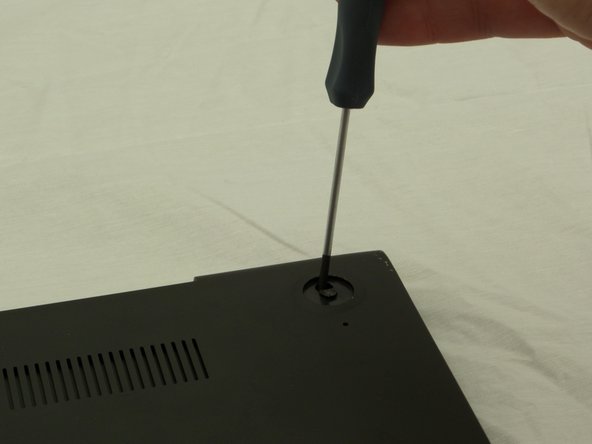
– Grab your tweezers and pluck out those two rubber feet from the back. Underneath, you’ll spot two sneaky screws waiting for you.
Tools Used

Step 3
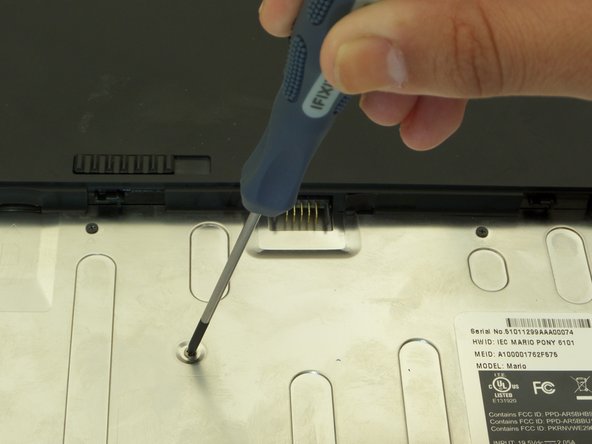

– Start by turning your computer so the shiny silver battery compartment is facing you—like it’s smiling for a selfie. Grab a Phillips #00 screwdriver and take out the ten 3 mm screws hanging out in the battery compartment.
– Keep that same screwdriver handy! Next, unscrew the two 4.5 mm screws hiding under the rubber feet you just popped off. Easy peasy.
Tools Used

Step 4
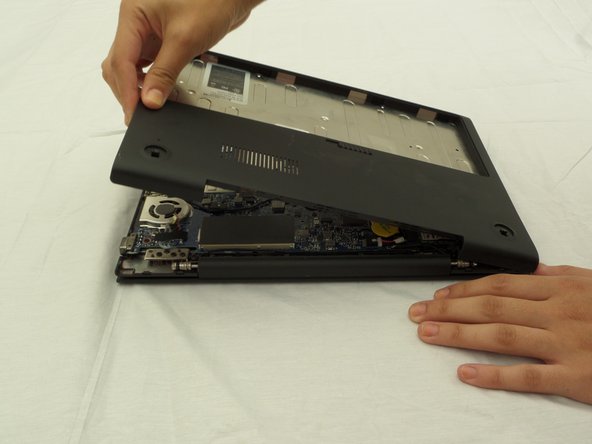

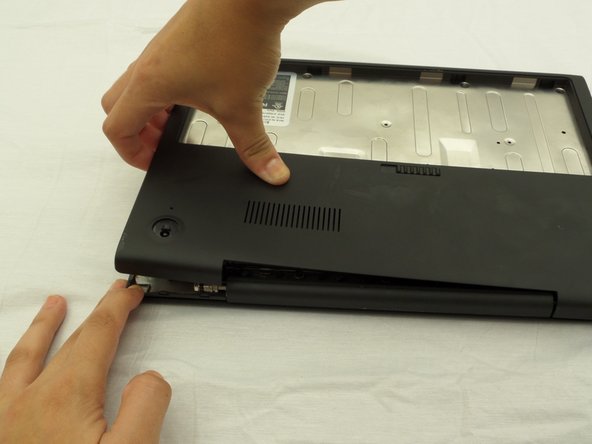
The case is easier to remove when separating in a clockwise motion, as seen in the pictures.
– Gently work your way along the seam where the laptop’s screen and body meet, and start popping the lower case loose from the rest of the laptop.
Success!