Google Pixel 2 Display Replacement Guide: DIY Tutorial
Duration: 45 minutes
Steps: 6 Steps
This repair guide is brought to you by the awesome crew at Salvation Repair. Just a heads up, Google hasn’t given it their stamp of approval. Want to know more about our repair guides? Check it out here.
Get ready to apply some serious glue power and fix that Pixel 2 display with this awesome guide! Before you start, you’ll want to have the display removed – instructions on how to do just that can be found here. If you need help, you can always schedule a repair.
Step 1

Alright, let’s be careful here, those little glass pieces can be sneaky. Take your time and make sure you get ’em all.
Before you start slapping on that display adhesive, make sure your new display has all the essentials – if it didn’t come with speaker grilles or a front-facing camera bracket, now’s the time to get them installed. If you need help, you can always schedule a repair
– Get that old adhesive off the Pixel 2’s case – every last bit of it!
– Reusing your display? Make sure to scrape off any leftover adhesive from the back, too. We want a clean slate for the new installation.
– Now that the glue and glass are gone, give those adhesion areas a good cleaning with some high-concentration isopropyl alcohol (90% or higher). This ensures a solid seal for your display. If you need help, you can always schedule a repair
Step 2

– Remove the clear backing from the replacement adhesive and get ready to stick it down like a pro!
Step 3

Handle the adhesive with care! Avoid tearing the white or blue backing underneath. Just peel away the blue plastic that’s hugging the outer edge of the adhesive strip. You’ve got this!
Hey there! Notice those tiny perforations along both the inner and outer edges of this adhesive strip. Pretty neat, right?
Step 4
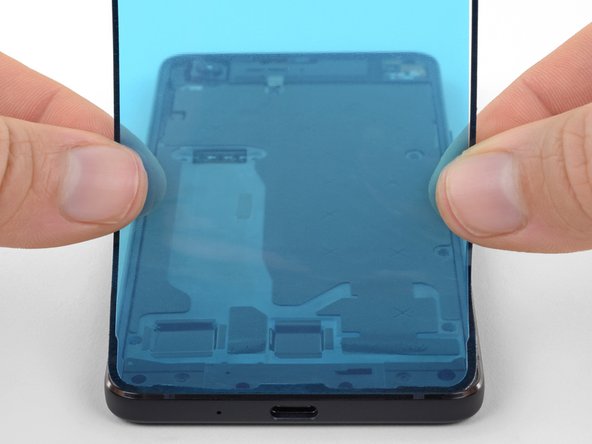

– First, gently peel away the white backing to expose one side of the adhesive strip – easy does it!
– Now, carefully place the adhesive strip onto your phone case, making sure the exposed side is facing down and the blue backing is up. You’re doing great!
– Start by aligning the contours of the adhesive strip with the bottom edge of your case, then smoothly lay down the rest of the adhesive. If you need help, you can always schedule a repair
Step 5

Handle with care, and try not to rip or peel off that adhesive!
– Alright, let’s get this adhesive in place! Line up that sticky strip with the edges of the case. Now, give it a good press with your finger or a spudger. You got this!
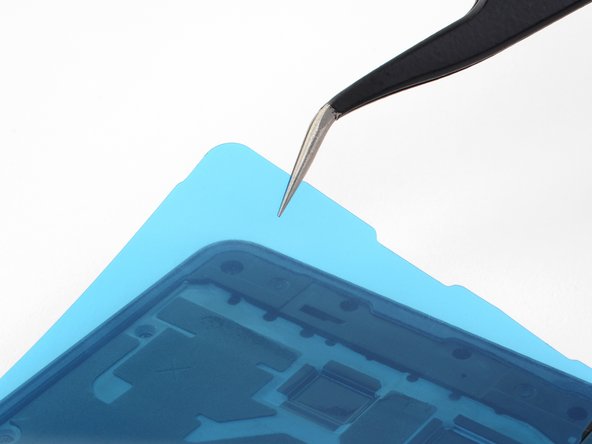
– Time to peel off the inner part of that blue backing. Grab a pair of tweezers and gently pull it away. If the adhesive wants to come up, just hold it down with a spudger to keep things in check.


Step 6

If the adhesive starts to peel off the case when you remove the backing, don’t worry – just slip a spudger between the adhesive and the backing to keep it in place. If you need help, you can always schedule a repair
