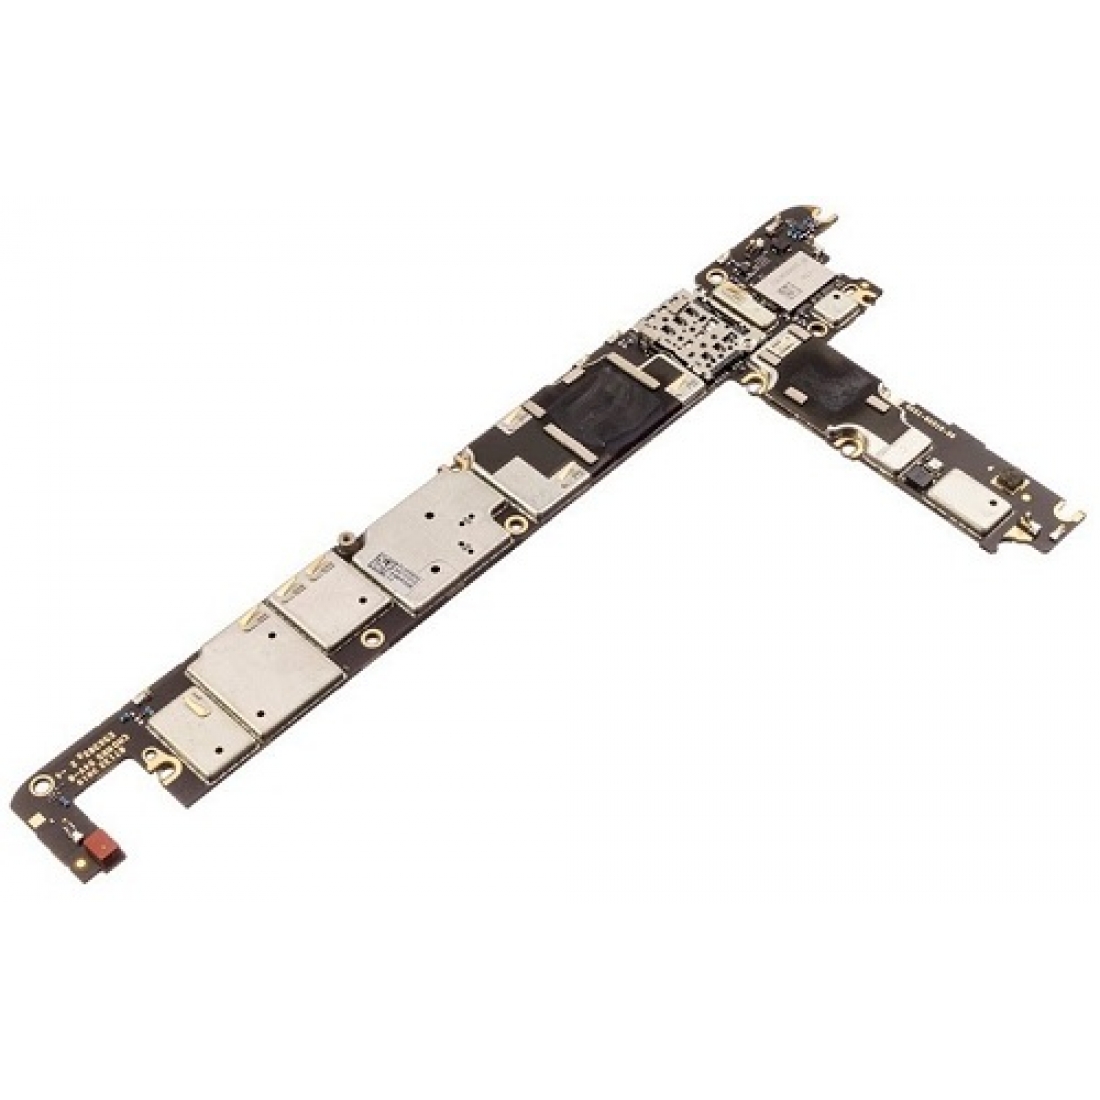
Google Pixel 4 XL Screen Replacement Guide: Step-by-Step Tutorial
Duration: 45 minutes
Steps: 61 Steps
Meet our repair challenge! Remember, it’s always a good idea to power down and discharge your battery a bit before diving into any tech detective work. And hey, don’t sweat it if you’re faced with a battery replacement – our guide is here to help you get that tech fixed and back to rockin’! Give our friendly, experienced folks at Schedule a repair a heads-up if you’re feeling a bit stumped and they’ll be on it like a techy on a challenge!
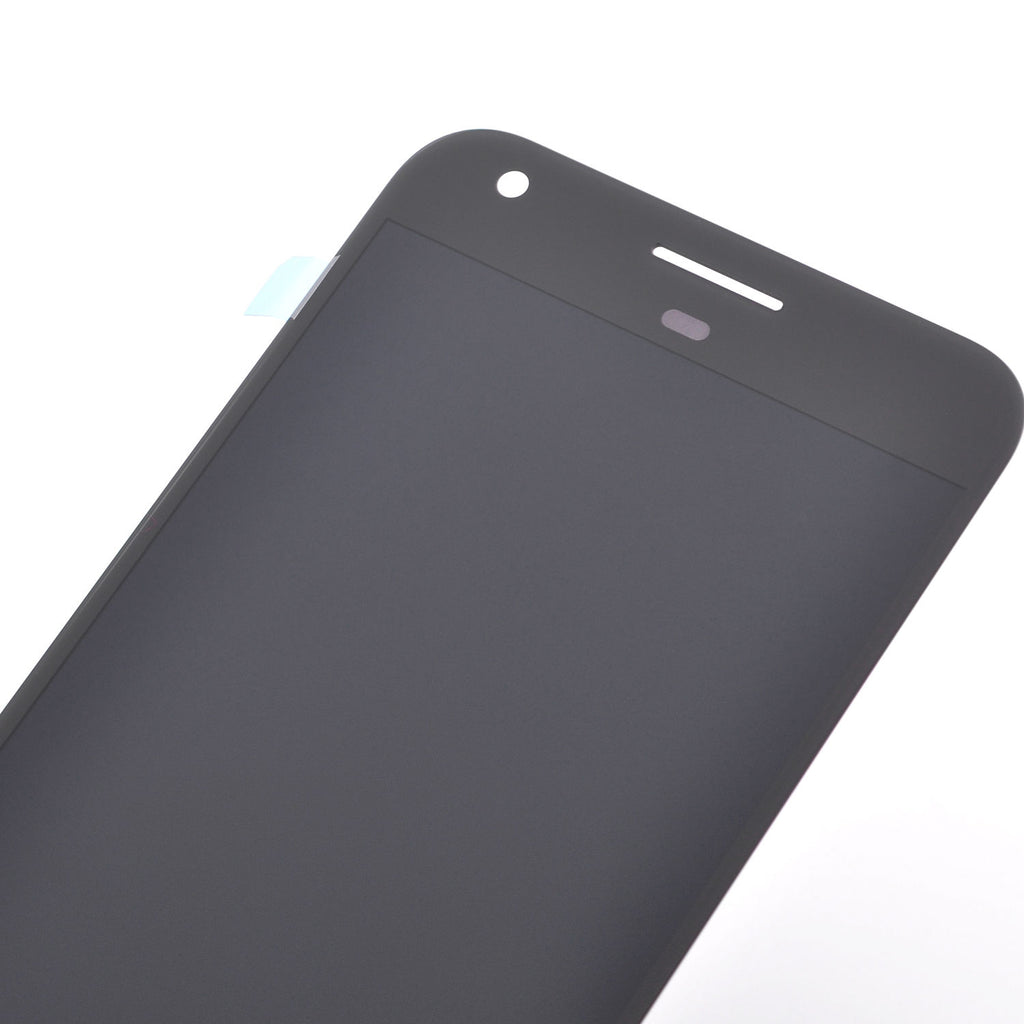
Hey there, techie! This guide will help you swap out the screen on your Google Pixel 4 XL. This is for replacing a screen that’s already in a new frame (aka the chassis). You’ll need to move all the parts from your old phone to the new screen. If you’re just replacing the display panel, you’ll want to check out this guide instead.
Before you get started, make sure your battery is below 25% to avoid any surprises. It’s always better to be safe than sorry. This repair needs a new battery – the old one is outta there. And hey, don’t try to put the old battery back in – it’s just not safe. Google says that messing with the front laser assembly might give you some invisible laser light, so make sure to check out their safety warnings here. If you need a little extra help, you can always schedule a repair. Let’s get this phone back in action!
Step 1
– Grab your trusty SIM eject tool, a bit, or even a straightened paper clip, and slide it into the tiny hole on the SIM card tray located on the left edge of your phone.
– Give it a good push—press firmly to pop that tray out.
– Now, gently pull out the SIM card tray and you’re all set!
Step 2
You can also use a hair dryer, heat gun, or hot plate to warm things up, but don’t go crazy! Too much heat can hurt the display and battery. If you need help, you can always schedule a repair
– Grab your iOpener and give the bottom edge of the back panel a warm hug for about a minute. You got this!
Tools Used
Step 3
If your back glass is in rough shape, try covering it with a layer of clear packing tape to make the suction cup stick. Or, strong tape could also do the trick. If that doesn’t work, superglue might be your friend and save the day!
– Grab your trusty suction cup and press it down firmly on the warmed edge of the back panel. Make sure you get it as close to the edge as possible to get a good grip. Let’s do this!
Step 4
Depending on the age of your phone, this might be a little tricky. Don’t worry! Just give those edges a little extra heat and try again. You got this! If you need some extra help, you can always schedule a repair.
– Get a grip on that suction cup and pull up with some serious strength to create a gap between the back panel and the frame – you got this!
– Now, take your trusty opening pick and slide it into the gap you just made. If you need help, you can always schedule a repair
Step 5
– Gently glide the opening pick along the bottom edge, heading towards the left corner to cut through that sticky adhesive.
– With the pick still in place, slide it from the bottom left corner all the way to the bottom right corner to ensure the adhesive is fully sliced.
– Keep that pick snugly in the bottom right corner to stop the adhesive from re-sticking.
Step 6
– Let’s get heated! Throw that iOpener in the microwave for a minute to make it nice and toasty. Now, gently place it on the left side of your buddy the phone for a full minute. This’ll loosen things up, and you’ll be one step closer to fixing your device! If you need help, you can always schedule a repair
Tools Used
Step 7
– Slide a second opening pick right underneath that back panel, positioning it just above the charge port like a pro.
– Gently glide that opening pick down to the bottom left corner of your phone, making smooth moves all the way!
Step 8
The adhesive can be quite sticky. Wiggle the pick in and out with a gentle sawing motion to make slicing a breeze.
– Gently glide the opening pick around the bottom left corner and along the left edge of the phone to cut through that adhesive. Keep going until you hit the top left corner, close to the camera, and leave the pick snugly in place.
Step 9
– Grab your iOpener, heat it up, and give that right edge of the phone a nice, warm hug for about a minute. You got this!
Tools Used
Step 10
– With those two picks still in place, let’s slide another pick in on the lower part of the right side.
– Now, gently slide that pick towards the top, like you’re giving the phone a little hug. We’re gonna slice through that adhesive on the right side.
– Stop when you reach the top right corner and keep that pick in place. We’re almost there!
Step 11
– Now, take that third opening pick and slide it around the top right corner, then across the top side of the phone. You’re almost done – just slice through that last bit of adhesive and you’ll be golden! If you need help, you can always schedule a repair
Step 12
– Alright, you’ve sliced around the phone’s perimeter like a pro! Now, gently lift that right edge of the back cover, opening it up like a book.
– Hold on a sec, don’t pull the cover all the way off yet. It’s still hanging out with the phone, so be cool.
Step 13
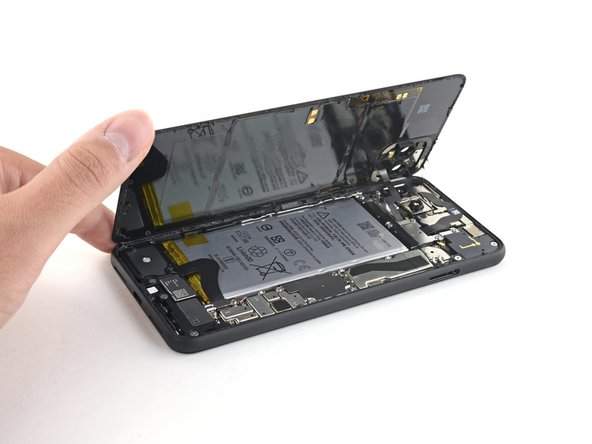
– Keep swinging that back panel open until it’s happily resting on the left side of your phone. Just be cool and make sure you’re not stressing out that ribbon cable, ok? You got this!
– Hey, this is a great time to test everything out! Power up your phone and make sure everything’s working like a charm. Just remember to turn it off completely before you keep going. We’re almost there!
Step 14
Stay organized during this repair by keeping track of each screw and making sure it ends up back in its original spot. If you need help, you can always schedule a repair
– Let’s kick things off by freeing our battery connector shield! Start by unscrewing those four T3 Torx screws holding it down:
– One 1.8 mm screw – the little powerhouse
– One 4.1 mm screw – just the right size
– One 4.4 mm shouldered screw – it’s got shoulders, how cool is that?
– One 4.0 mm shouldered screw – the reliable buddy
Step 16
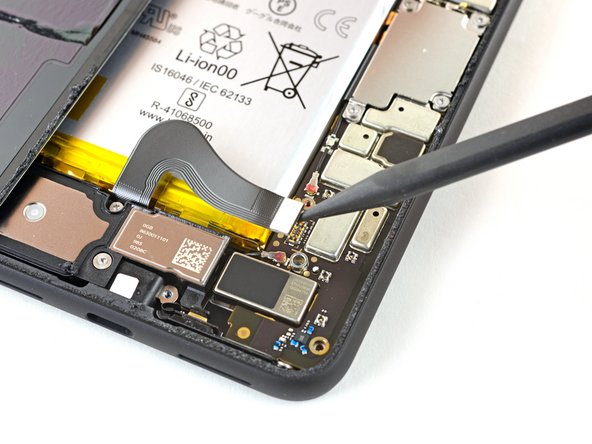
– With the pointed end of a spudger in hand, gently lift the battery connector straight up from the motherboard to disconnect it. Easy peasy!
– When it’s time to re-attach, just align the connectors carefully and press down on one side until you hear that satisfying click. Then, repeat on the other side—just steer clear of pressing down in the middle. If things get misaligned, those little pins can bend, and we definitely don’t want that!
Tools Used
Step 17
– Time for a fun bendy dance with your battery cable! Use the flat side of your trusty spudger to help make this friend fold over and stay away from any accidental kontakt ballet during the rest of your repair adventures. If you need help, you can always schedule a repair.
Tools Used
Step 18
– Grab your trusty T3 Torx driver and let’s get those two 4.1 mm screws out of the way! They’re holding the back panel connector cover tight, so give them a gentle twist and set them aside. You’ve got this!
Step 21
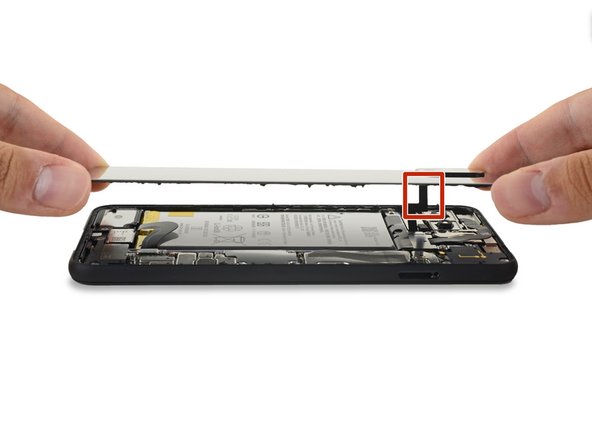
– Let’s get this back panel off!
– When you’re putting everything back together, be sure to check out this guide for the best way to install those custom-cut adhesives, so your device looks good as new.
– If you’re using a pre-cut adhesive card, follow these steps for the best results. Need a hand? You can always schedule a repair
