Google Pixel 9 Pro Screen Replacement Guide: Step-by-Step DIY Repair Tutorial
Duration: 45 minutes
Steps: 26 Steps
Hey there! This rad repair guide’s totally brought to you by the awesome folks at Salvation Repair. No worries, it’s not endorsed by Google, but you can learn all about it here. Ready to dive in and get your tech looking and feeling brand-spankin’ new again?
This guide will walk you through replacing a broken, cracked, or unresponsive screen on your Google Pixel 9 Pro. If your screen doesn’t come with adhesive pre-installed, you’ll need to pick some up to finish the job. Heads up, any repair can make your phone less water resistant. How well you reapply adhesive is the key to keeping that water resistance, so take your time! If you need help, you can always schedule a repair.
Step 1
– Alright, let’s get started! First things first, unplug all those cables and give your phone a little break. Power it down completely – think of it as a mini-vacation for your phone. 😎
Step 2
Watch out for those pesky glass shards! They can make disassembly tricky—or even lead to a little ouch! If your phone’s sporting a cracked screen, here’s how to tackle it:
Just stick your tape on the glass—leave the frame alone, okay?
– Cover that cracked screen with some overlapping packing tape strips until it’s fully wrapped up—this will help the suction cup grip like a champ!
– And hey, don’t forget to put on those safety glasses to protect your peepers from any sneaky glass shards that might pop out while you work.
Tools Used
Step 3
– Grab a hair dryer, heat gun, or hot plate and warm up the whole screen until it’s nearly too hot to handle. You’ve got this!
Tools Used
Step 4
– Grab a suction handle and place it right in the middle of that top edge of the screen!
Tools Used
Step 5
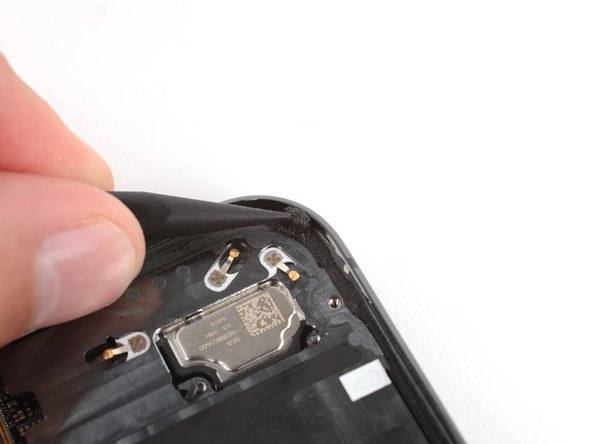
Watch out for those sensitive metal spring‑contacts that are cozying up around the edges of your device! When you’re gently prying the screen apart, keep your pick shallow—don’t go deeper than 3 mm, or you might give those little guys a rough time.
Or, grab a coin and stick it to your pick about 3 mm from the tip. Easy peasy!
– Grab your trusty opening pick and measure out 3 mm from the tip. Give it a stylish mark with a permanent marker so you’re all set for the next step!
Step 6
Getting that opening pick in can be a bit tricky! Just take a deep breath and remember, if it feels stubborn, a little extra heat can work wonders.
– Give that suction handle a good, solid pull! You’re aiming to create a little space between the screen and the frame—you’re doing great!
– Now, slide the tip of your opening pick right under the screen. You’re on the right track!
Tools Used
Step 7
– Gently glide the opening pick along the top edge to break free the adhesive holding it tight.
Step 8
– Keep sliding your opening pick all the way around the screen to release the rest of the adhesive. It’s like giving the screen a little hug to say goodbye. 😊
Step 9
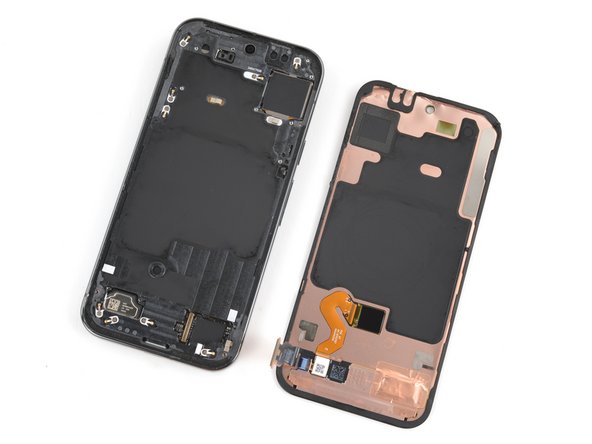
Watch out for that display cable in the bottom right corner! Give it some love, but don’t pull too hard.
If your screen seems a little too cozy in there, take a stroll back around the edges with an opening pick to loosen up any leftover adhesive. You’ve got this!
– Gently flip the screen over to the right edge of your phone and use the suction handle to keep it propped up like a champ.
Tools Used
Step 11
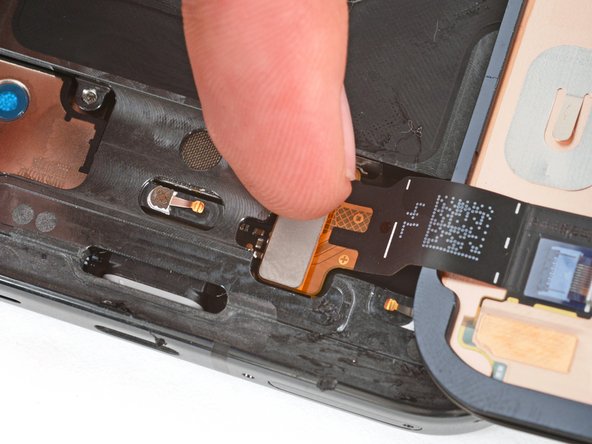
Those tiny parts around the screen’s connector are delicate, so be super careful not to bump them! They’re like the little ninjas of your device, and a tiny knock could make them grumpy. Take it slow and steady, you got this!
– Slide the spudger’s tip under the left side of the screen cable connector and gently lift to free it up.
– Carefully take out the screen.
Tools Used
Step 12
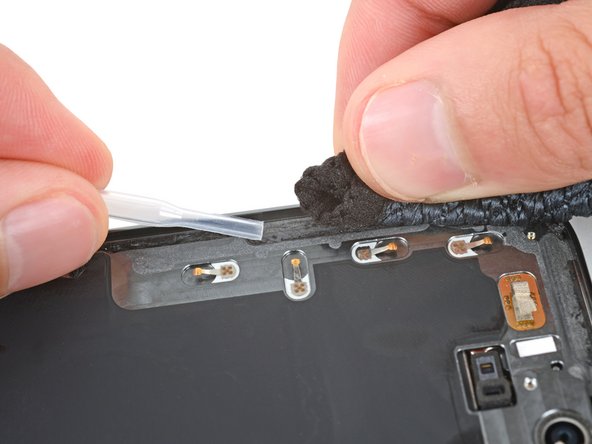
As you peel away the screen adhesive, keep your wits about you and tread lightly around those delicate components hugging the edge of the frame. They’ve got a tough job, and we want to keep them safe and sound!
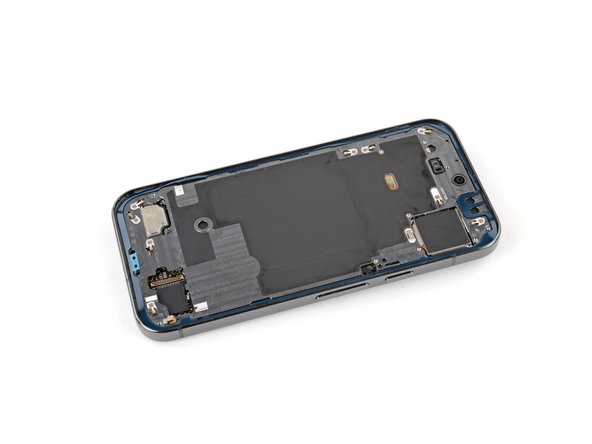
– Grab your trusty spudger and gently scrape away all that pesky old screen adhesive from around the frame’s edges.
– Once you’ve got all that old goo gone, take some isopropyl alcohol and a microfiber cloth to give the frame a nice, clean finish—bye-bye adhesive residue!
– Make sure to let the frame air out and dry completely before moving on to the next step.
Tools Used
Step 13
If your new screen comes with adhesive already installed, feel free to skip ahead seven steps! If not, don’t worry—just follow the next seven steps to get that screen adhesive on nice and snug.
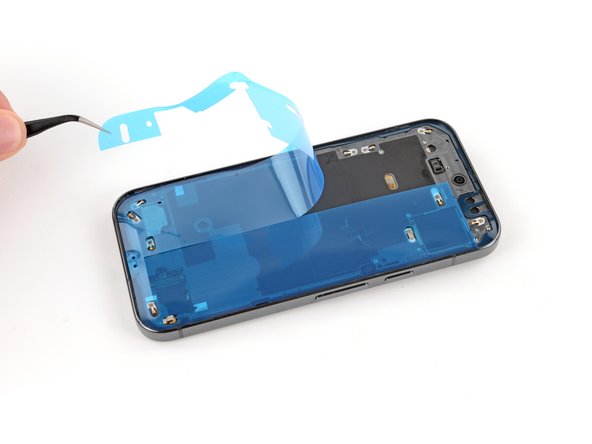
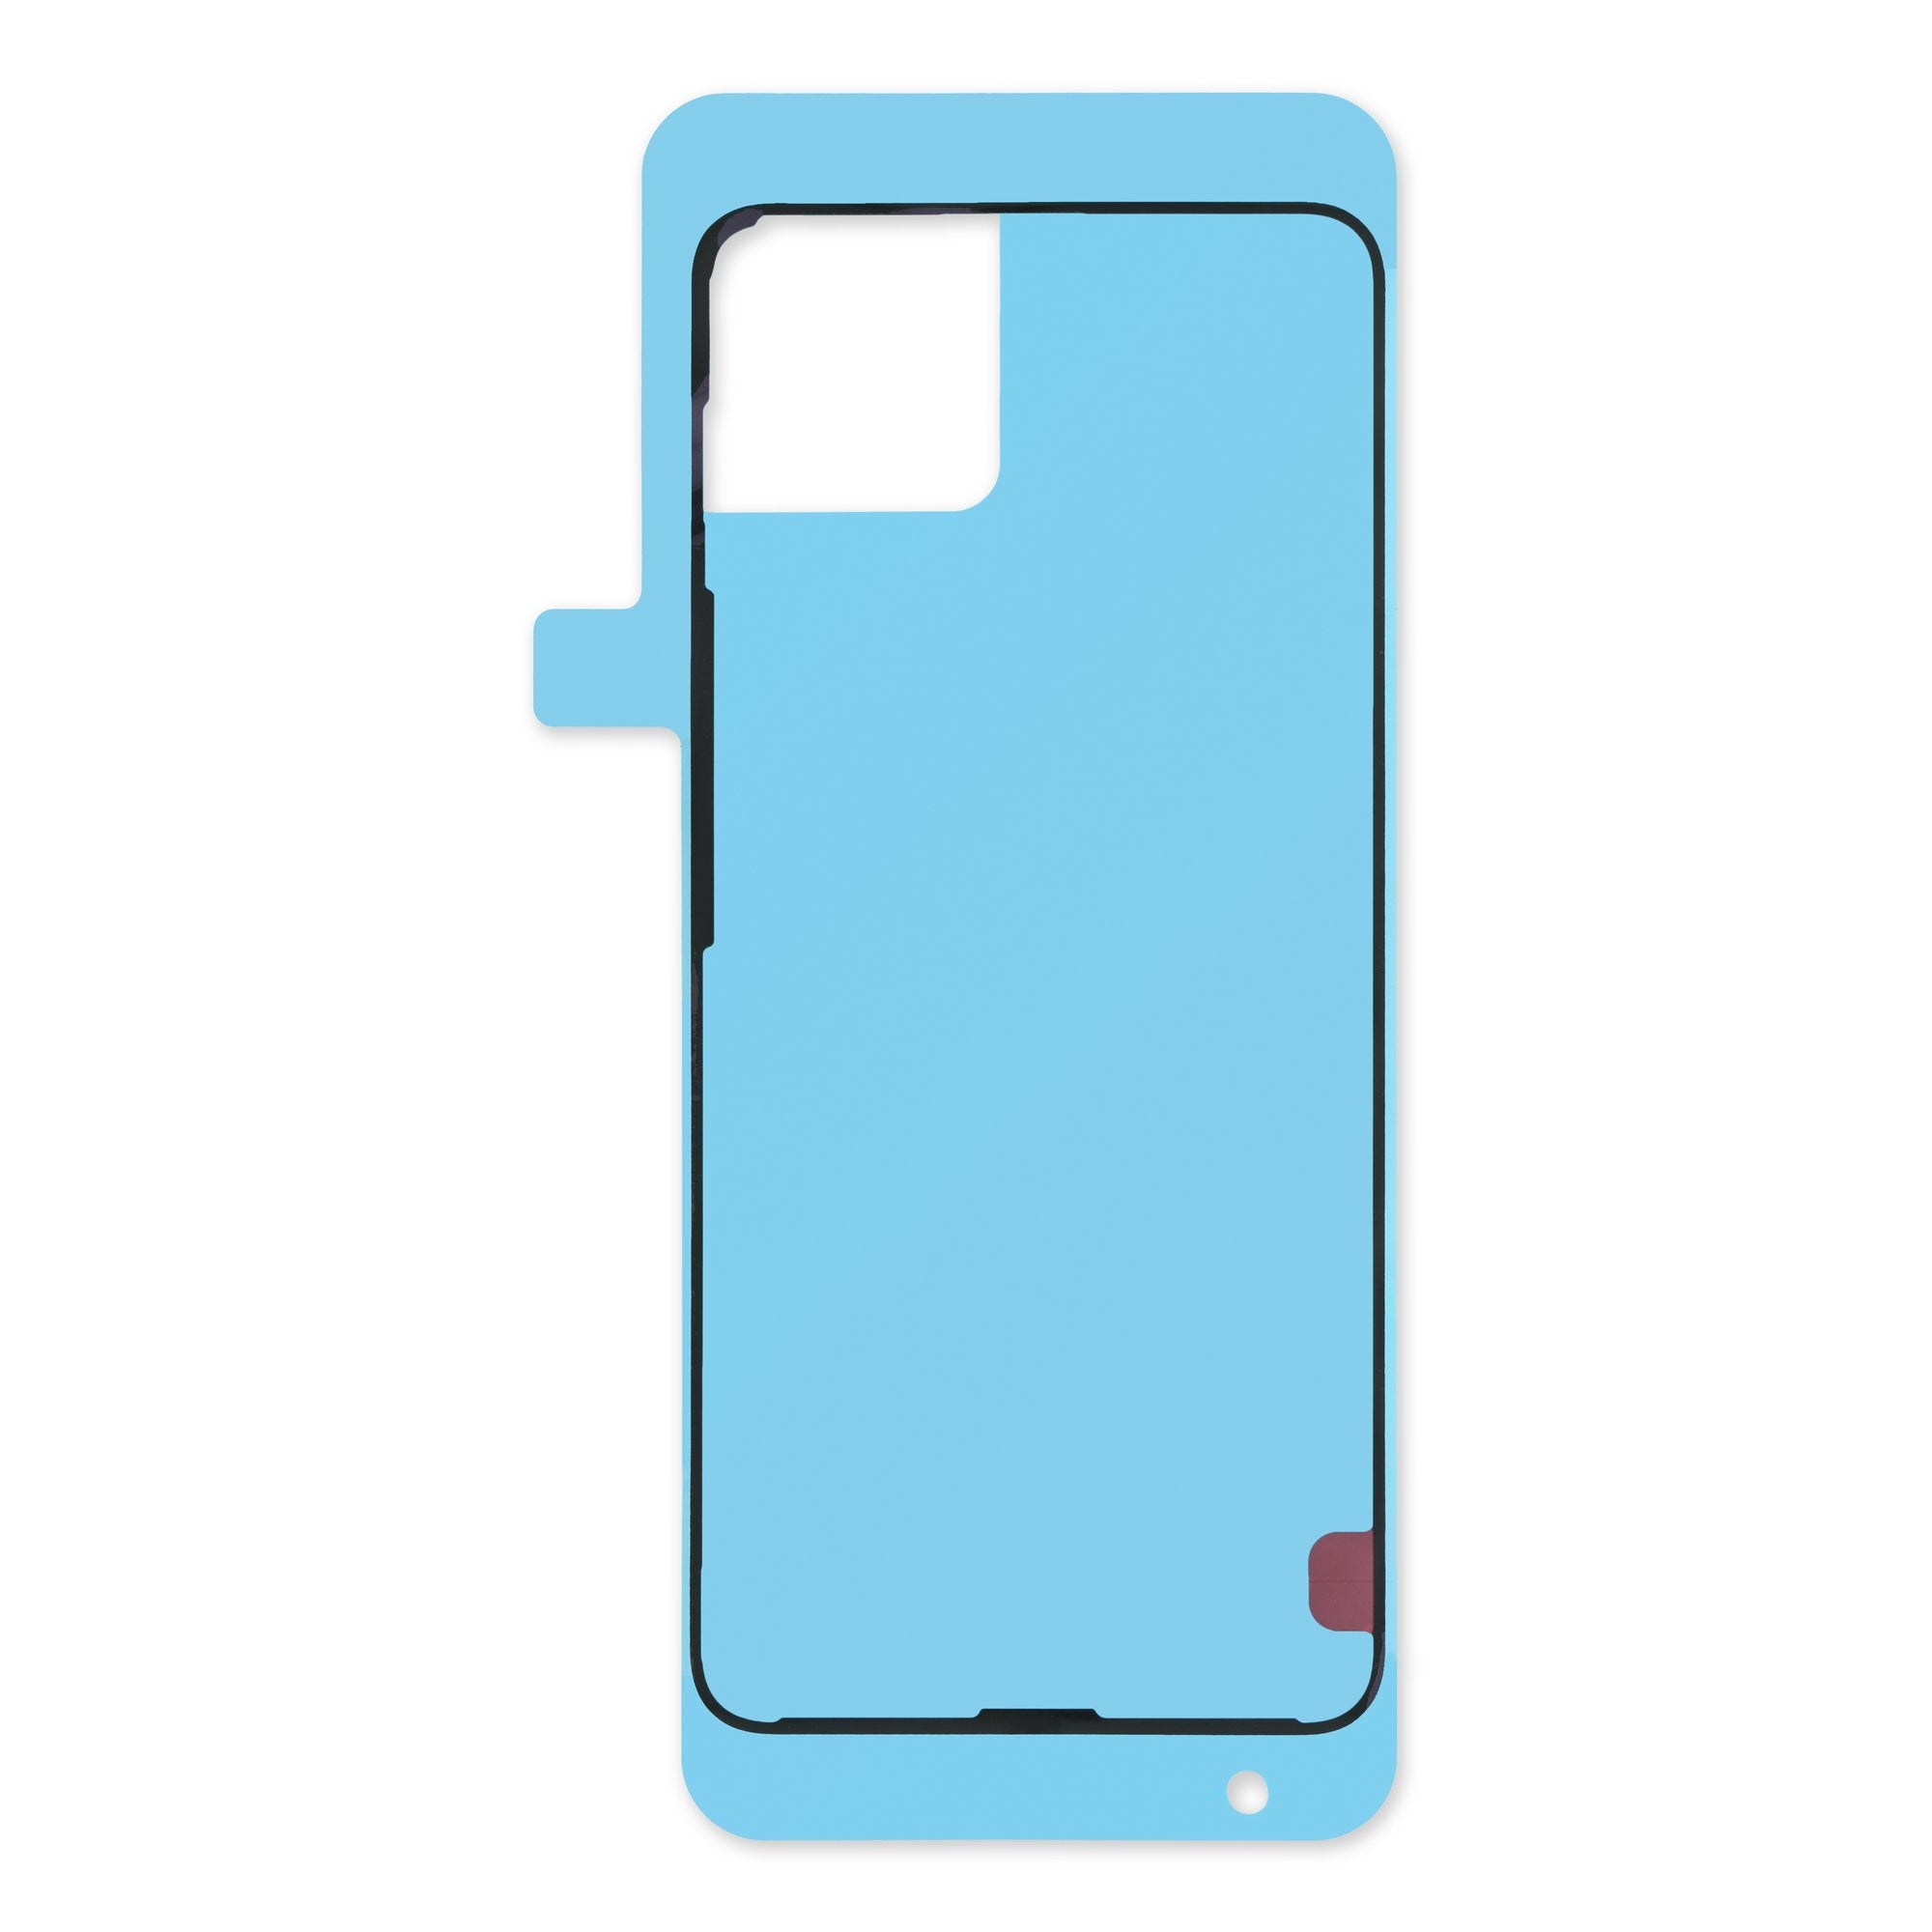
Make sure the blue liner is facing up, while the larger clear liner hangs out on the bottom. You’ve got this!
– Before you stick that adhesive down, get cozy with its orientation on the frame. Hold it over your phone and make sure it’s in the right spot!
– Look out for the groove on the edge of the frame that matches up with the adhesive. They’re like best buddies!
– Check out those cutouts in the blue liner – they’re designed to align perfectly with the spring contacts on the frame. It’s a match made in repair heaven!
Step 14
– Gently peel back the top half of that big, clear liner to reveal the sticky goodness underneath—just hold off on pulling off the entire liner for now!
Step 18
– Grab the blue liner’s top right corner with your trusty tweezers and gently lift it off. You’ve got this!
Tools Used
Step 21
Handle that screen cable like it’s a delicate spaghetti strand! Keep it cool and don’t pull too hard. You might want to lift the screen to a cozy angle to help it settle in just right.
Avoid pressing down in the center. Misaligned connectors can bend the pins, leading to permanent damage.
– First, align that screen press connector with its cozy socket and give a gentle press on one side until you hear that satisfying click. Then, show the other side some love by pressing down until it clicks too!
– Now’s a perfect moment to check if your phone is ready to rock before you seal it up. Power it on and make sure everything’s working smoothly. Once you’re done, power it back down so we can continue reassembly.
– Next up, hook the bottom edge of the screen cable bracket into its little cutout. Give the top edge a firm press until you hear it click into place. You’re doing great!
Step 23
Step 26
When you’re ready to rock ‘n’ roll with your Pixel post-repair, make sure she’s chillin’ flat and all screentouches are cleared out. You’ve got this!
– Way to go on finishing your screen repair!
– Want to check how everything’s working? Run a diagnostics test using the built-in Pixel Diagnostic tool by clicking here.
– Got e-waste? Make sure to recycle it responsibly with an R2 or e-Stewards certified recycler.
– Repair didn’t quite go as planned? No stress! Consider some basic troubleshooting, or check in with our Answers community for friendly support.
– Oops! If you didn’t finish this guide, just hit cancel.
– Remember, you’re not alone in this tech journey!
Success!


