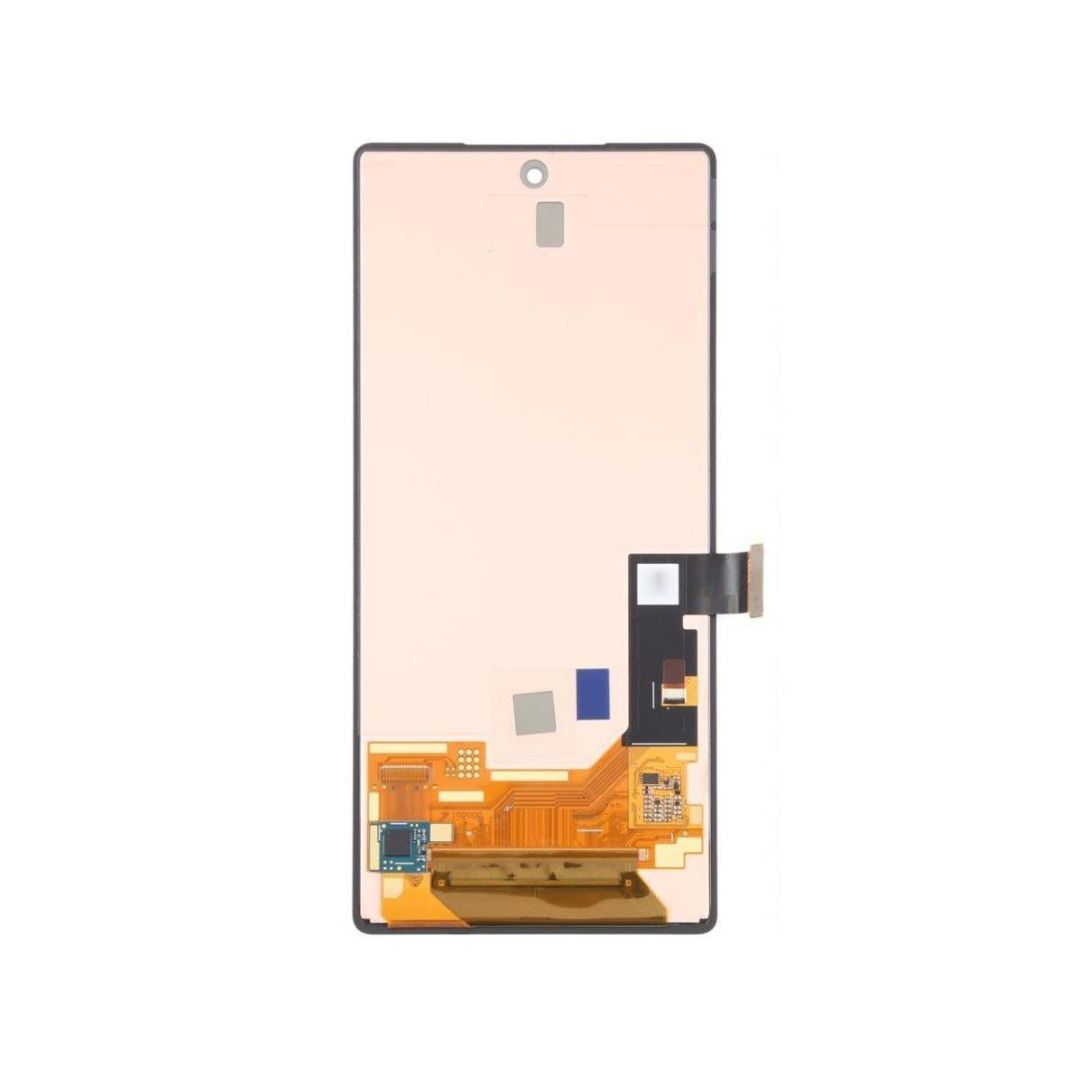
Google Pixel Fold Logic Board Replacement Guide: Step-by-Step Repair Tutorial
Duration: 45 minutes
Steps: 65 Steps
Hey there! We know that trying to fix your device can sometimes be a tricky task, but don’t worry – we’ve got your back! The awesome staff over at Salvation Repair worked hard to put together this super easy-to-follow repair guide that’ll have you back to watching cat GIFs in no time. If you need help along the way, you can always schedule a repair and let our pals at Salvation Repair take care of it for you. Good luck, and happy fixing!
Hey there! Want to give your Google Pixel Fold a newLogic Board? Well, you’ve come to the right place! We’ve got your back with this killer guide for replacing that bad boy. Follow along and impress yourself with your phone repair skills.We’re all about making this process a breeze! And if you’re ever stuck, just remember: if you need a hand, you can always schedule a repair Our techs are waiting to lend a helping hand!
Step 1

– First things first, let’s get your phone off duty! Turn it off completely and unplug any cables. We want it nice and chill before we dive in.
Step 2

Feel free to get creative with a hair dryer, heat gun, or even a hot plate! Just remember, too much heat can be a no-no for those delicate displays and internal batteries, so take it slow and steady.
– Place your phone down on a tidy, smooth surface with the back glass facing upwards, ready for the magic to happen!
– Grab an iOpener and give it a heated hug at the bottom edge of that back glass for two minutes. Let’s get things nice and warm before we dive in!
Tools Used

Step 3


In the next few steps, we’ll be introducing you to the Anti-Clamp, a nifty tool we crafted to help you breeze through the opening process. If you’re not rolling with the Anti-Clamp, feel free to skip ahead three steps for an alternative method.
Want to master the Anti-Clamp? Check out our handy guide for all the tips and tricks.
Double-check that the suction cup isn’t making contact with the bezel of your inner screen, or it just won’t stick like it should.
If your phone’s surface is being a bit too slick for the Anti-Clamp to get its grip on, don’t worry! A little tape can do wonders to enhance traction. And if there’s any cracking in the glass, packing tape is your new best friend for helping those suction cups hold tight.
– Give that blue handle a gentle tug back to free the Anti-Clamp’s arms.
– Fully open your phone and carefully fit the Anti-Clamp arms over the left edge of the back glass.
– Place the suction cups close to the bottom edge of your phone—one on the front and one on the back.
– Press the cups together to create a strong grip on the area you want to work on.
Step 4


– Grab a sturdy object, like a box or a stack of books, and slide it under your phone. This way, your device can chill level while nestled between the Anti-Clamp’s arms.
– Give that blue handle a nice pull forward to secure those arms in place!
– Now, turn the handle clockwise a full 360 degrees or until those suction cups start to stretch out like they’re getting ready for a workout.
– Keep an eye on those suction cups! They should stay in perfect alignment. If they start to wander off track, just detach them and realign those arms like a pro.
Step 5

Take it easy and don’t twist more than a quarter turn at a time—patience is key! Just sit back for a minute between those turns and let the Anti-Clamp and time do their magic.
If the Anti-Clamp isn’t giving you enough space, don’t worry! Just heat up the area a bit more and give that handle a playful quarter turn.
– Slide an opening pick into the little gap hiding beneath the back glass.
– No need to worry about the next step; just skip it!
Step 6


If your back glass is feeling a little rough around the edges (we’ve all been there!), try covering the cracks with some clear packing tape. This will help the suction cup stick better. Or, you can go for a super strong tape – think of it as a backup plan! And if things get tricky, don’t worry – superglue can be your new best friend. Just remember to be careful and apply it to the suction cup instead of your phone.
Okay, now, depending on the age of your phone, this part might be a little tricky. If you’re struggling, just keep applying heat to the edge and give it another shot. We believe in you!
– Grab that suction cup and stick it right on the back glass, aiming for the center near the bottom edge. You’ve got this!
– Now, give that suction cup a solid tug! Pull up with a steady, firm force to make a little gap between the back glass and the frame. It’s like magic!
– Slip in your opening pick into that gap you just created. You’re doing great!
Step 7


Keep that opening pick no deeper than 3.5 mm while you’re working on separating the back glass adhesive, or you might just end up giving those internal components a surprise they didn’t ask for!
– Now, slide your opening pick back and forth along the bottom edge – just like you’re giving it a little massage! This will help loosen up the adhesive holding the parts together.
– Keep your opening pick in the bottom left corner – it’s like a little bookmark for this step!
Step 8

– Warm up a heated iOpener and place it on the left edge of the back glass for a solid two minutes.
Tools Used


Step 10


– Pop in a second opening pick at the bottom left corner, like you’re giving your device a little hug.
– Gently slide that pick up towards the top left corner to break free the adhesive. You’re doing great!
– Once you’re at the top left corner, leave that pick there for a moment before moving on to the next steps.
Step 11

– Give that back glass a warm hug with a heated iOpener along the top edge for two minutes. It’s like a spa day for your device!
Tools Used
Step 12


– Let’s get this party started! Give that opening pick a little twirl around the top left corner to loosen up the adhesive. It’s like a little dance for your device!
Step 13


– Pop in a third opening pick at the top left corner, like a pro!
– Gently slide that pick over to the top right corner to break free the adhesive. You’ve got this!
Step 14

– Warm up a trusty iOpener and gently press it against the right edge of the back glass for about two minutes. You got this!
Tools Used
Step 15


Hey there! That sharp corner is a bit of a delicate flower. Make sure to warm it up nicely and handle it with care as you work your magic here!
– Position your tool so it’s nice and flat against the back glass. We want smooth sailing here!
– Gently rotate your opening pick around the upper right corner to break that adhesive free. You’re doing great!
Step 16


– Pop in a fourth opening pick at the top right corner, like a champion!
– Gently slide that pick down toward the bottom right corner to break free the adhesive. You’re doing great!
Step 17


This corner is super delicate, so don’t be afraid to use some heat and be gentle! Just remember, you’ve got this!
– Position your pick so it’s lying as flat as a pancake against the back glass.
– Twist the opening pick around the bottom right corner to break free the adhesive.
Step 18


Hold your horses on taking off that back glass! It’s still hanging on by a cable, so let’s keep it cozy for now.
Alright, time for a little separation! You should see the back glass starting to come loose from the frame. If those pesky edges are still holding on tight, grab your trusty opening pick and give them a gentle nudge. You got this!
– Gently lift the left edge of the back glass and swing it over to the right side of your phone.
– Once that’s done, place the back glass over to the right side of the phone and you’re ready to move on!
Step 19

As you tackle this repair, be sure to keep a close eye on each screw and put it back in its rightful home.
The Pixel Fold might have Torx Plus screws, but no worries—standard Torx bits will do the trick too! Stick with the same size or go up a notch (T3 or T4 Torx bits work swimmingly with 3IP Torx Plus screws). Just remember to apply steady, downward pressure to avoid any stripping mishaps!
– Grab your Torx Plus 3IP driver and pop out those two 2.8mm screws holding down the middle bracket.
Step 20


– Grab your trusty tweezers or just use your fingers to gently tug the middle bracket over to the left side of the phone and let that clip go!
– Time to say goodbye to the middle bracket—remove it with care.
– When you’re putting everything back together, make sure to slot that middle bracket clip in its place before lining up those screw holes. You’ve got this!
Tools Used

Step 21


Now, let’s get those press connectors back in place. Take it easy, line it up, and gently press down on one side until it clicks. Repeat on the other side. Don’t get tempted to press down in the middle – it’s all about the sides. If you happen to misalign it, those little pins can bend and cause some serious trouble. If you need help, you can always schedule a repair.
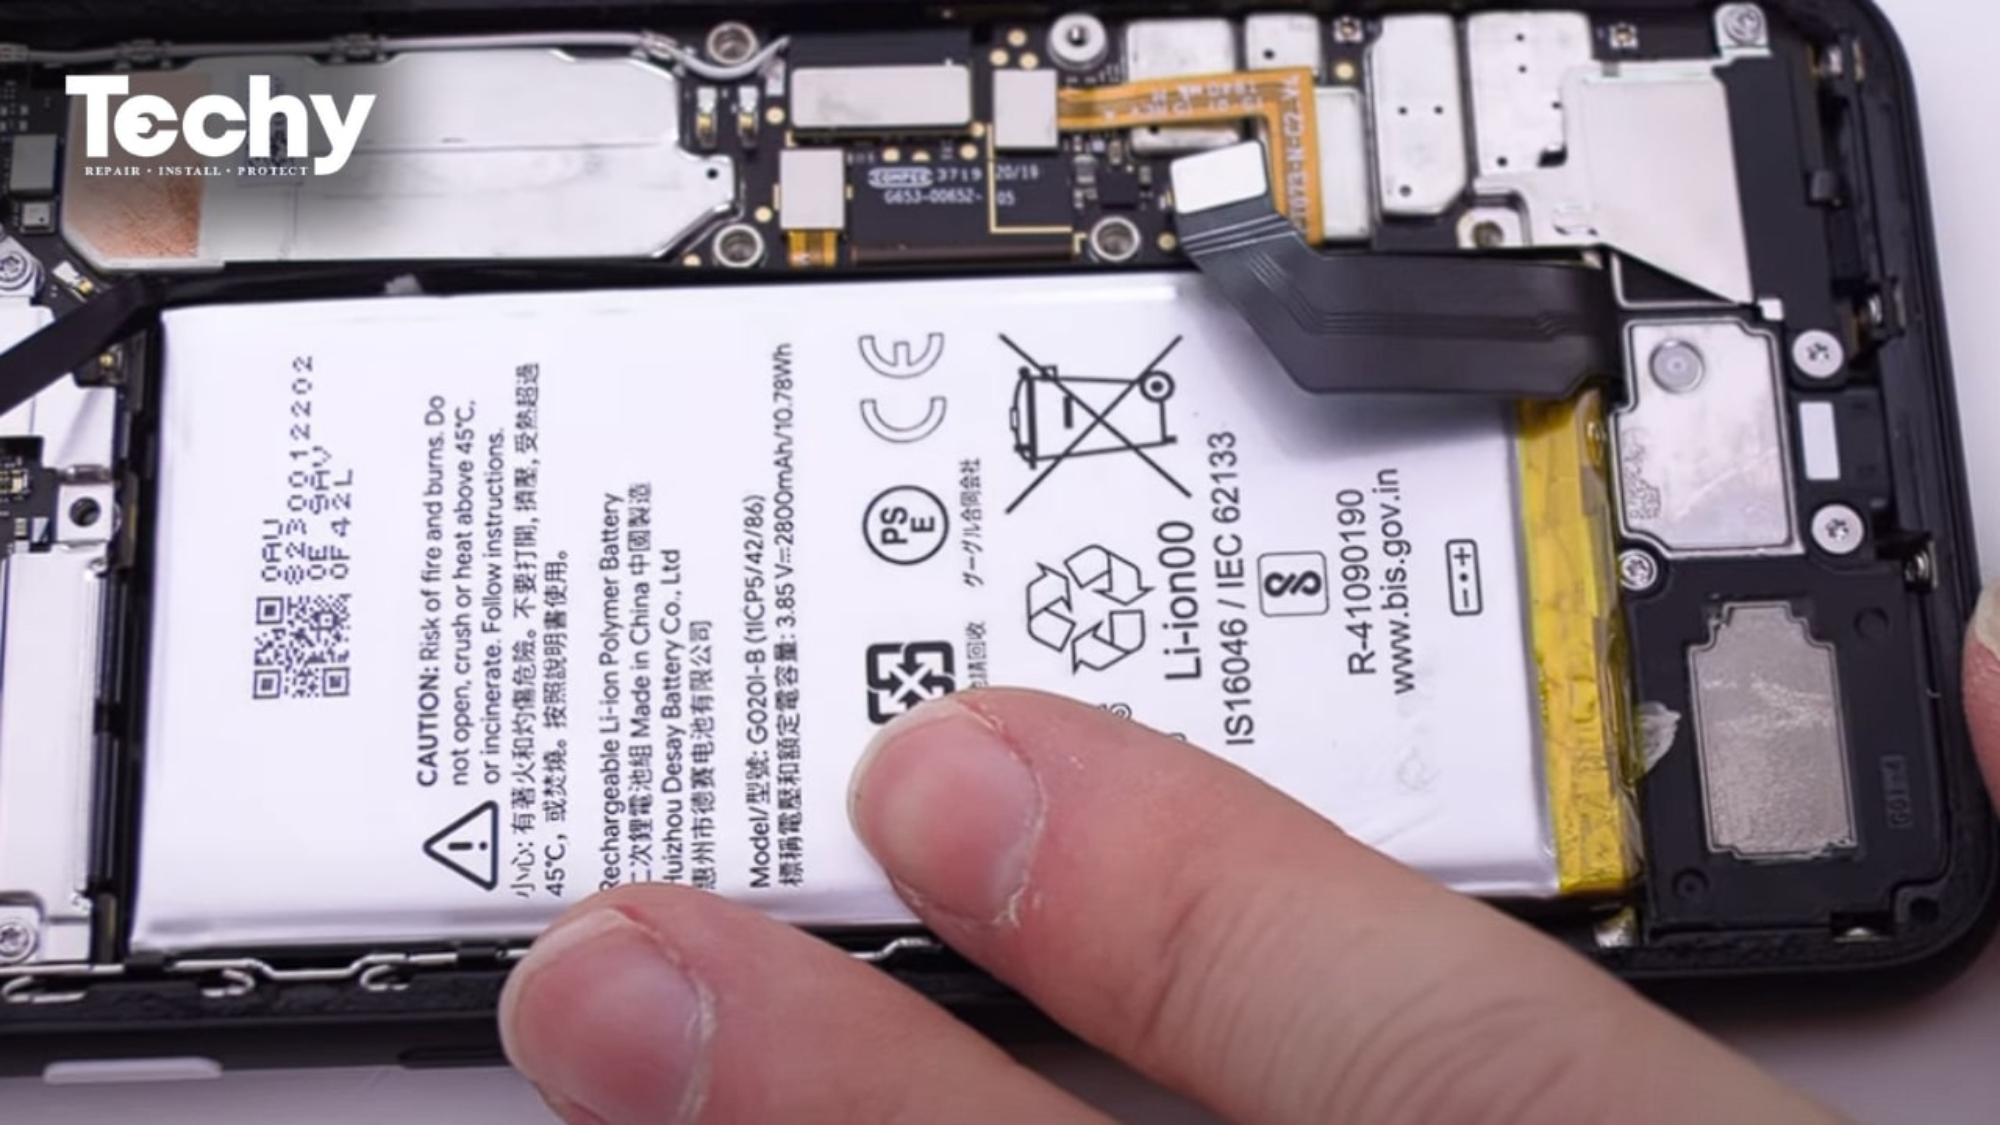
– Gently use the tip of a spudger to lift and disconnect the back glass cable from the motherboard. You’ve got this!
Tools Used